Give your friends $10 off their first order!
Refer a FRIEND








Prices change straight away. Every language is our own translation, not Google.
A project from our live show THE THURSDAY DROP - Latest Products from Toni - Broadcast 30th July 2026 · 07/30/2026
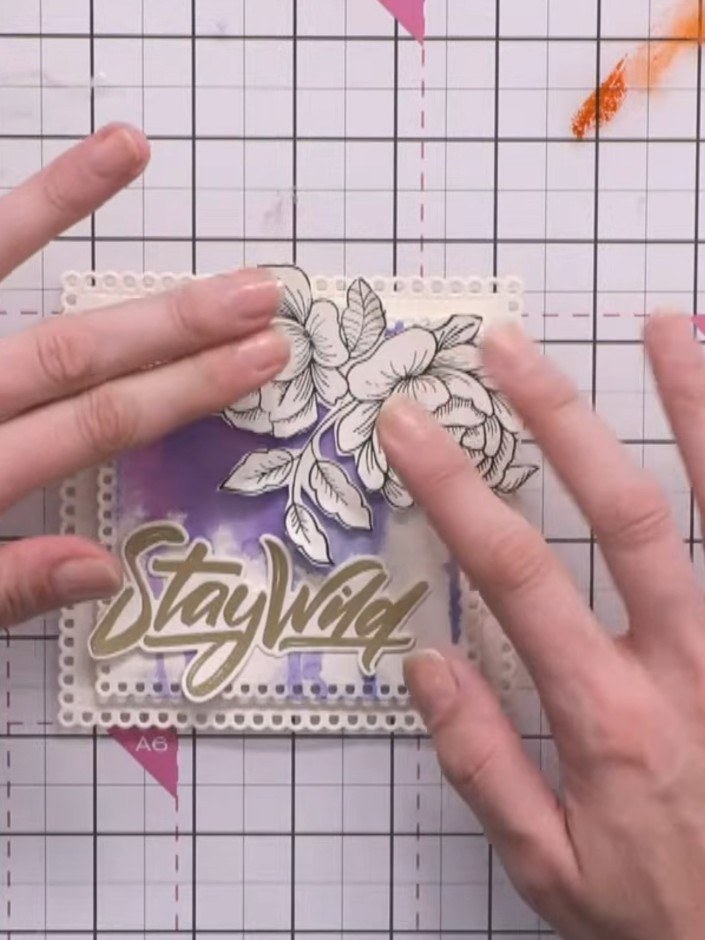
Create an elegant shaped card featuring a beautiful watercolour background in soft purples and pinks. This project combines nesting square dies to create a decorative scalloped edge, topped with a fussy-cut floral stamp and a gold-embossed sentiment reading 'Yay You'. The finished card showcases dimensional layering and gentle colour gradients for a sophisticated, stylish result.
 1
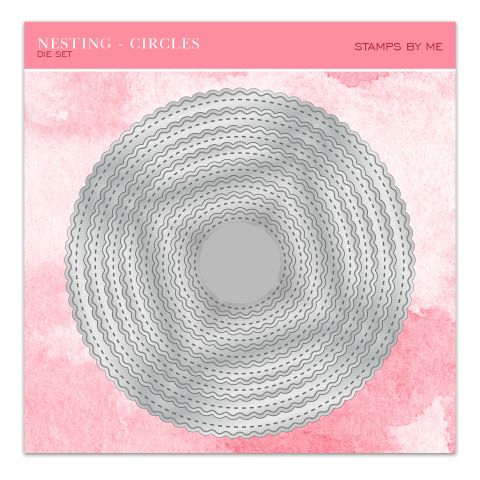
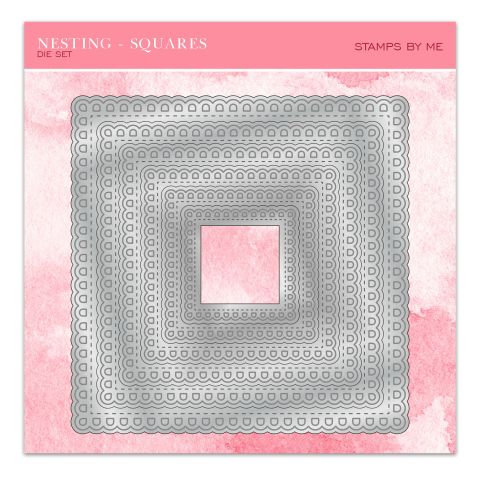
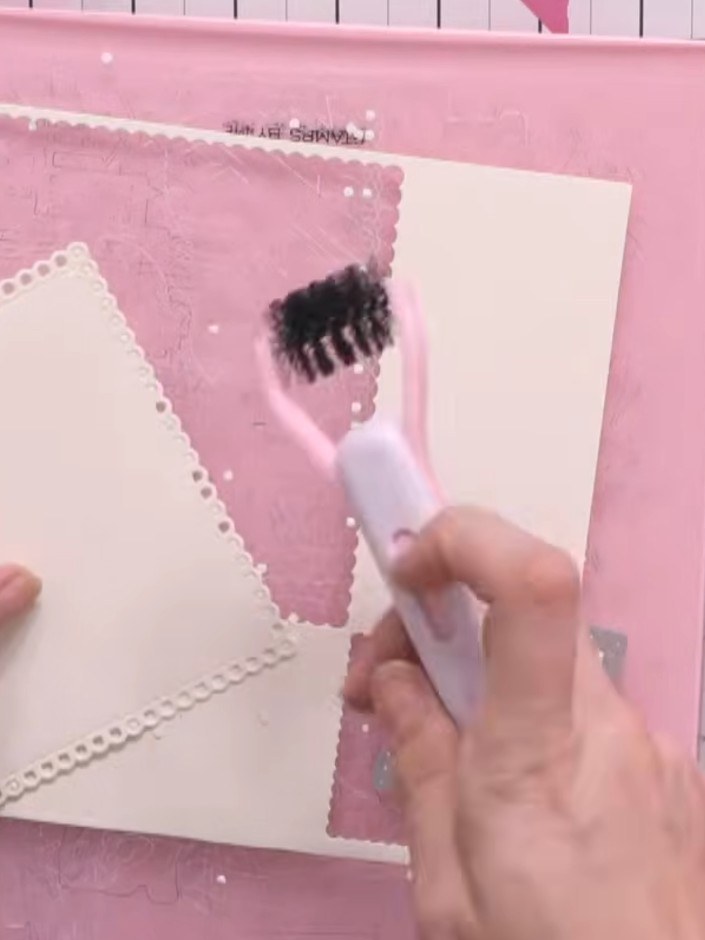
Cut three pieces from white card stock using the largest nesting square die, then the next size down, and a smaller size for layering. Pop out all the small cut-out pieces from the dies using a pokey tool. Apply glue to one of the largest die-cut squares using the glue brush. Place a second largest die-cut square on top, aligning the edges carefully, ensuring the score line is at the back to form your card blank.
 2
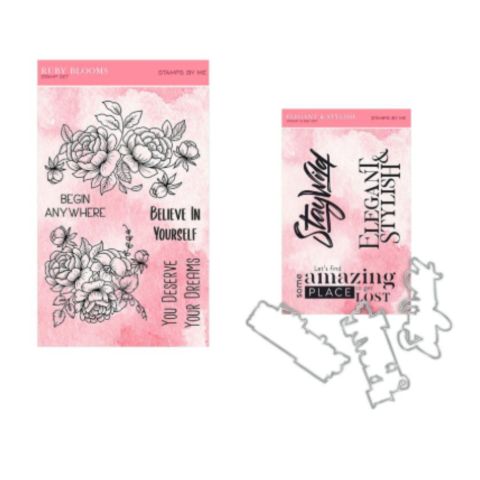
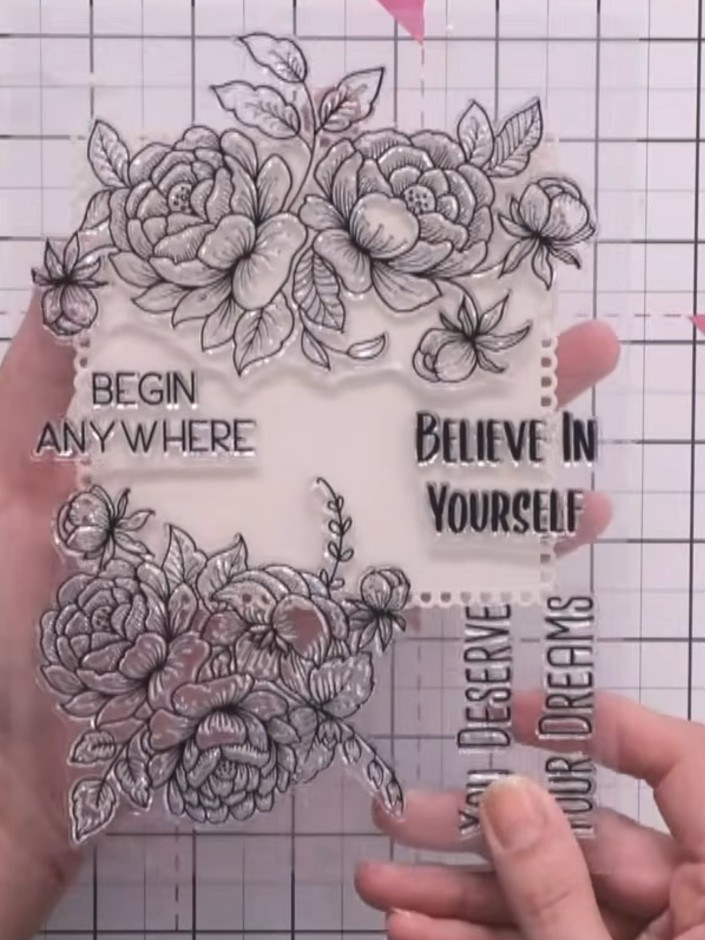
Stamp the floral image onto a piece of cream card stock using black ink. Position the stamp to create a balanced design with the sentiment phrases.
 3
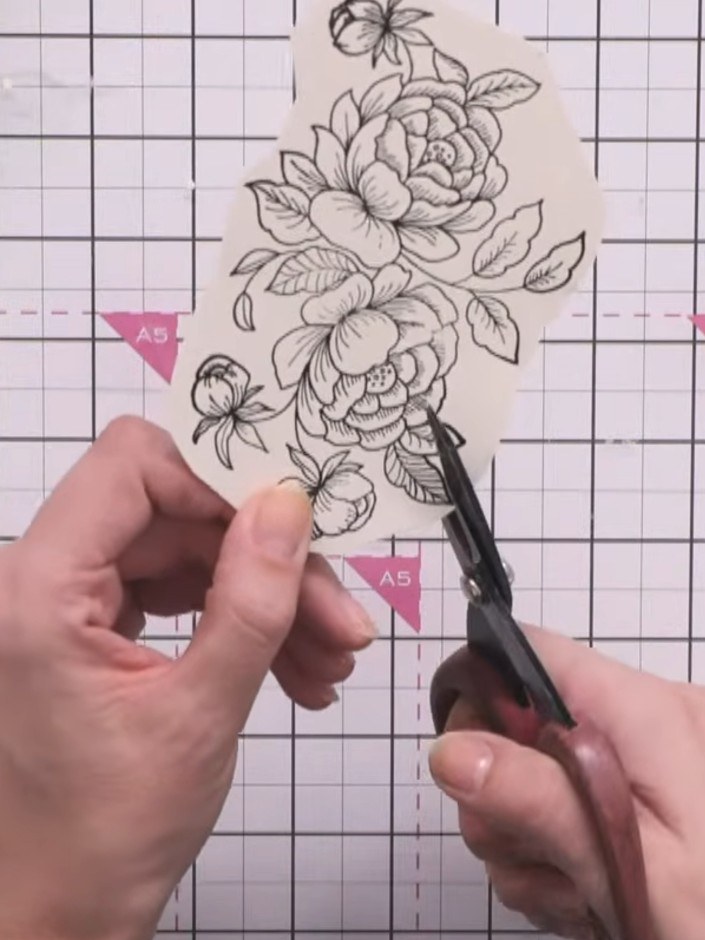
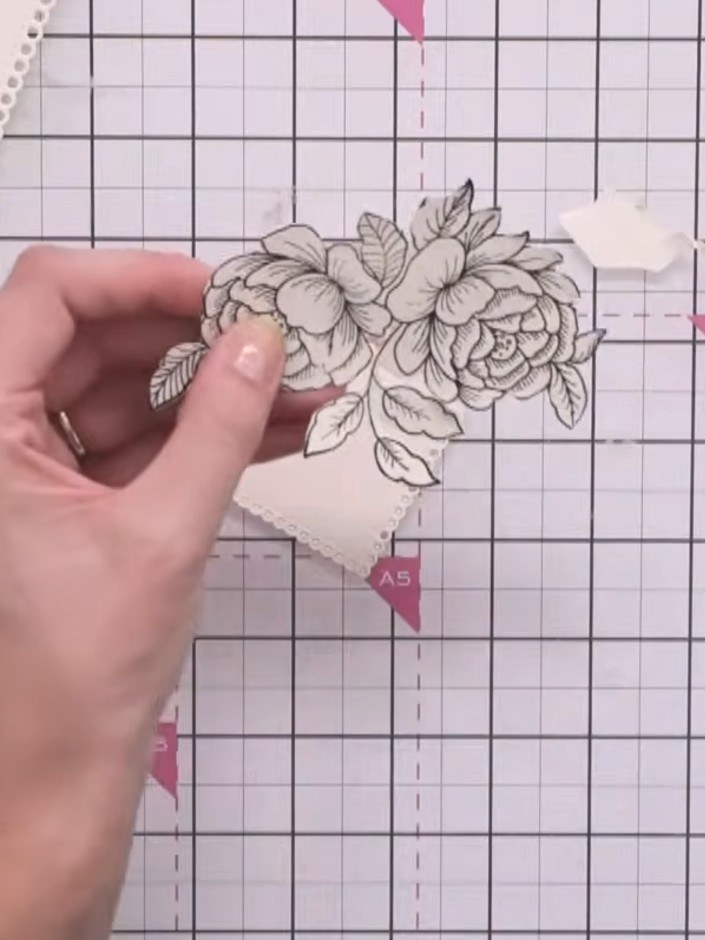
Fussy cut around the floral stamp, leaving a small border. Hold your scissors at an angle so the paper does the motion rather than your wrist.
 4
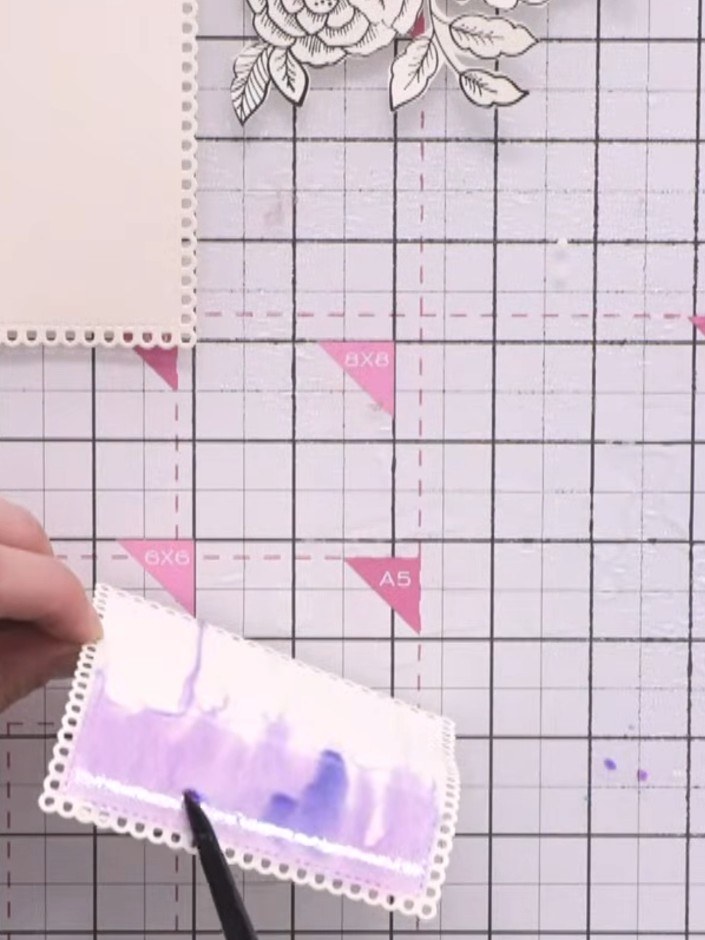
Using a wet brush, apply water to the surface of one of your medium-sized die-cut squares to dampen it.
 5
Apply teal and pink ink to the wet surface, allowing the colours to blend and run together. Tap the card at an angle to create drips down the surface.
 6
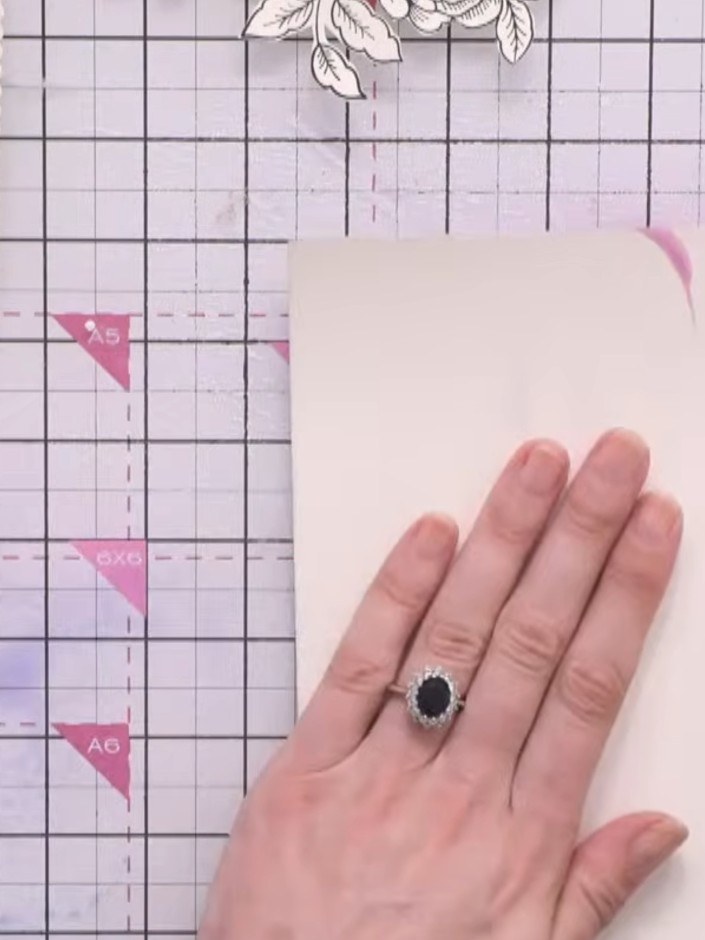
Once the watercoloured piece is dry, flatten it by placing it under a die-cutting machine plate or heavy book if it has warped from the water.
 7
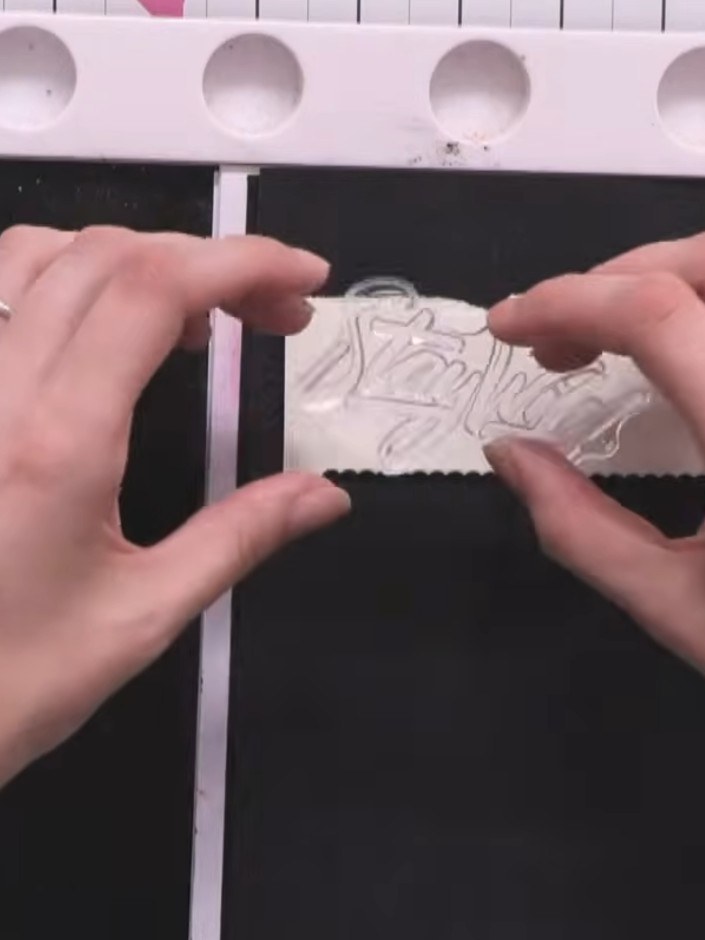
Stamp the 'Stay Wild' sentiment onto cream card stock using the sticky WOW ink pad. Position the stamp carefully to ensure a clear impression.
 8
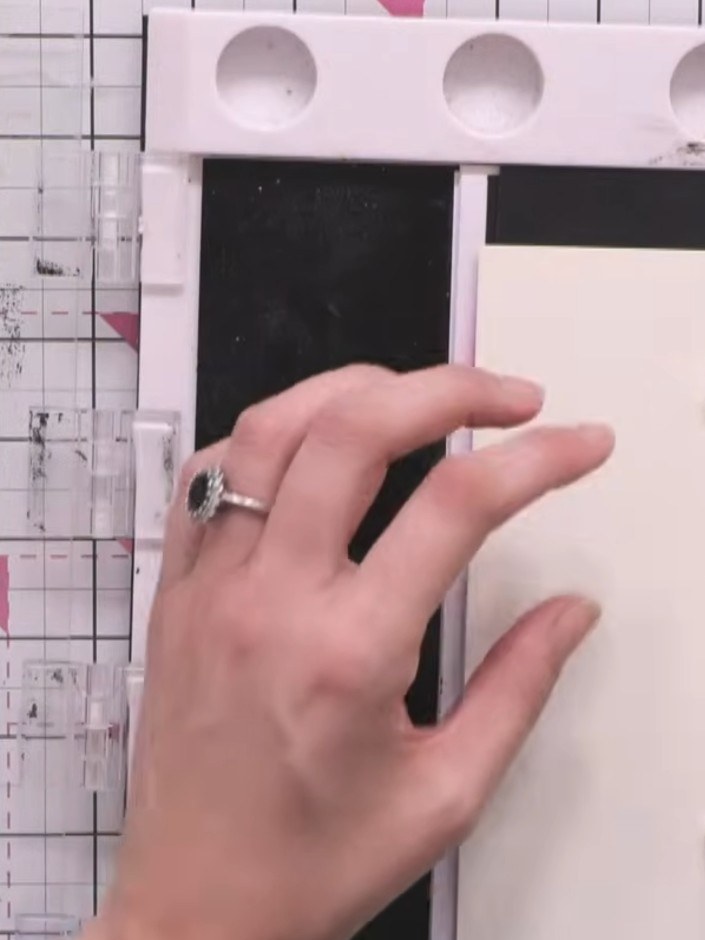
Apply gold WOW embossing powder to the stamped sentiment. Heat set the embossing powder with a heat gun until the gold is raised and shiny.
 9
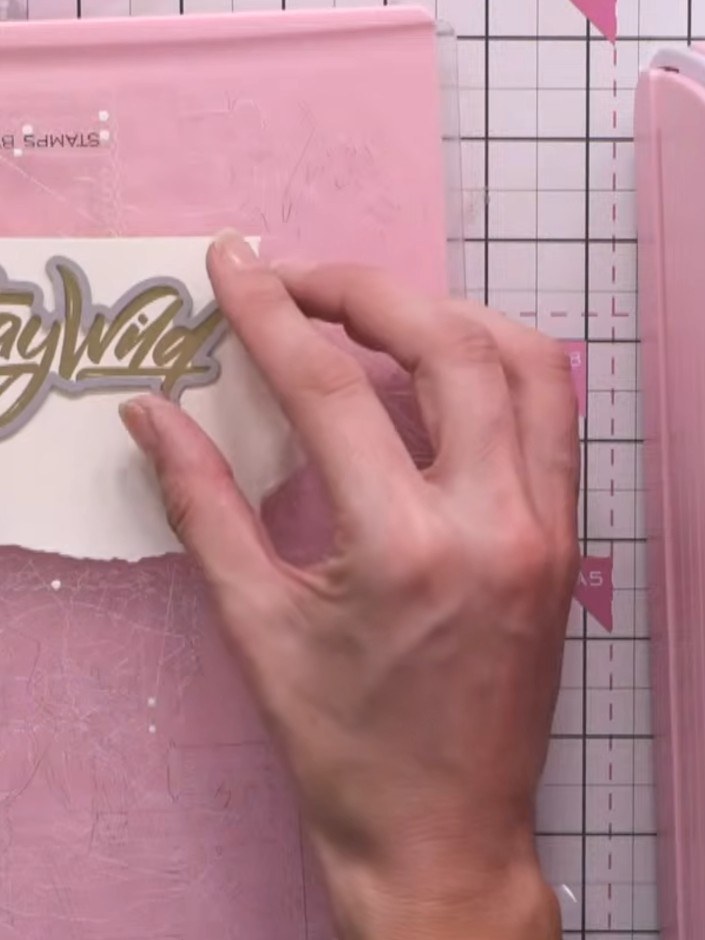
Use the outline die to cut out the gold embossed 'Stay Wild' sentiment from the white card.
 10
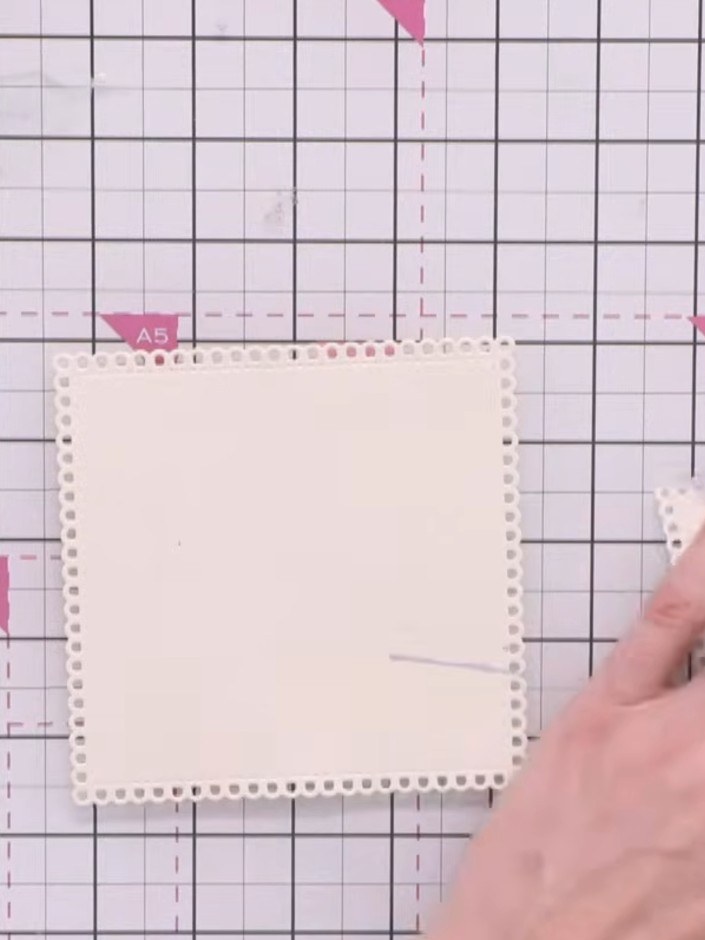
Adhere the watercoloured square flat to the card blank. Add foam pads to the back of the medium die-cut square with the decorative edge and attach it on top.
 11
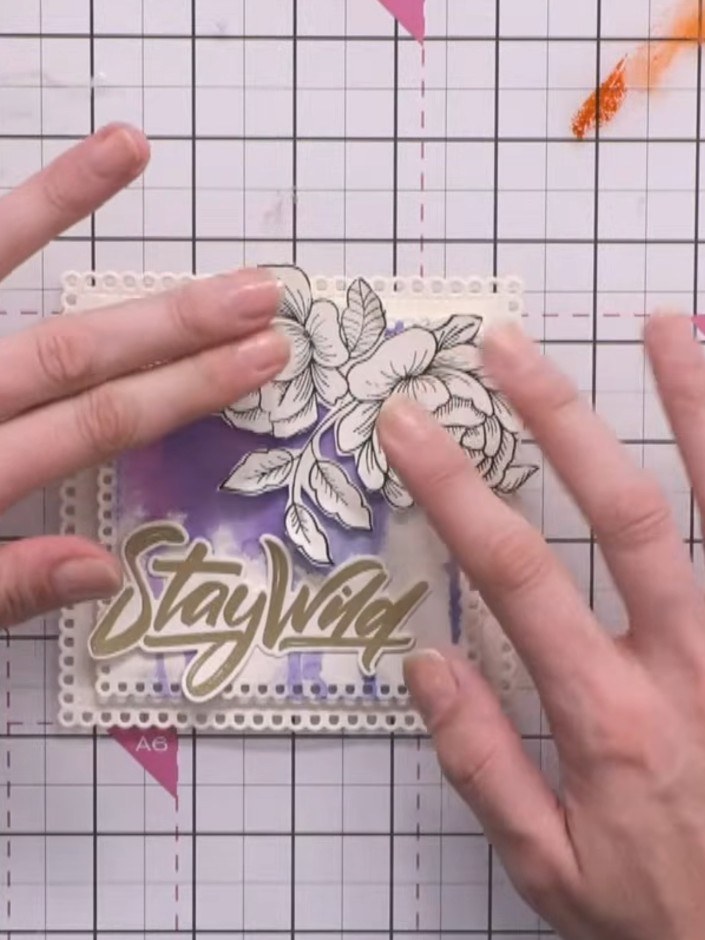
Attach the fussy-cut floral piece to the top of the card using a small amount of adhesive to create dimension. Position the gold 'Stay Wild' sentiment on foam pads in the centre of the card.
Share your make with the Stamps By Me community - and keep this guide for next time.
Written up from the show itself. See every guide from our shows · free how-to guides · watch live on My Telly · the previous layout