Give your friends $10 off their first order!
Refer a FRIEND








A project from our live show CELEBRATING 14 YEARS OF STAMPS BY ME - Join Toni for her brand new launch - Broadcast 4th October 24 · 10/04/2024 · watch it from 1:27:00
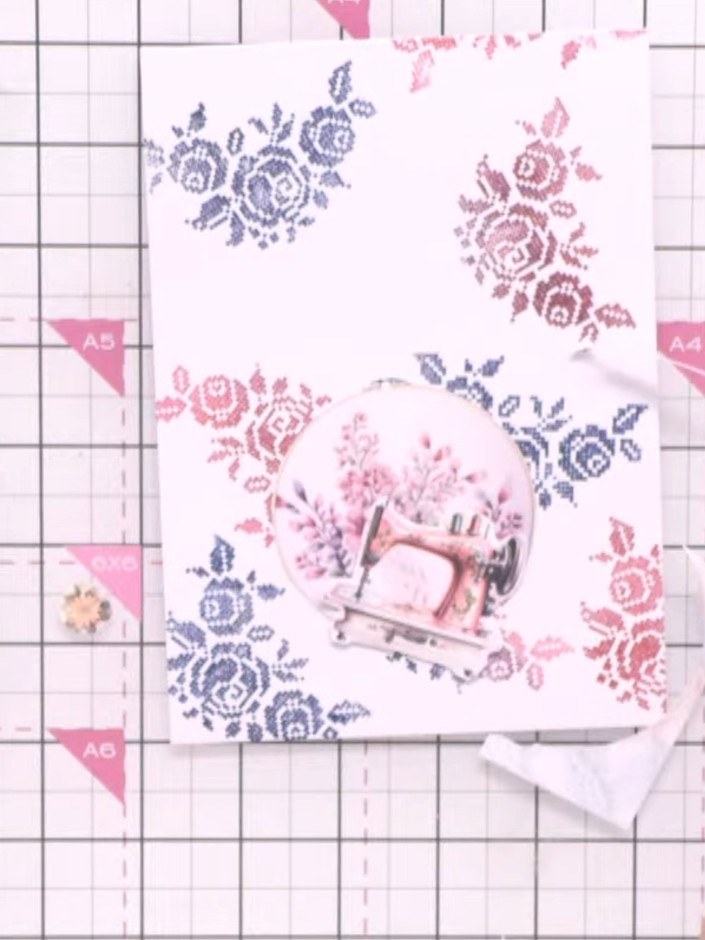
Create a beautiful handmade card featuring an embroidery hoop filled with delicate stitched flowers. Using ombre ink blending in soft teal and pink tones, you'll build up layers of die-cut embellishments and fussy-cut floral elements for a charming vintage-inspired design. This project combines stamping, die-cutting and dimensional layering techniques to achieve a lovely handcrafted finish.
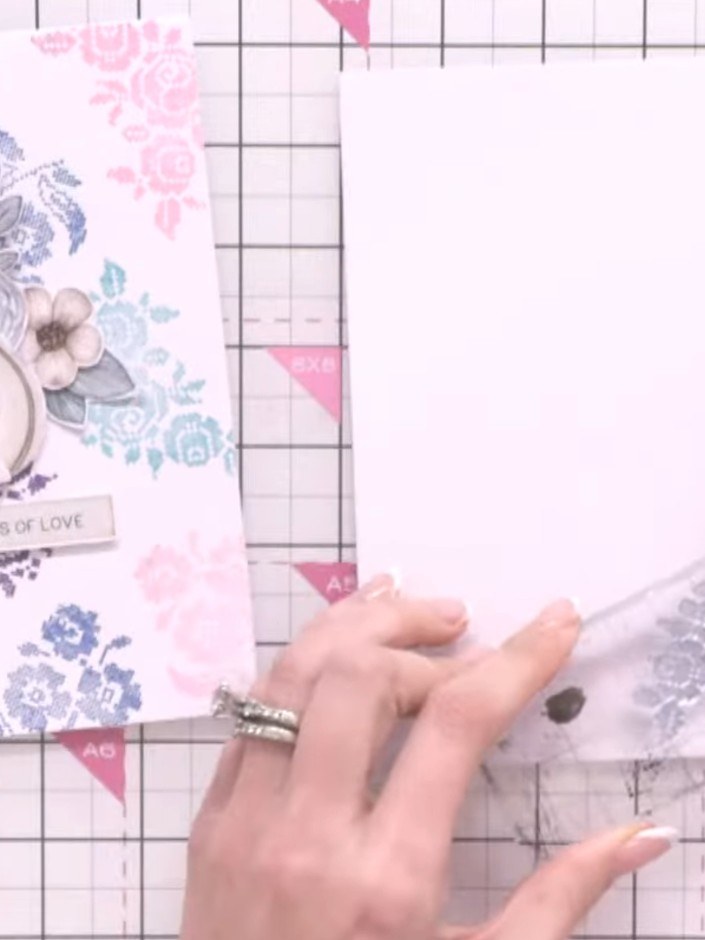
Ink up the floral stamp with teal ink. Stamp it randomly across white card to create background texture, stepping away from any coloured areas already on the card.
▶ watch this step (1:27:45)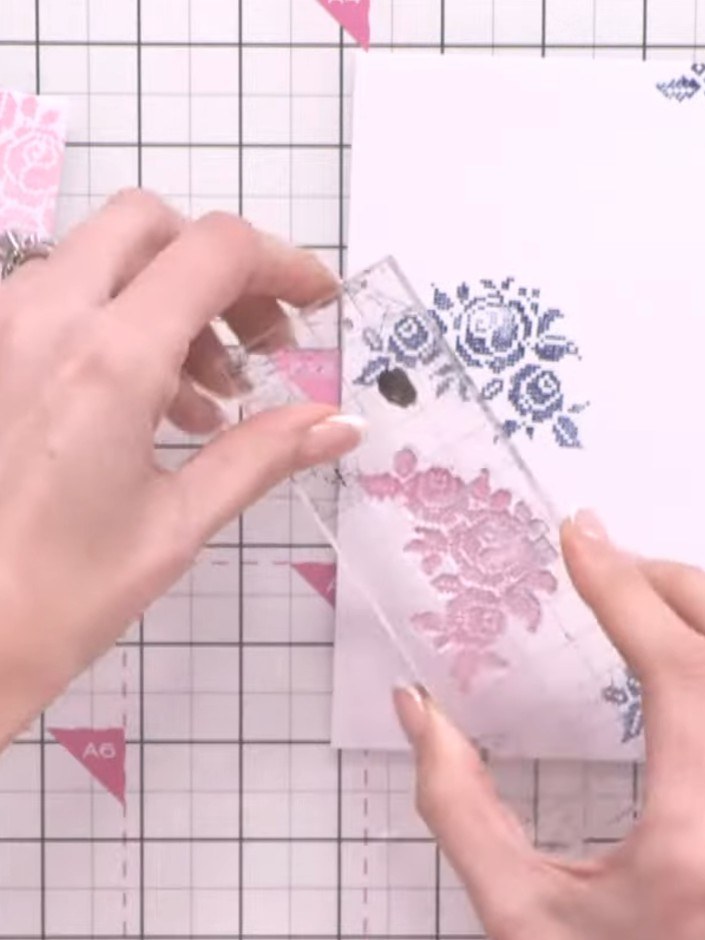
Ink the same floral stamp with pink ink and stamp it in different areas of the card to create a layered effect.
▶ watch this step (1:28:15)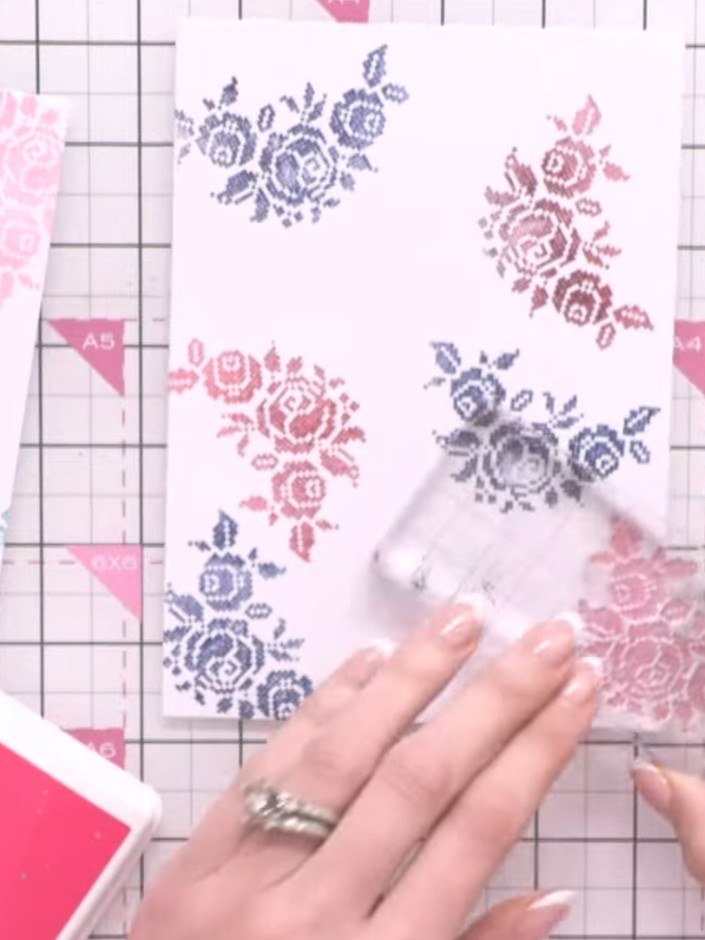
Blend the teal and pink inks together using your finger to create an ombre effect with no harsh lines between the colours.
▶ watch this step (1:28:45)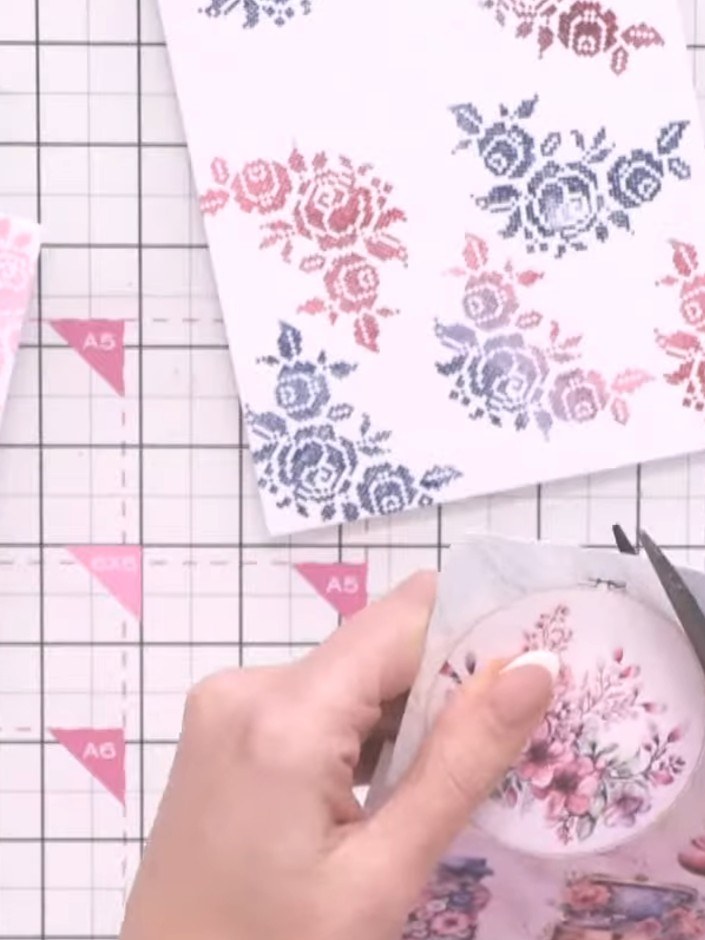
Use the embroidery hoop die to cut out the design from your chosen paper. Position the die over the floral pattern and run through your die-cutting machine.
▶ watch this step (1:29:30)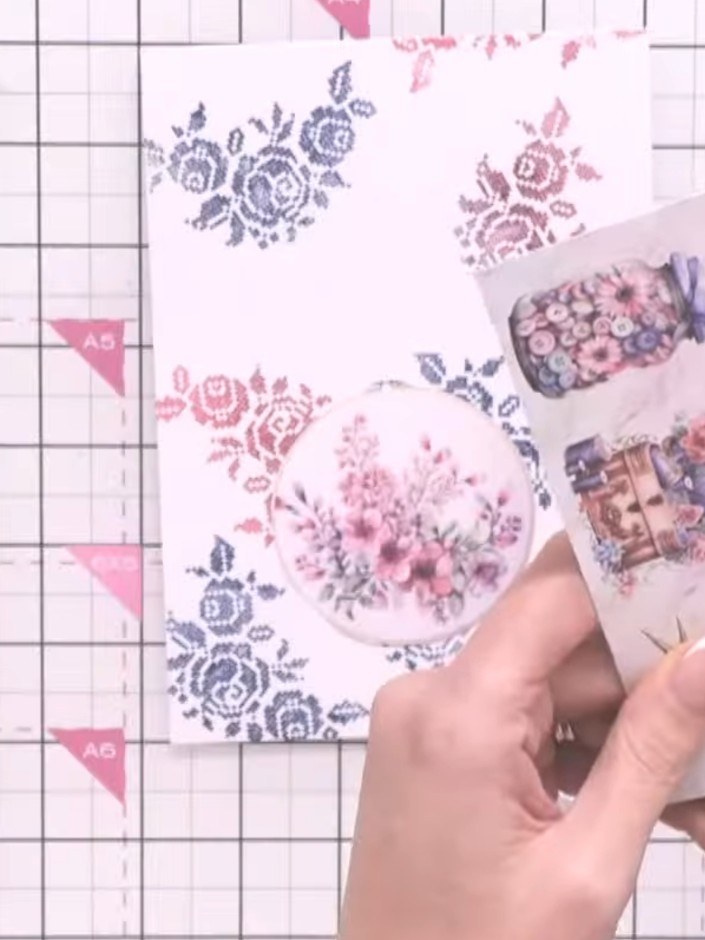
Fussy-cut the stitched flowers and leaves from the floral paper pad using scissors, cutting carefully around the printed embroidery designs. Leave a small border around each motif if needed.
▶ watch this step (1:30:15)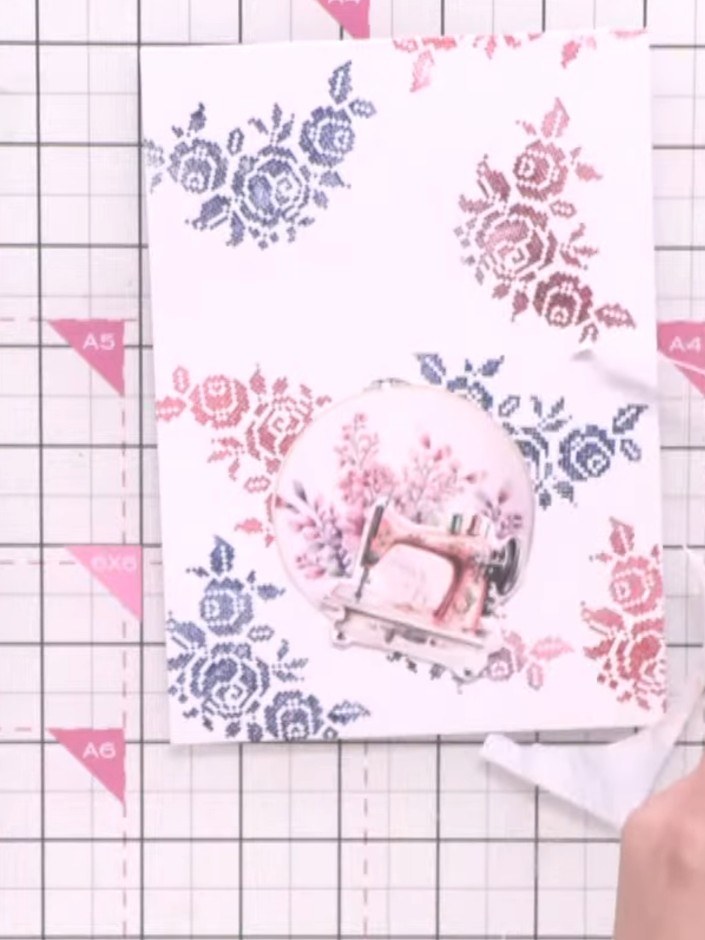
Layer the die-cut embroidery hoop onto the blended floral background card using foam pads to add dimension.
▶ watch this step (1:31:00)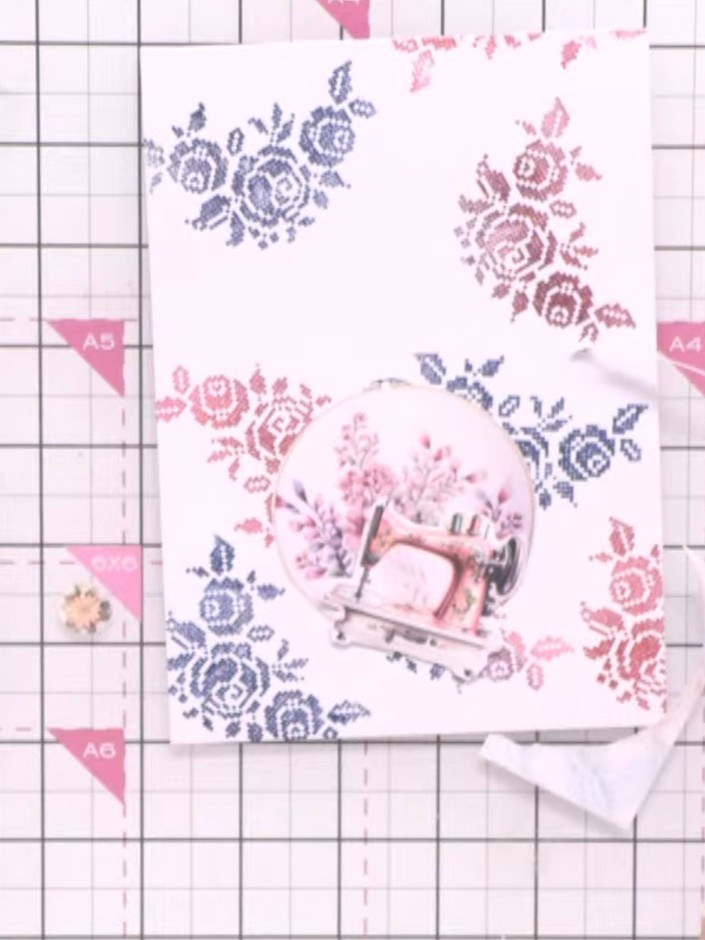
Adhere the fussy-cut flowers and leaves around and inside the embroidery hoop using foam pads. Layer the floral elements to create dimension and an attractive arrangement.
▶ watch this step (1:31:30)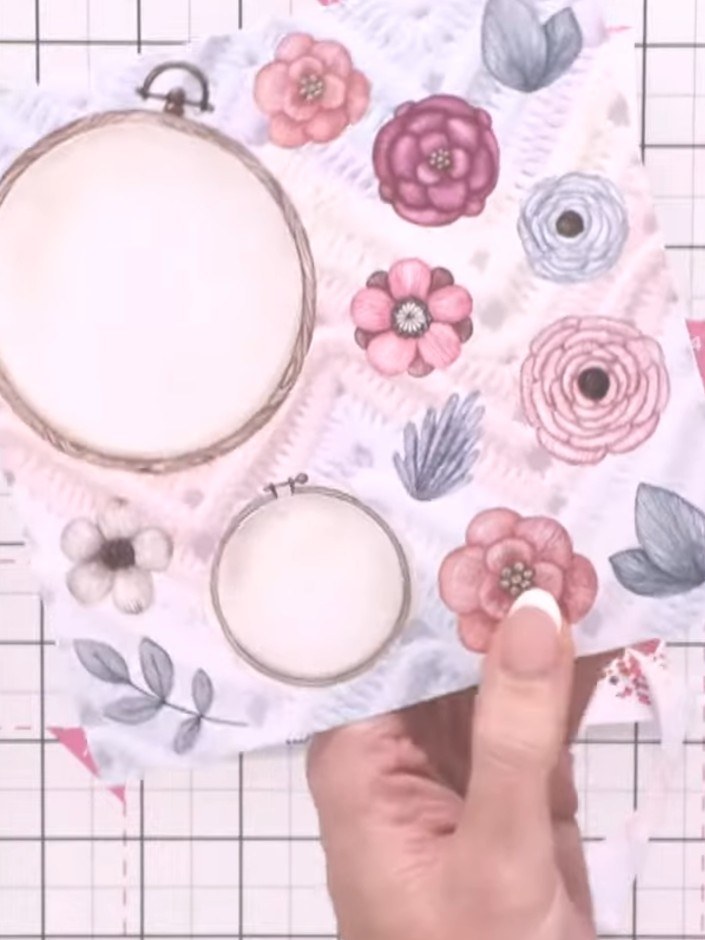
Add small button embellishments to the flower centres for extra detail. Use the pink and grey flower buttons from the collection to complement the ombre design.
▶ watch this step (1:32:00)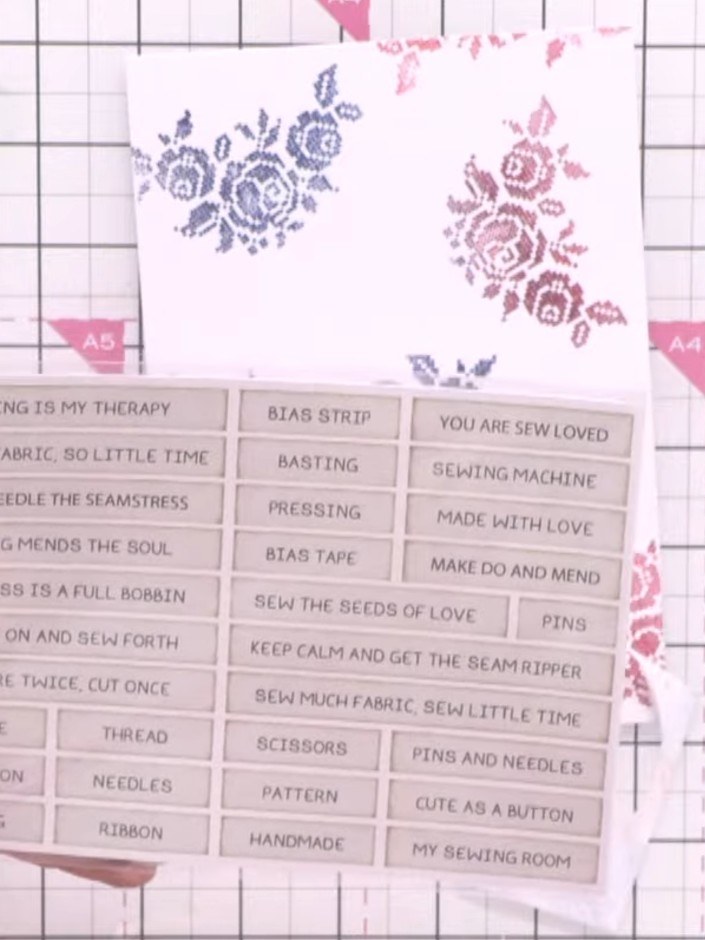
Select a sentiment stamp from the collection, such as 'Sew on and so forth', and stamp it at the bottom corner of your card using the damp stamp.
▶ watch this step (1:33:00)Written up from the show itself. See every guide from our shows · free how-to guides · watch live on My Telly