Give your friends $10 off their first order!
Refer a FRIEND








A project from our live show CELEBRATING 14 YEARS OF STAMPS BY ME - Join Toni for her brand new launch - Broadcast 4th October 24 · 10/04/2024 · watch it from 59:15
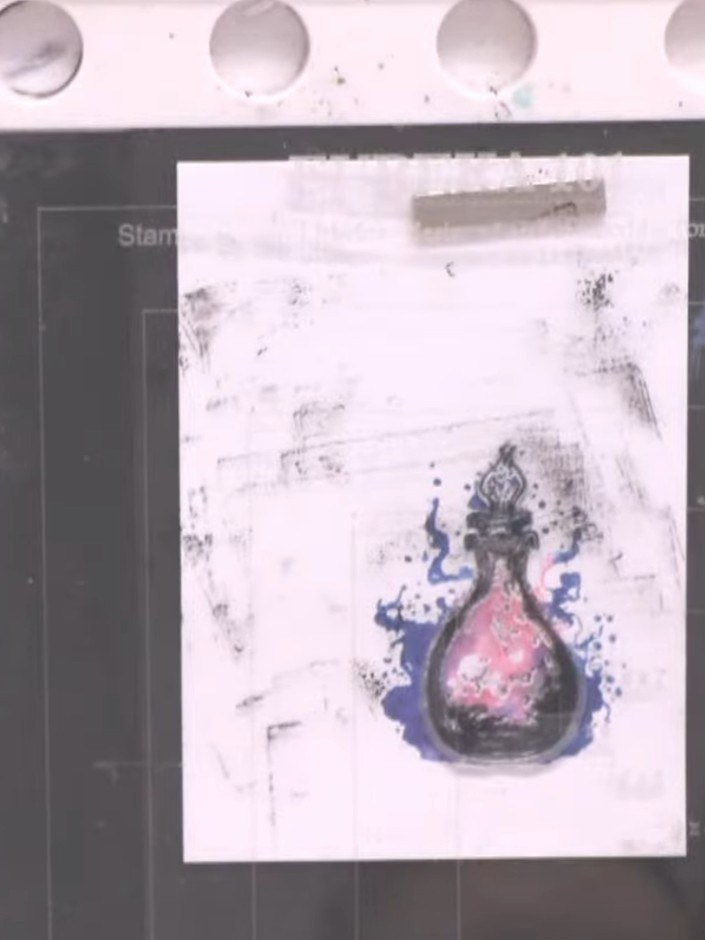
Create a magical lamination card featuring an enchanting potion bottle with a beautiful watercolour blended background. Using coloured inks and water, you'll achieve a dreamy smokey effect in purple and teal tones, then add a detailed black stamped overlay to reveal the intricate bottle design. This technique combines watercolour blending with precision stamping for a stunning mystical result.
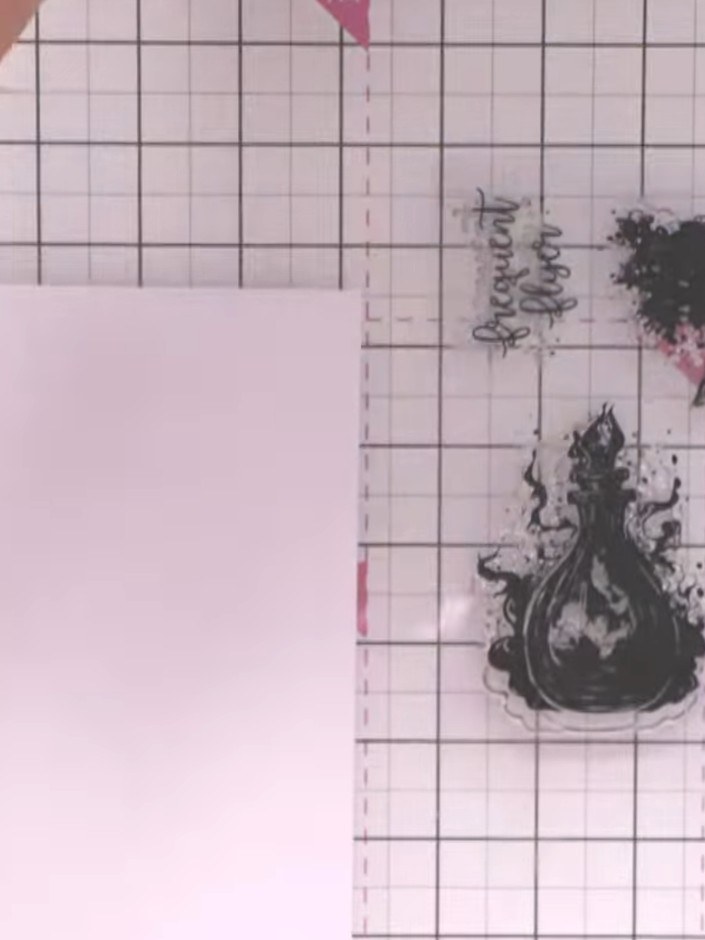
Stamp the solid colour portion of the potion bottle stamp onto white card using pink ink. Spray the stamp with water before stamping to create a watercolour effect.
▶ watch this step (1:00:30)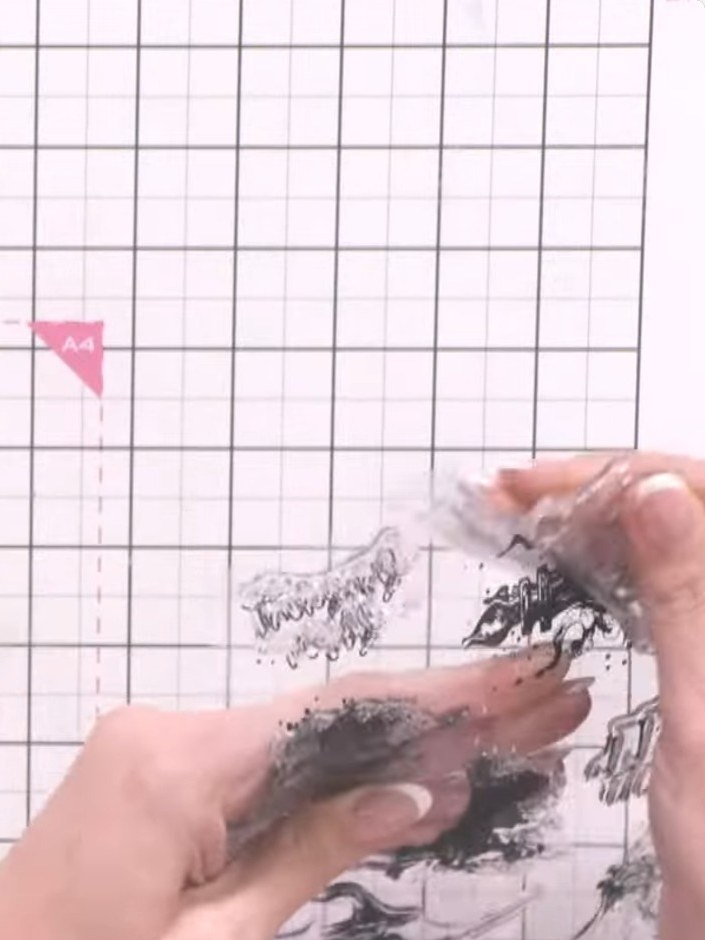
Stamp the solid potion bottle image again using teal ink in a different area of the card to create a second colour zone.
▶ watch this step (1:00:45)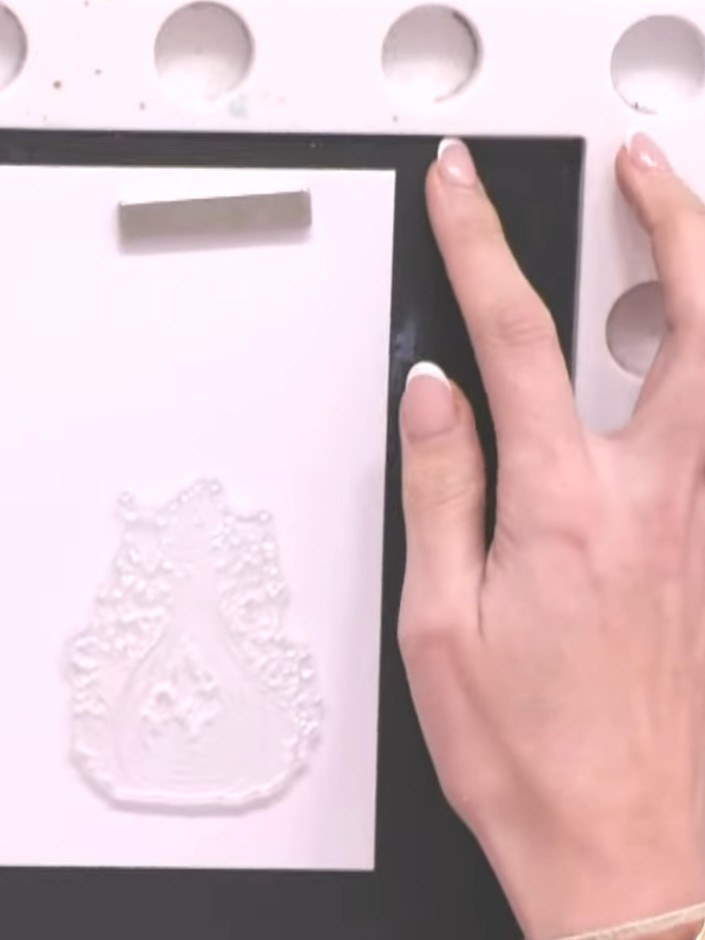
Spray the stamped potion bottle image with water three times using a water spray bottle to activate and blend the inks together.
▶ watch this step (1:01:15)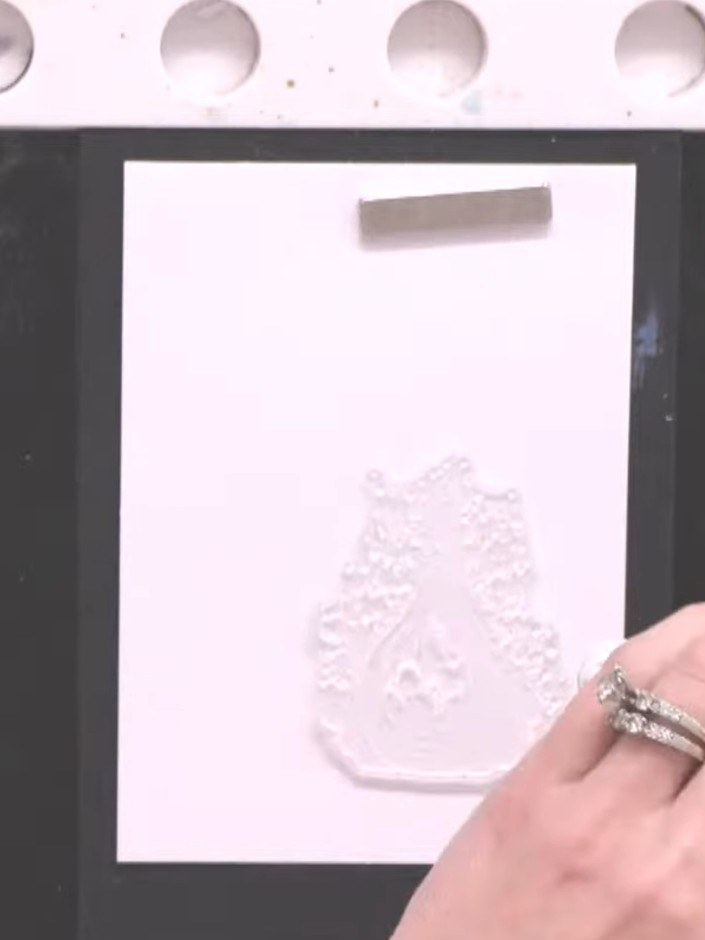
Using your finger, gently push and blend the wet inks together on the stamped image to create a smokey, watercolour effect.
▶ watch this step (1:01:30)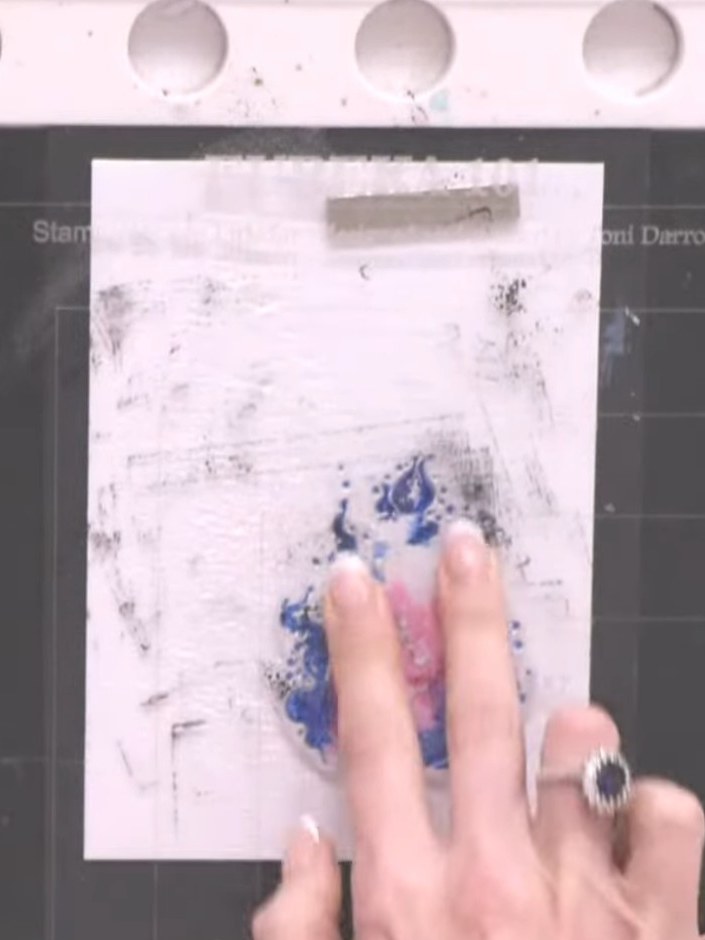
Allow the card to dry completely. Once dry, use your fingers to blend and push the colours together on the surface, creating a smooth watercolour effect.
▶ watch this step (1:02:00)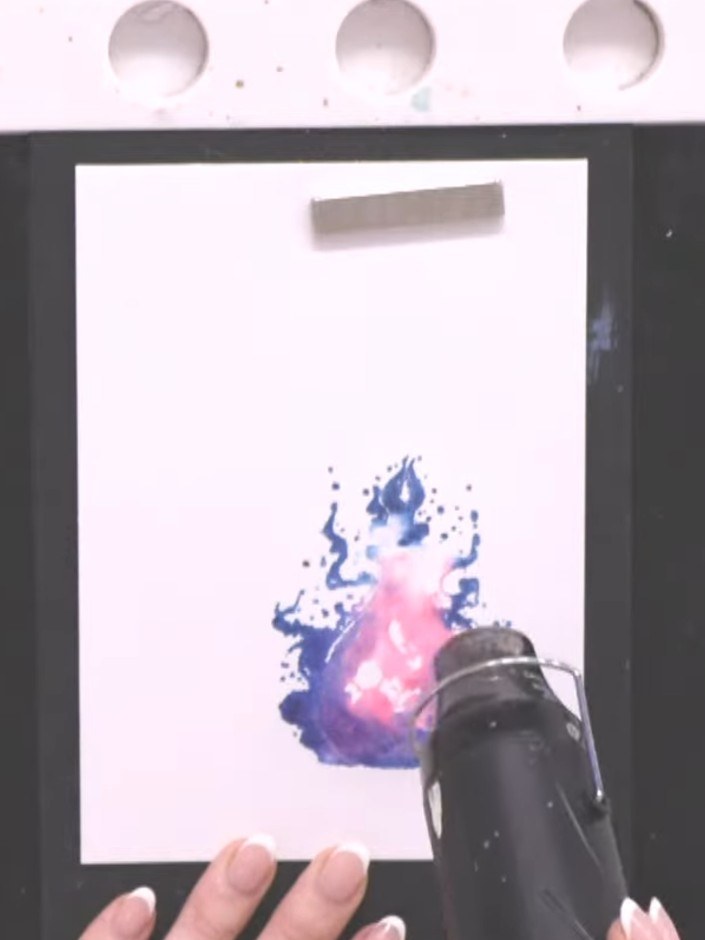
Stamp the detailed black outline portion of the potion bottle stamp on top of the blended watercolour background, centring it carefully over the pink and blue colours.
▶ watch this step (1:03:00)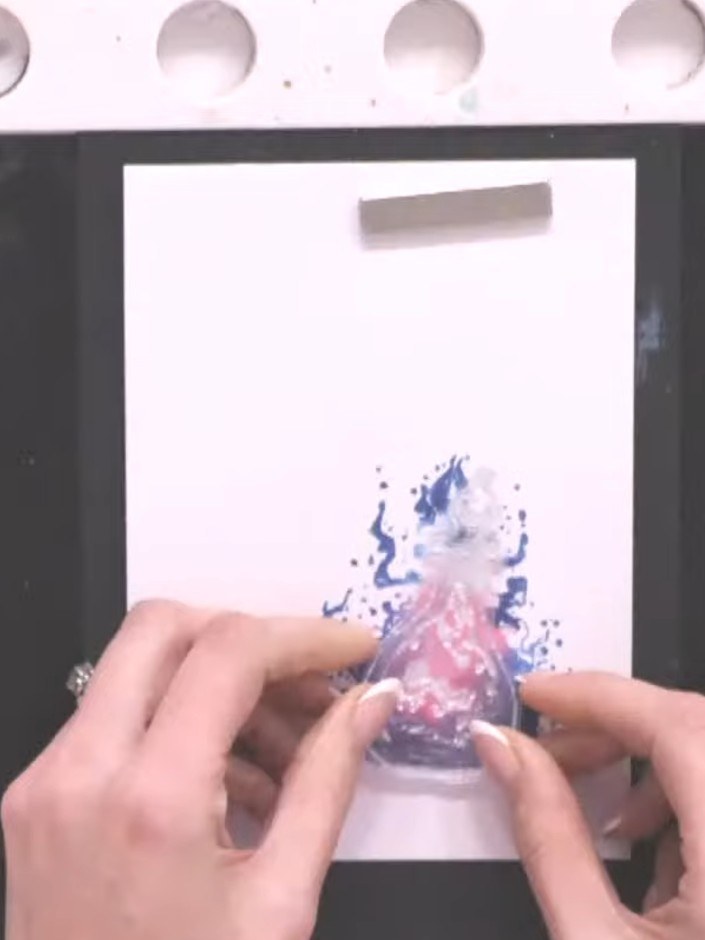
Stamp a sentiment such as 'Spell on You' randomly across the white card above the potion bottle to create the effect of magical smoke rising from the bottle.
▶ watch this step (1:03:30)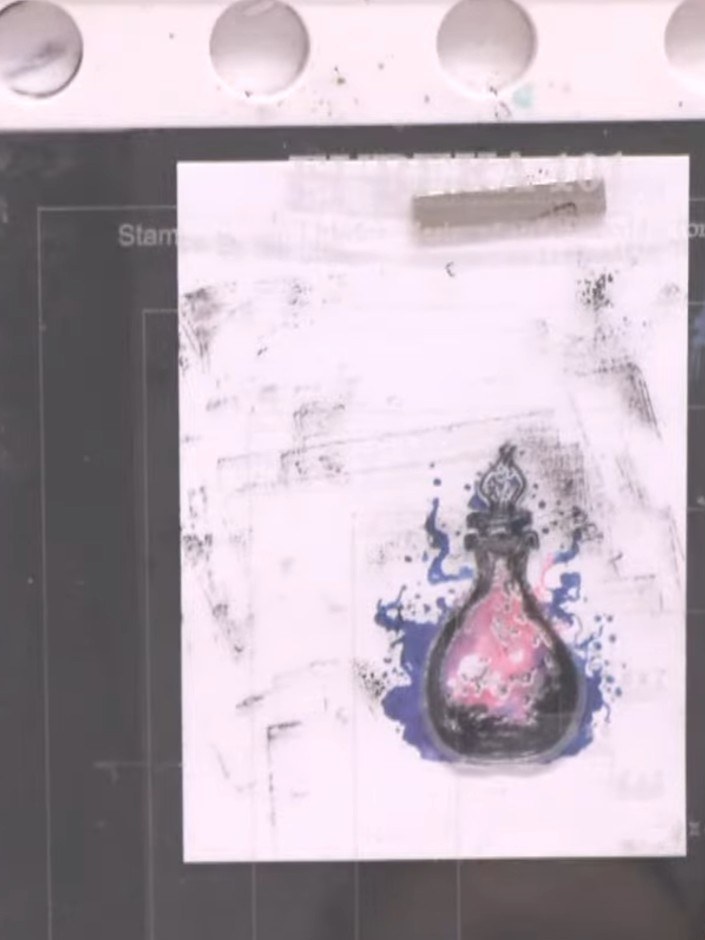
Apply sparkle embellishments around the potion bottle and throughout the card design for extra shimmer and magical detail.
▶ watch this step (1:04:00)Written up from the show itself. See every guide from our shows · free how-to guides · watch live on My Telly