Give your friends $10 off their first order!
Refer a FRIEND








A project from our live show HSN OCTOBER PRODUCT PREVIEW - Join me for my Sneak Peek - Broadcast 24th October 24 · 10/24/2024 · watch it from 1:16:00
Create a stunning woodland wildlife card featuring a stamped animal design with a dramatic white halo effect. Using a coordinating stamp, mask and stencil system, you'll make your chosen creature appear to pop from an intricate patterned background in natural kraft tones. The masking technique creates a striking border around your subject, ensuring it stands out beautifully against the busy decorative paper.
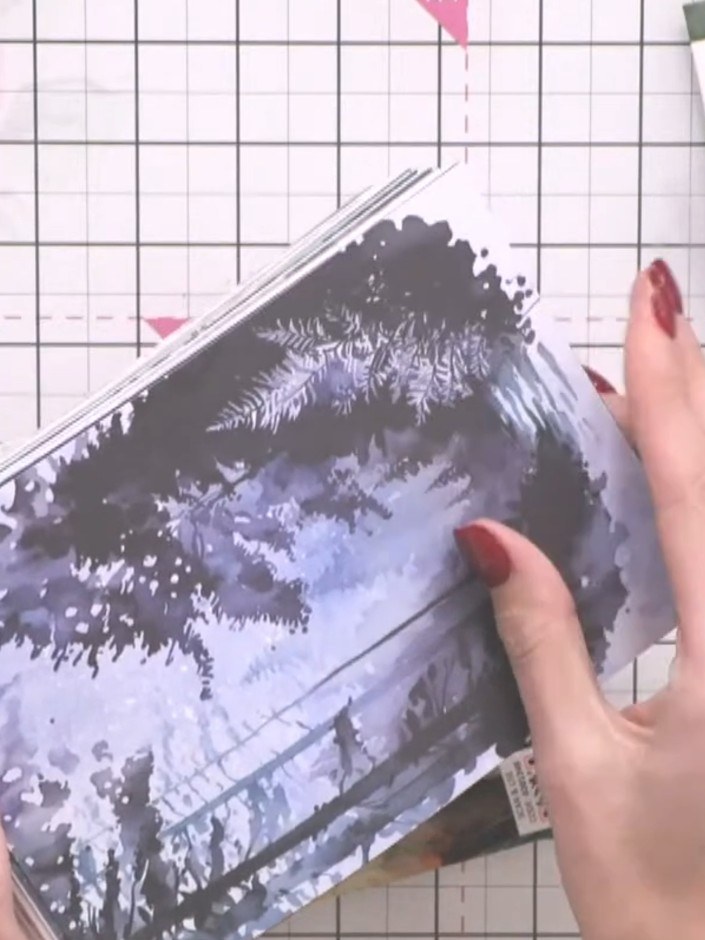
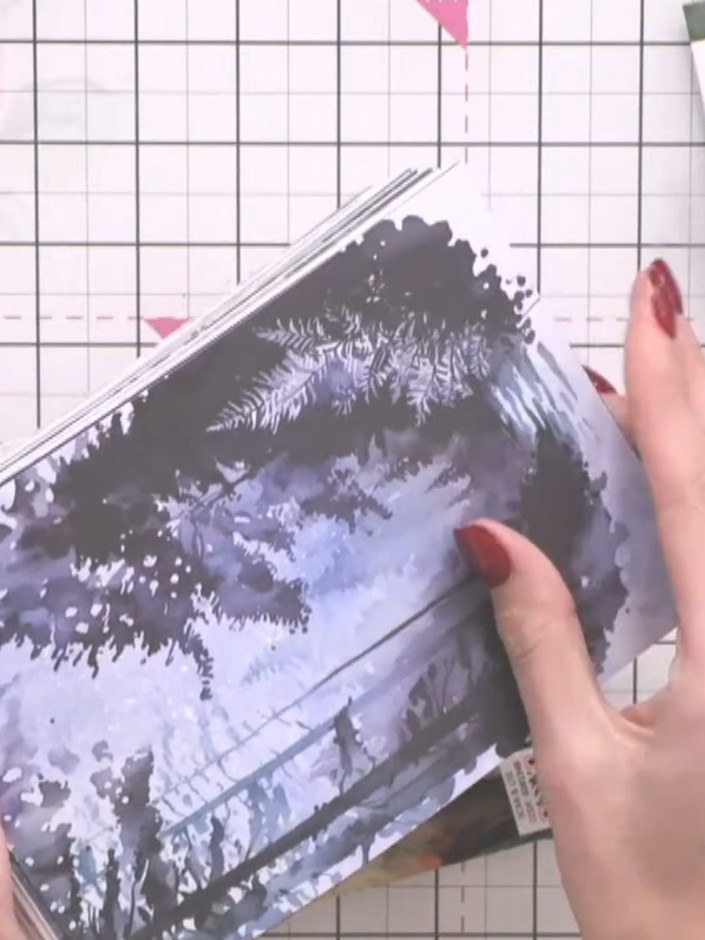
Select a piece of patterned paper from the Woodland Wildlife collection. Choose your preferred design from the available papers in the kit.
▶ watch this step (1:16:00)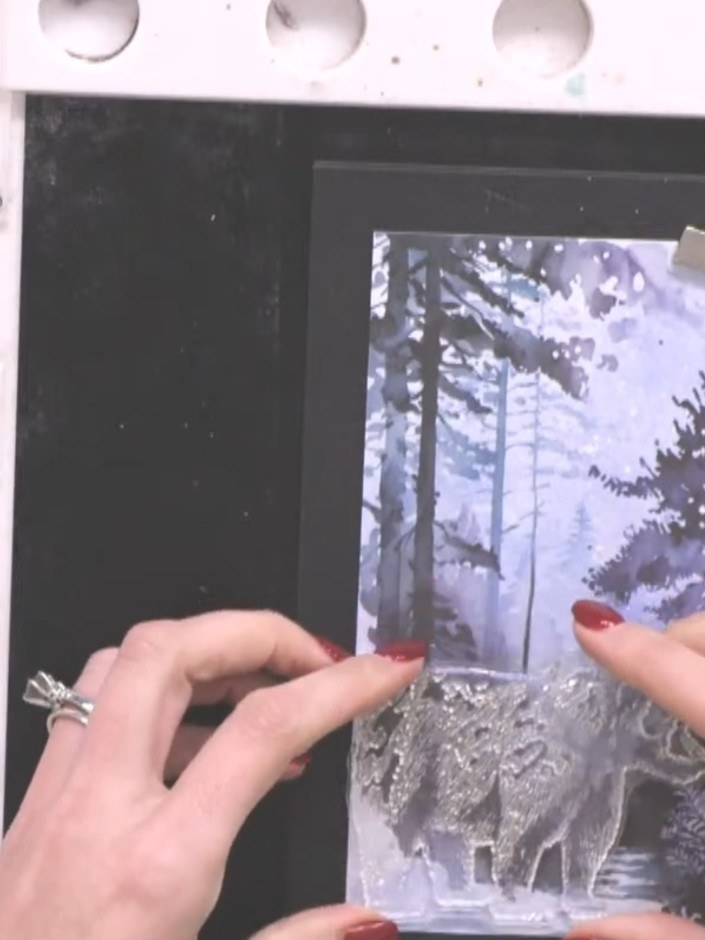
Choose a stamp from the set, such as the bear. Ink the stamp with black ink using your stamp pad.
▶ watch this step (1:16:45)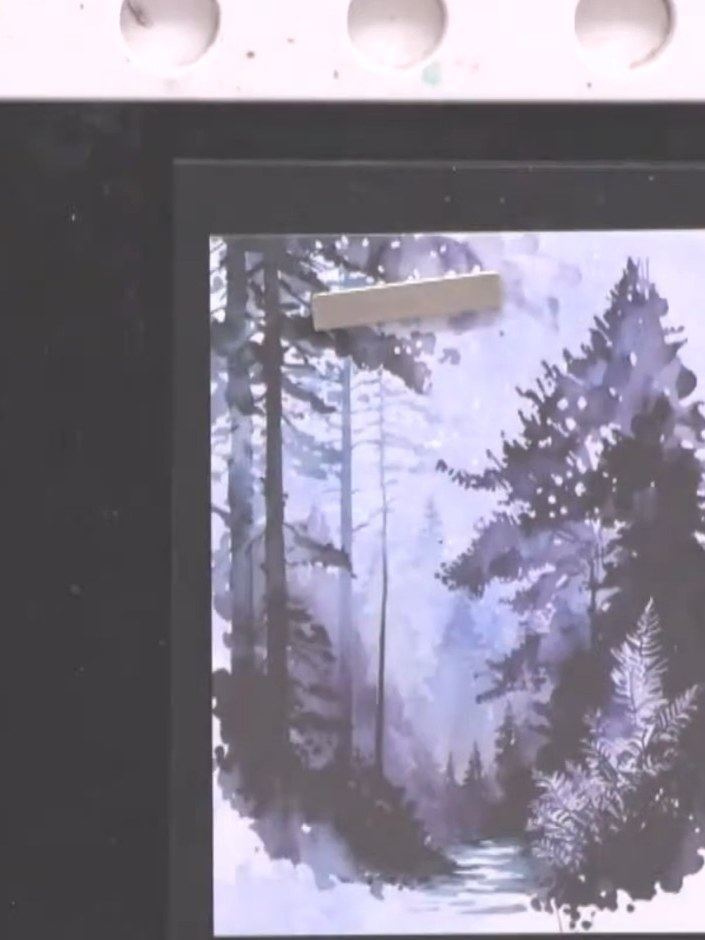
Stamp the animal image onto the patterned paper using black ink. The stamped image will blend into the busy background pattern.
▶ watch this step (1:17:00)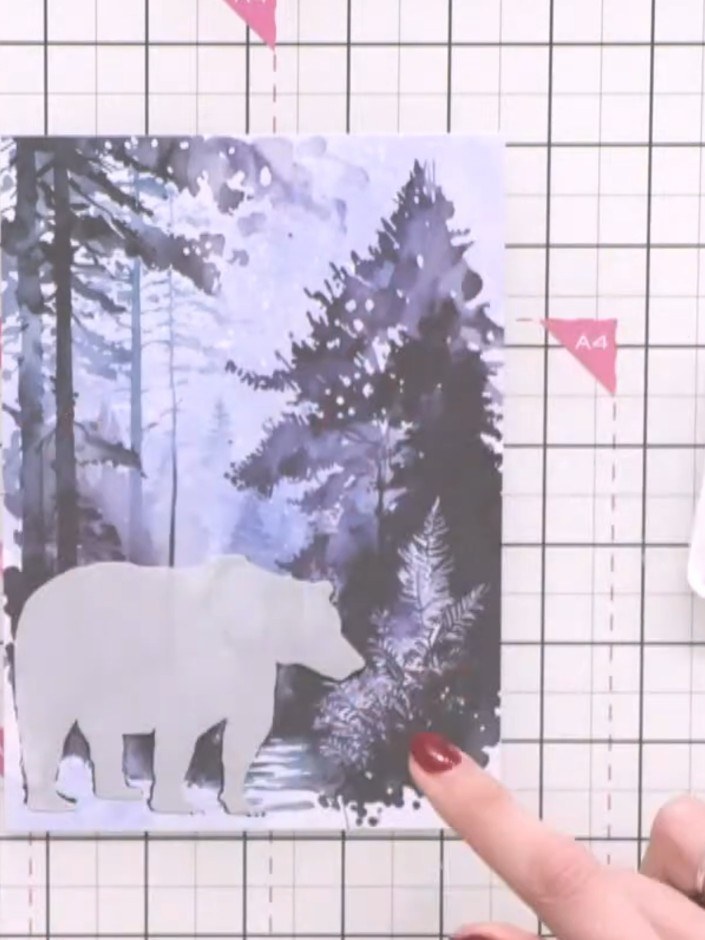
Position the coordinating mask over the stamped bear image on your card panel, ensuring it aligns correctly to cover the animal completely.
▶ watch this step (1:18:15)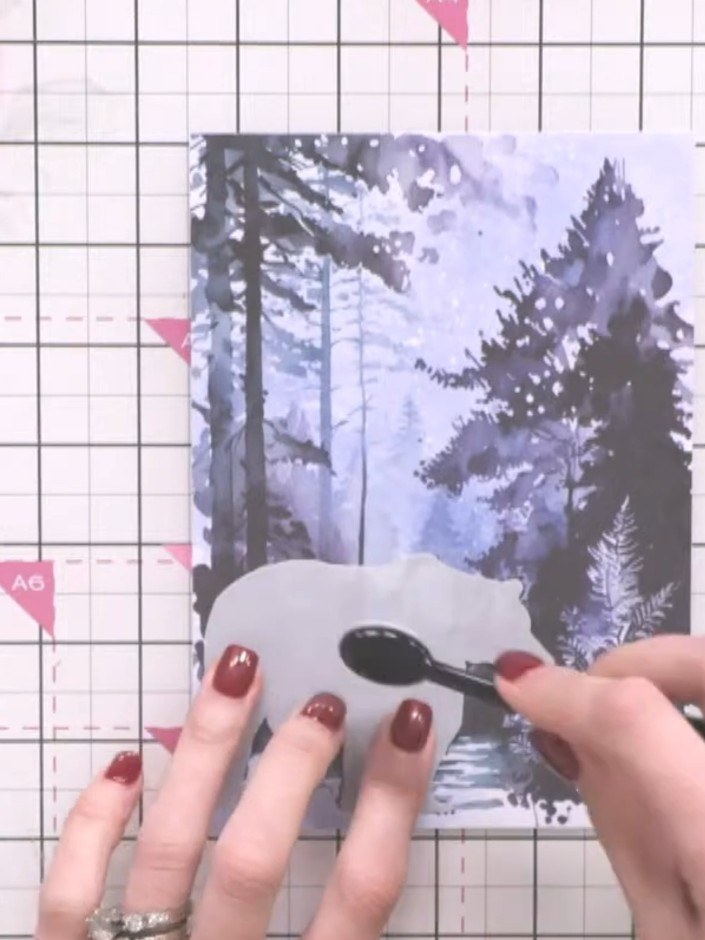
Secure the mask in place with low-tack tape if needed to prevent it from shifting whilst you work.
▶ watch this step (1:18:45)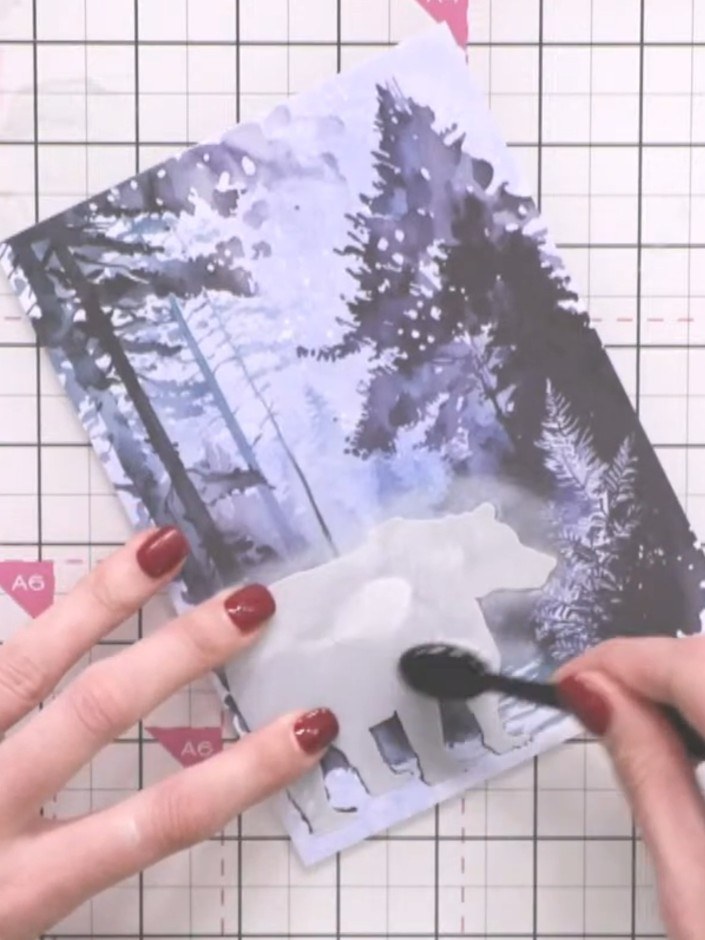
Using a white ink pad, gently tap around the edges of the mask to create a halo effect around the stamped animal image. This will help the animal stand out from the background.
▶ watch this step (1:19:00)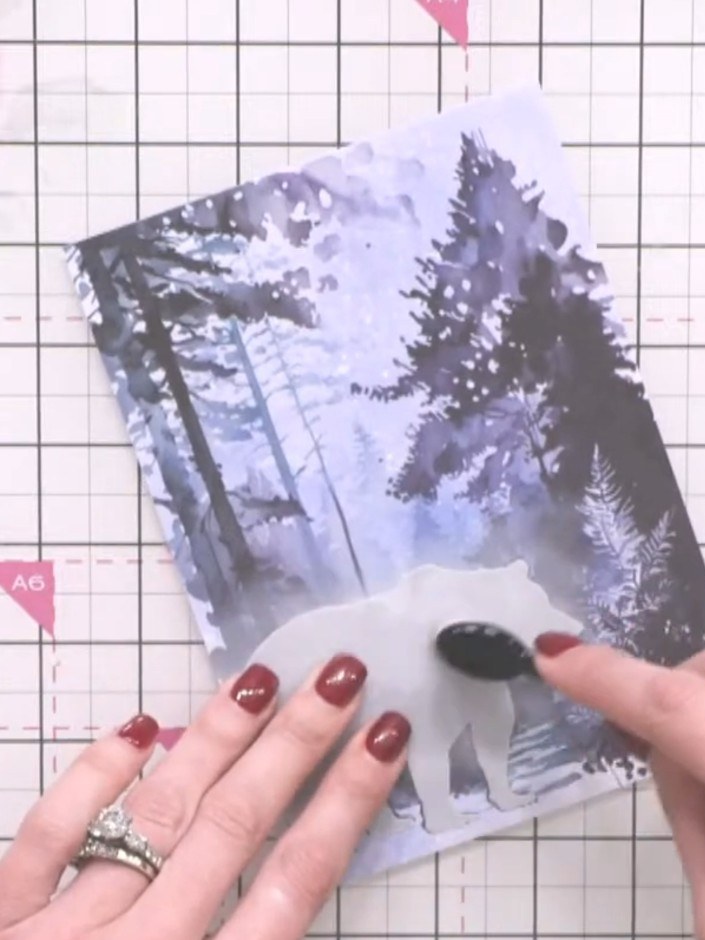
Blend white ink outward from the mask using a blending tool to create a soft, fading halo effect around the bear and forest scene.
▶ watch this step (1:19:30)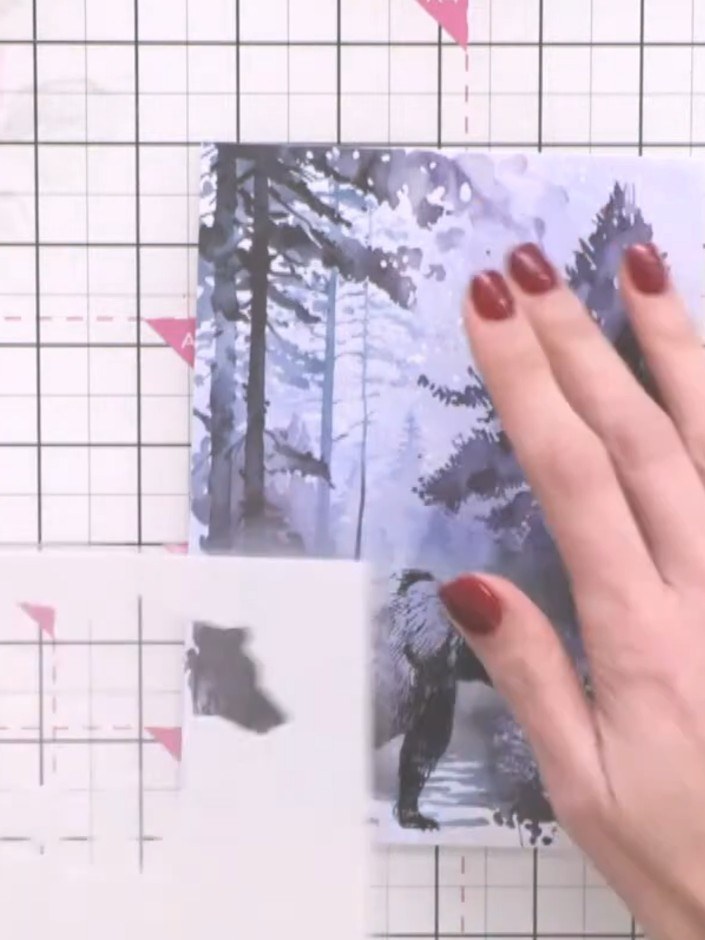
Carefully peel away and remove the masking paper from the card to reveal the bear with a striking white halo effect around it, making the animal stand out against the stamped forest background.
▶ watch this step (1:19:45)Written up from the show itself. See every guide from our shows · free how-to guides · watch live on My Telly