Give your friends $10 off their first order!
Refer a FRIEND








A project from our live show MIGHTY MONDAY - Join Toni for her detailed papercrafting sessions - Broadcast 20th Jan 2025 · 01/20/2025 · watch it from 37:30
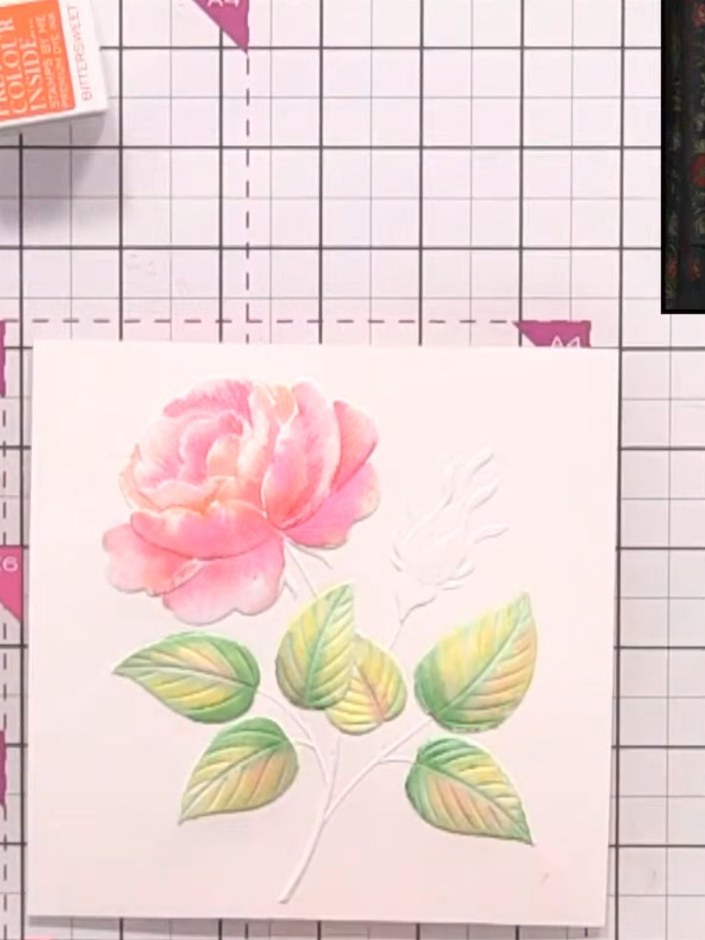
Create a stunning watercolour rose card featuring beautiful ombre effects on embossed flowers. Using a budding roses embossing folder and blended watercolours in pink, purple, yellow and green, you'll achieve a professional dimensional painted effect. The technique combines 3D embossing with colour gradation to create depth and visual interest.
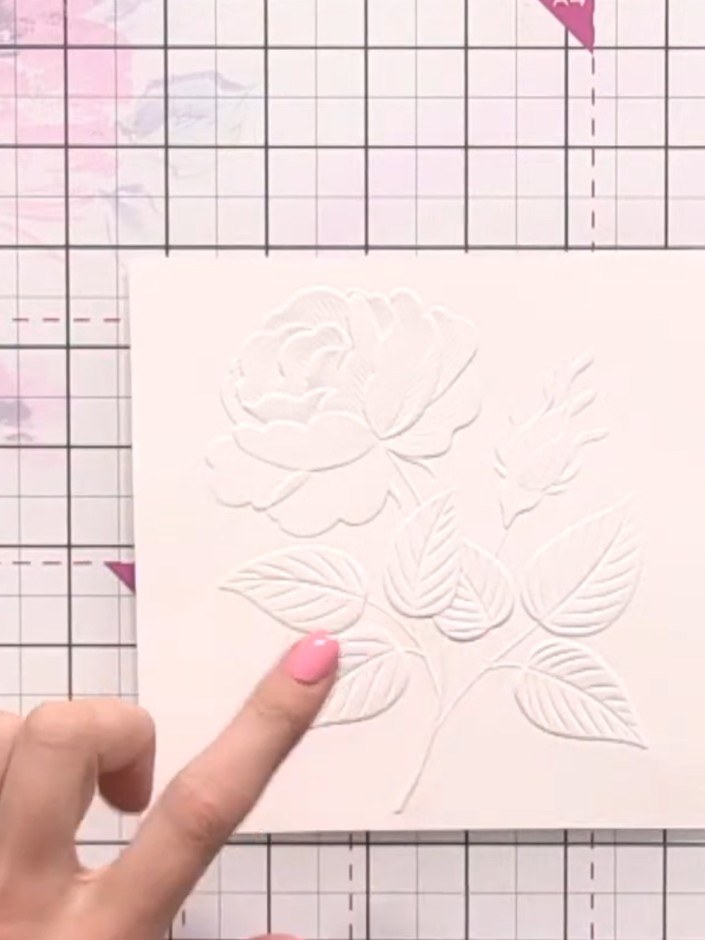
Cut your watercolour card stock to size and run it through your die-cutting machine with the budding roses embossing folder to create the raised floral design.
▶ watch this step (37:30)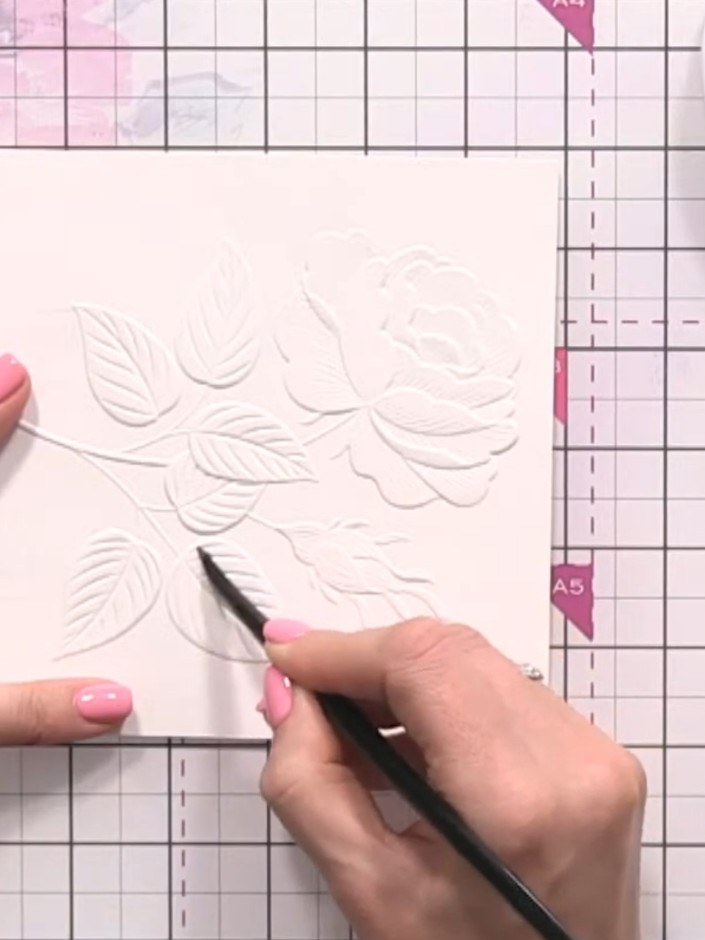
Paint the leaves first by wetting them with clean water using a brush, then drop in diluted yellow ink to create a soft watercolour effect.
▶ watch this step (38:00)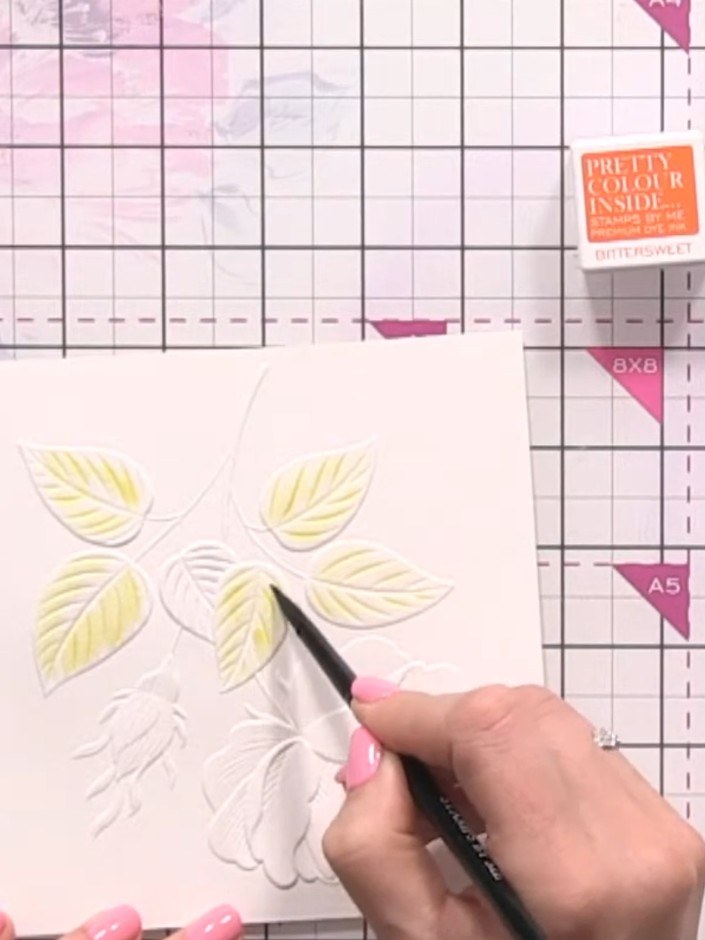
Add diluted green ink down the centre and edges of each leaf whilst the yellow is still wet, allowing the colours to blend together on the paper.
▶ watch this step (39:00)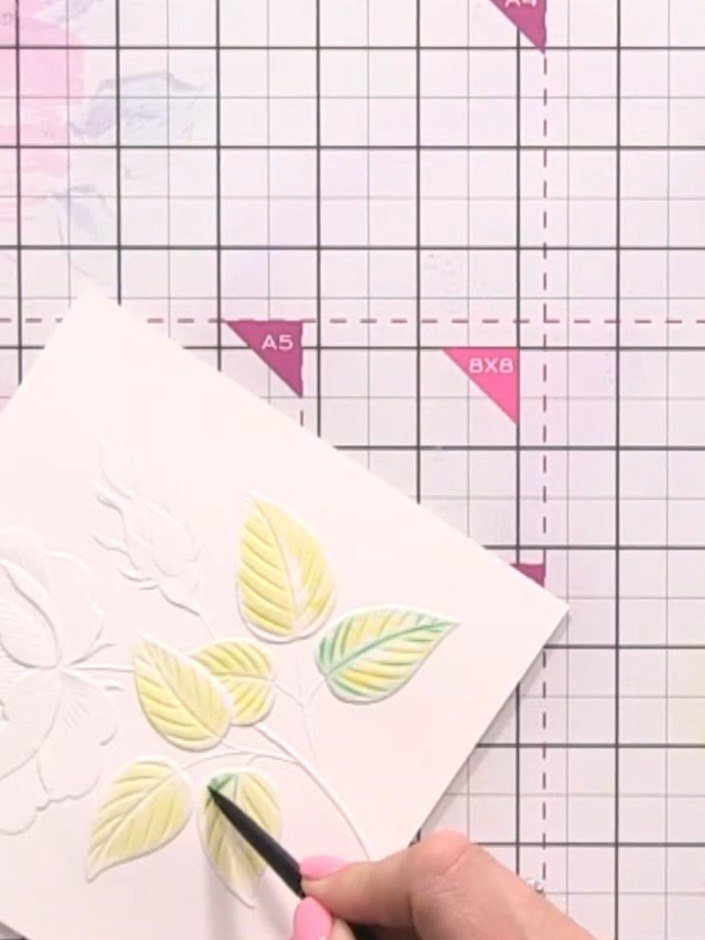
Add a touch of diluted orange to one side of the leaves using a fine brush to give them character and variation. Allow the colours to blend naturally on the watercolour paper.
▶ watch this step (40:30)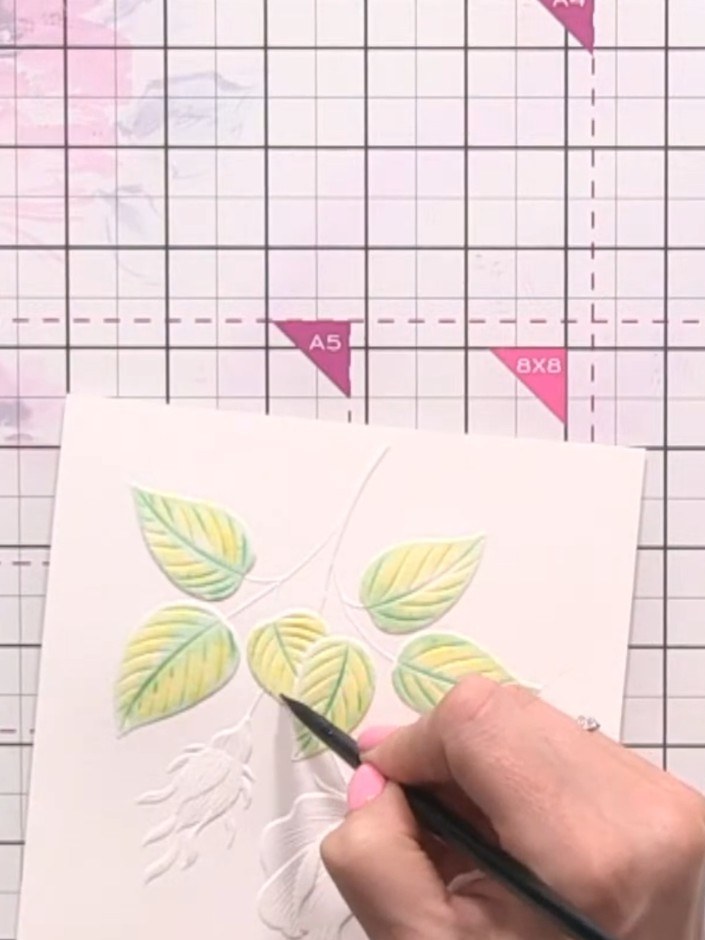
Add a slightly darker green shade to the root area and tips of the leaves to intensify the colour and create depth.
▶ watch this step (42:00)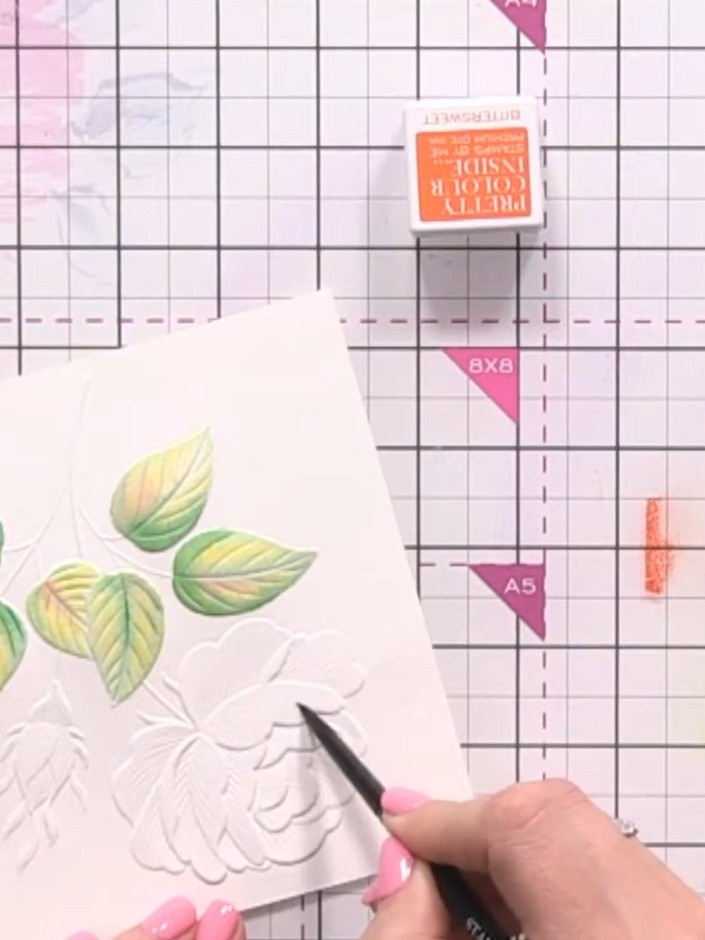
Using a clean water brush, wet the first rose petal. Then apply diluted orange ink to the base of the petal and down both the left and right edges.
▶ watch this step (46:00)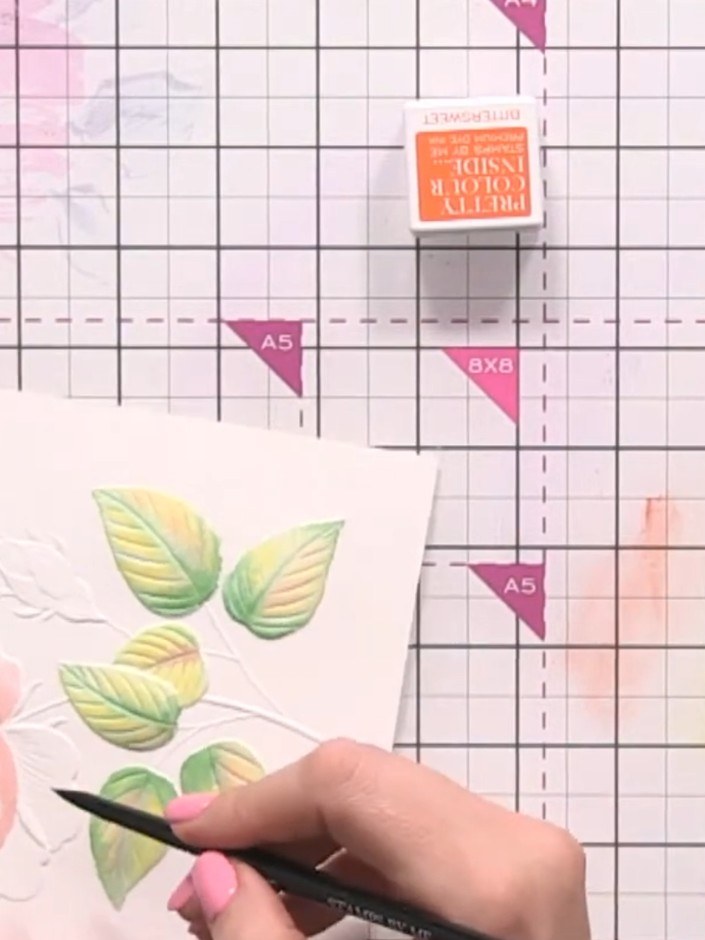
Repeat the water and orange watercolour technique on non-connecting petals to prevent colours bleeding into each other. Work on petals that are separated from the ones you've already coloured.
▶ watch this step (47:30)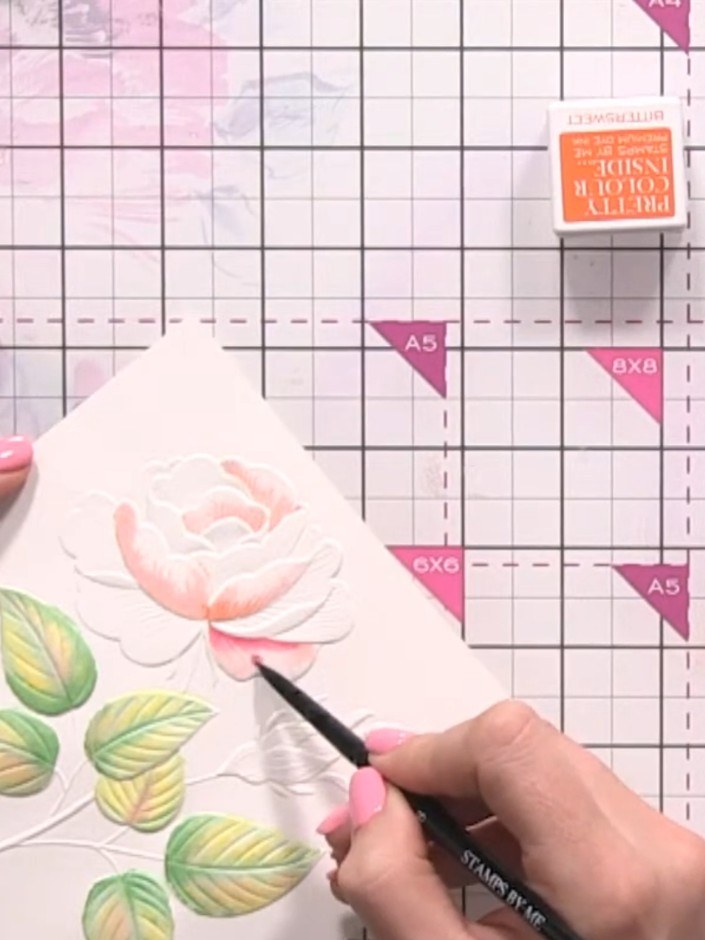
Using a fine brush or pen, drop diluted pink ink into the centre and base of the orange rose petals to create an ombre effect. Work carefully to blend the pink with the existing orange tones.
▶ watch this step (48:30)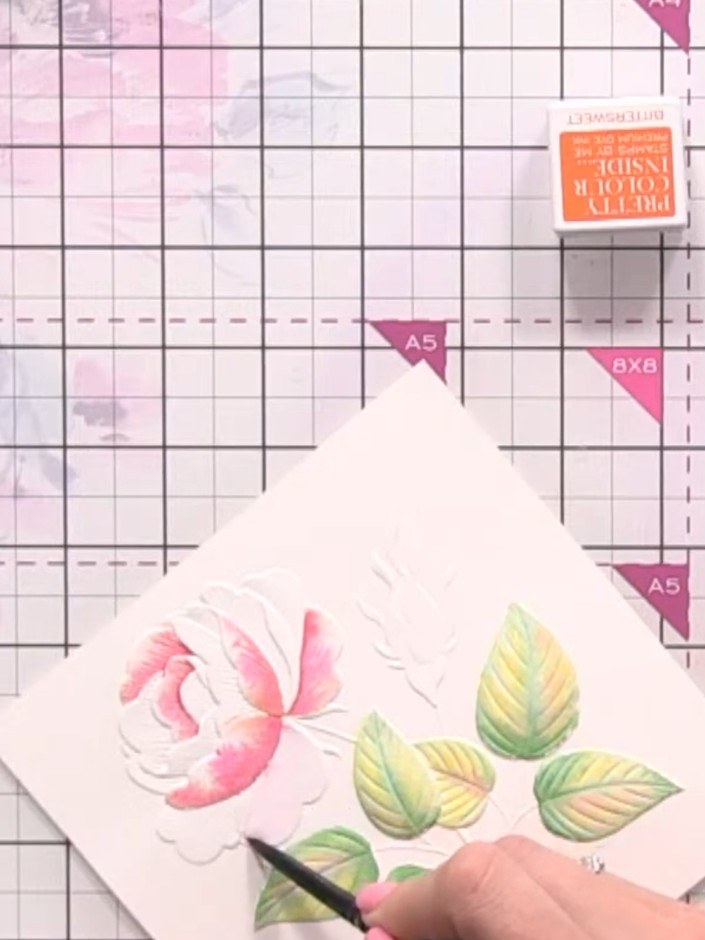
Using a wet brush with orange watercolour, add colour to the base of additional petals on the embossed design. Keep the colour away from the petal tips, allowing them to remain lighter for a natural ombre effect.
▶ watch this step (50:00)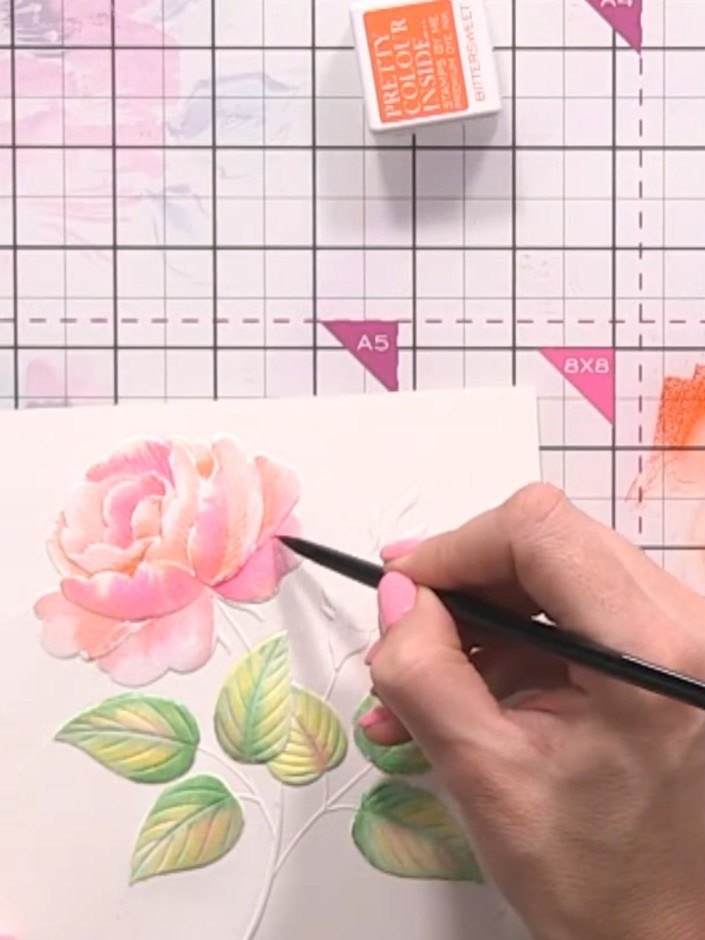
Using a fine brush or pen, add darker pink tones to the base areas of the rose petals where shadows would naturally occur to create depth and dimension.
▶ watch this step (53:00)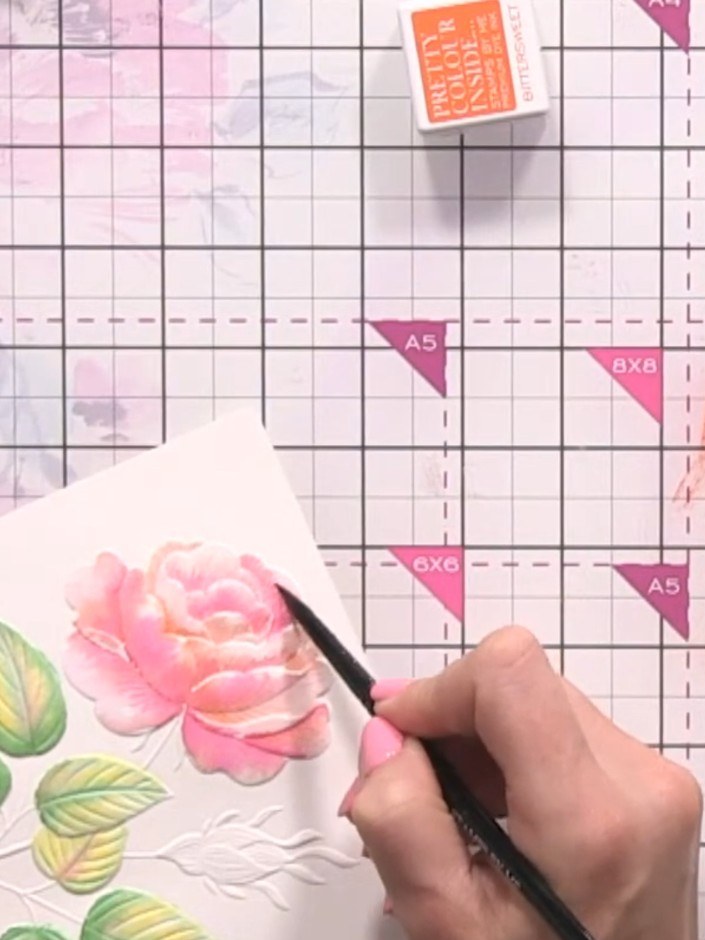
Soften any harsh lines by using a damp brush to gently pounce over the edges of the watercoloured areas, blending the colours together for a smooth ombre effect.
▶ watch this step (54:15)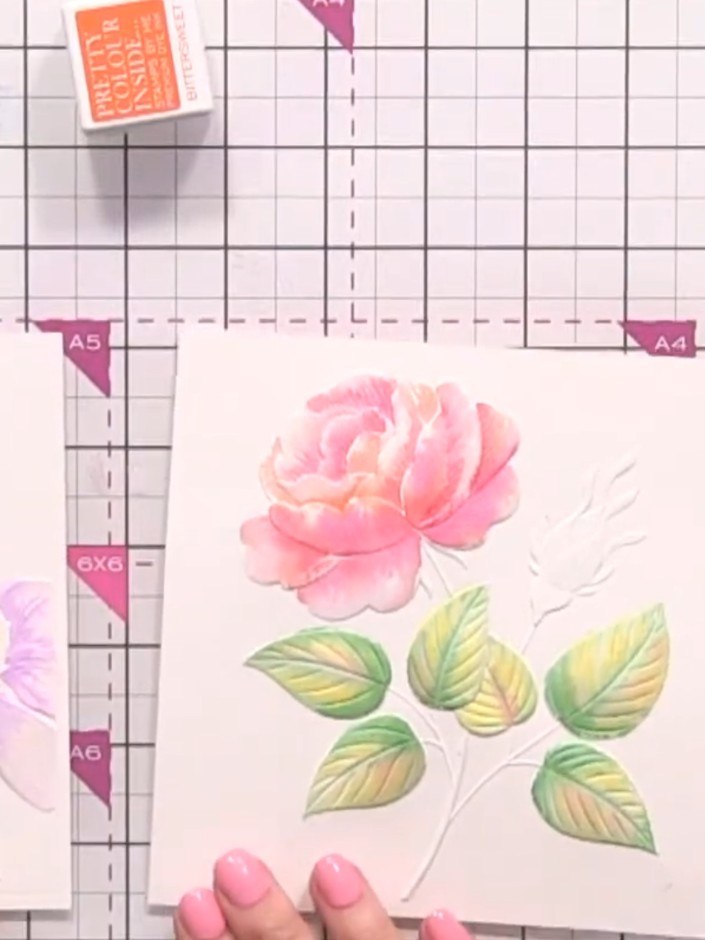
Allow the watercoloured embossed panels to dry completely. Once dry, trim each panel and mount onto your card base to complete your project.
▶ watch this step (55:30)Written up from the show itself. See every guide from our shows · free how-to guides · watch live on My Telly
