Give your friends $10 off their first order!
Refer a FRIEND








A project from our live show ONE DAY SPECIAL - Join Toni for her brand new launch - Broadcast 6th Feb 2025 · 02/06/2025 · watch it from 31:30
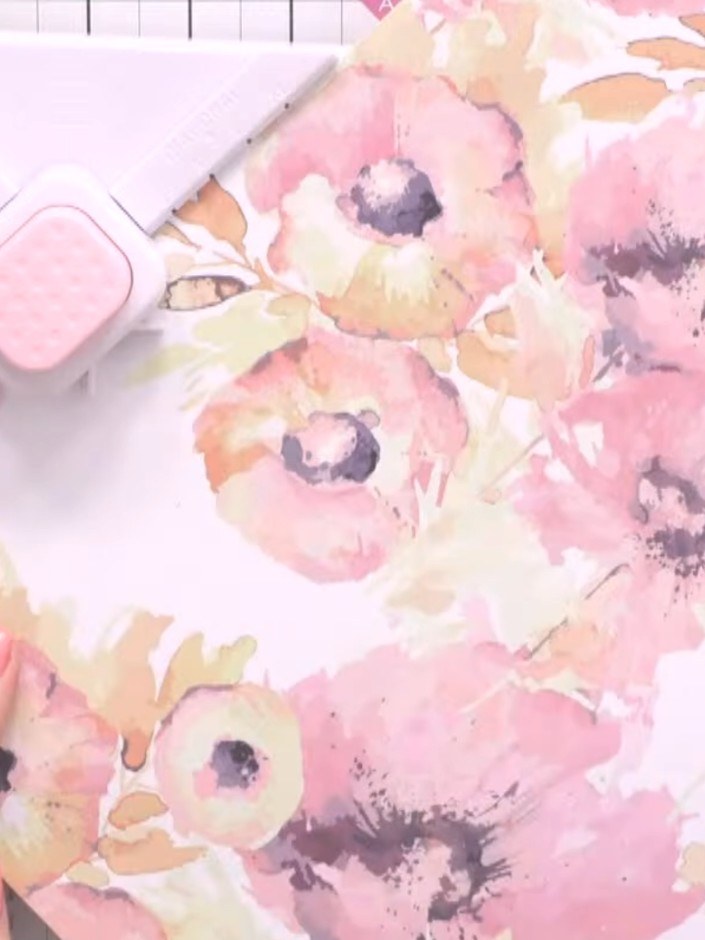
Create a beautiful 11x11 envelope from standard 12x12 patterned paper, perfect for larger handmade cards or as a decorative wallet insert. This project features soft pink watercolour florals with text overlay, and uses simple scoring and folding techniques to transform a square sheet into a functional envelope. The finished piece is both practical and pretty, making it ideal for special occasions or as part of a mini album.
 Stamps By Me Creative Tool Bundle 180424ASEE IT
 Stamps By Me All Surfaces Paper Bundle - Mosaic Moments, Golden Frantage - 240125BSEE IT
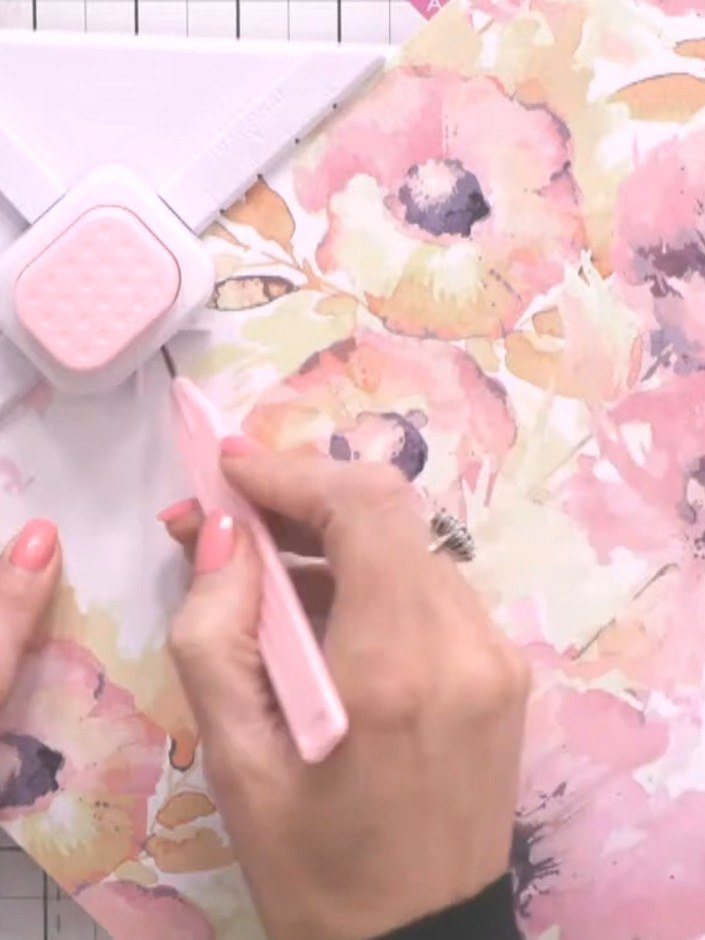
Take a 12x12 inch sheet of decorative paper and trim it down to 11x11 inches using your guillotine or paper trimmer.
▶ watch this step (31:45)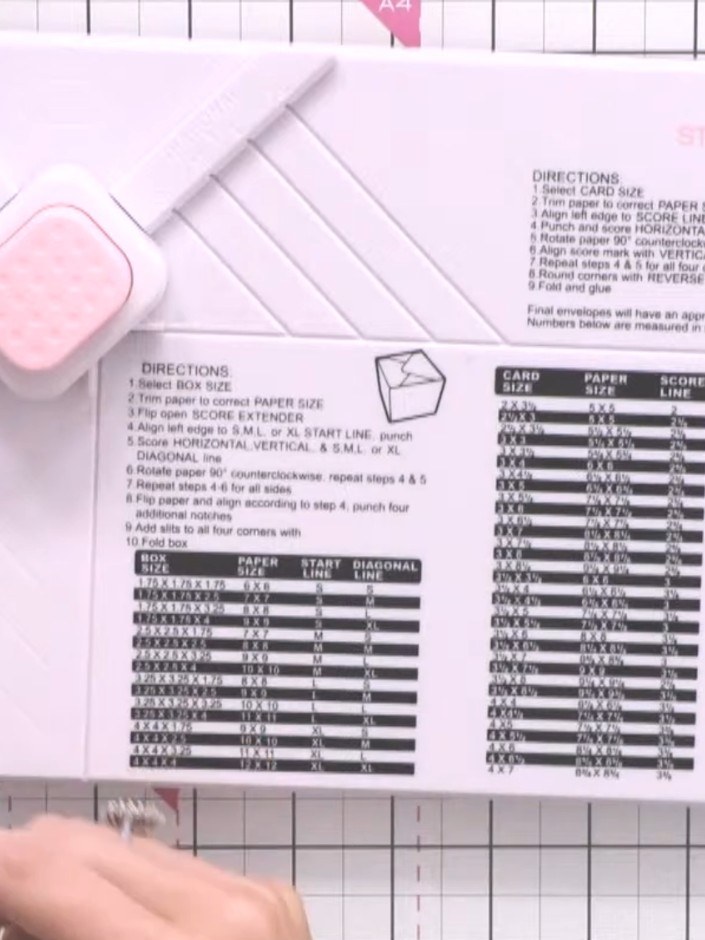
Consult the scoreboard on your envelope punch board to find the 11x11 size. Identify the corresponding score line number, which is four and a half.
▶ watch this step (32:00)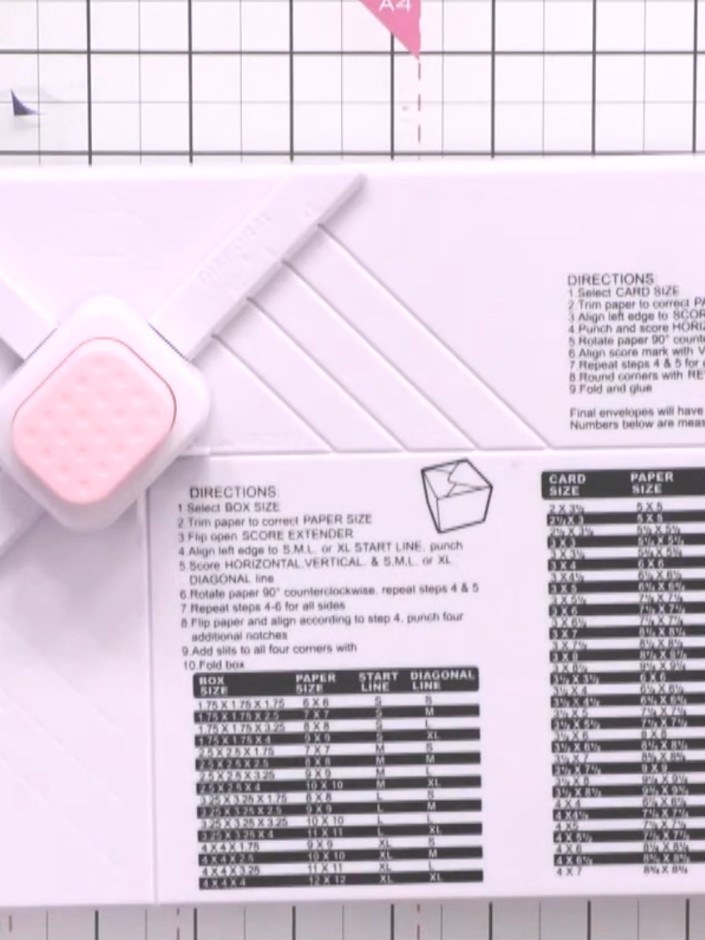
Line up your 11x11 paper with the 4.5 inch marking on the scoreboard to prepare for scoring.
▶ watch this step (32:15)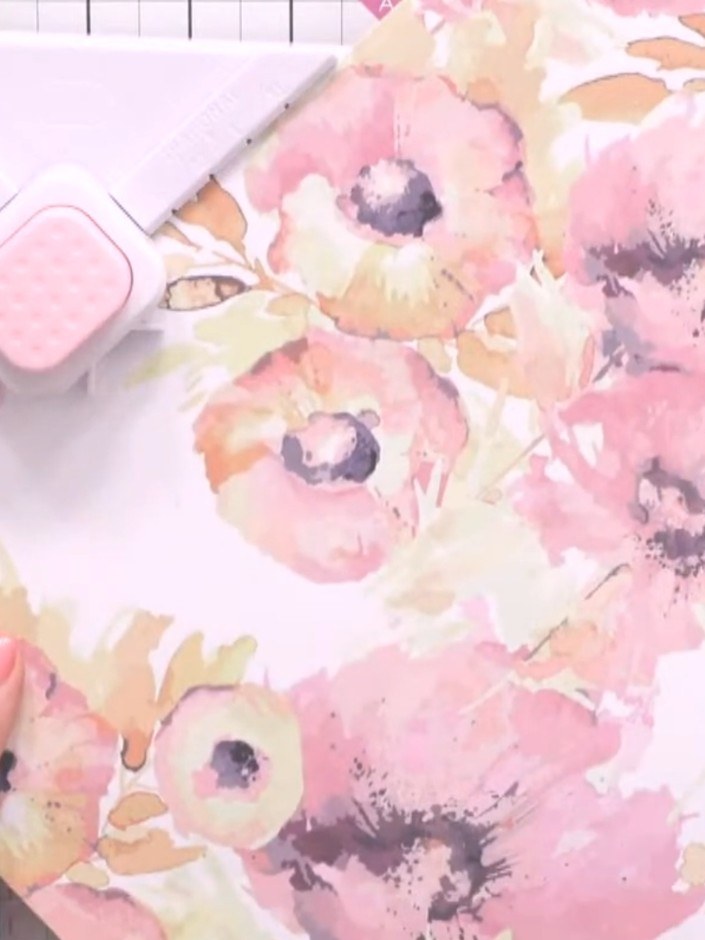
Use the score tool to score down the full length of the paper at the 4.5-inch mark.
▶ watch this step (32:30)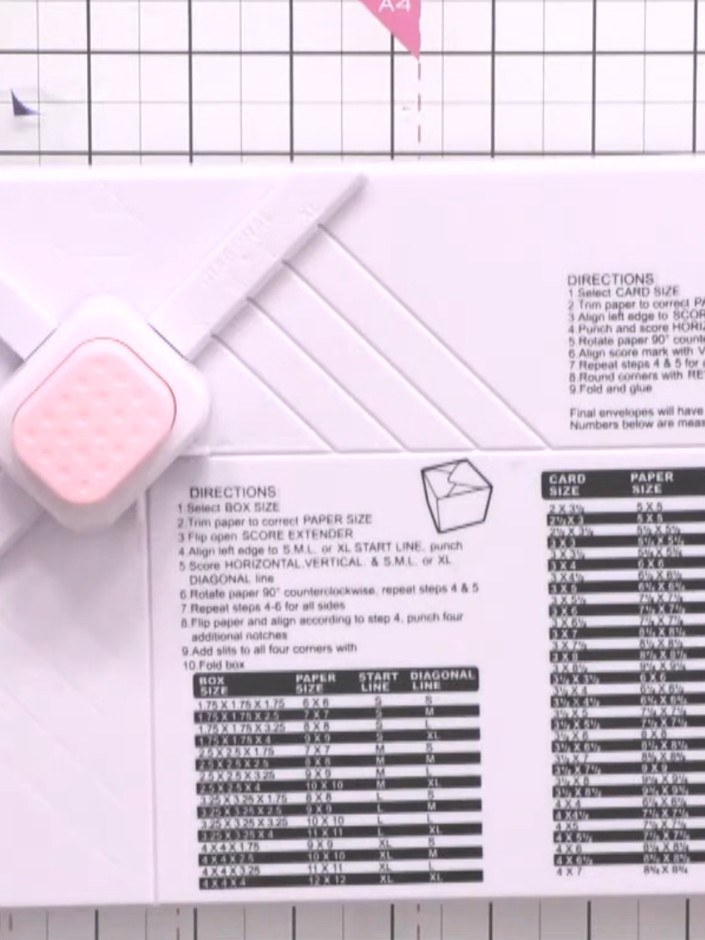
Extend the scoreboard arm and position the paper using the reference chart. Mark the diagonal score line at the 4 and 4 position on the chart.
▶ watch this step (32:45)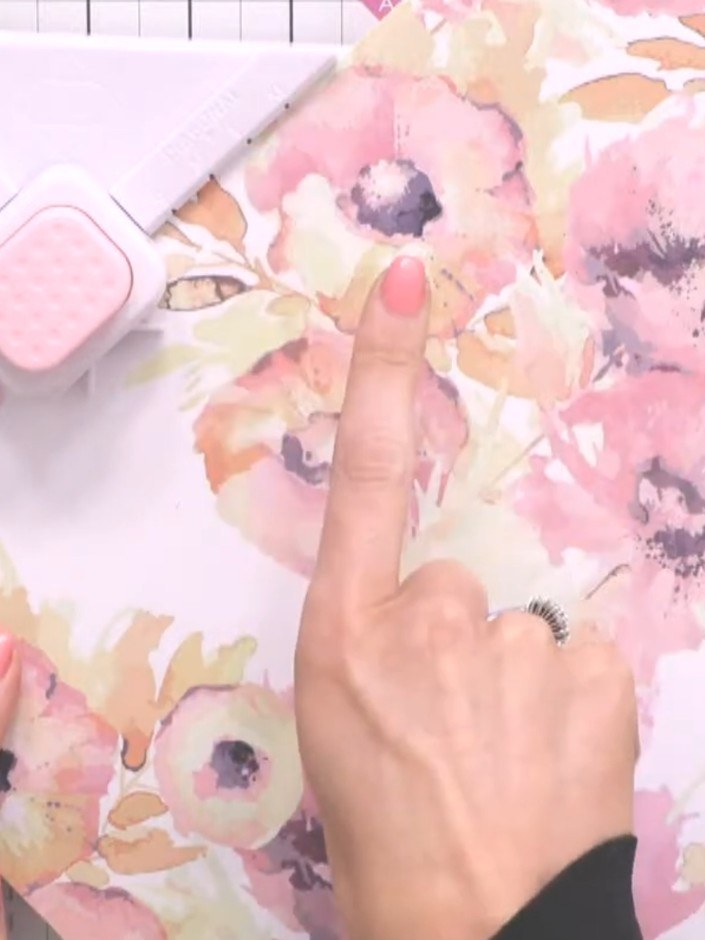
Twist the paper and line the score line back up with the corresponding line on the scoreboard to ensure accurate alignment.
▶ watch this step (33:00)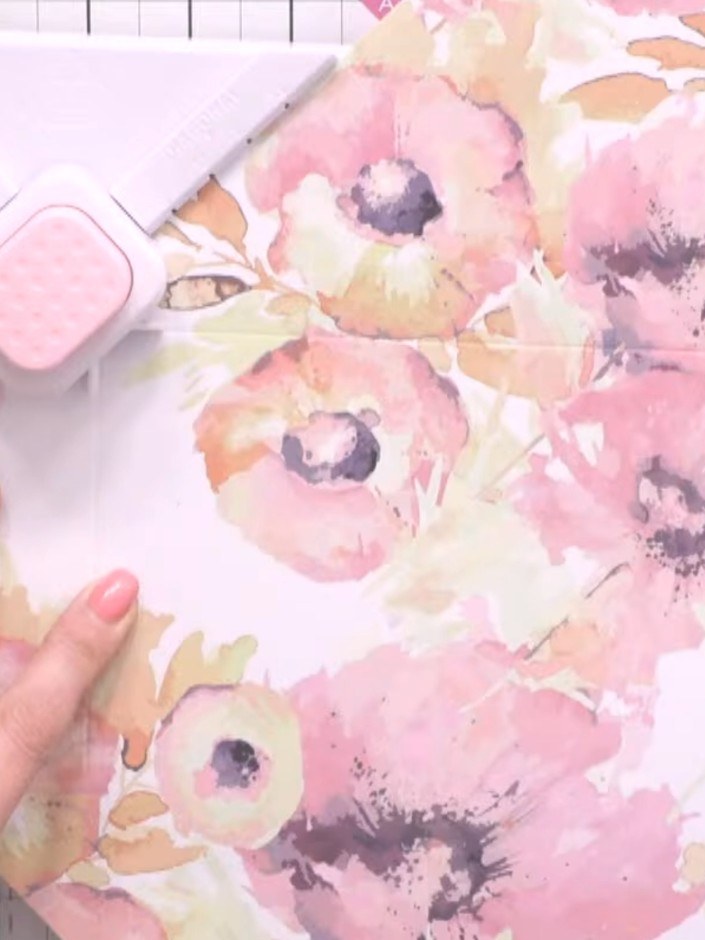
Score across the paper at the same measurement as before. Punch the score line again with the scoring tool to ensure clean fold lines for your envelope.
▶ watch this step (33:15)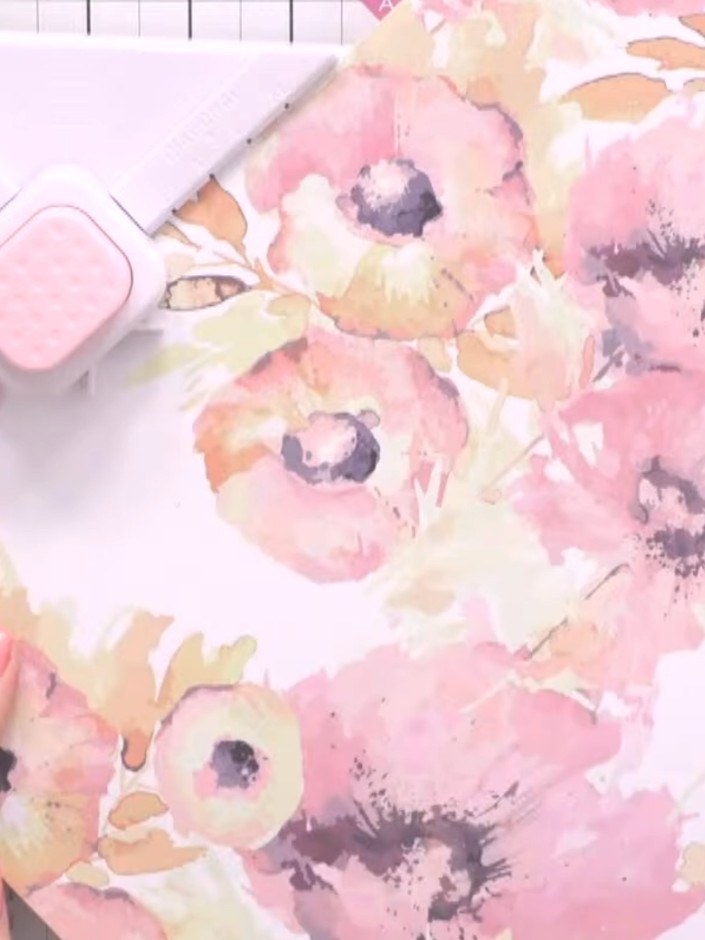
Fold all sides of the floral paper along the score lines to form the envelope shape. Press firmly along each fold to create crisp creases.
▶ watch this step (33:30)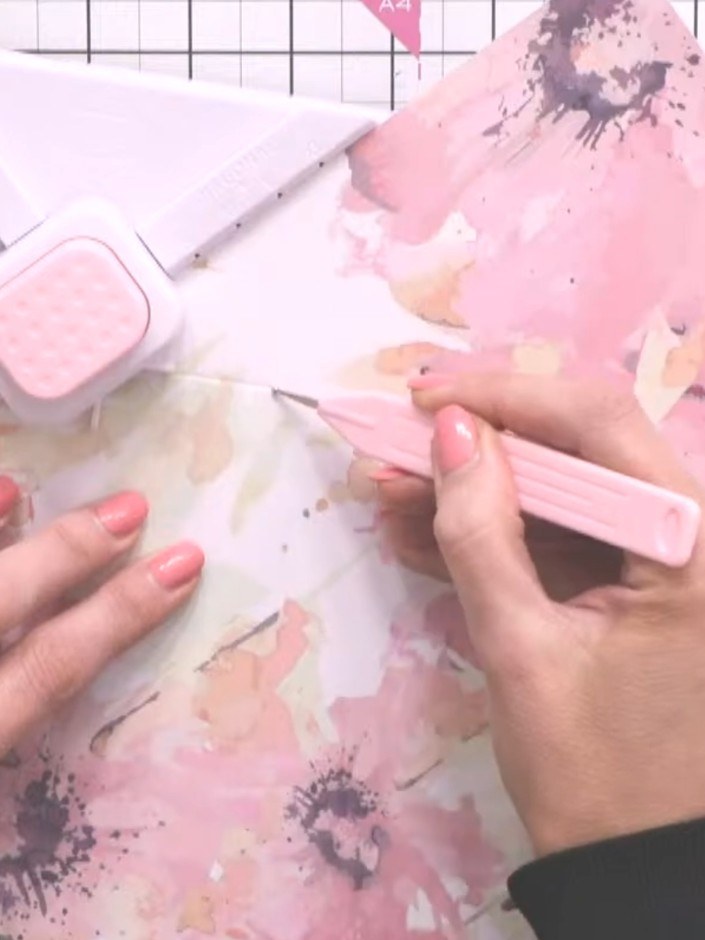
Using the pink bone folder, tape the sides of the envelope together securely. Press firmly along the scored lines to ensure the adhesive holds the floral patterned paper in place.
▶ watch this step (33:45)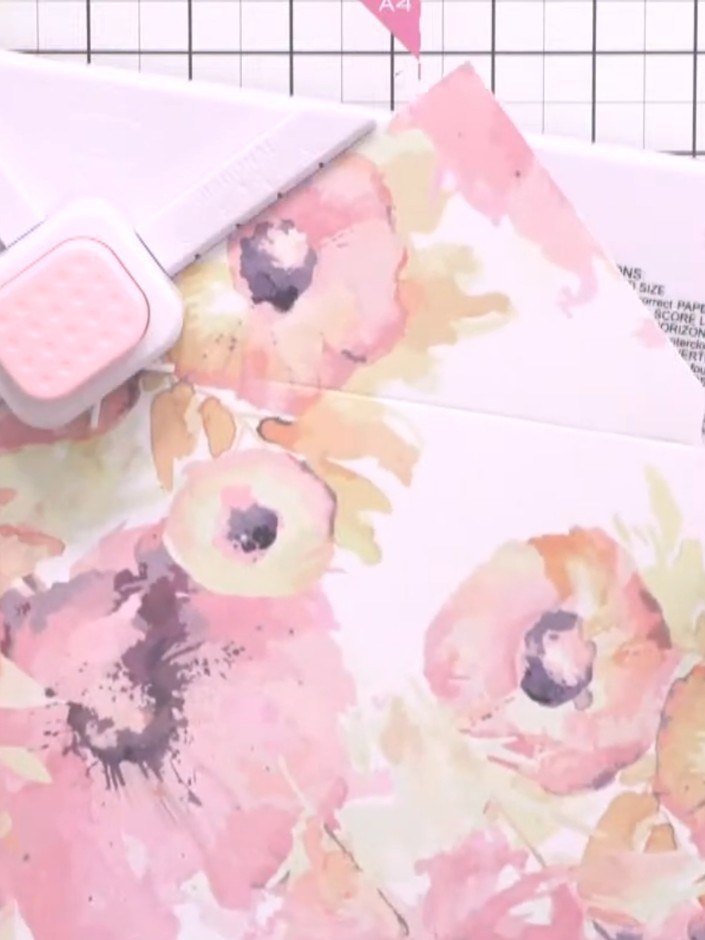
Use the corner rounder tool on the pointed flap of the envelope to create a curved top edge.
▶ watch this step (34:00)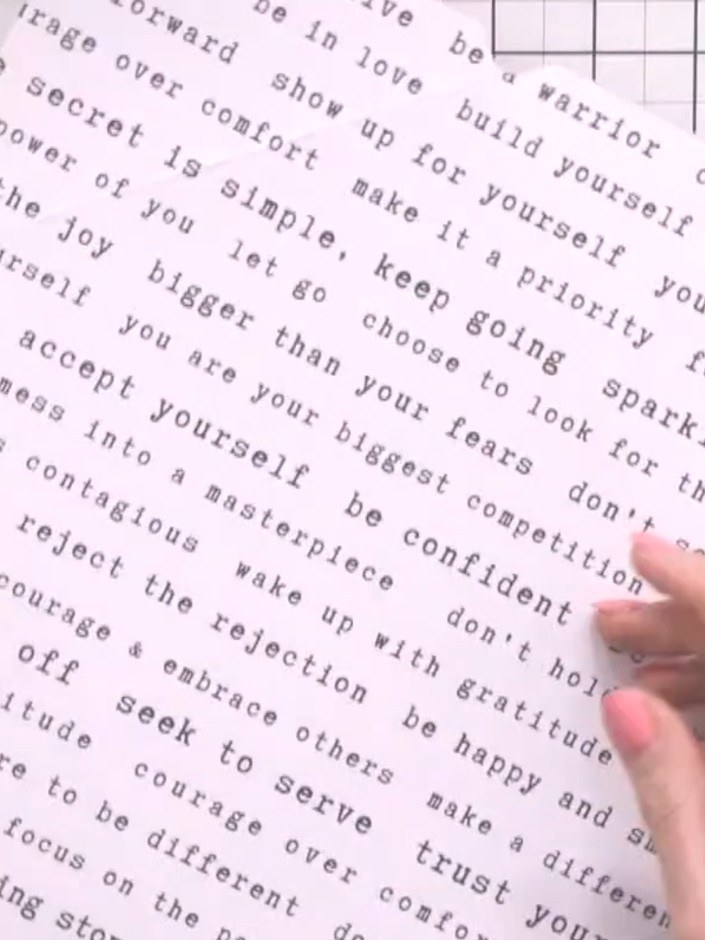
Optionally fold the bottom flap of the envelope inward to create a tidier appearance.
▶ watch this step (34:15)Written up from the show itself. See every guide from our shows · free how-to guides · watch live on My Telly