Give your friends $10 off their first order!
Refer a FRIEND








A project from our live show ONE DAY SPECIAL - Join Toni for her brand new launch - Broadcast 6th Feb 2025 · 02/06/2025 · watch it from 37:15
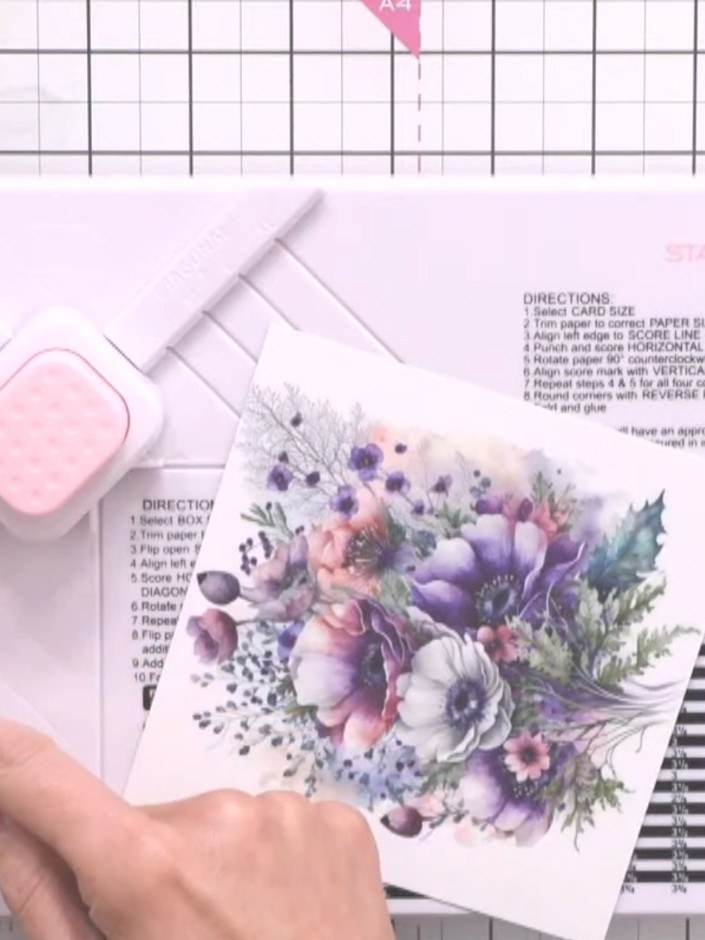
Create a charming 6x6 inch envelope from coloured card stock, perfect for presenting gift cards or small handmade greetings. This project uses a scoreboard and envelope maker tool to achieve crisp folds and a professionally rounded flap. The finished envelope features a soft grey colour that coordinates beautifully with floral designs.
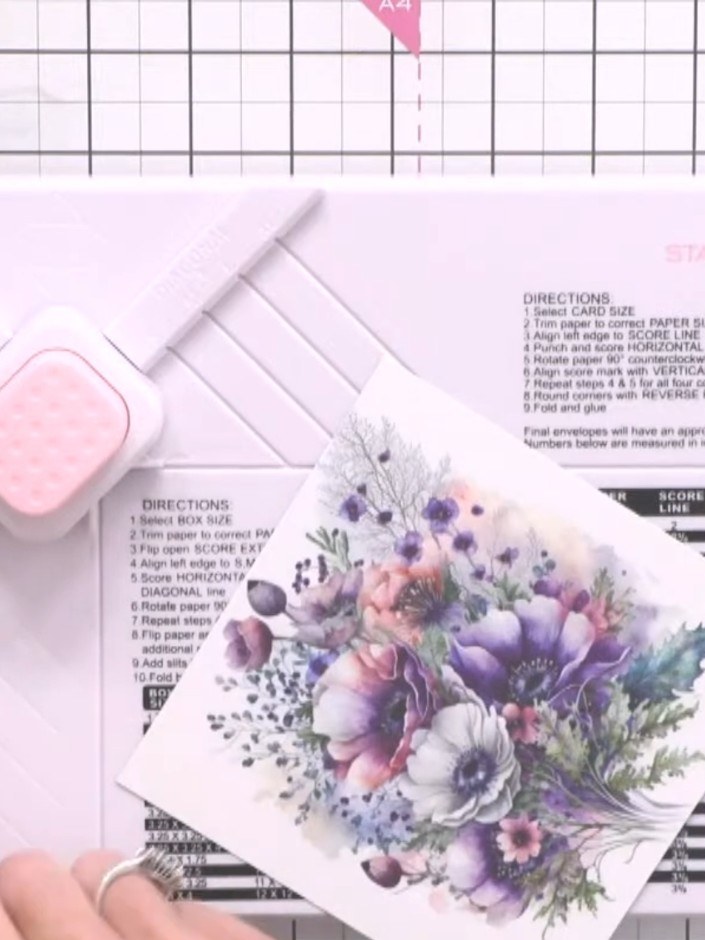
Select a 6x6 inch piece of coloured card stock from your stash. This will be used to create your envelope base.
▶ watch this step (37:30)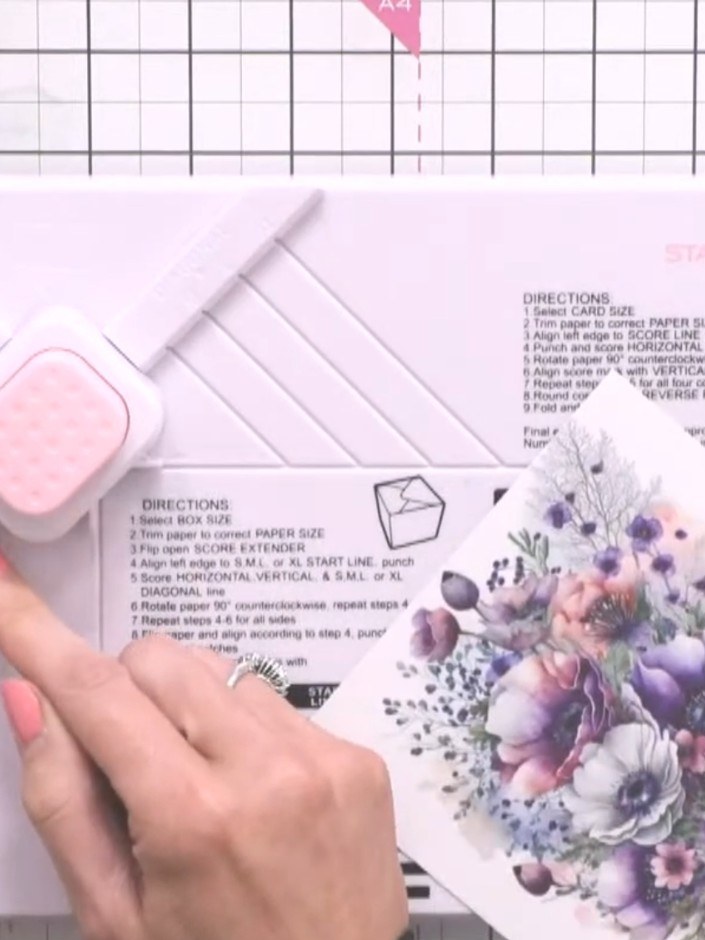
Refer to the scoreboard on your envelope template to locate the 6x6 card size. Note the corresponding score line measurement, which is number three on the chart.
▶ watch this step (37:45)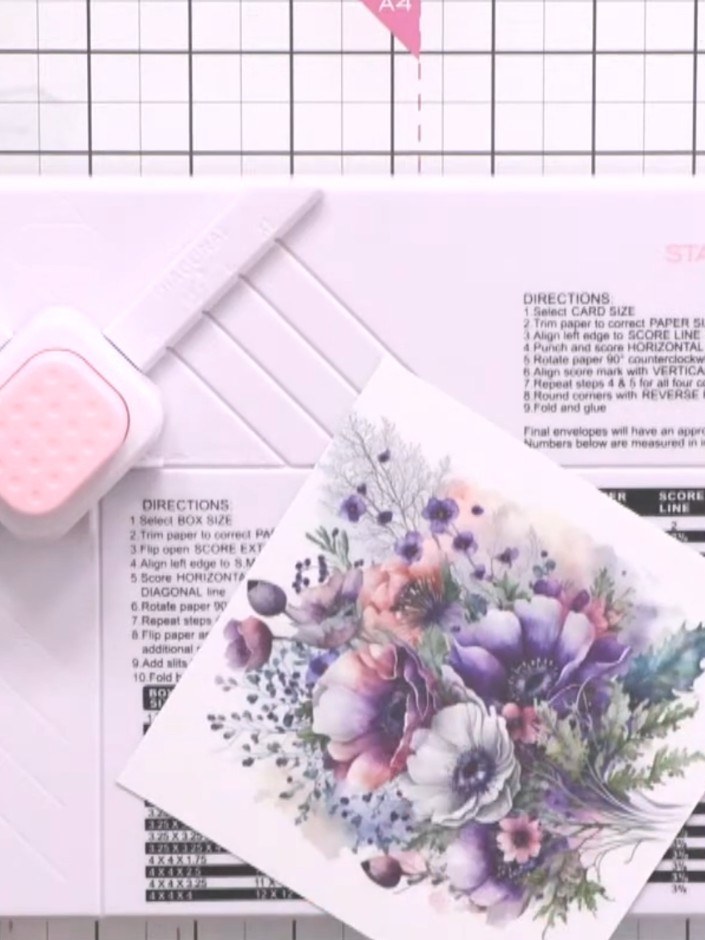
Place your card stock on the scoreboard and align the left edge with the number 3 marking on the board.
▶ watch this step (38:00)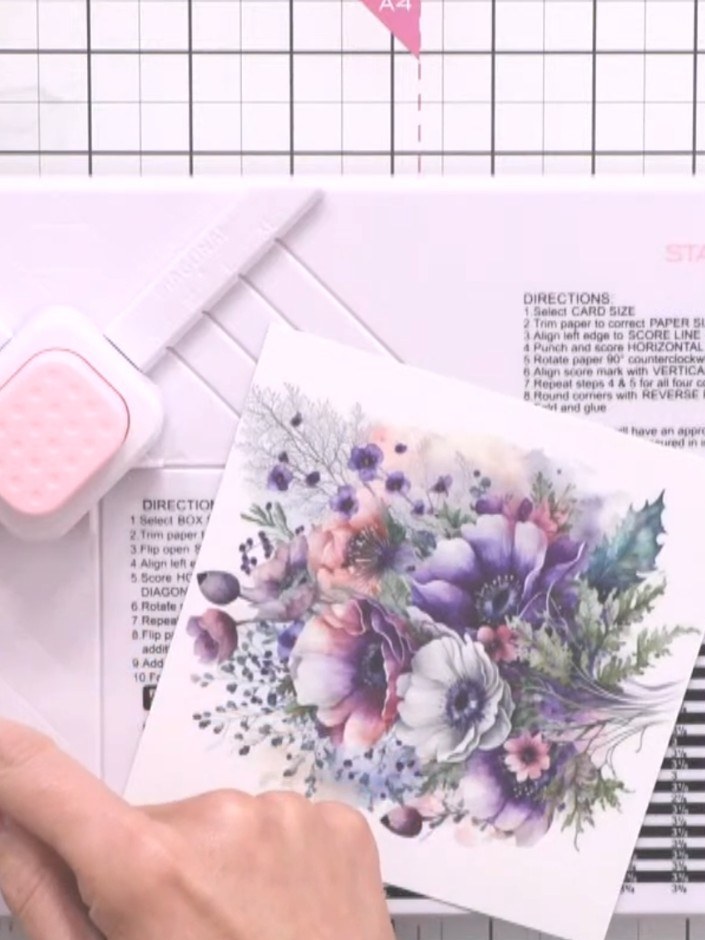
Use the score tool to score down the length of the card. Then score across at the marked horizontal line to create the envelope fold lines.
▶ watch this step (38:15)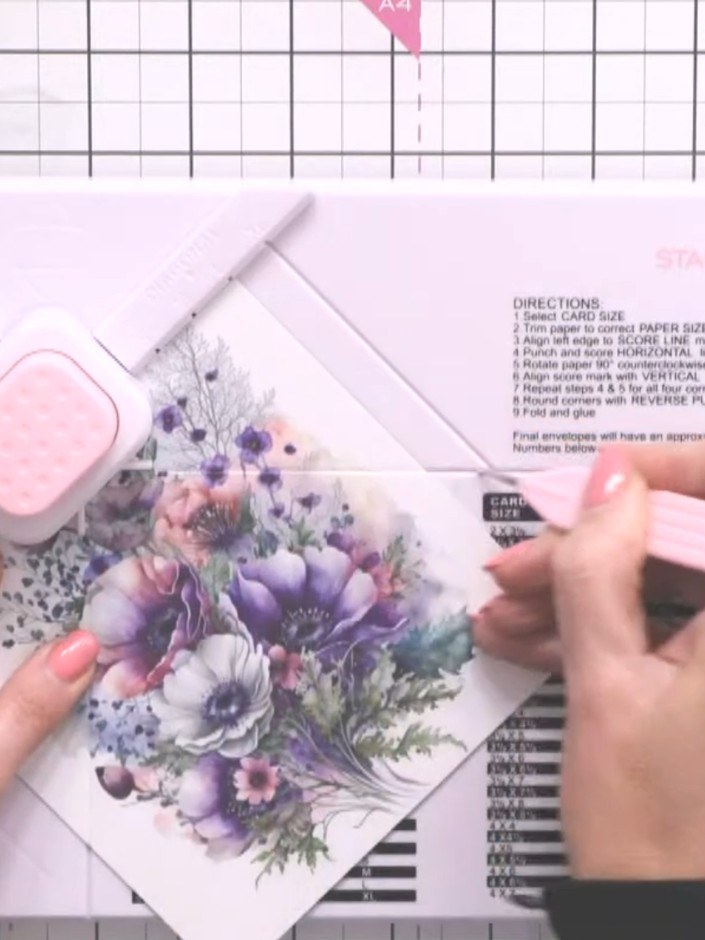
Punch the card at the designated point marked on the scoreboard to create the hole for the envelope closure.
▶ watch this step (38:30)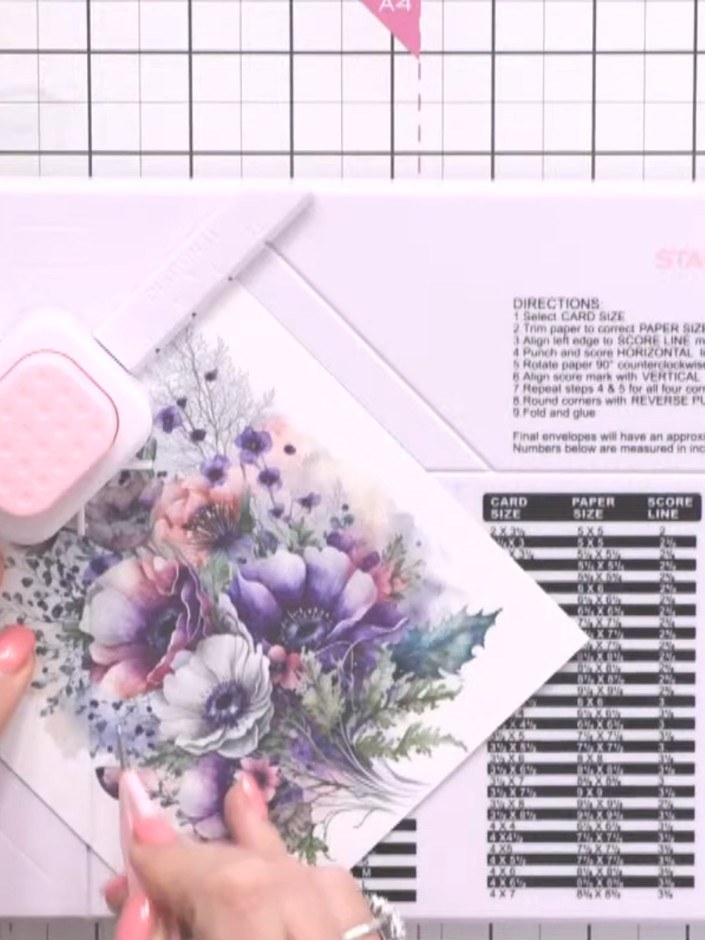
Twist the envelope and line the score line back up with the corresponding line on the scoreboard.
▶ watch this step (38:45)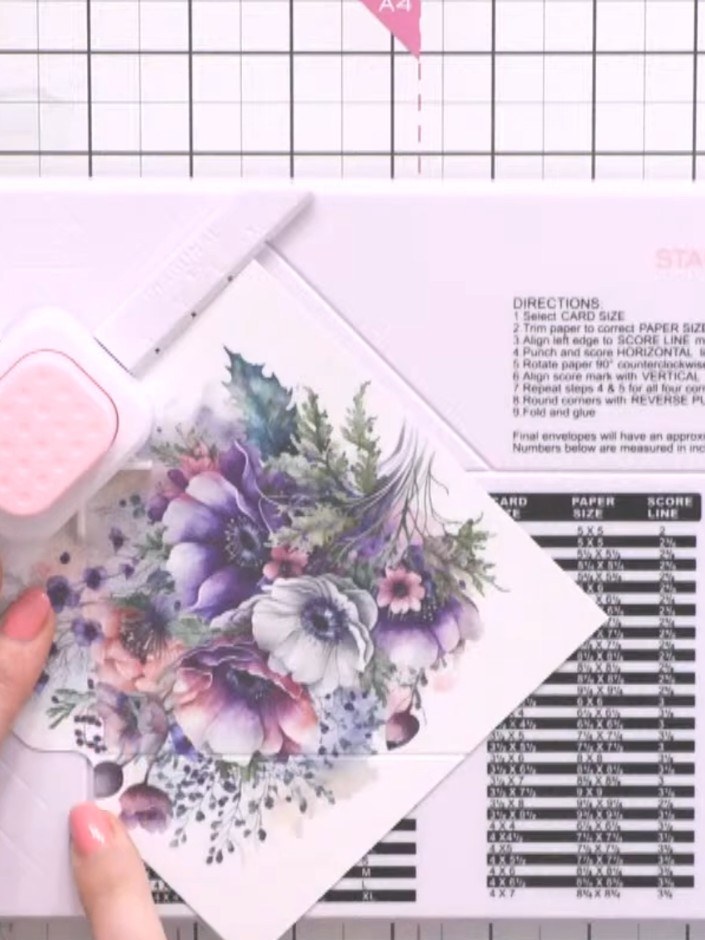
Align the score line with the vertical line on the scoring board and score across horizontally. Punch the envelope again to complete the scoring pattern.
▶ watch this step (39:00)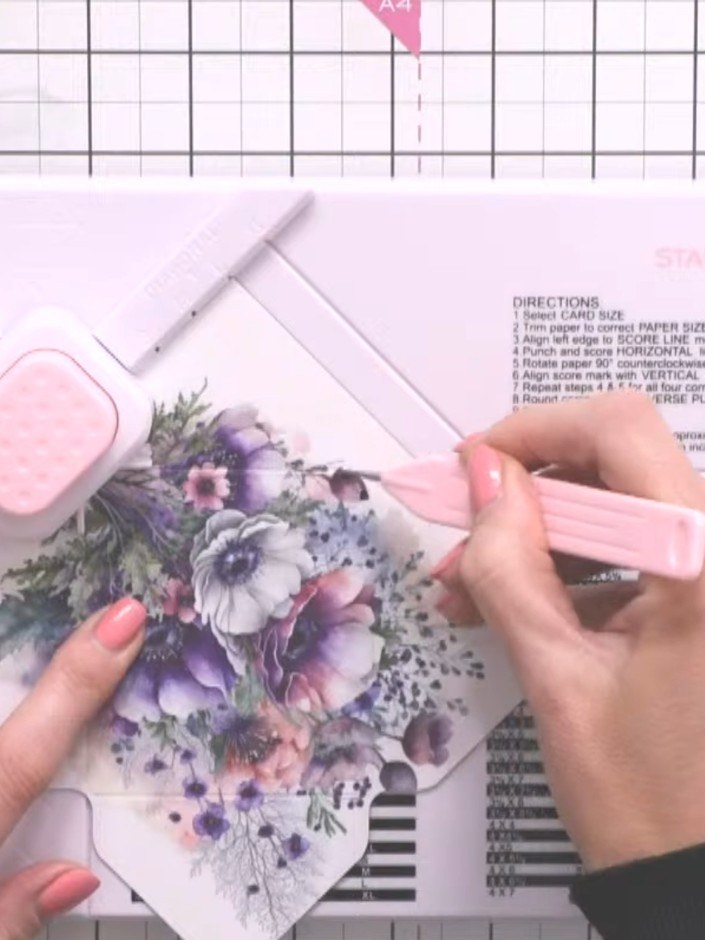
Fold up the sides of the envelope along the score lines using a bone folder to create crisp creases.
▶ watch this step (39:15)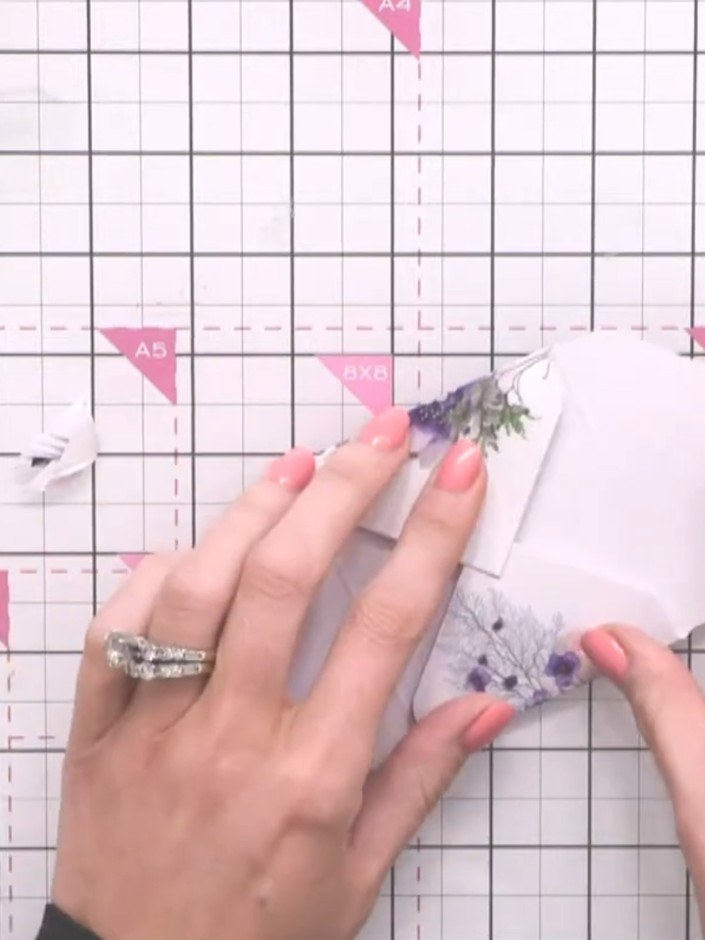
Fold in the side flaps of the envelope and secure them with double-sided tape to create the envelope shape.
▶ watch this step (39:30)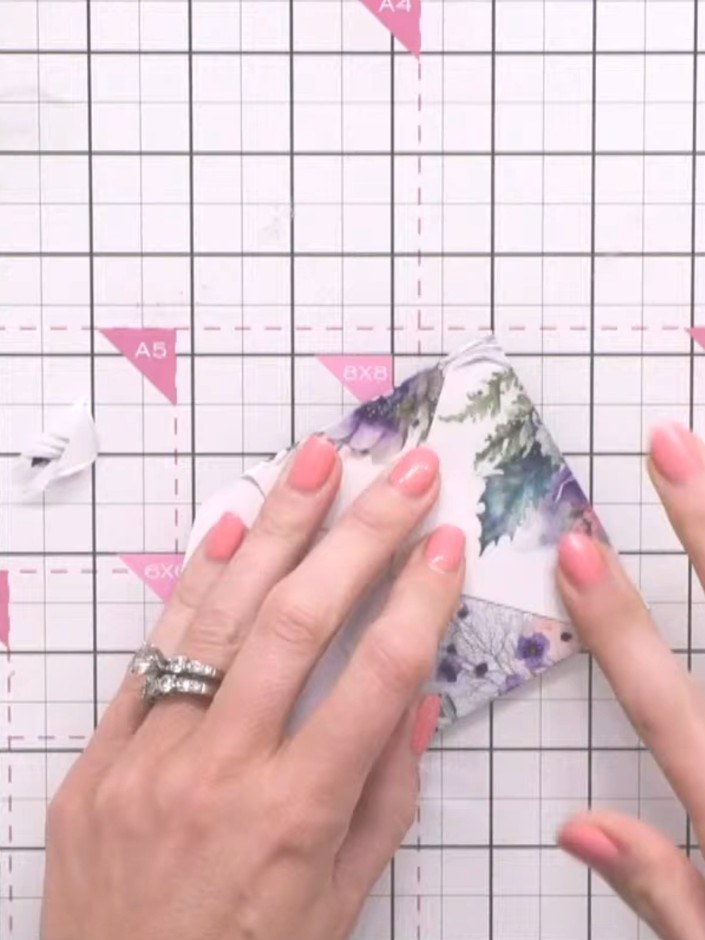
Insert the pointed flap of the envelope into the corner rounder tool to create a curved top edge.
▶ watch this step (39:45)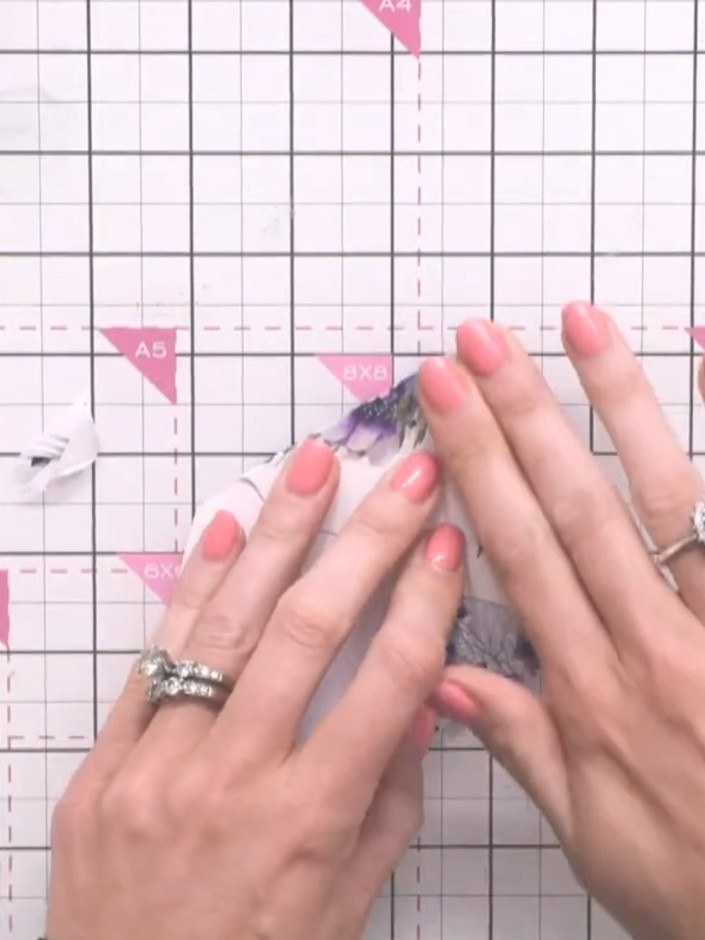
For a neater finish, fold the bottom flap of the envelope inward before sealing.
▶ watch this step (40:00)Written up from the show itself. See every guide from our shows · free how-to guides · watch live on My Telly
