Give your friends $10 off their first order!
Refer a FRIEND








Prices change straight away. Every language is our own translation, not Google.
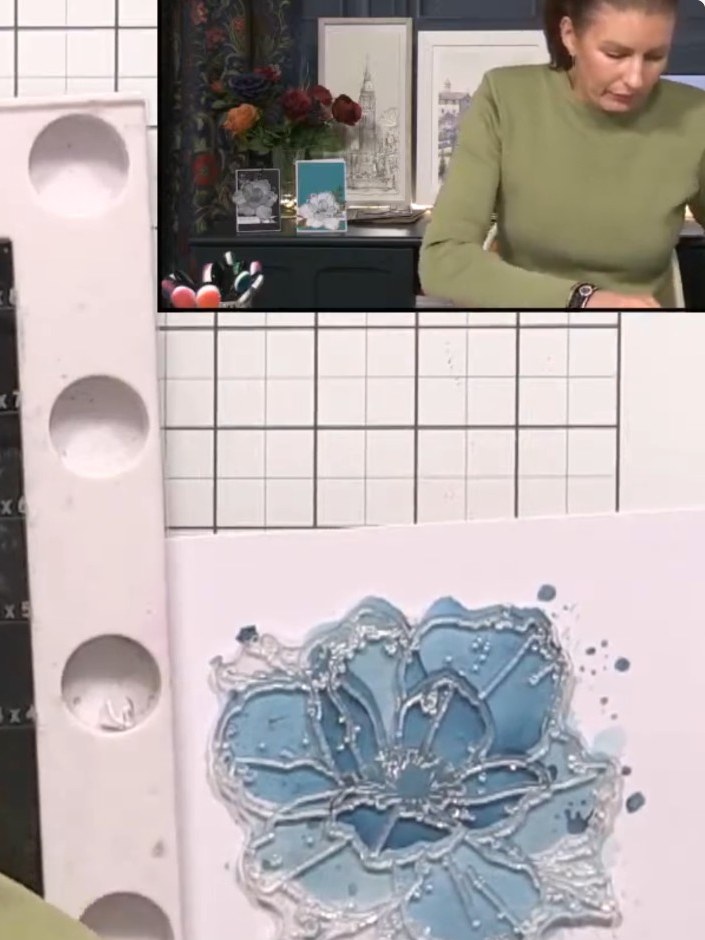
A project from our live show Create Together Club - 5 Days of Creativity - Broadcast Wednesday 12TH Feb 2025 · 02/12/2025
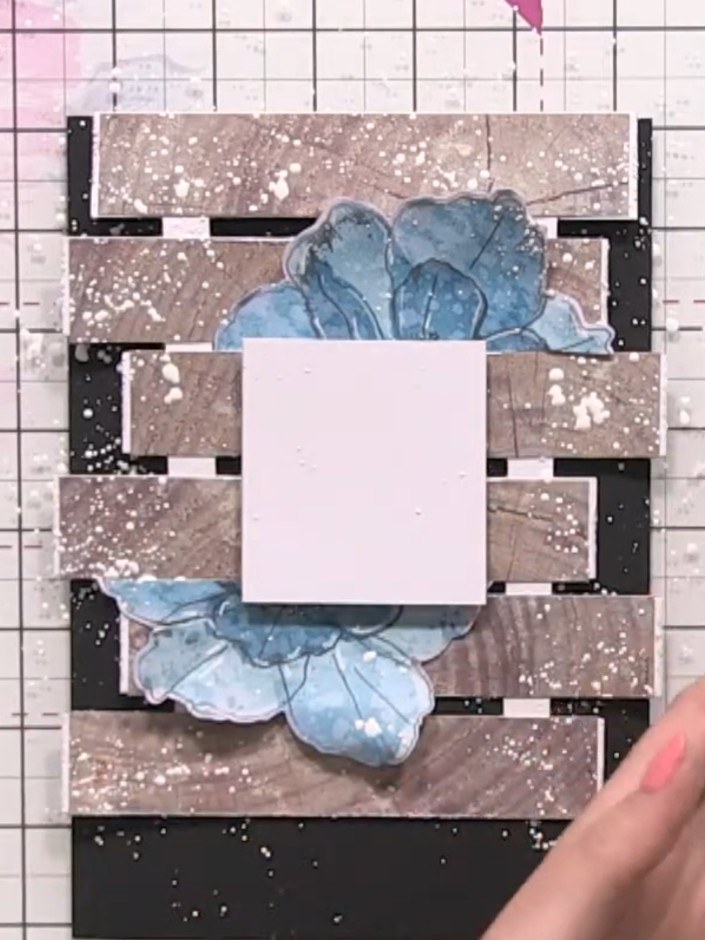
Create a rustic greeting card featuring a wooden fence-like panel effect with a distressed, watercoloured flower on top. The layered wood strips in rose gold tones create dimension whilst the blue flower is aged with water and white ink to give a weathered, coastal aesthetic. This card combines stamping, stencilling and distressing techniques for a vintage-inspired finish.
 1
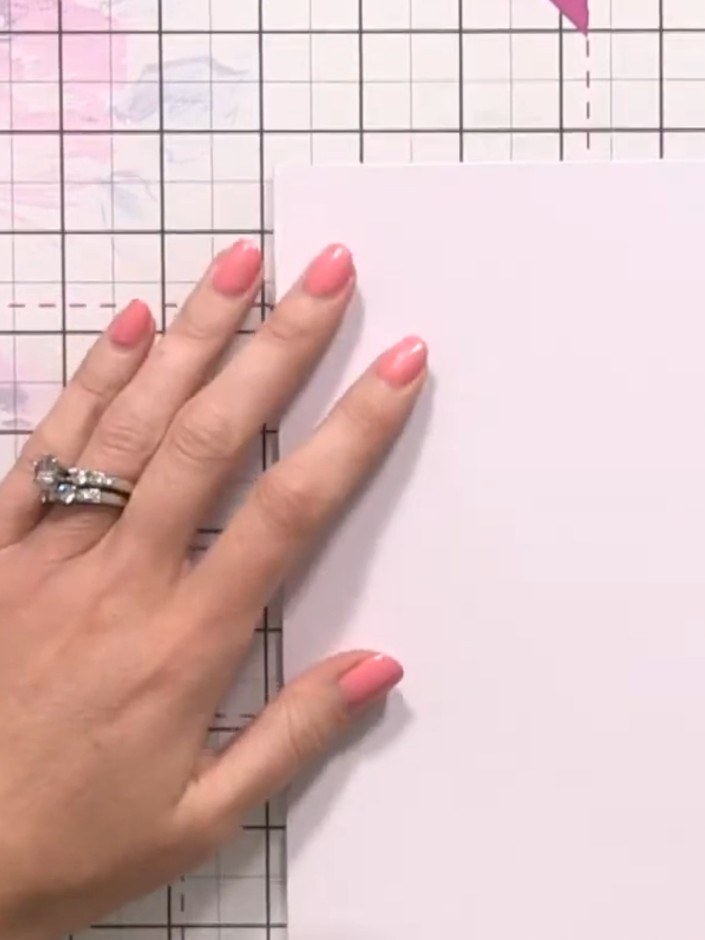
Cut a side-folding card blank in half and score it to create a top-folding note card. Tape the cut piece inside at the top to hide the hinge and reinforce the fold.
 2
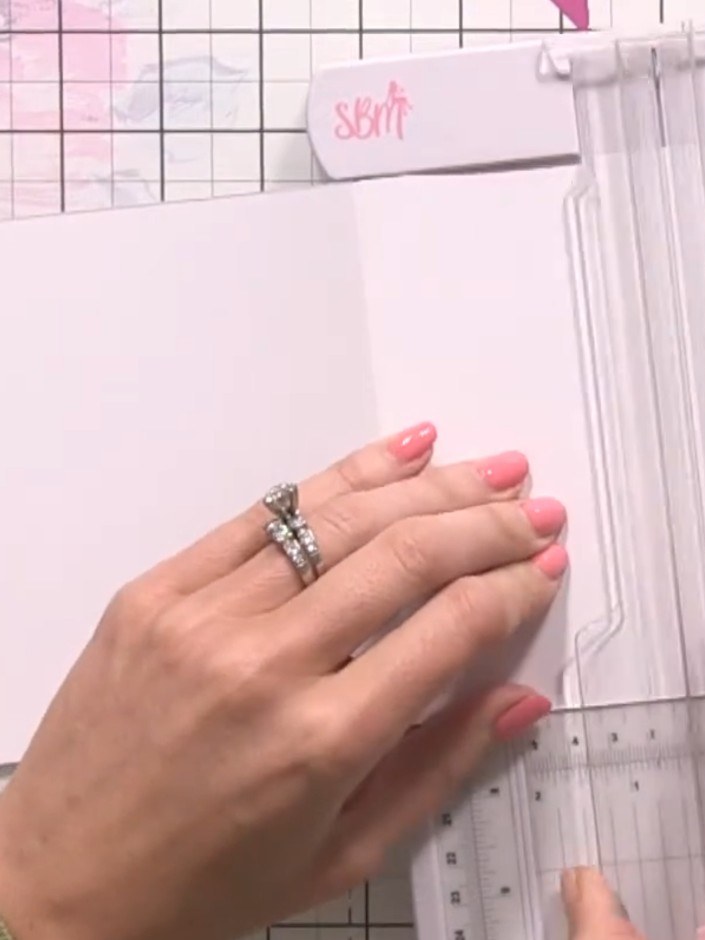
Using a paper trimmer, cut the front of your card blank into 1-inch strips, leaving a small section at the top intact to hold the strips together.
 3
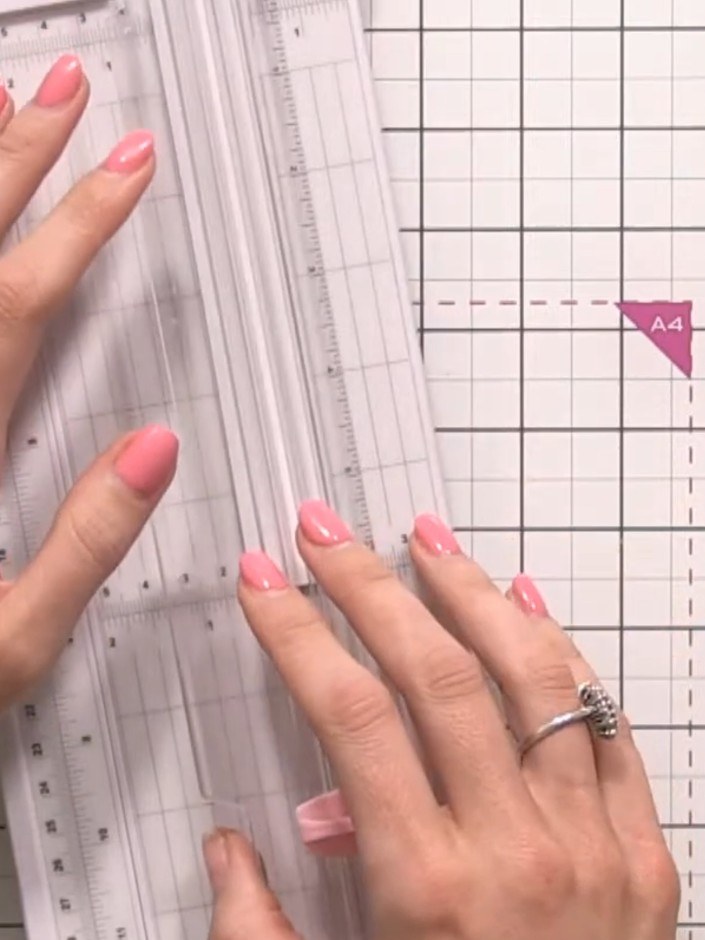
Cut white card stock in half to create strips for your wooden panel effect.
 4
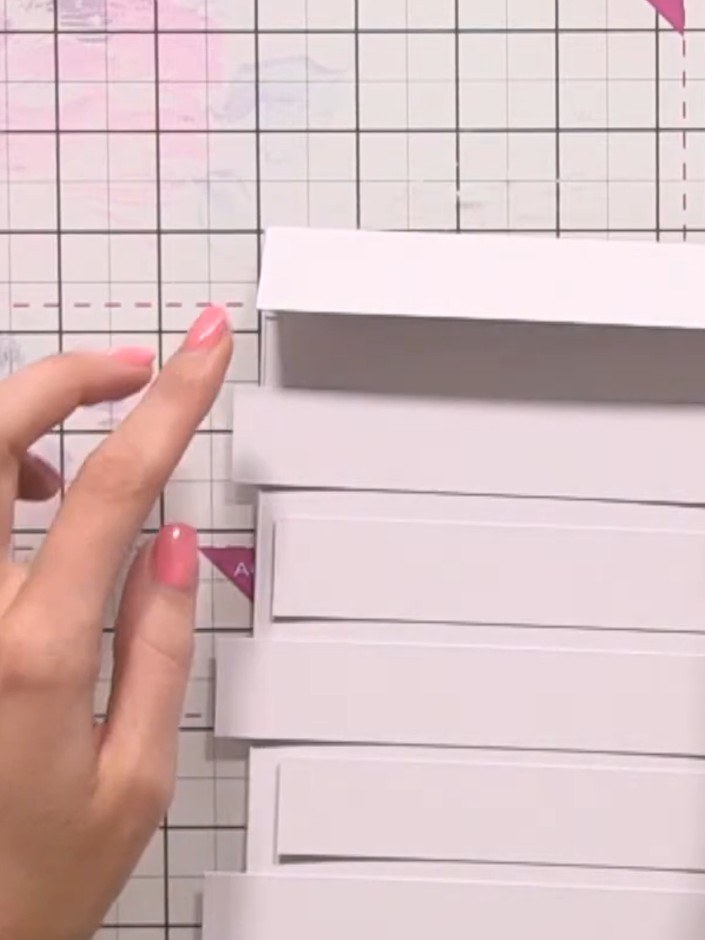
Arrange the cut strips back onto the card front with gaps between them to create a wooden panel effect. Space them unevenly for a natural wood look.
 5
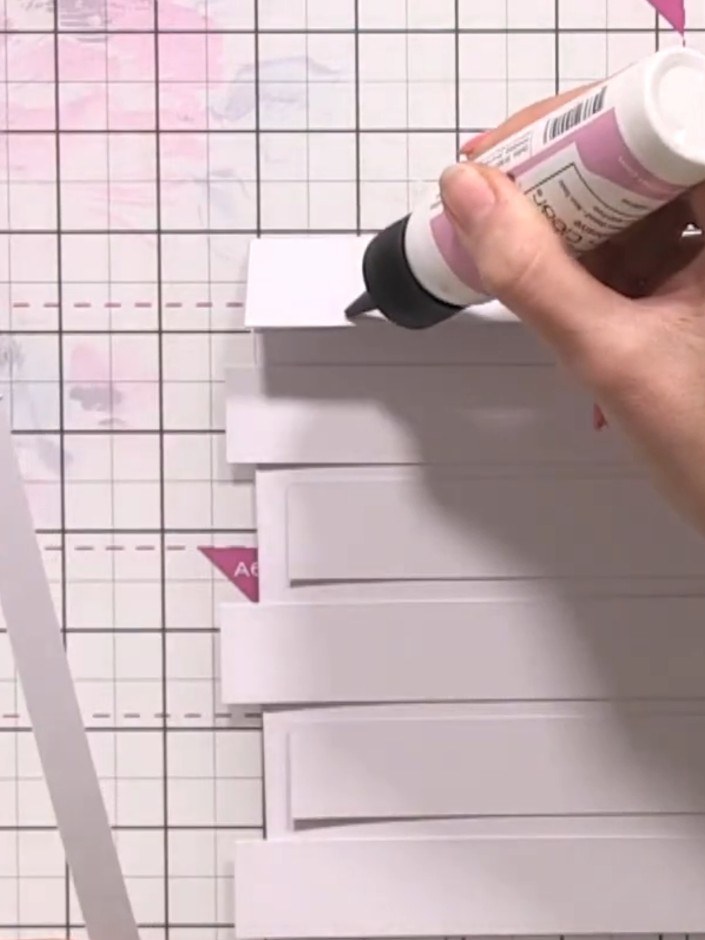
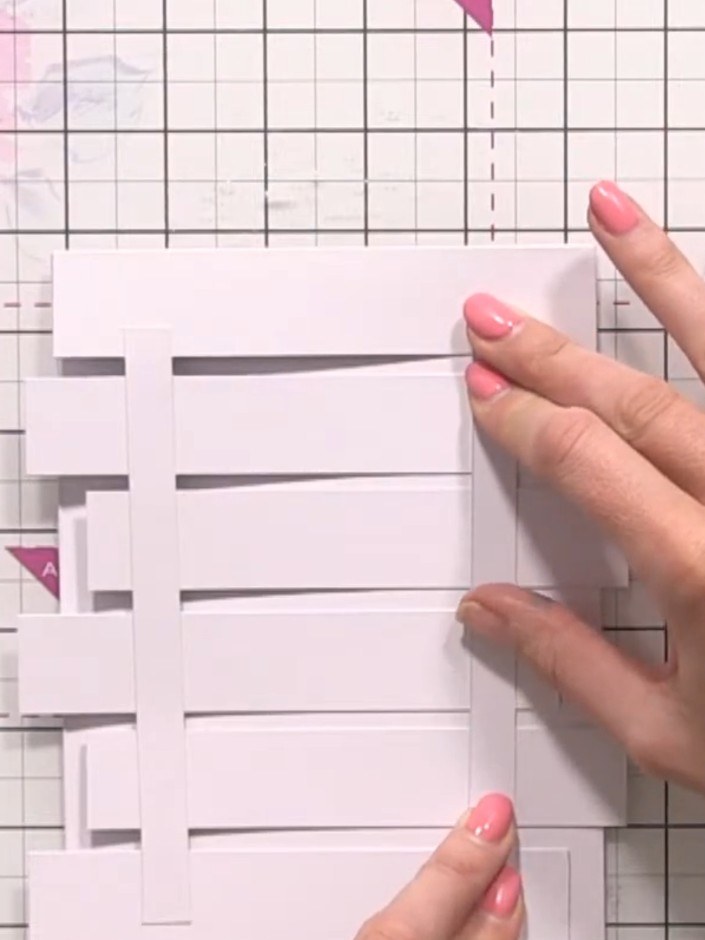
Apply glue along a long strip of white card and place it horizontally across the back of all the vertical strips to connect them together.
 6
Cut your wood-grain patterned paper to size and layer it behind the wooden panel strips, ensuring the paper is visible between each strip.
 7
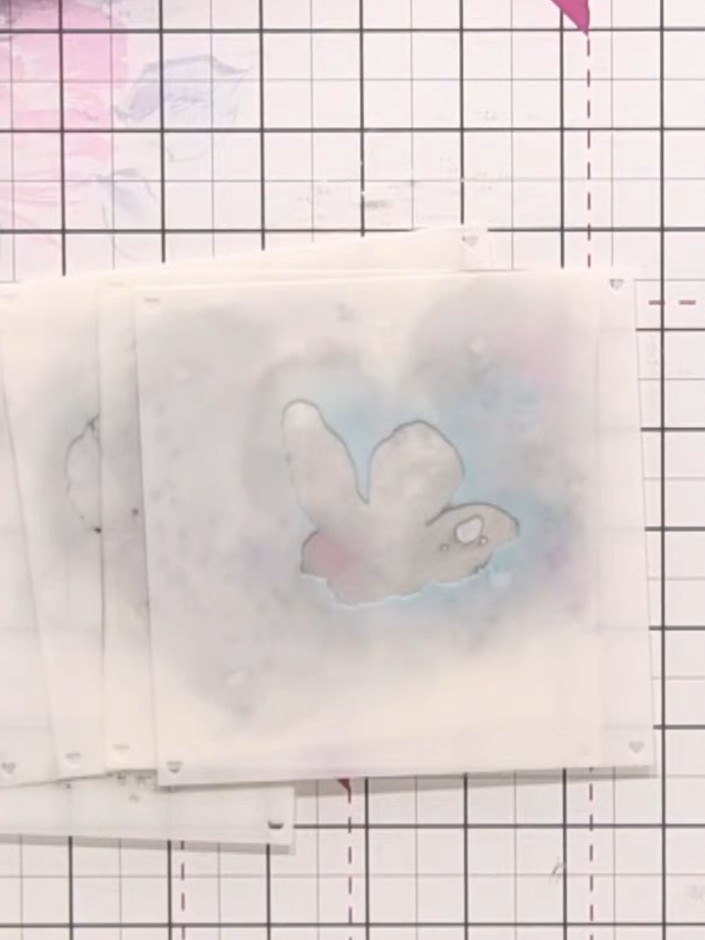
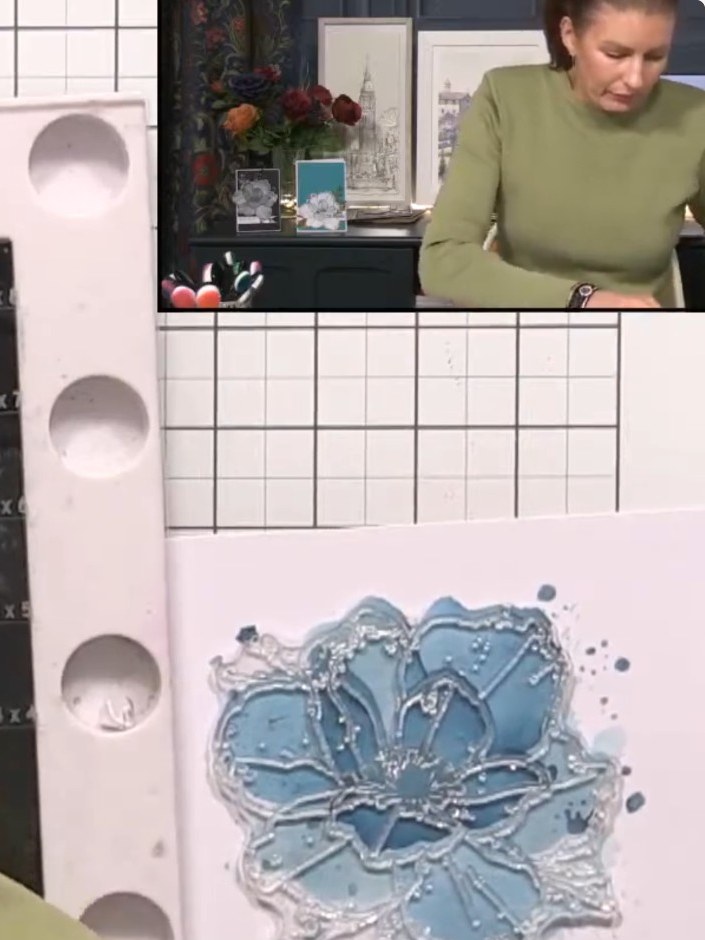
Use the layering stencil system to build up the flower design. Apply ink through stencil number one with a brush, then swap brushes and colours for stencils two, three, four and five to create a watercolour effect on the panel.
 8
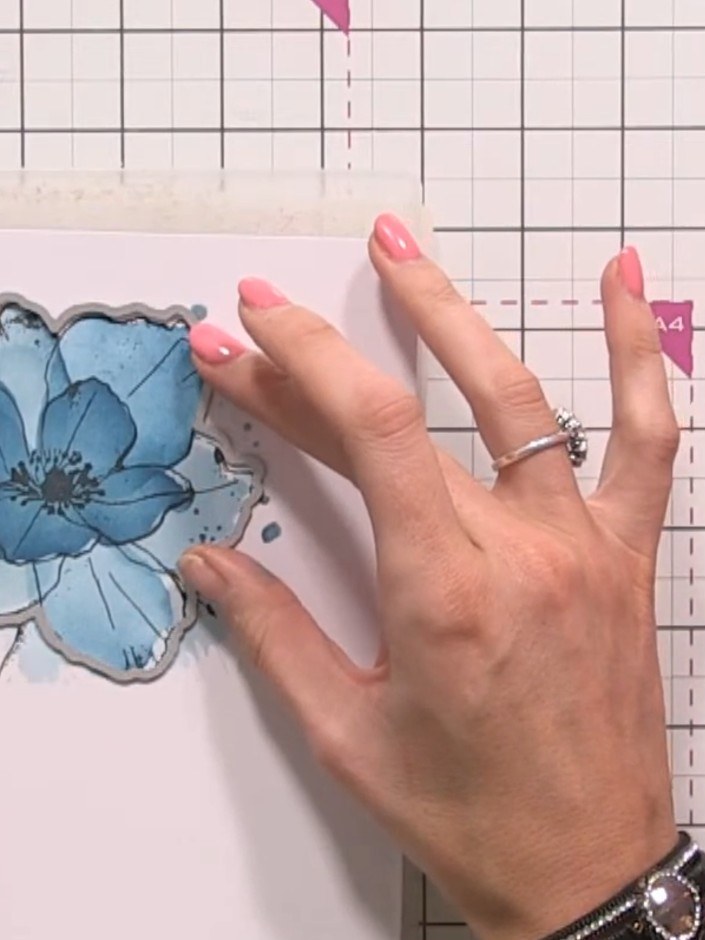
Using the coordinating stamp from the Forever Lilies set and a black ink pad, stamp the flower outline onto the stamped image to add detail and definition to the petals.
 9
Die-cut the stamped and stencilled blue flower using your die-cutting machine.
 10
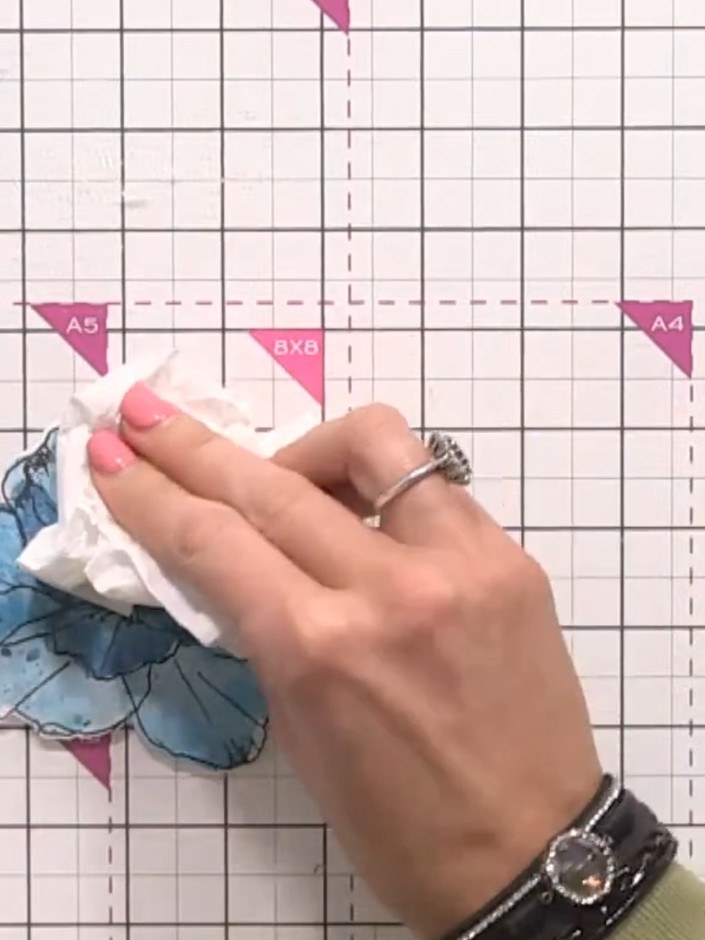
Spritz the blue flower with water to activate the ink. Use a tissue to dab and mop up the water, creating a distressed, aged effect on the petals.
 11
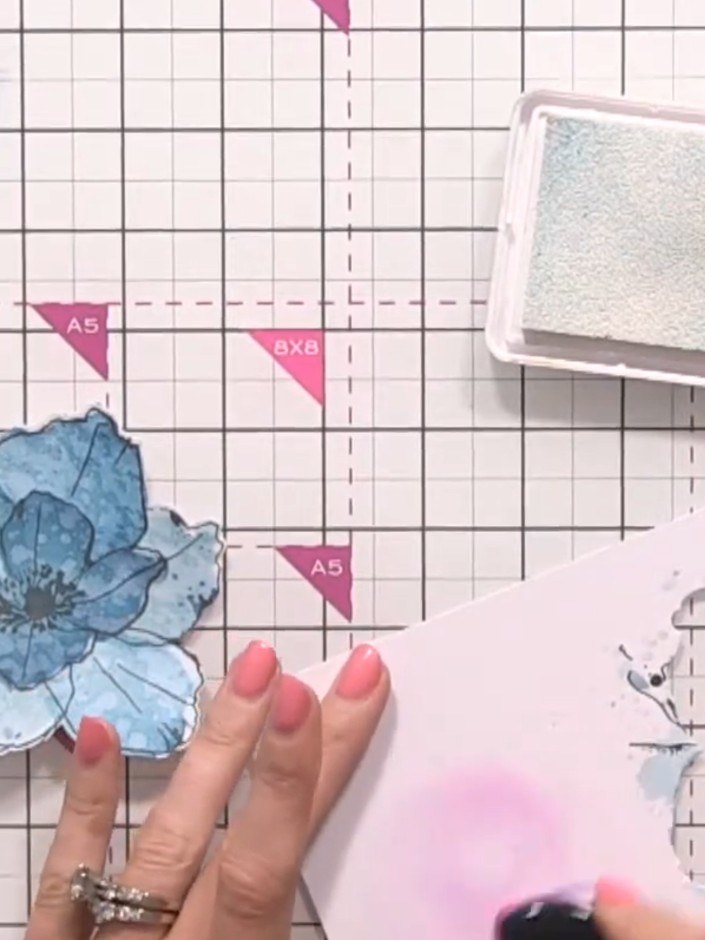
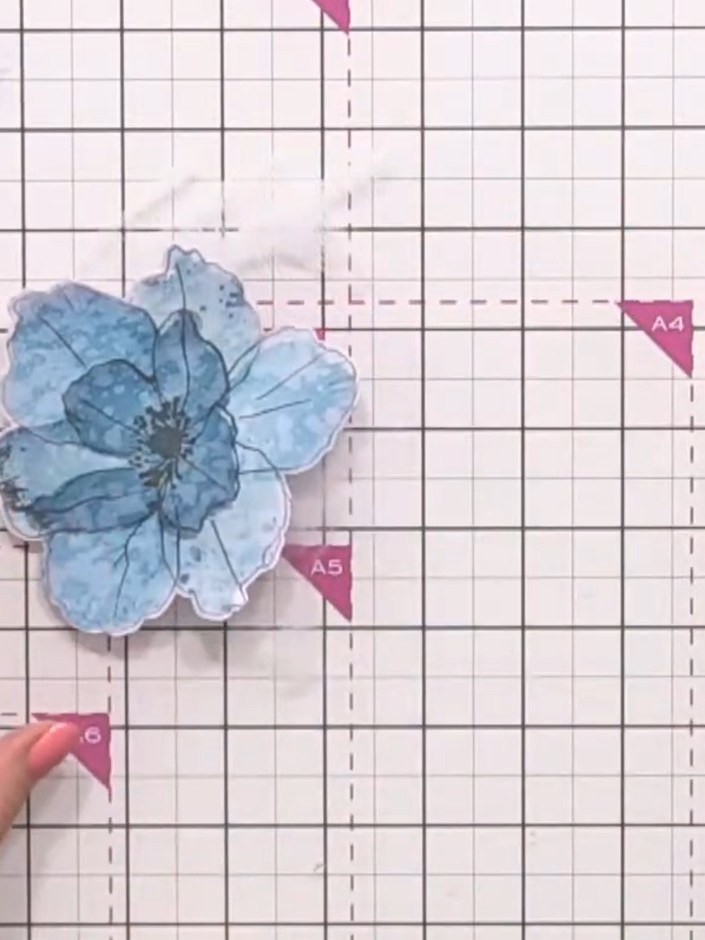
Using a brush or sponge, apply white ink around the edges of the blue flower to create highlights and enhance the weathered appearance.
 12
Swipe a dark ink pad across the blue flower in one direction to create a brushed wood effect and add further distressing to the petals.
 13
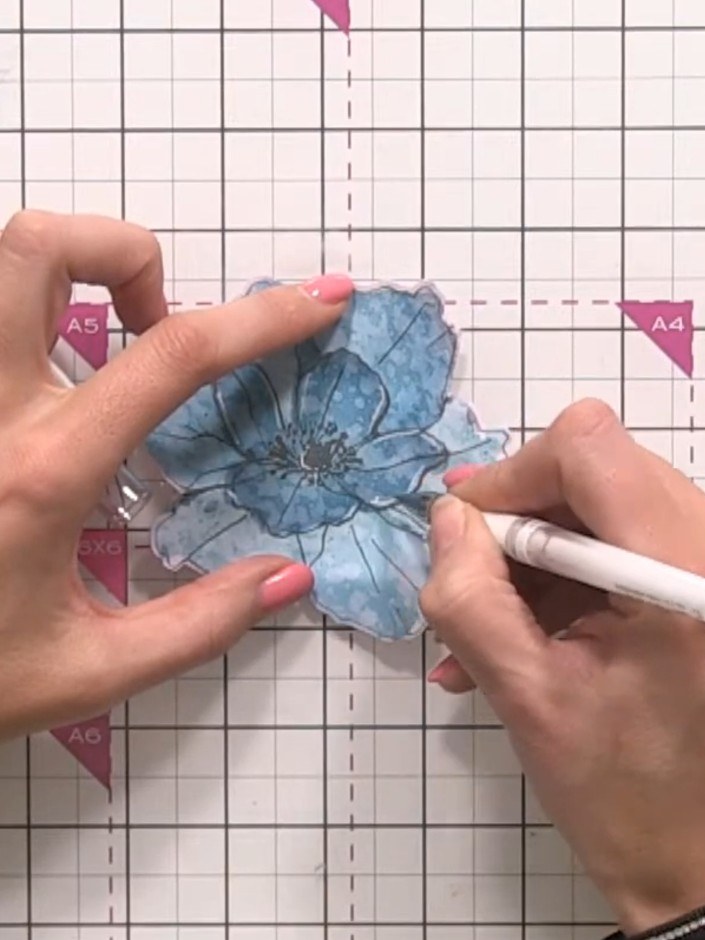
Use a white gel pen to add highlights along the flower petal lines, bringing back detail and definition where needed.
 14
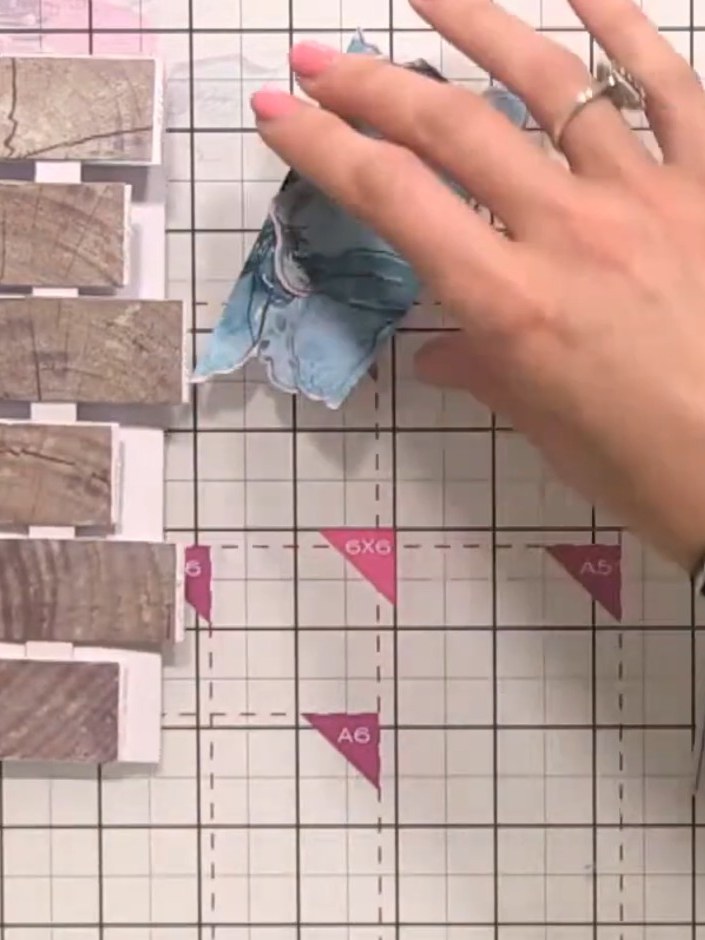
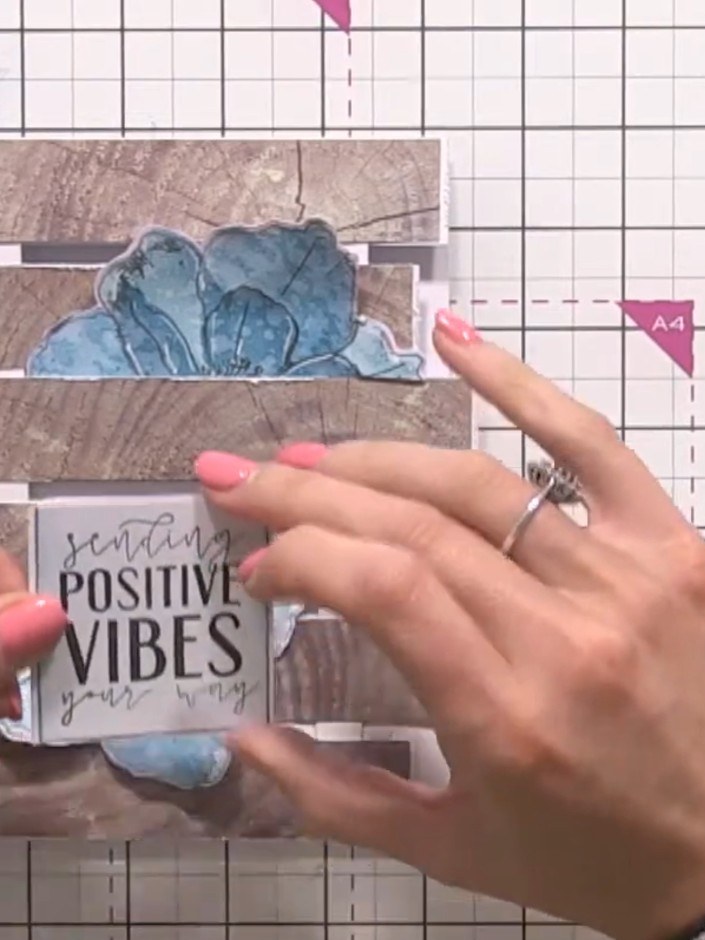
Mount the blue flower onto white card, then layer it onto your wooden panel card front using foam pads for dimension.
 15
Stamp your chosen sentiment onto white card. Add ink blending to the edges of the sentiment panel. Mount the sentiment onto the card front over the wooden panel layers and blue flower.
 16
Splatter white acrylic paint across the finished card using a wet brush to add final distressed texture. Allow the card to air dry naturally.
Share your make with the Stamps By Me community - and keep this guide for next time.
Written up from the show itself. See every guide from our shows · free how-to guides · watch live on My Telly · the previous layout


