Give your friends $10 off their first order!
Refer a FRIEND








Prices change straight away. Every language is our own translation, not Google.
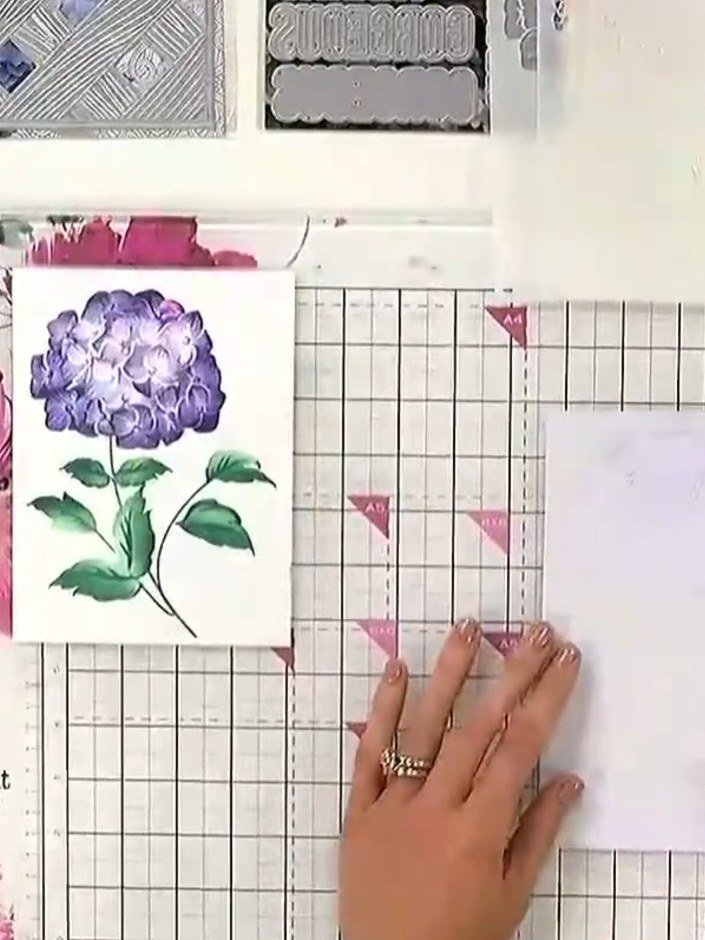
A project from our live show IDEAL WORLD - Join Toni for the latest Stamps By Me product launch - Broadcast Wed 2nd April 12 p.m. - 2 p.m. · 04/02/2025
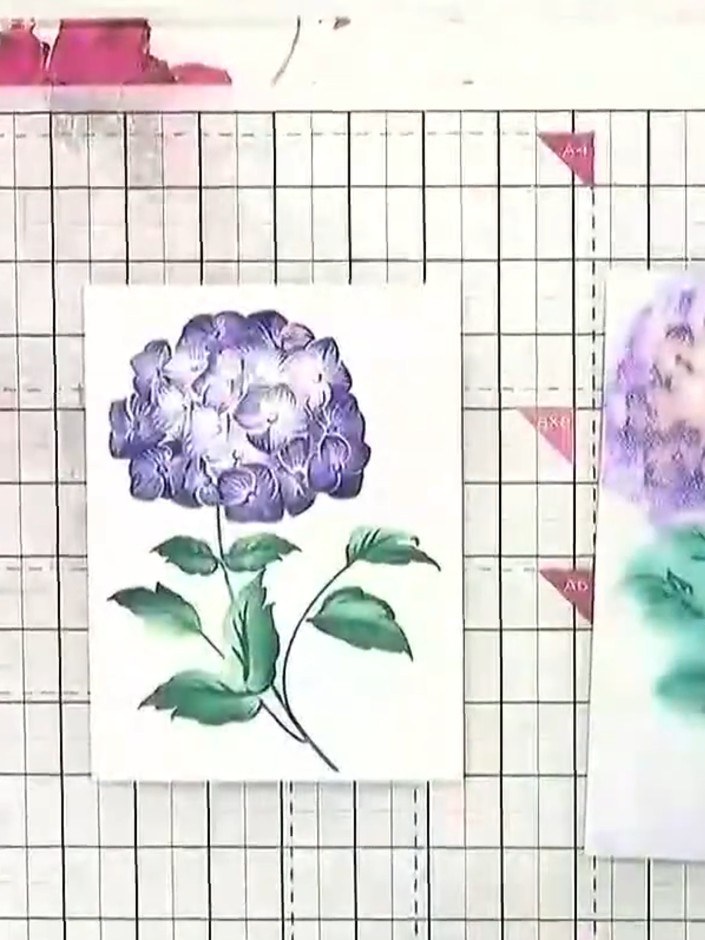
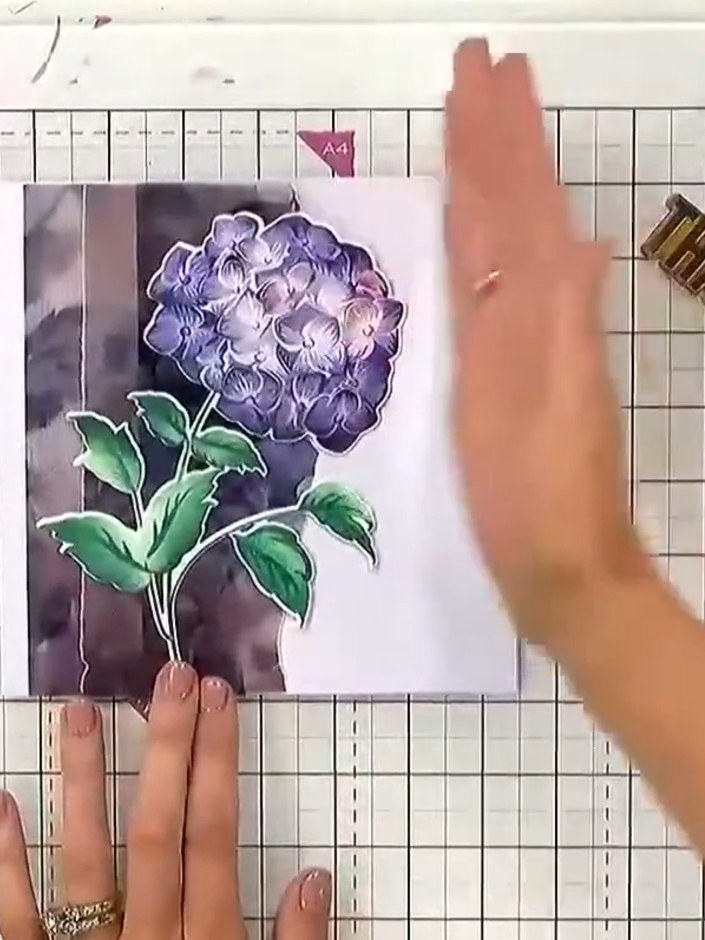
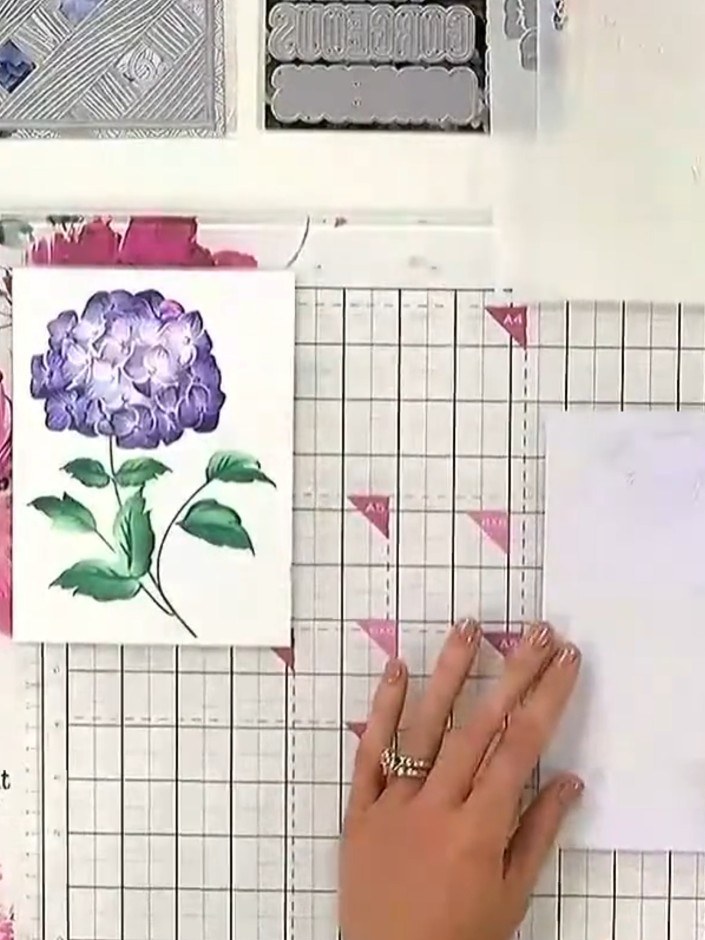
Make an elegant layered hydrangea card with beautiful dimensional flowers in soft pinks, purples and greens. Using a set of five numbered stencils, you'll build up colour gradually to create a realistic watercolour effect on your floral design. The finished piece features two delicate hydrangea blooms with stems and leaves, complemented by sentiment words.
 1
Position stencil number one on your card base, aligning it with the edge. Use the heart registration marks in the corner to ensure proper placement.
 2
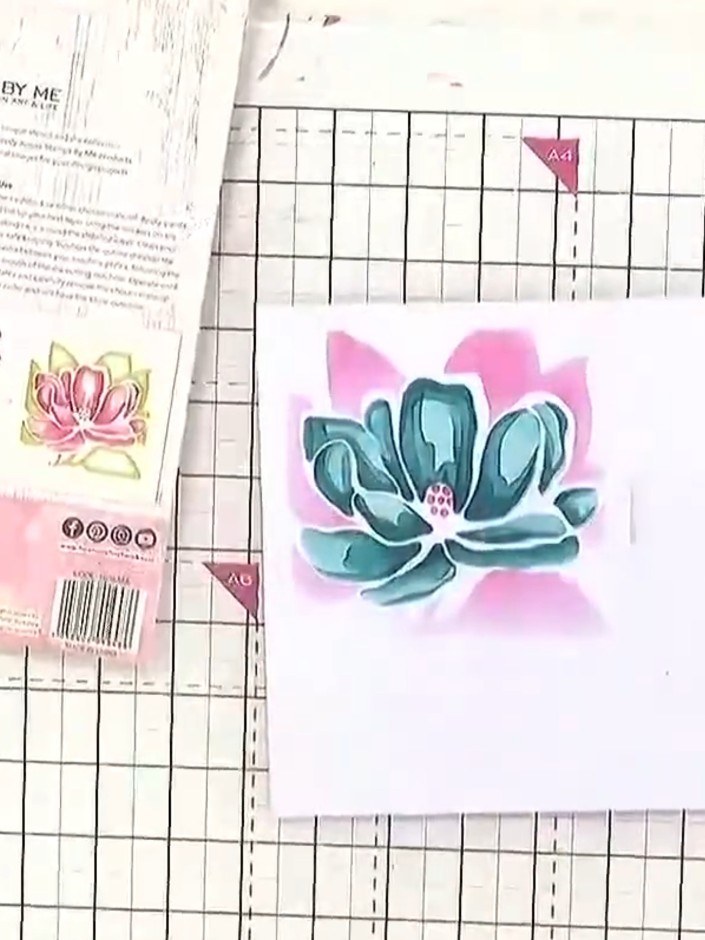
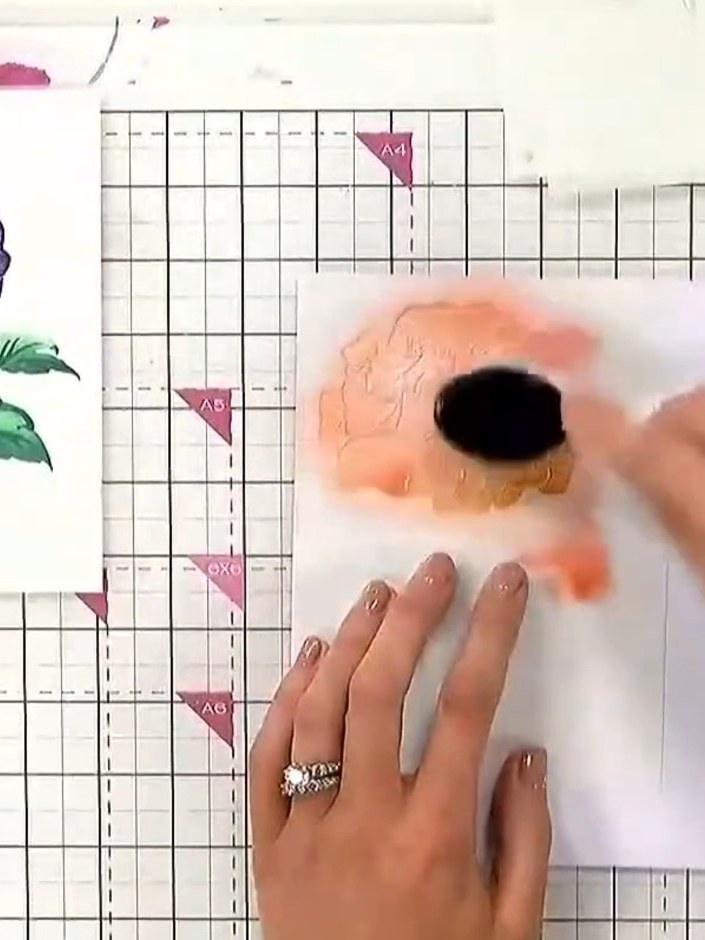
Tap off excess ink from your ink pad. Using a sponge or blending brush, blend yellow and orange ink through the first stencil layer onto your white card.
 3
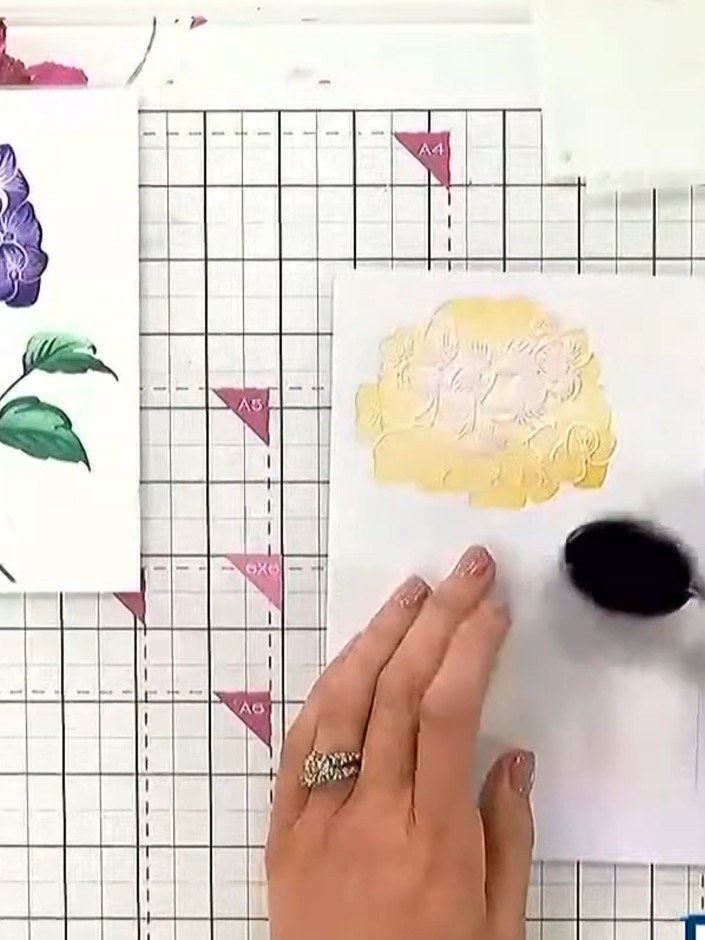
Remove the first stencil and position stencil number two over the yellow area. Apply orange ink to the centre of the stencil using a blending sponge, pressing lightly to build up detail and depth.
 4
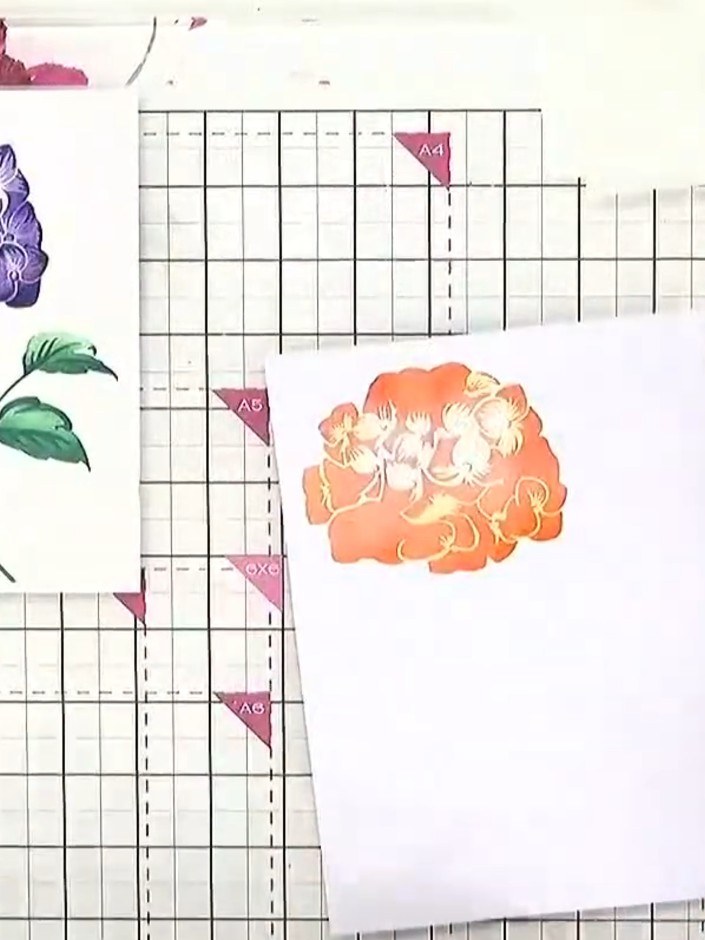
Position stencil number three over your card and blend orange ink through the stencil using a blending tool. This adds another layer of dimension to build up the hydrangea flower.
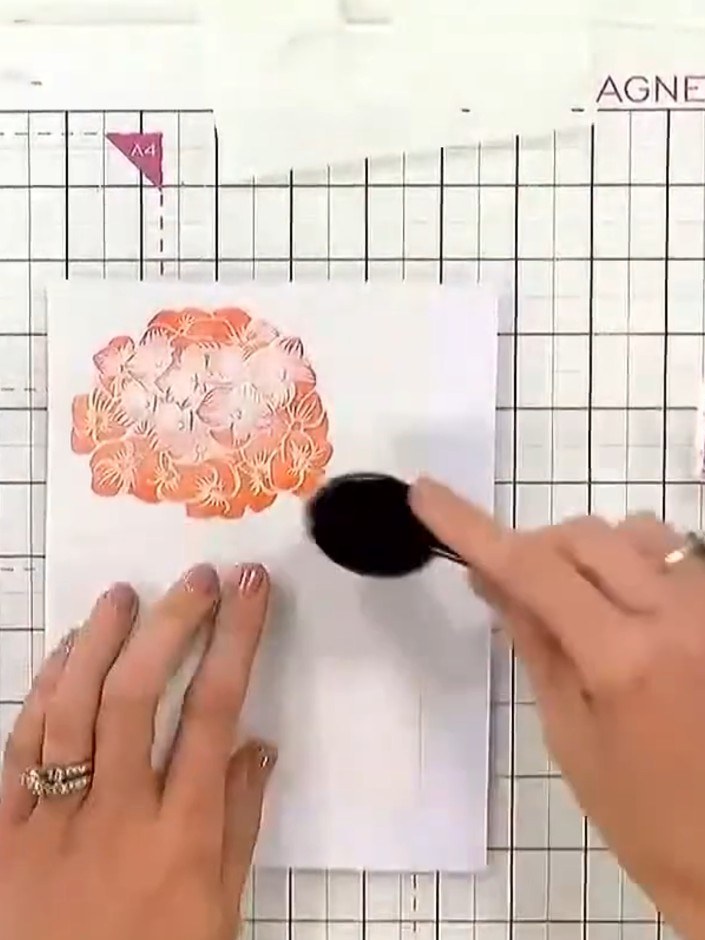 5
Use stencil number four with green ink to add leaf details to the hydrangea. Apply darker tones at the edges for depth and dimension.
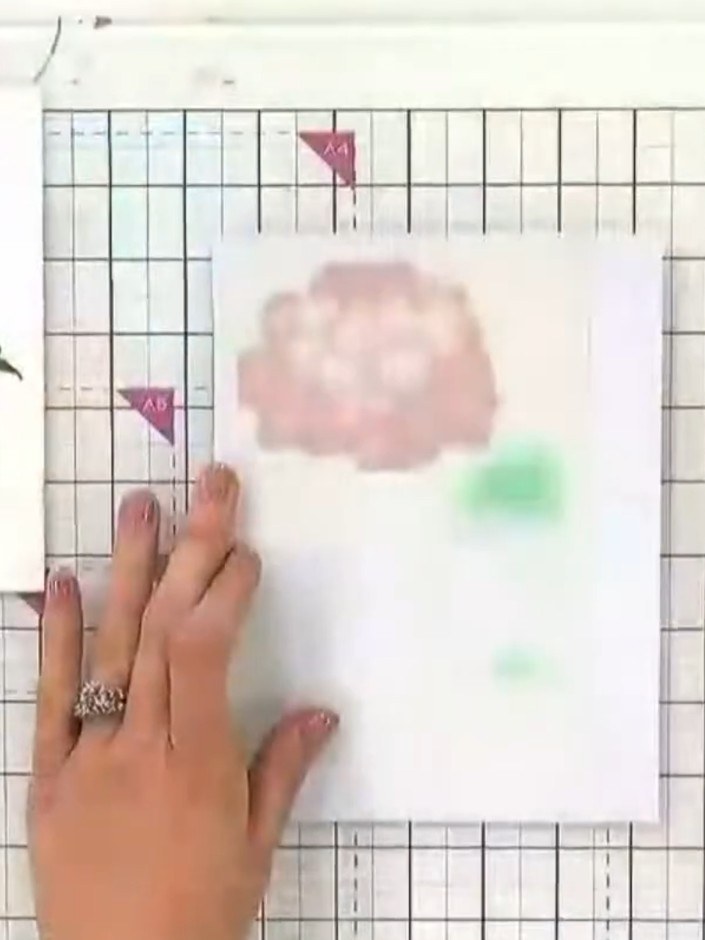 6
Place the coordinating hydrangea die over the stamped image on your cutting mat. Run through your die-cutting machine to cut out the detailed flower shape with dimensional cut lines.
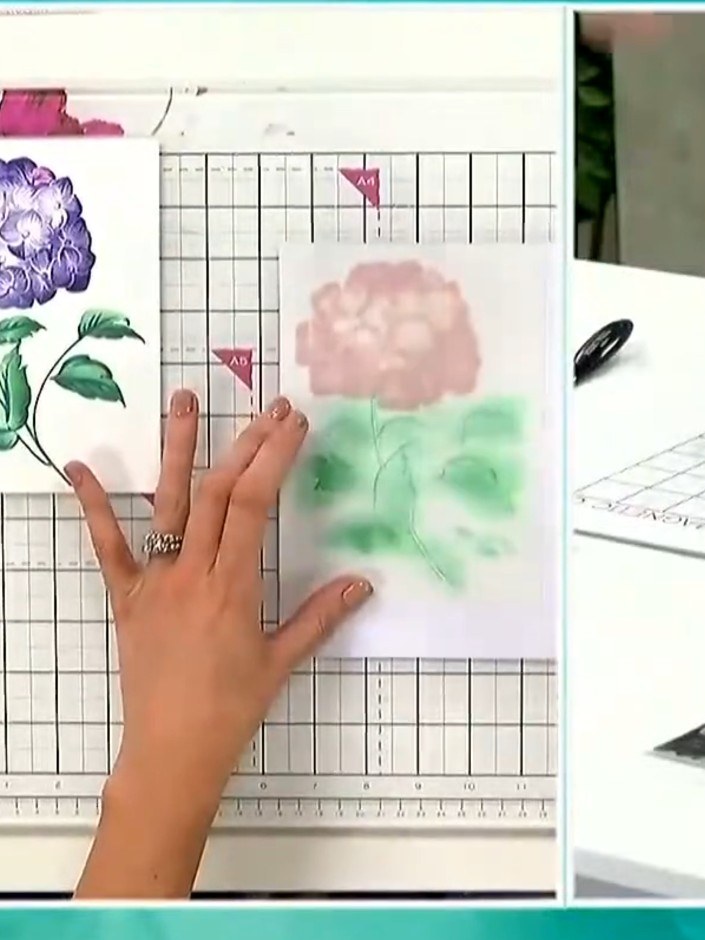 7
Raise the small petal sections on the back of the die-cut hydrangea piece to create dimension. Gently lift and shape each petal segment to form a fuller, three-dimensional flower head. Cut out your chosen sentiment word (thanks, happy days, or gorgeous) using the coordinating word dies from the collection.
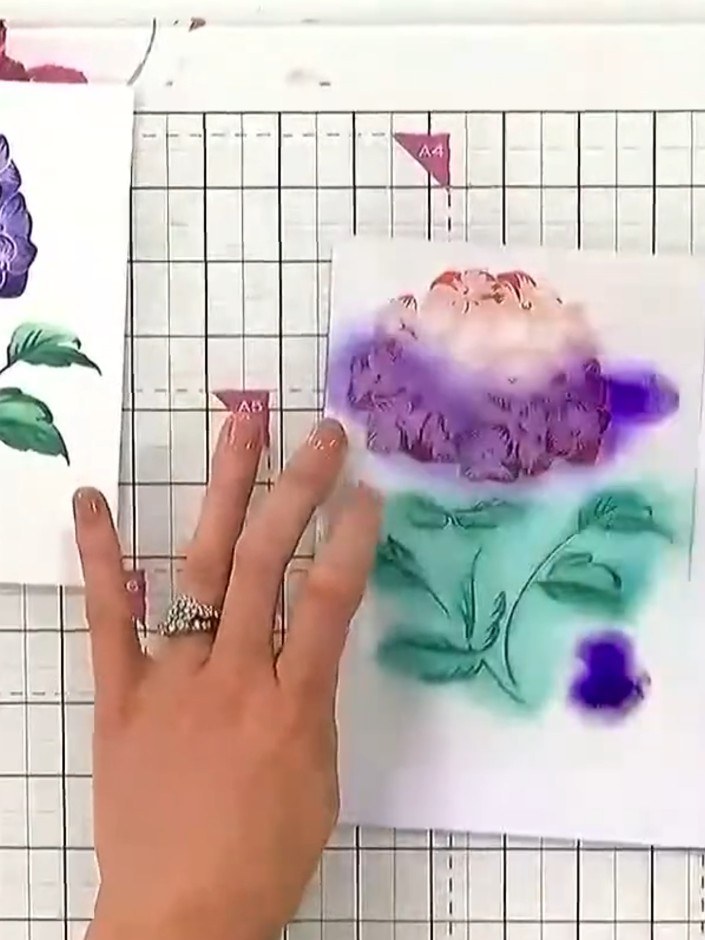 8
Layer the stamped hydrangea flower, green leaves, and sentiment onto your white card base using foam pads to add dimension. Position the purple hydrangea at the top and the turquoise leaves below with the small purple accent flower.
Share your make with the Stamps By Me community - and keep this guide for next time.
Written up from the show itself. See every guide from our shows · free how-to guides · watch live on My Telly · the previous layout