Give your friends $10 off their first order!
Refer a FRIEND








Prices change straight away. Every language is our own translation, not Google.
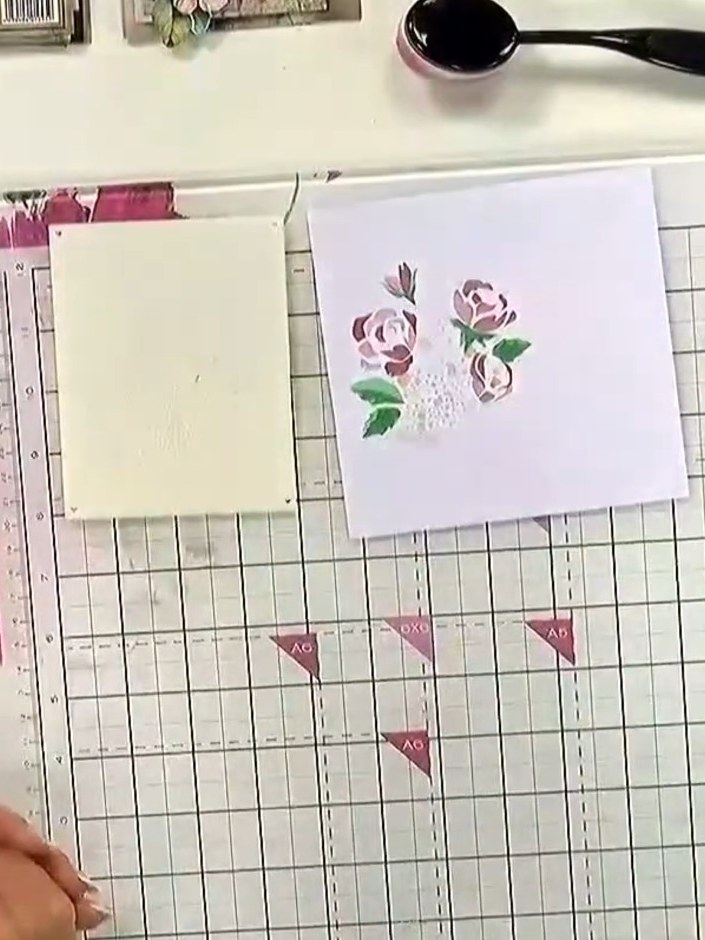
A project from our live show IDEAL WORLD - Join Toni for the latest Stamps By Me product launch - Broadcast Wed 21st May 12 p.m. · 05/21/2025
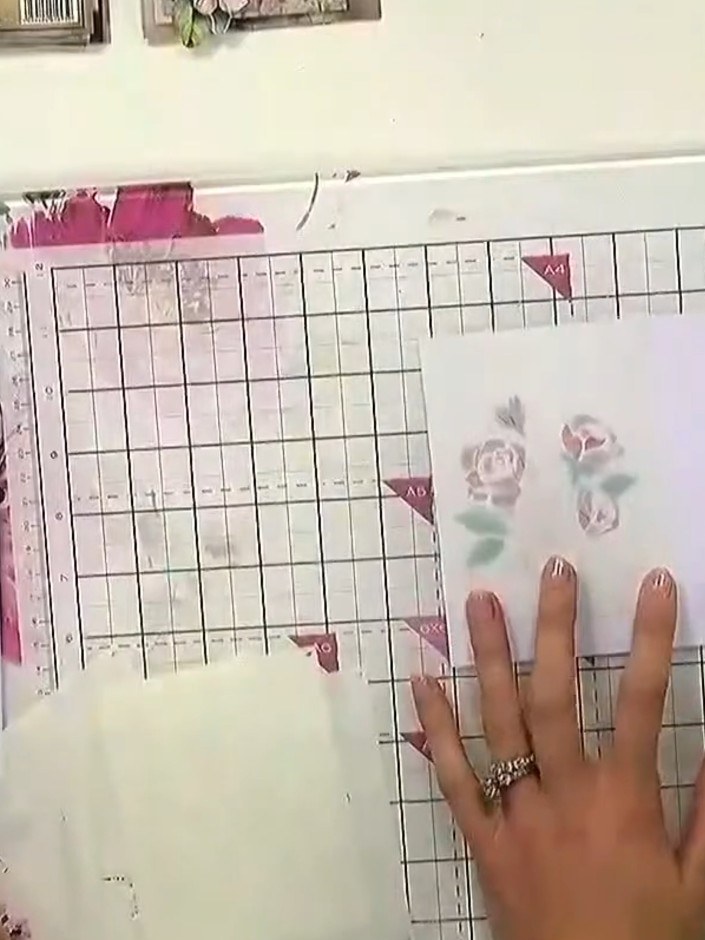
Create a beautiful layered card featuring delicate pink roses with a soft watercolour background. This elegant design combines stencilling, stamping, and die-cutting techniques to build up a multi-dimensional floral embellishment. The finished card showcases pretty pink and green tones with a romantic, vintage-inspired style.
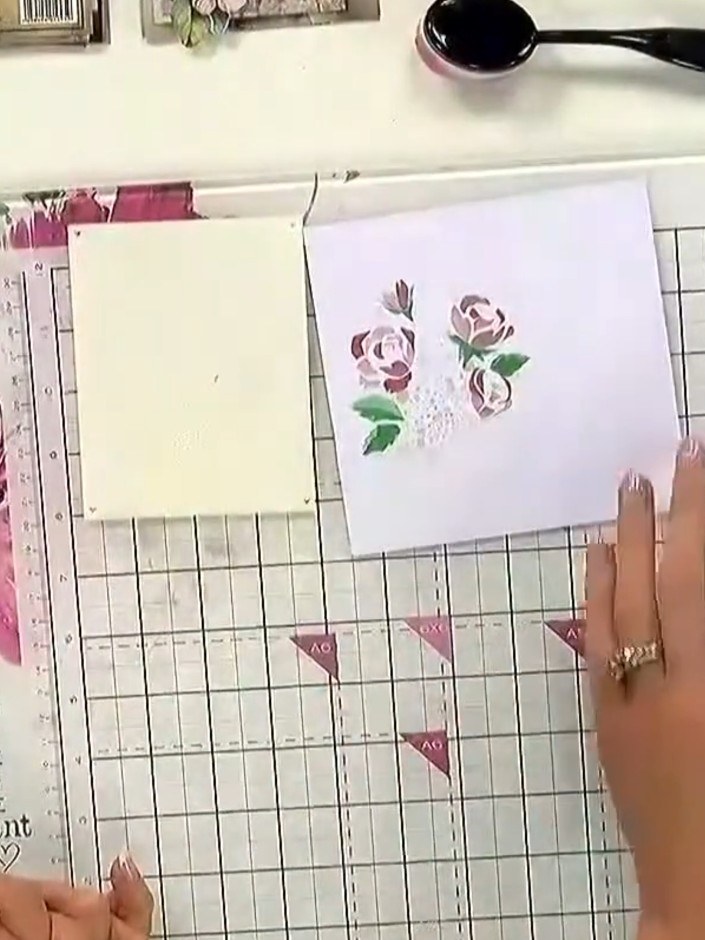 1
Create a stencilled background using your layering stencils and coloured inks. Position the stencil on your card base and apply ink through the design to build up layers of colour and pattern.
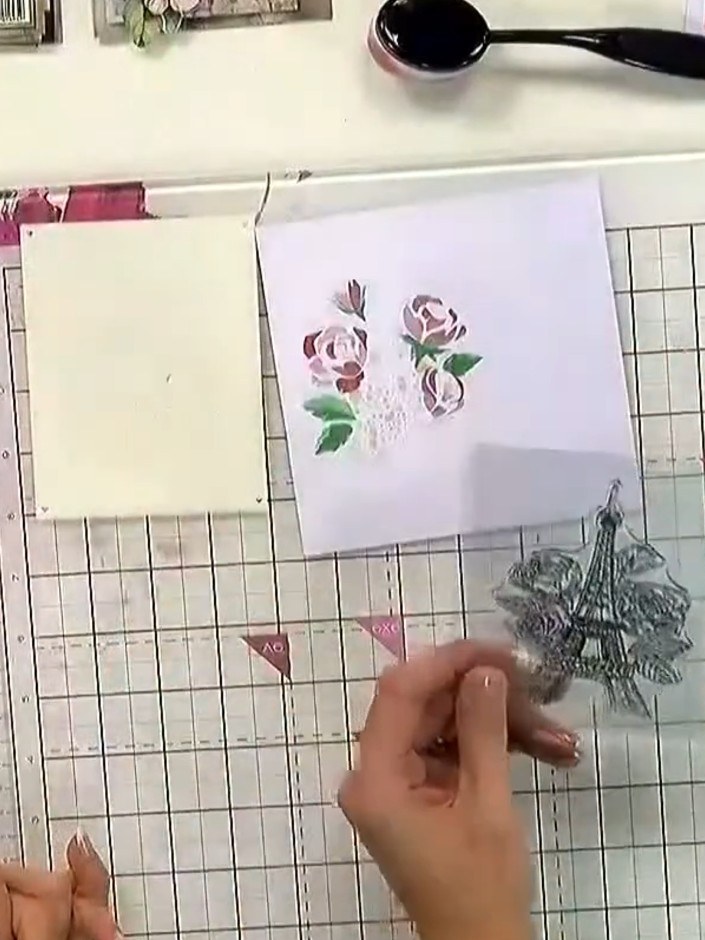 2
Press your chosen stamp firmly onto the ink pad to ink it up evenly. Ensure the entire stamp surface is covered with ink.
 3
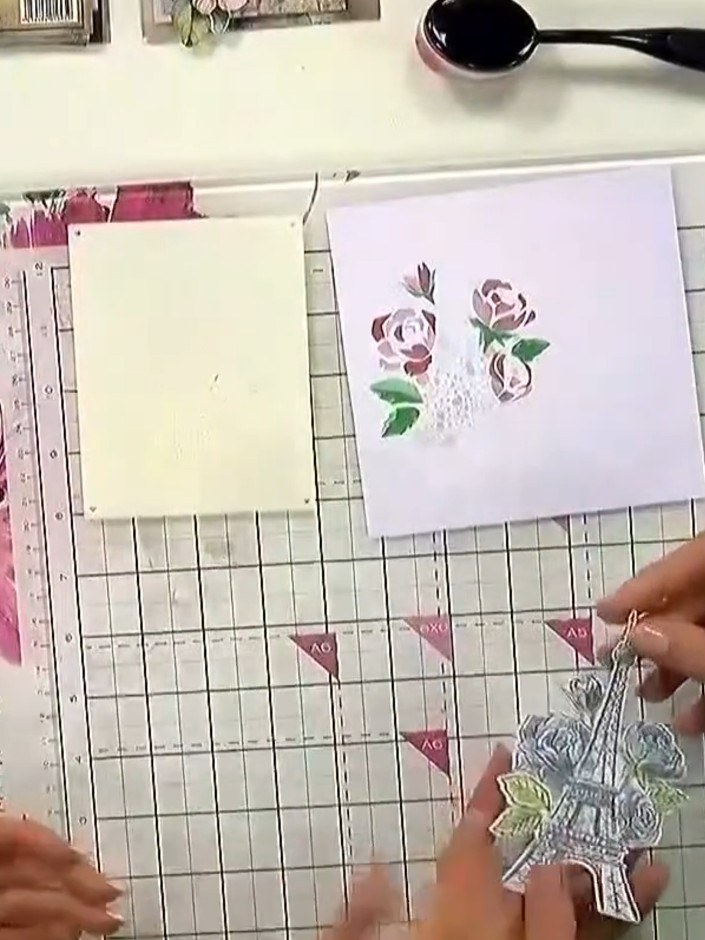
Stamp the Eiffel Tower design onto your stencilled background using the clear stamp, pressing down firmly and evenly to transfer the image.
 4
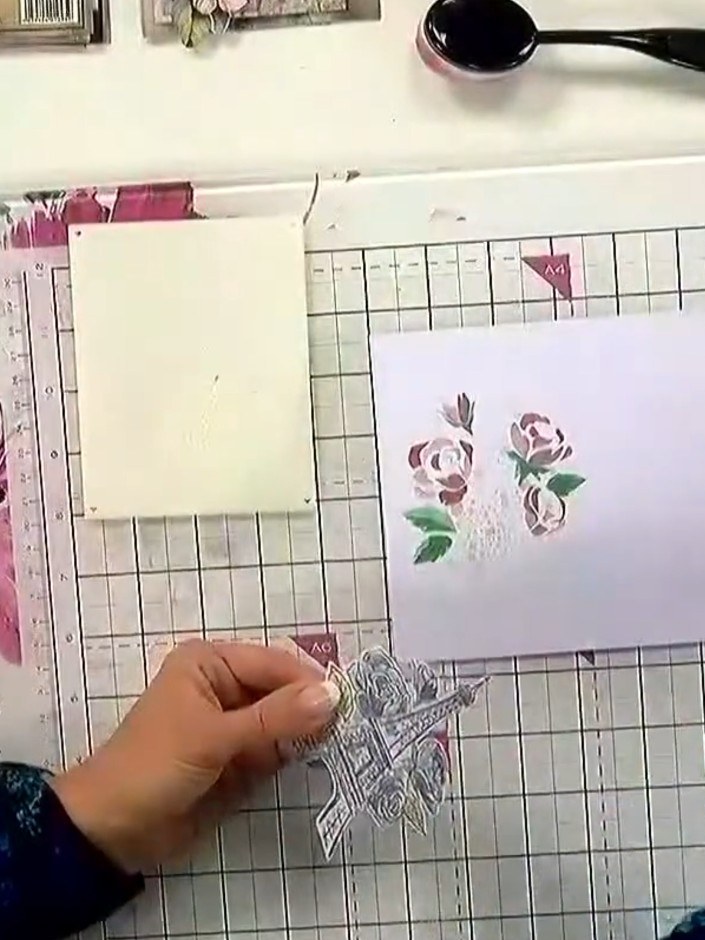
Allow the stamped ink to dry completely before proceeding to the next step.
 5
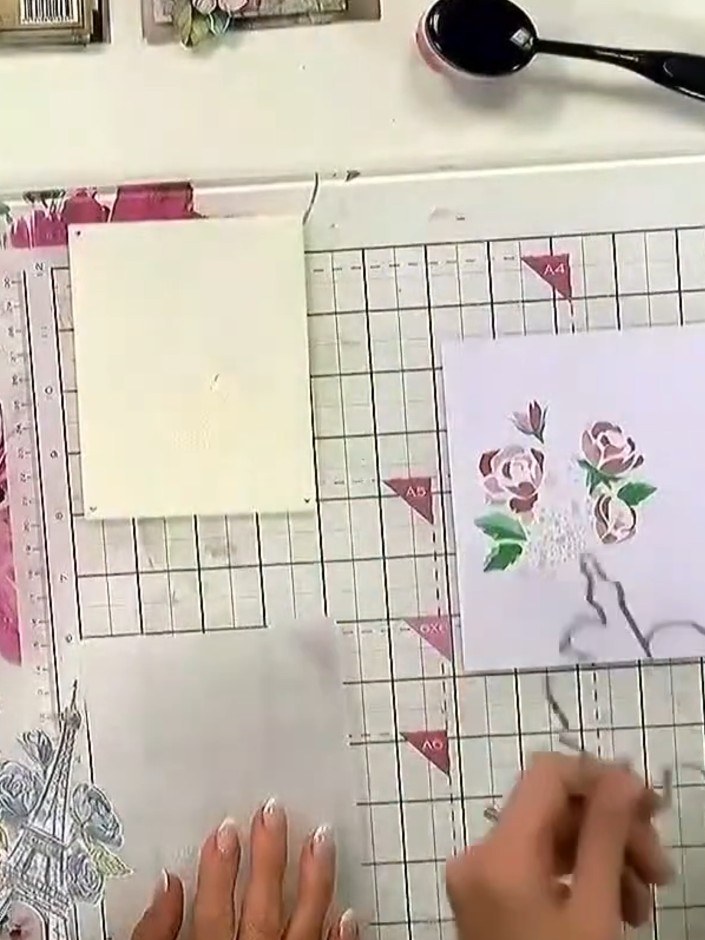
Position the matching die around your stamped floral design on the lilac card panel. Ensure the die is centred over the stamped image to cut it out accurately.
 6
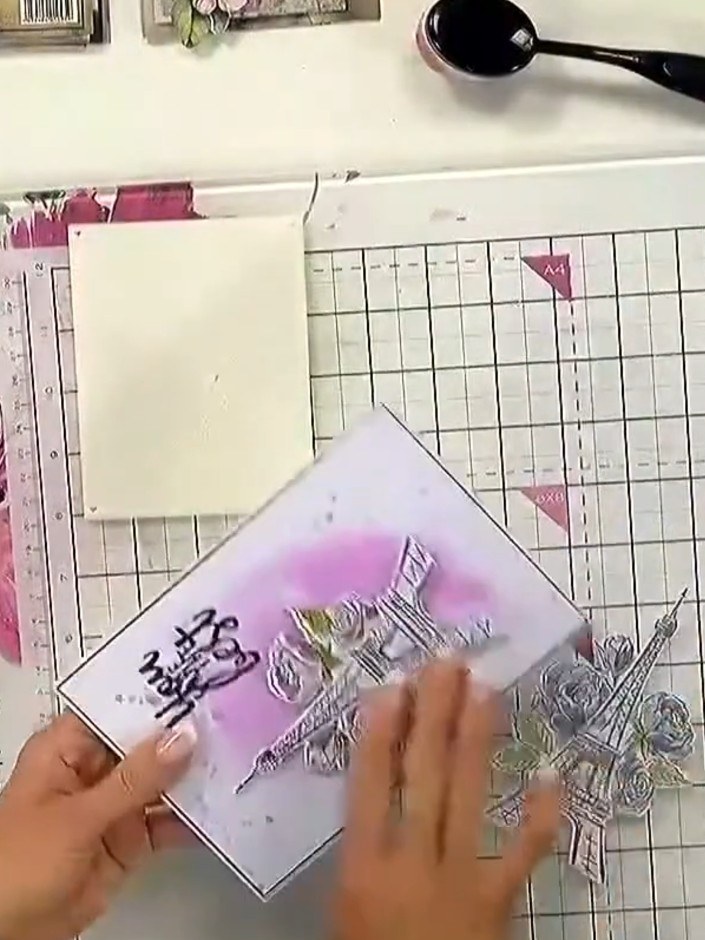
Run the stamped and die-cut design through your die-cutting machine to cut out the finished image from the card panel.
 7
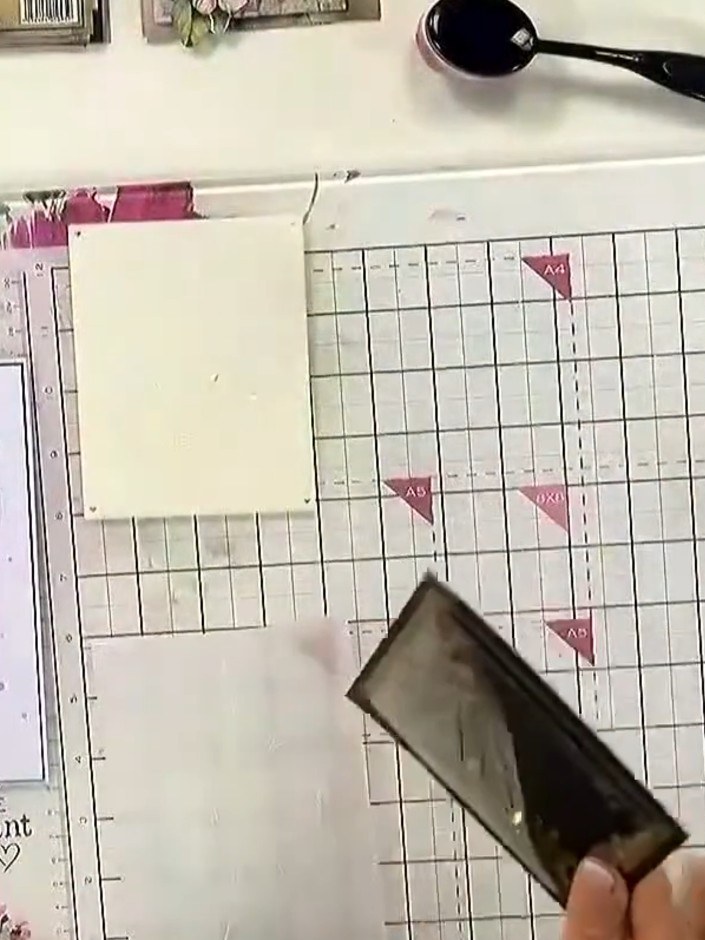
Mount the completed die-cut design onto your card base using adhesive tape or glue. Position the layered Eiffel Tower design centrally on the card front and press firmly to secure.
Share your make with the Stamps By Me community - and keep this guide for next time.
Written up from the show itself. See every guide from our shows · free how-to guides · watch live on My Telly · the previous layout