Give your friends $10 off their first order!
Refer a FRIEND








A project from our live show IDEAL WORLD - Join Toni for the latest Stamps By Me product launch - Broadcast Wed 21st May 12 p.m. · 05/21/2025 · watch it from 10:00
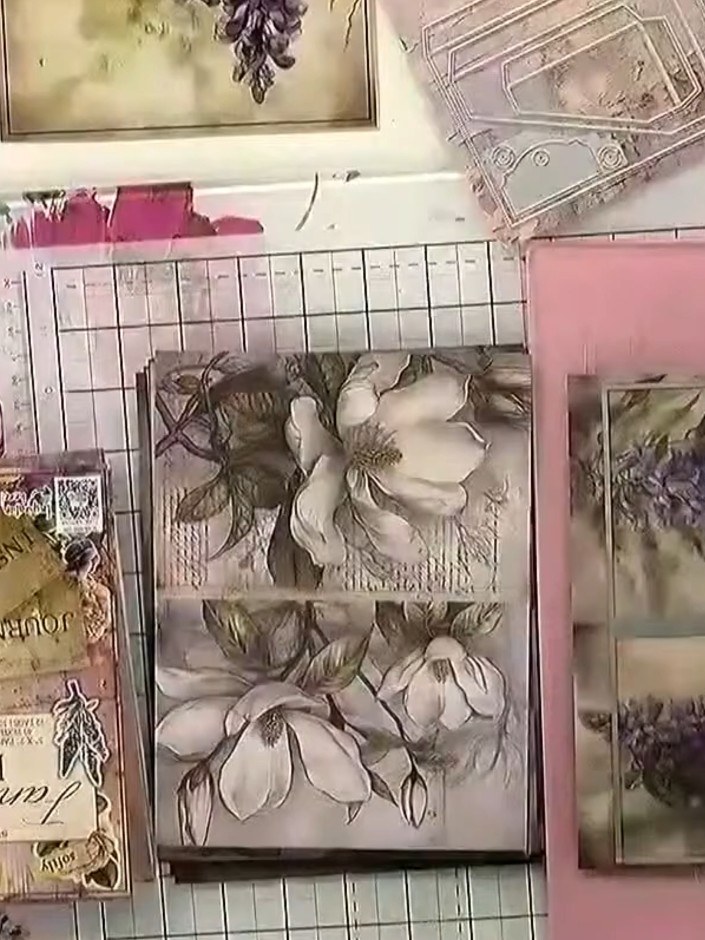
Create a charming mini album with multiple pockets using die-cut pages and decorative elements. This keepsake album features vintage-style embellishments in soft pinks, creams and metallics, with hinged pages that open to reveal pockets perfect for holding photographs, memorabilia, or small treasures like tea bags. The project uses simple assembly techniques including hinging pages together and creating functional pockets from folded die-cut elements.
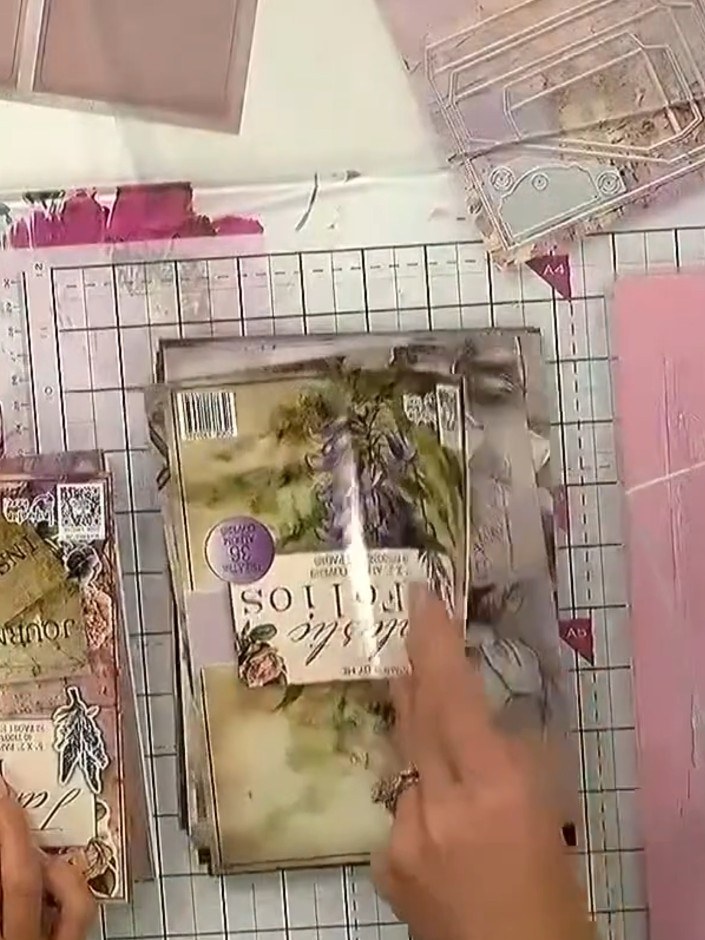
Run the die-cut album page through your die-cutting machine to create the hinge and basic page shape. The die will cut the folios with decorative edges and score lines for folding.
▶ watch this step (10:00)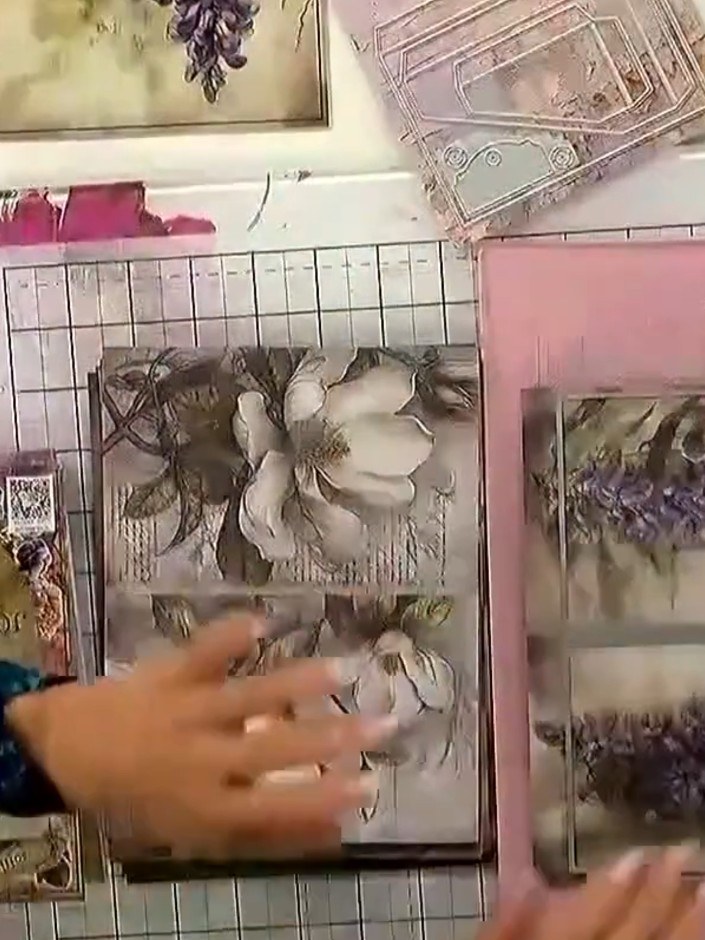
Apply adhesive tape or glue along the hinge line of your die-cut page. Attach the page to your pink album cover, ensuring it is positioned correctly.
▶ watch this step (10:30)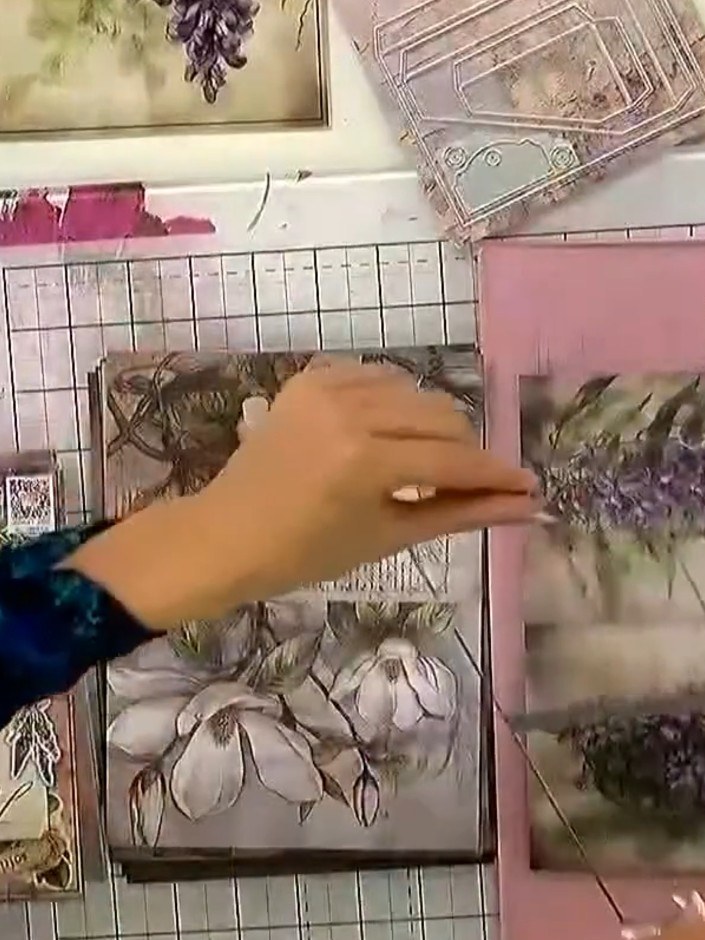
Fold the pre-scored pocket pieces along the marked lines to create small pockets. The pink pocket piece shows clear fold lines that should be creased to form the pocket shape.
▶ watch this step (11:00)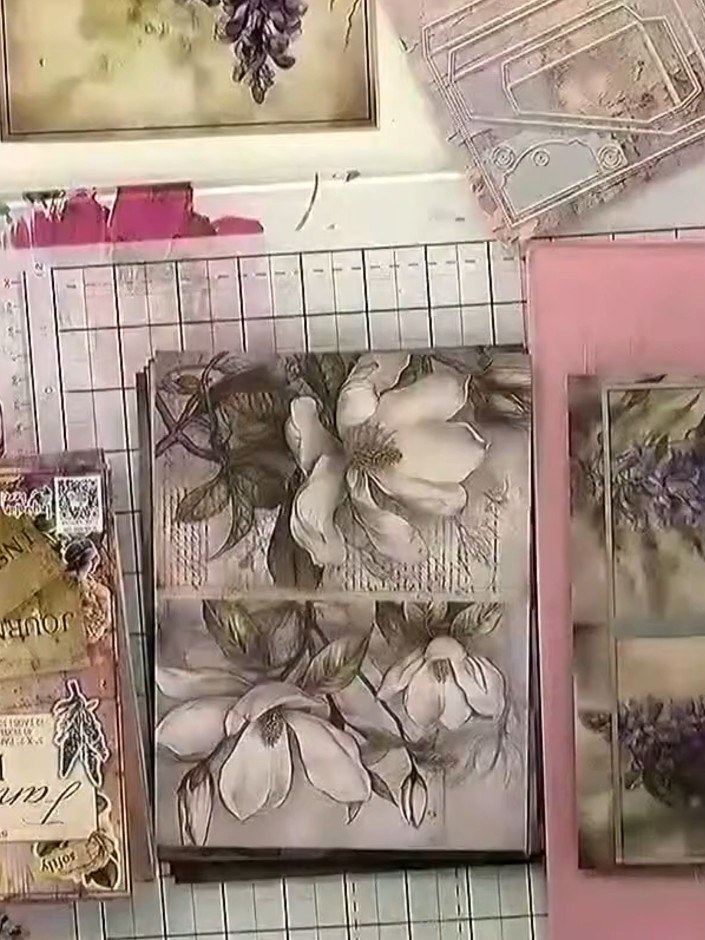
Position the die-cut pocket pieces onto your album pages using the magnetic glass mat as a guide. Secure them in place with temporary adhesive or tape, ensuring they are aligned properly before permanent attachment.
▶ watch this step (11:30)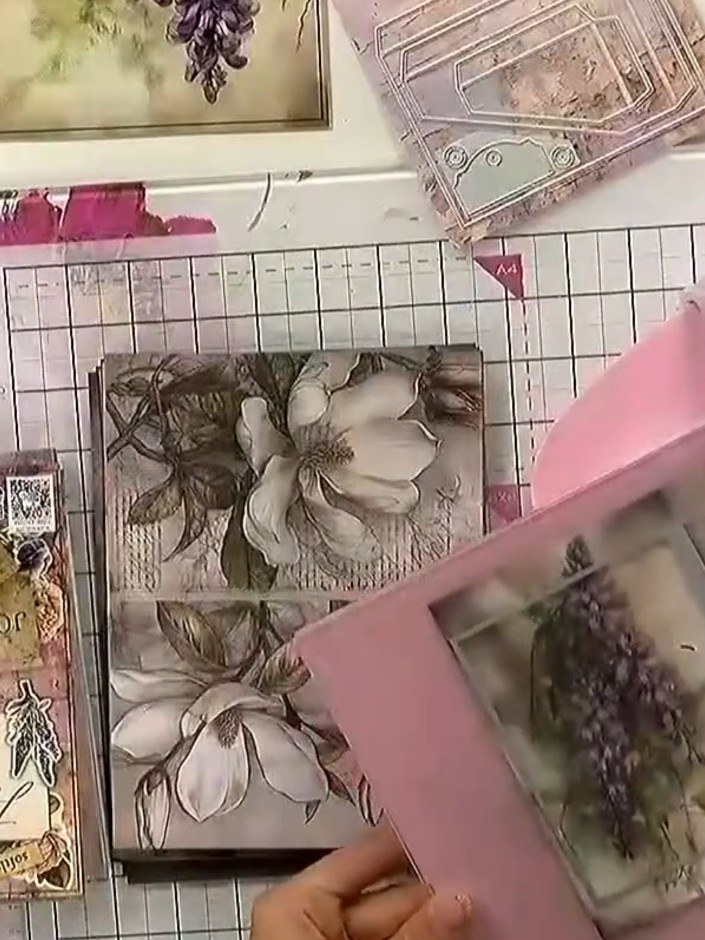
Decorate the pocket corners with cut-out flowers or embellishments from your stash. Layer the floral die-cuts onto the corners of the pockets to add dimension and visual interest.
▶ watch this step (12:00)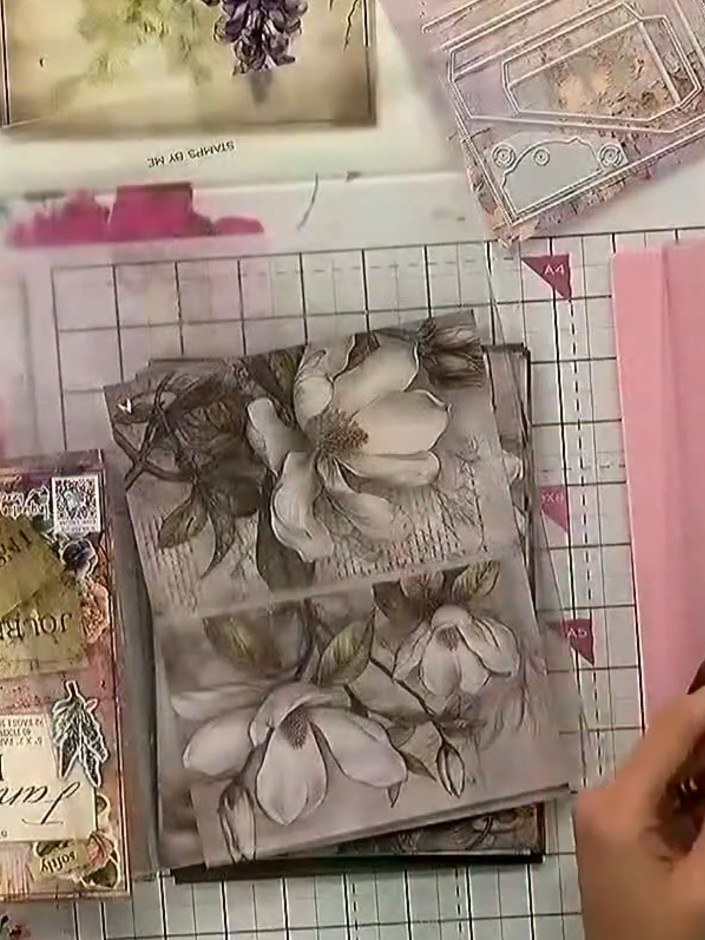
Insert sentiment cards or small decorative items into the pockets of your mini album pages. Slide the cards gently into each pocket, ensuring they fit comfortably without forcing them.
▶ watch this step (12:30)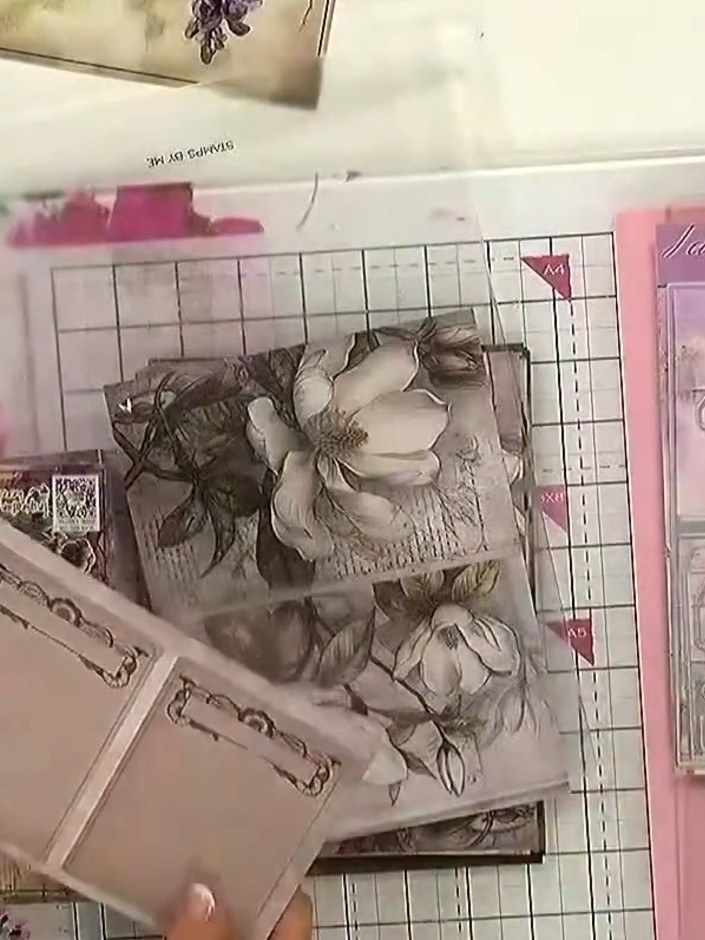
Continue adding more die-cut pages to your album, alternating between different folio designs. Layer and arrange the pages as desired to create additional pockets and decorative elements throughout your mini album.
▶ watch this step (13:00)Written up from the show itself. See every guide from our shows · free how-to guides · watch live on My Telly