Give your friends $10 off their first order!
Refer a FRIEND








Prices change straight away. Every language is our own translation, not Google.
A project from our live show HSN PRODUCT INSPIRATION - Join me for a fun filled show broadcast 25th August 2026 · 08/25/2026 · watch it from 1:08:00
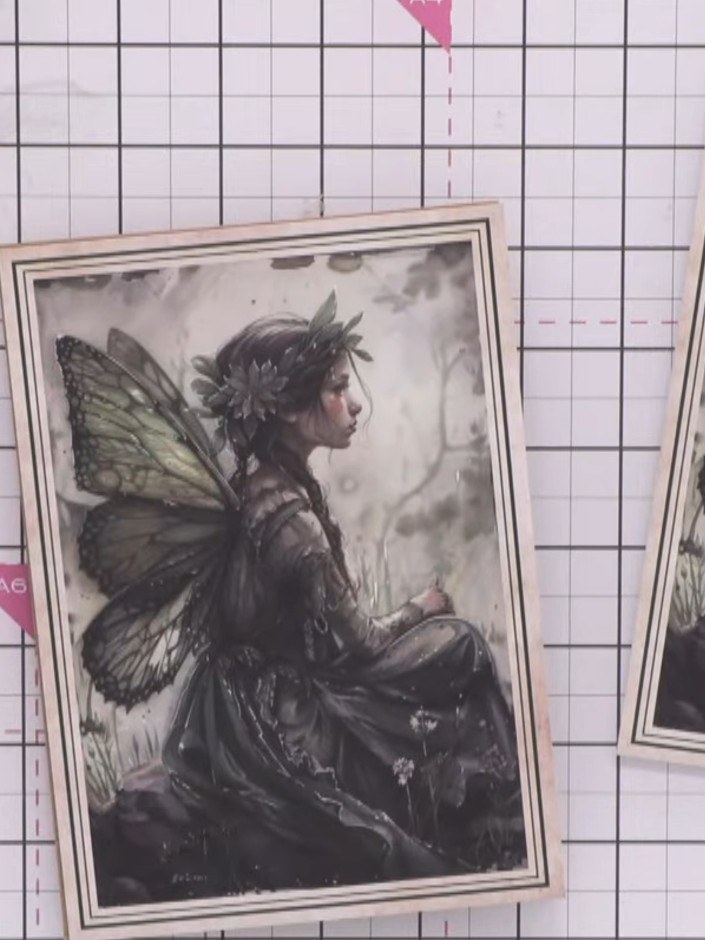
Create an elegant card featuring a mystical fairy with delicate wings set against a soft, atmospheric background. The design combines a painted mount with torn vellum layered across the bottom for texture, whilst the fussy-cut fairy element is enhanced with dimensional wings to add depth and movement. The muted grey and green tones create a sophisticated, ethereal aesthetic perfect for thoughtful greetings.
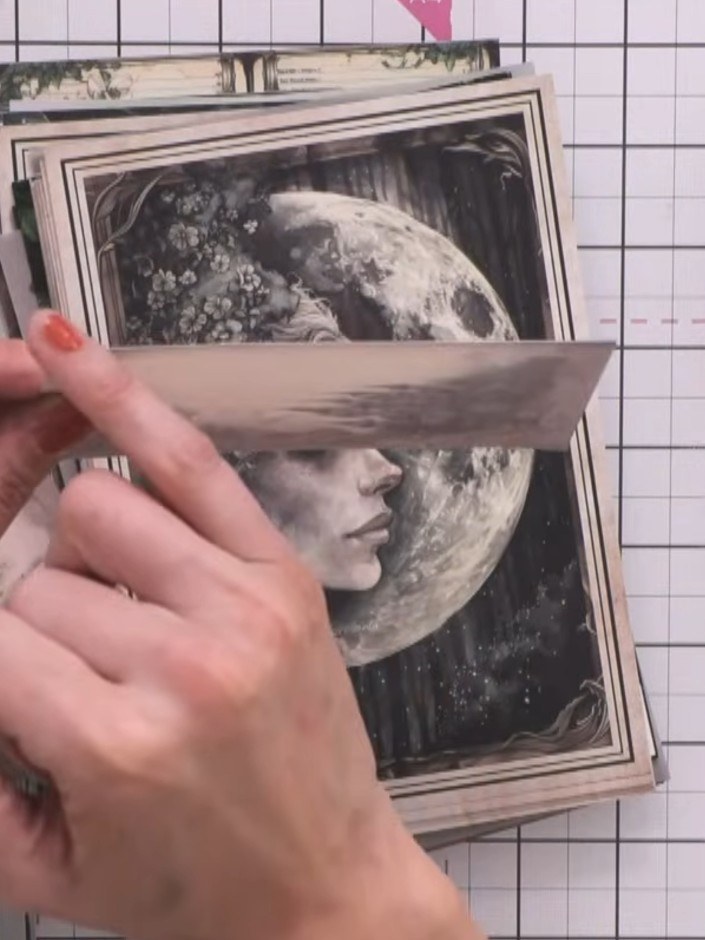
Take a piece of patterned paper from the Misty Hollow collection and fold it in half to create your card base. Score along the fold line to ensure a crisp crease.
▶ watch this step (1:08:00)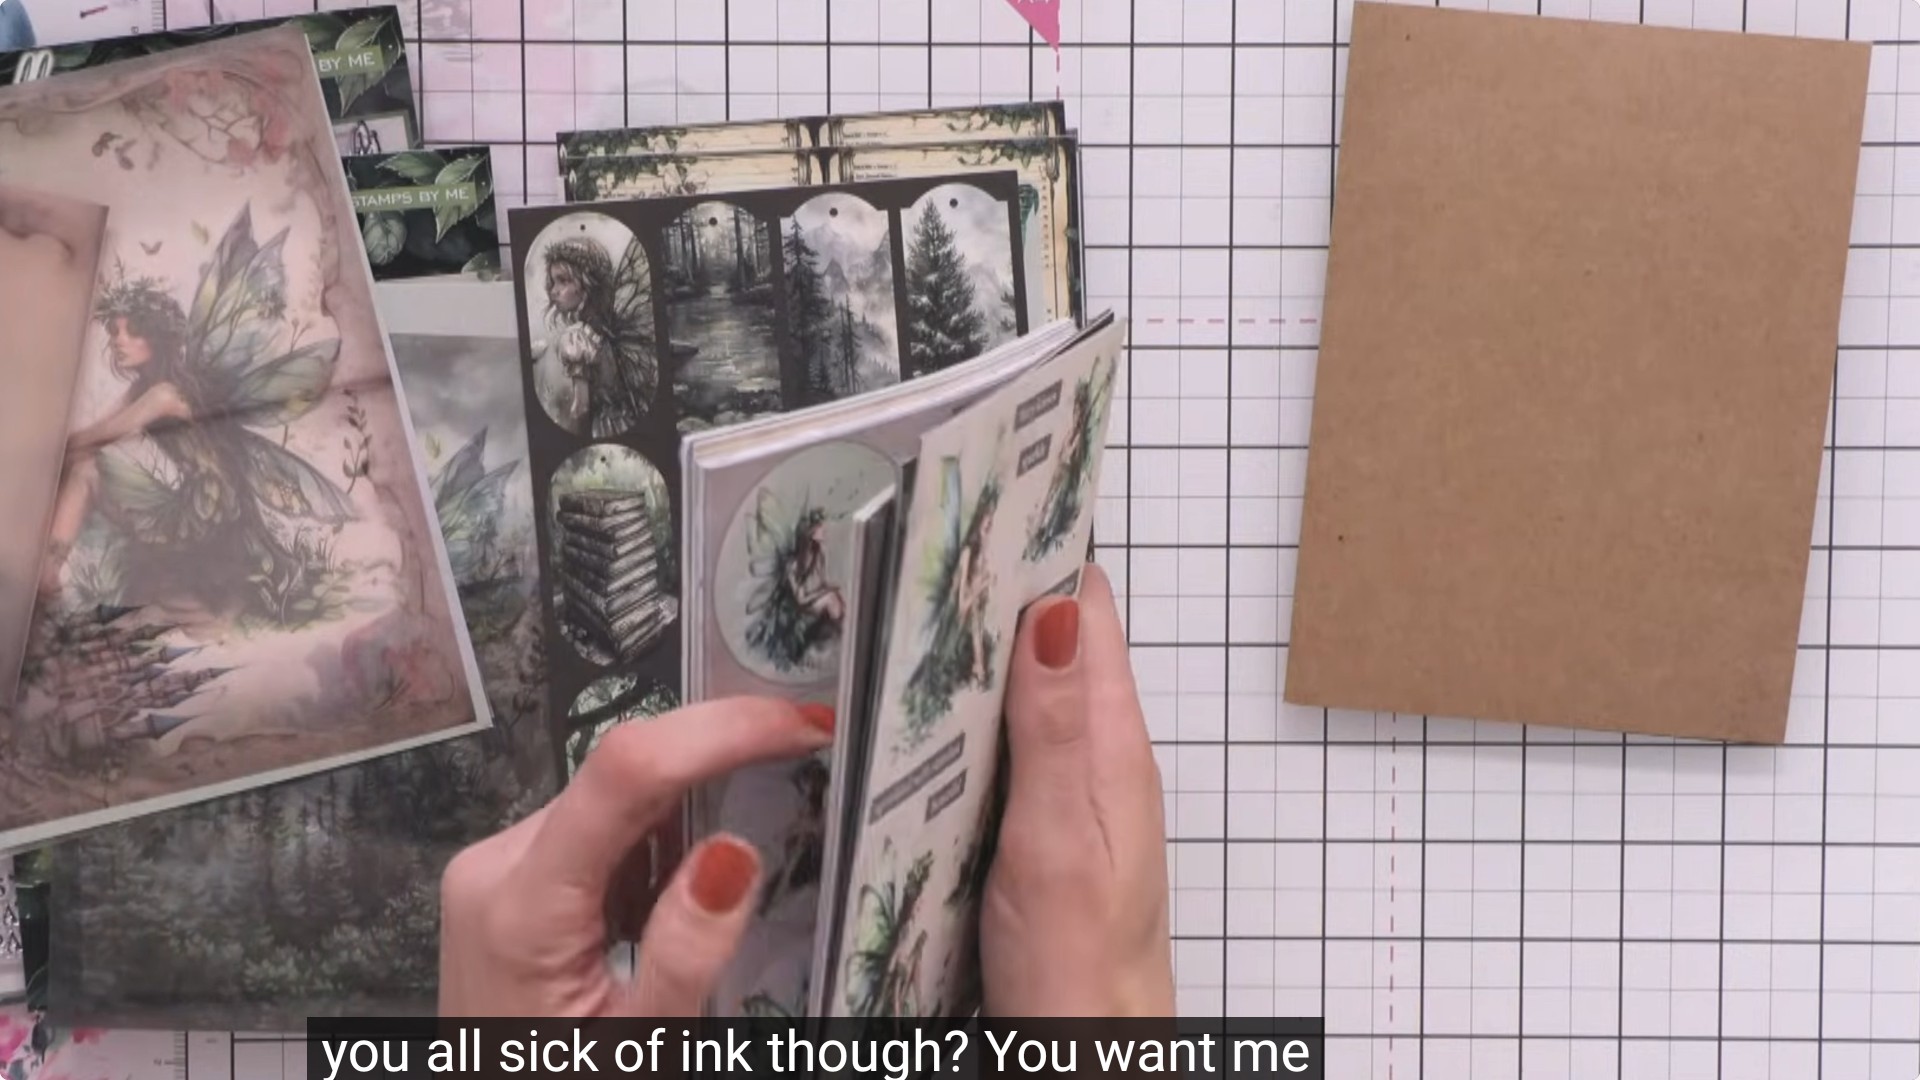
Score the fold line with your hand or a scoring tool to create a clean, crisp crease in the card.
▶ watch this step (1:08:30)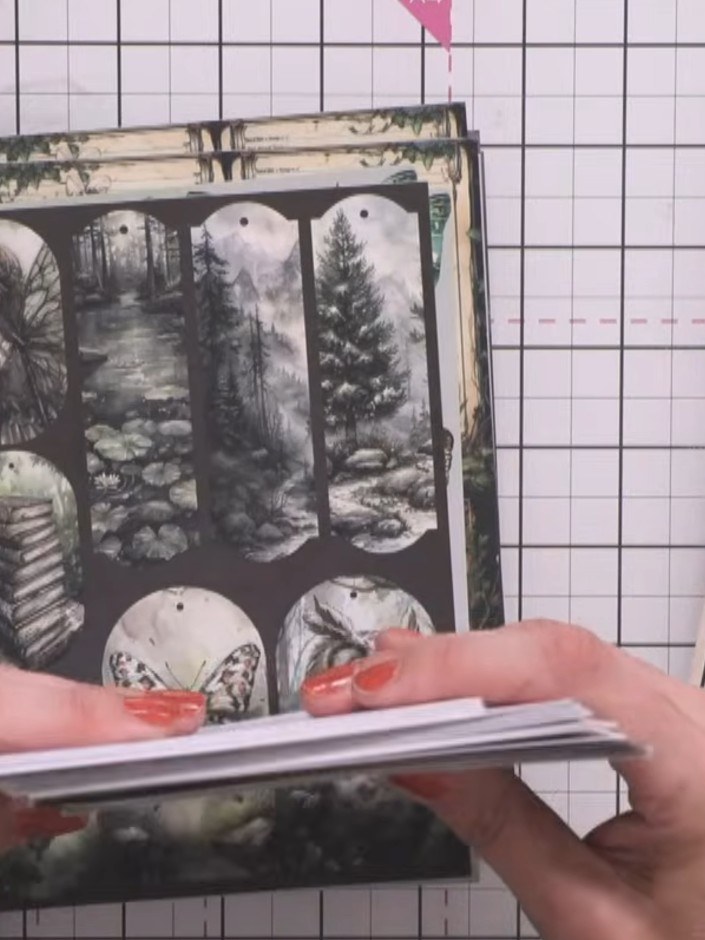
Tear a piece of patterned vellum from the Mystic Hollow collection to create a textured strip for your card.
▶ watch this step (1:09:00)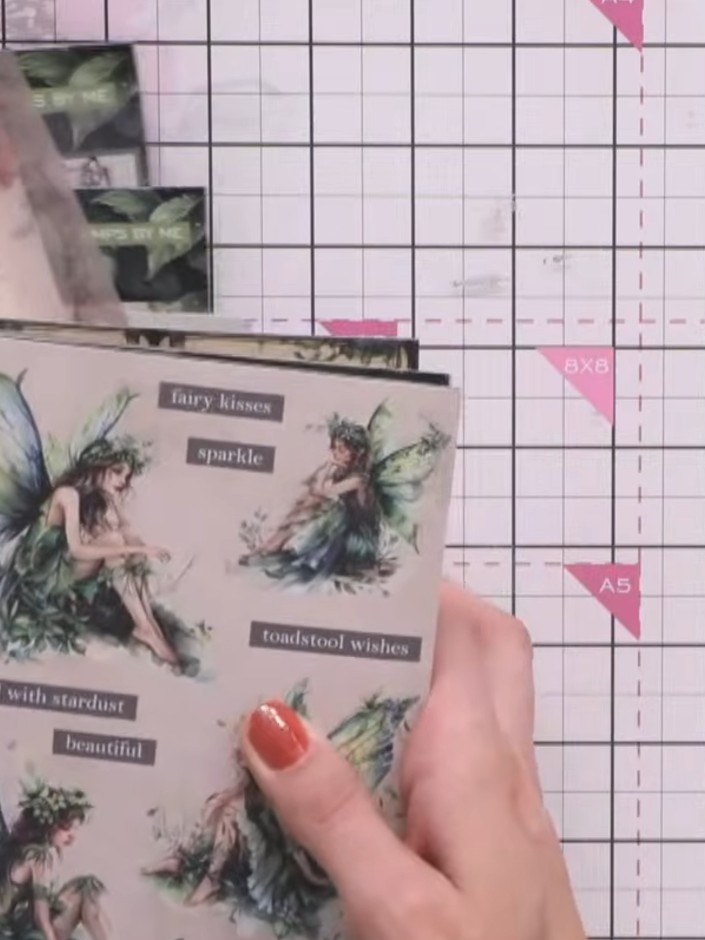
Wrap the torn vellum around the bottom portion of the card base, positioning it to cover the lower section of the fairy image panel.
▶ watch this step (1:09:15)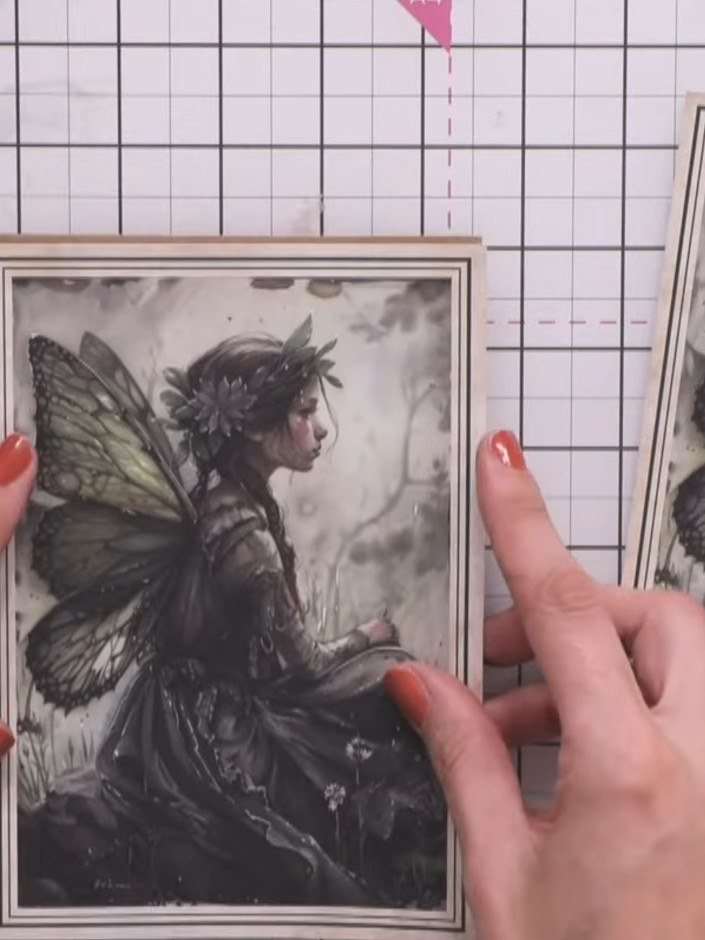
Trim the vellum so it sits just above the bottom border of the card, revealing the craft-coloured card beneath.
▶ watch this step (1:09:30)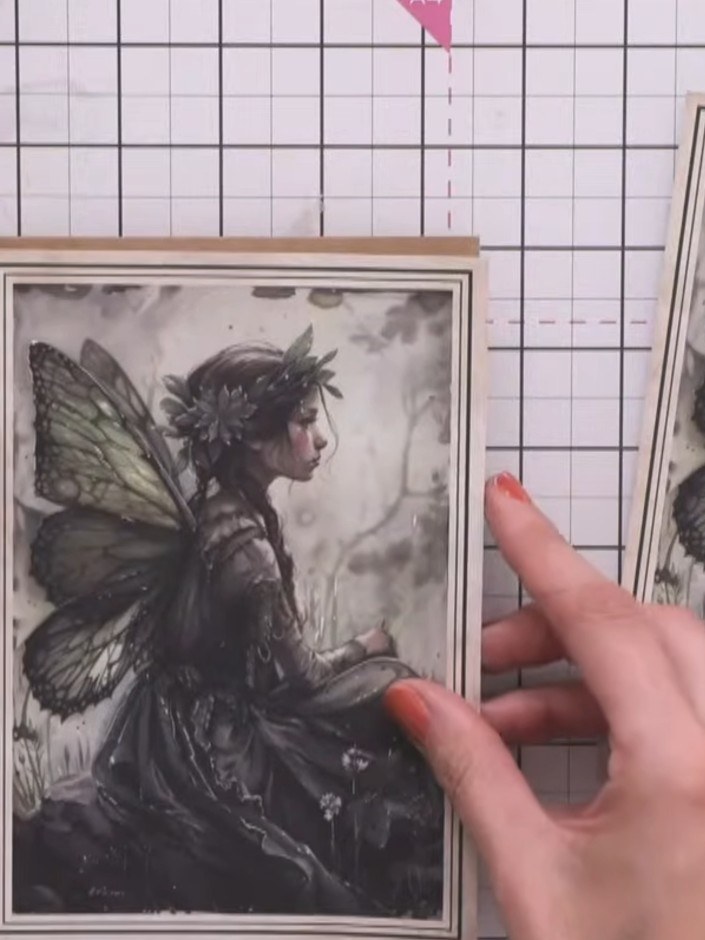
Apply adhesive to the back of the vellum fairy image and carefully position it onto your card base. Press down firmly to secure the vellum in place, ensuring there are no air bubbles.
▶ watch this step (1:09:45)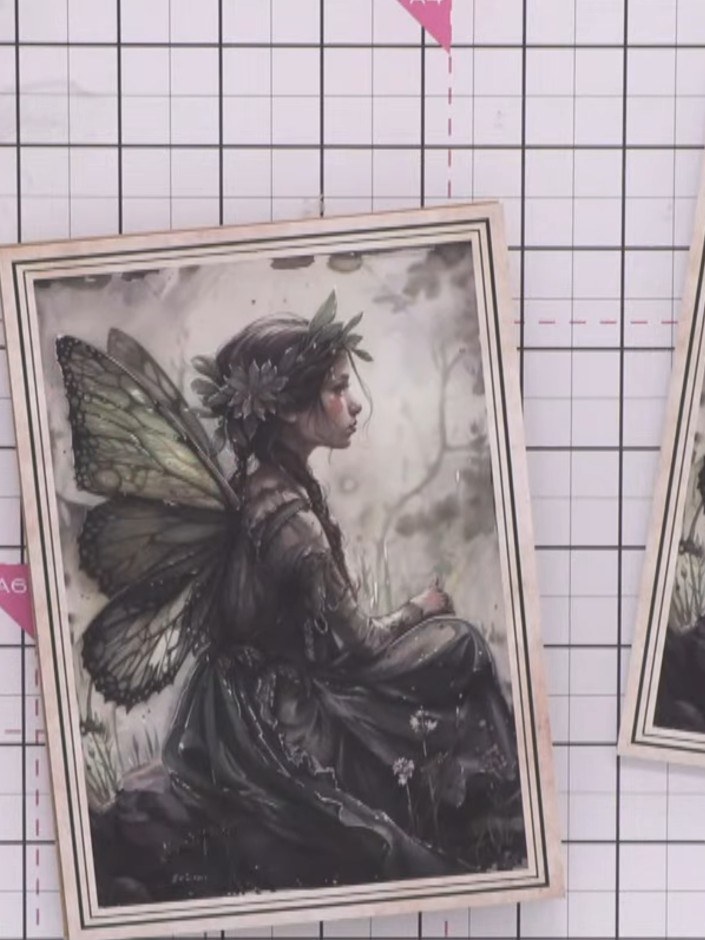
Select a painted mount featuring the fairy image from the collection. Apply adhesive to the back of the mount and position it centrally on the card front, above the vellum layer.
▶ watch this step (1:10:00)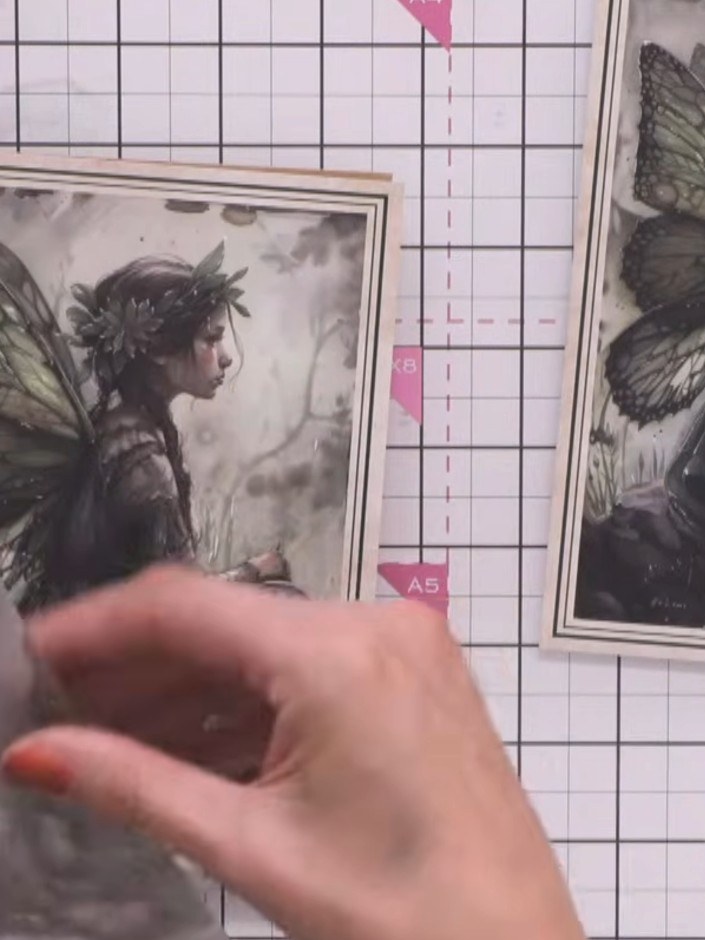
Fussy-cut a fairy image from the patterned paper, carefully cutting around the wings and body with scissors or a craft knife.
▶ watch this step (1:10:30)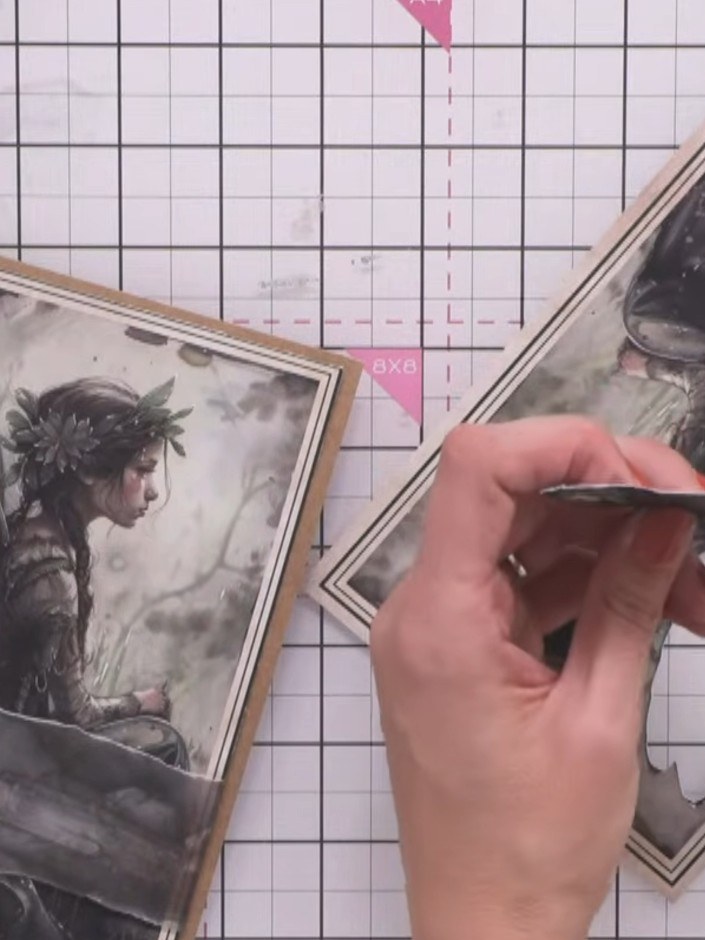
Use a black blending brush to colour the white edge of the fussy-cut fairy image, hiding the white card stock edge for a professional finish.
▶ watch this step (1:14:30)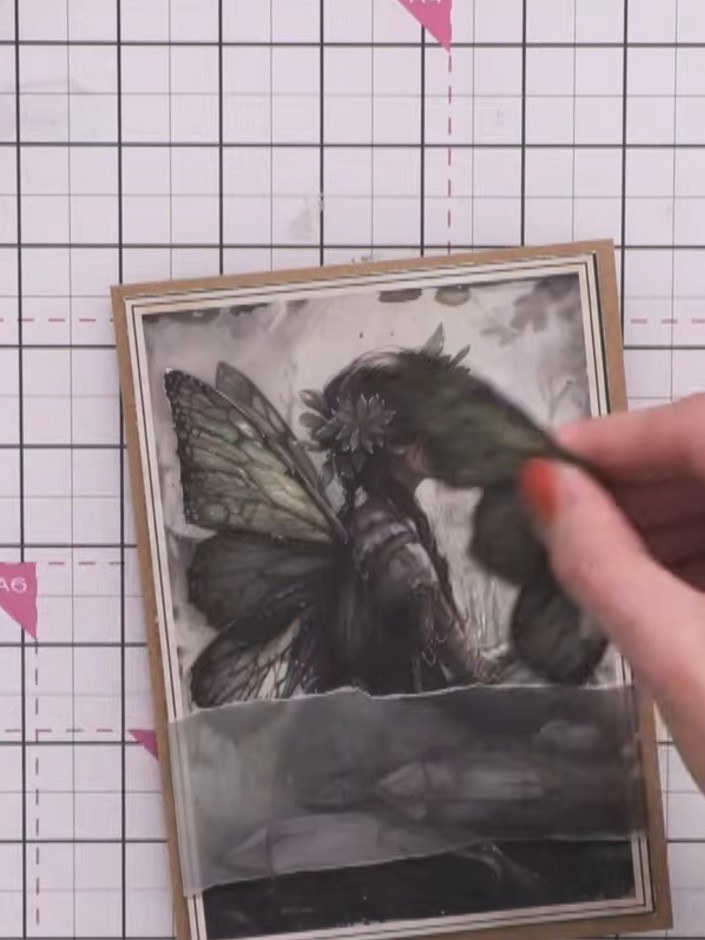
Warm the fairy image slightly with your hand and gently curve the wings to add dimension and movement to the design.
▶ watch this step (1:15:00)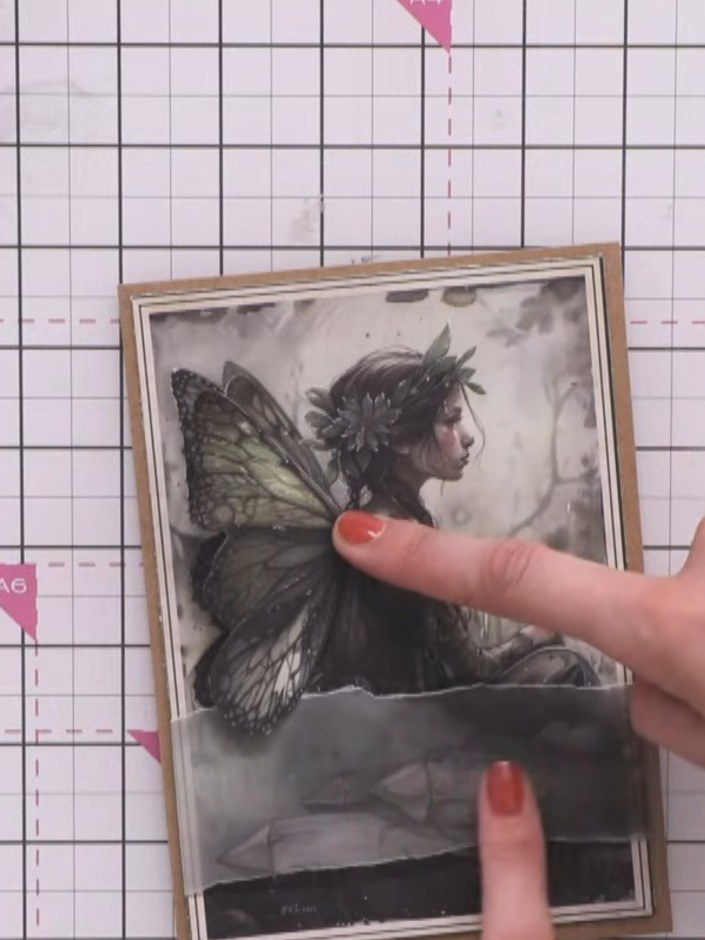
Attach the fairy image to the card front using 3D foam pads, positioning it so the wings sit proud above the torn vellum layer.
▶ watch this step (1:15:30)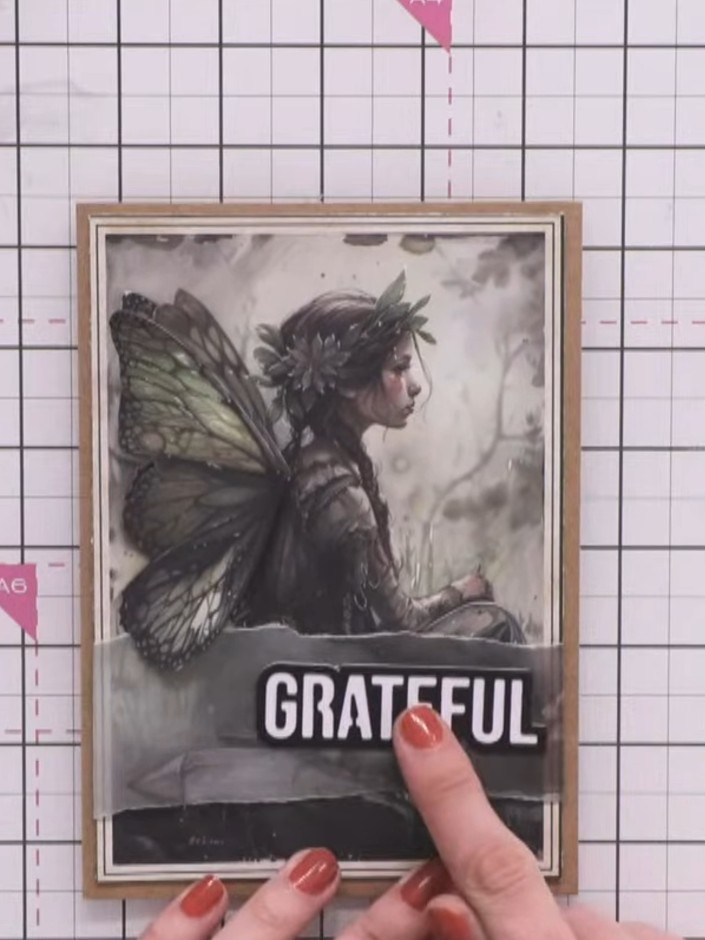
Add a sentiment word or phrase to the lower portion of the card. Position it centrally on the dark panel beneath the fairy image.
▶ watch this step (1:16:00)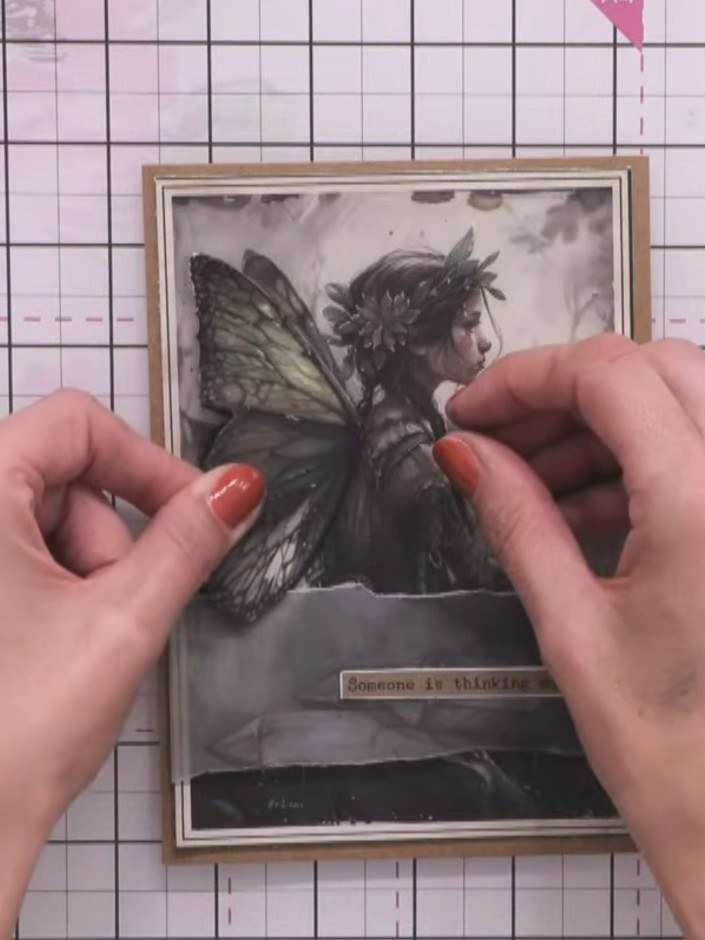
Optional: add sparkles or glitter glue to the fairy's wings and hair for extra shimmer. This will give your card a magical finishing touch.
▶ watch this step (1:17:00)Written up from the show itself. See every guide from our shows · free how-to guides · watch live on My Telly


