Give your friends $10 off their first order!
Refer a FRIEND








Prices change straight away. Every language is our own translation, not Google.
A project from our live show HSN PRODUCT INSPIRATION - Join me for a fun filled show broadcast 25th August 2026 · 08/25/2026
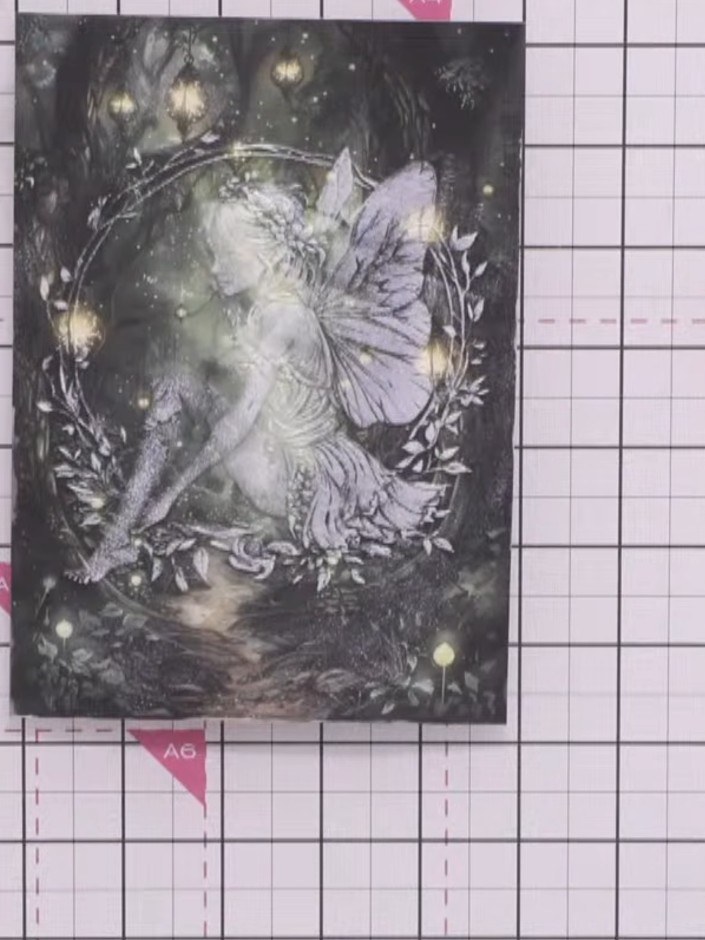
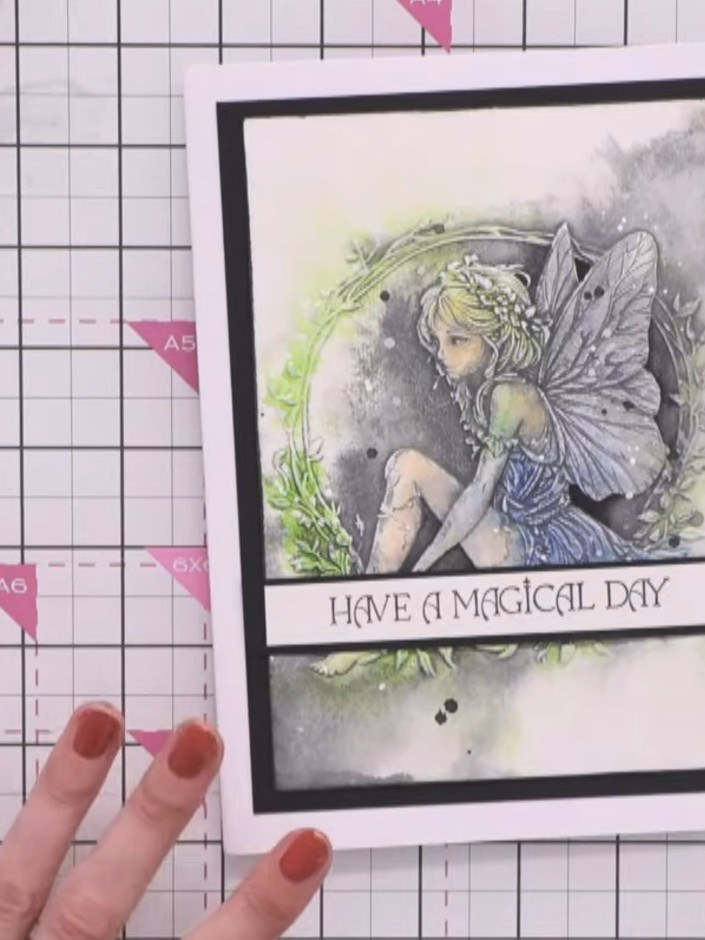
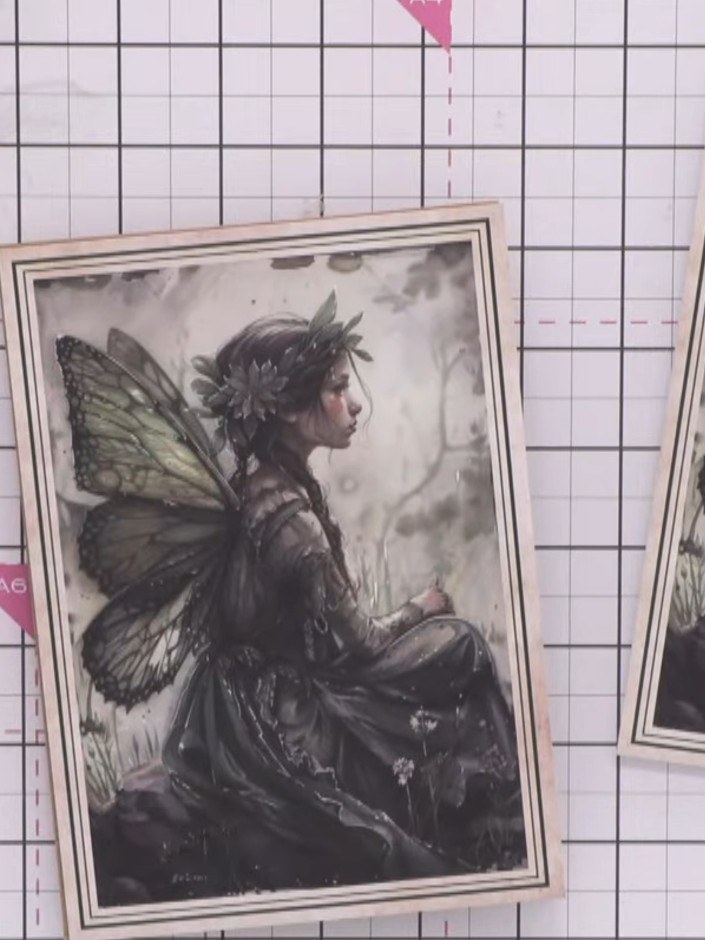
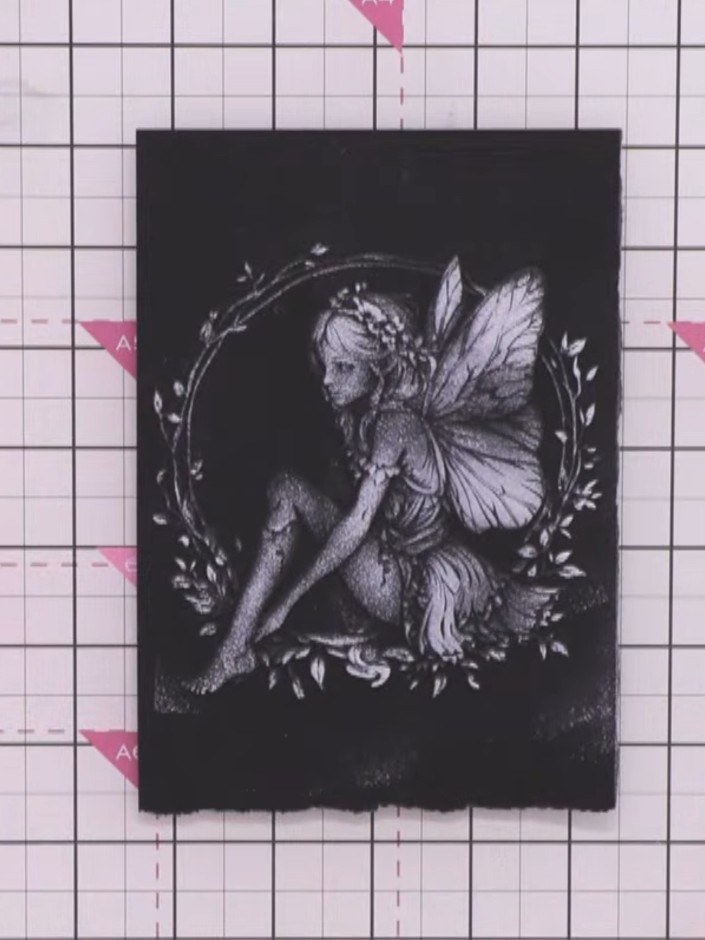
Create a striking embossed fairy card with dramatic contrast. Using black card stock and white ink, you'll produce an ethereal fairy image surrounded by a delicate floral wreath that appears to float against the dark background. The technique involves embossing and selective inking to highlight the raised details for a frosted, magical effect.
 1
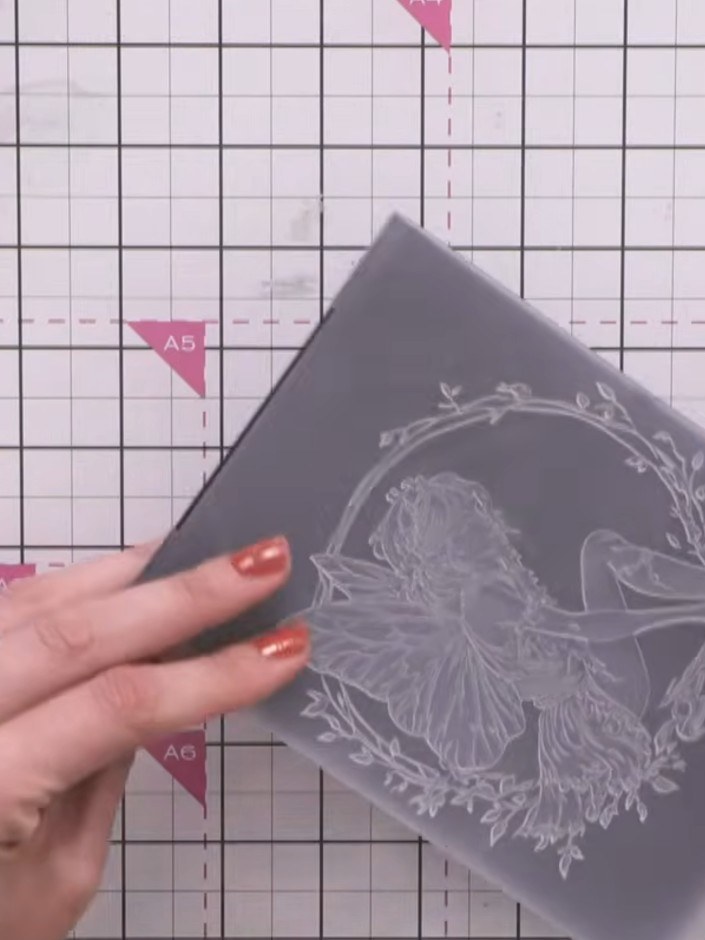
Place a piece of black card stock into the embossing folder with the raised side of the design facing up.
 2
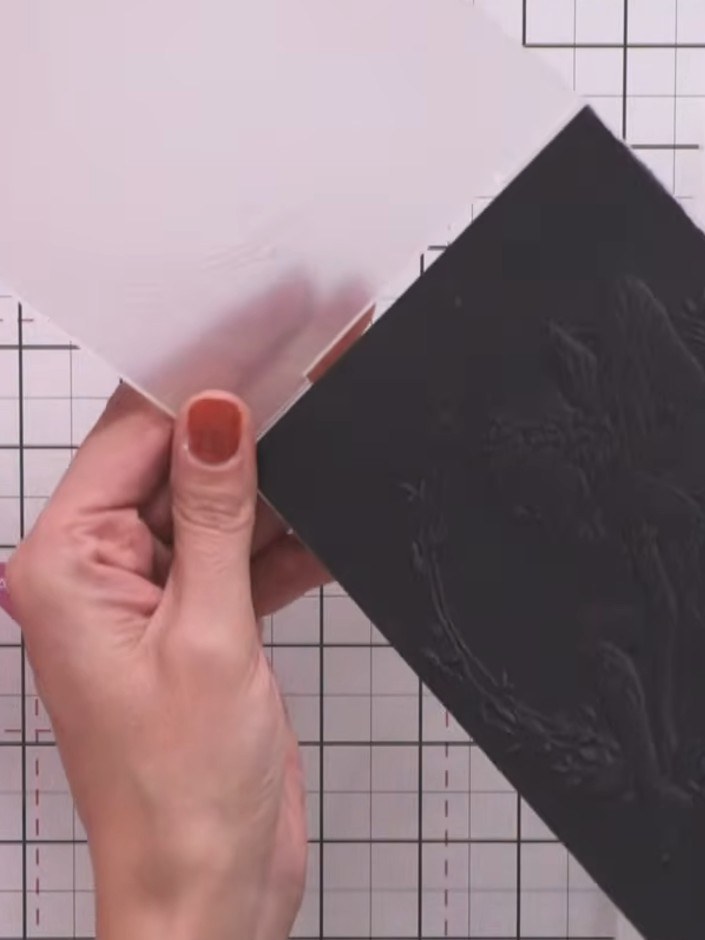
Place the black card with the embossing folder into your embossing machine. Run it through the machine to create the raised embossed design on the card.
 3
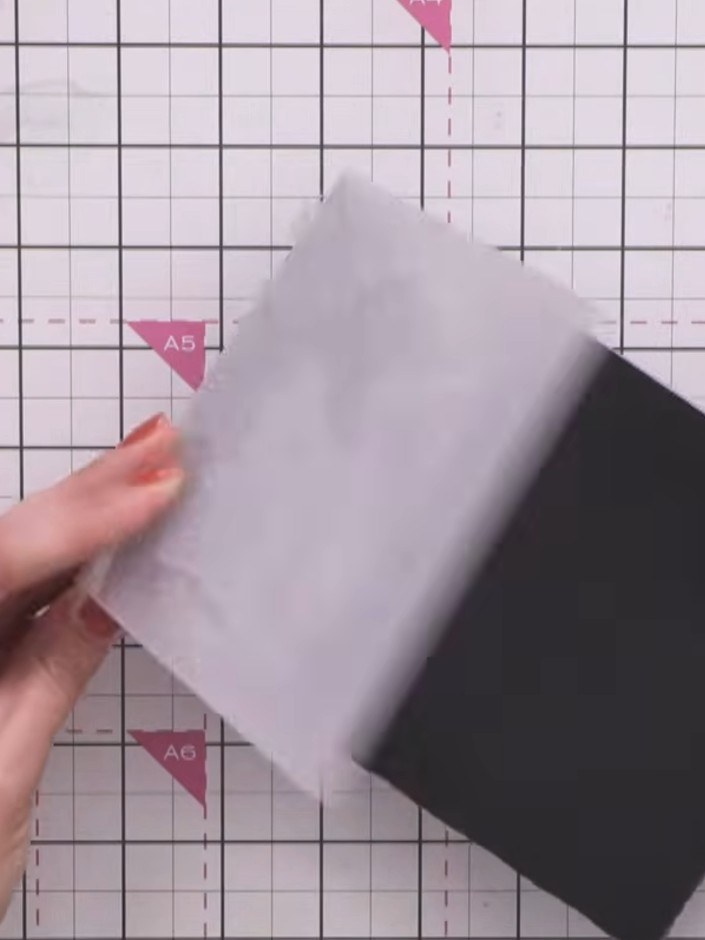
Open the embossing folder and carefully remove your embossed black card, revealing the raised design.
 4
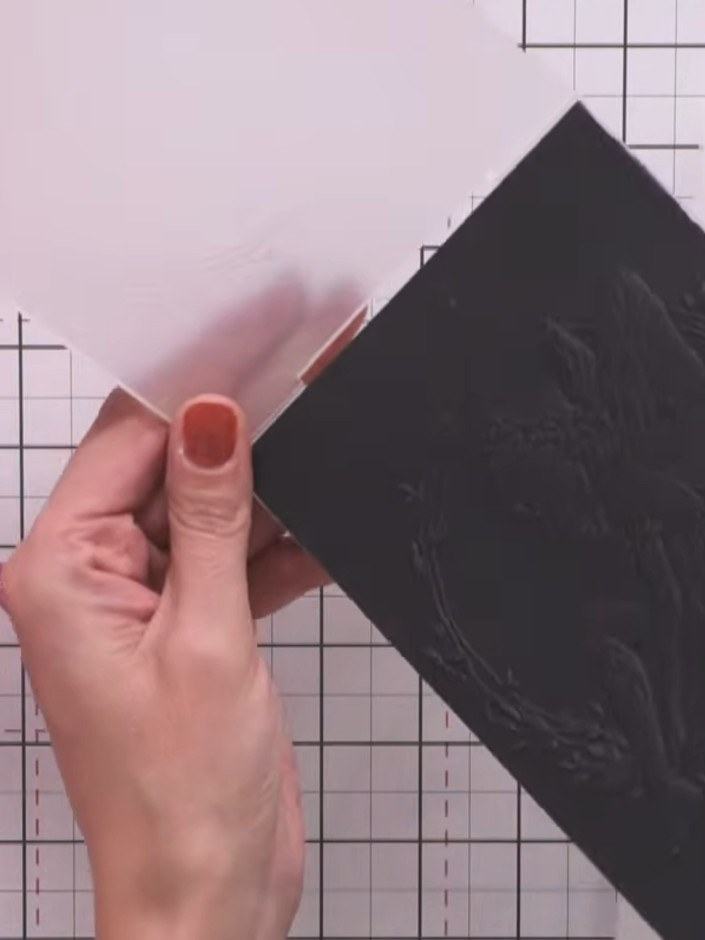
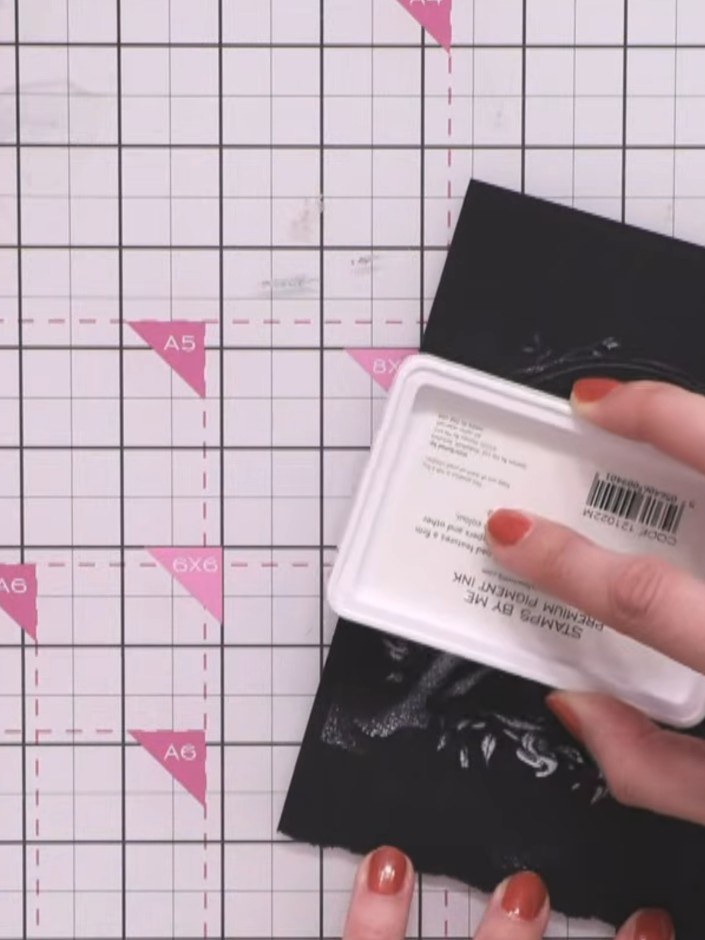
Tap a white pigment ink pad gently onto the embossed design on the black card, focusing on the fairy's body, wings, and facial features to highlight the raised details.
 5
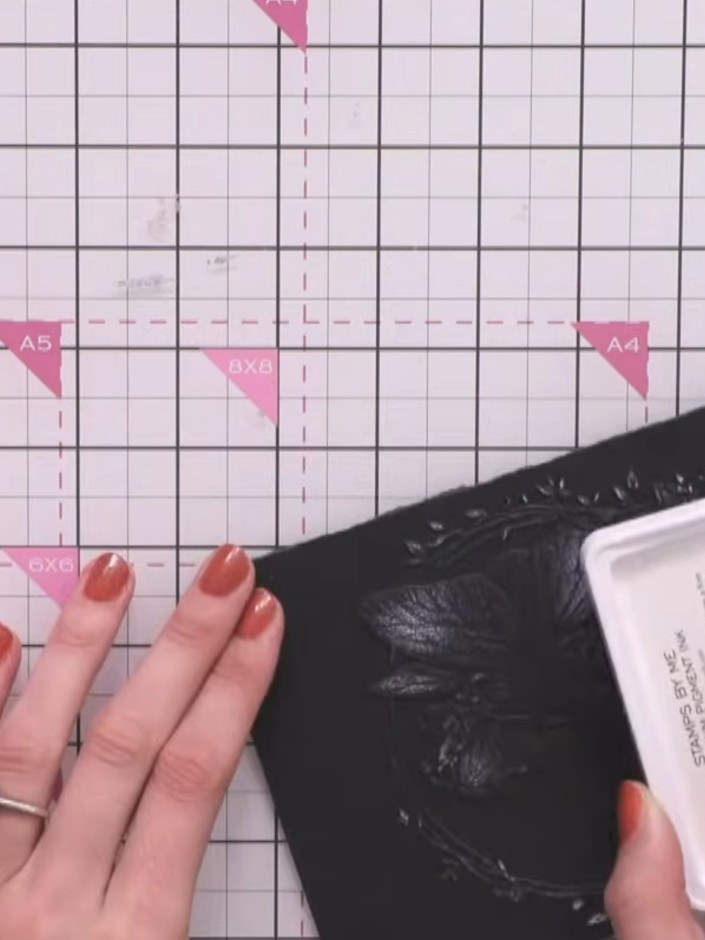
Apply white ink to the embossed image using the ink pad, ensuring you get ink into all the corners and details, particularly around the neck and shoulders of the fairy.
 6
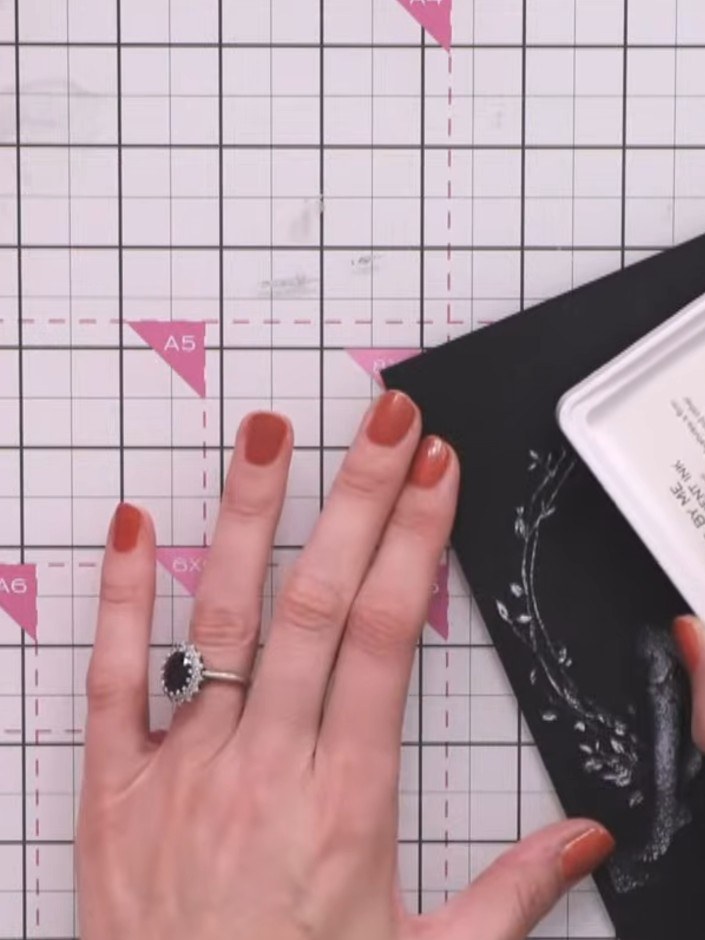
If you get any harsh white lines from the embossing, blend them out by gently dabbing with the white ink pad to soften the effect and create a more subtle finish.
 7
Apply white ink to the fairy's wings using a stamp pad or ink applicator. Dab the ink gently over the embossed wing details to make them sparkle and stand out against the black card.
 8
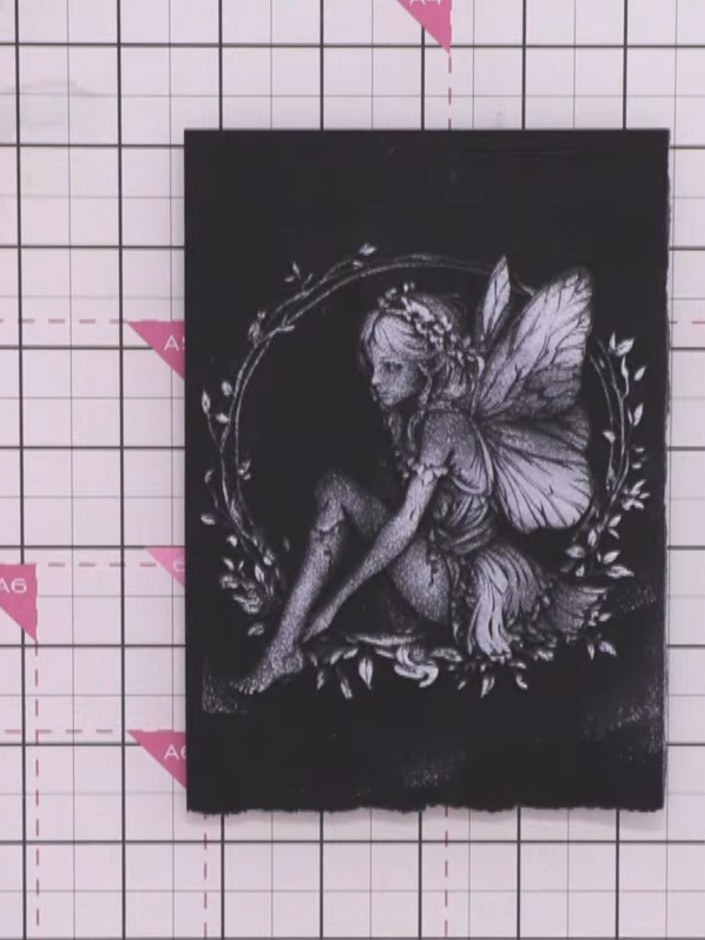
Allow the white embossing ink to dry completely before using or displaying your card. The finished piece shows a beautiful fairy image embossed in white on black card, surrounded by a delicate floral wreath.
Share your make with the Stamps By Me community - and keep this guide for next time.
Written up from the show itself. See every guide from our shows · free how-to guides · watch live on My Telly · the previous layout