Give your friends $10 off their first order!
Refer a FRIEND








Prices change straight away. Every language is our own translation, not Google.
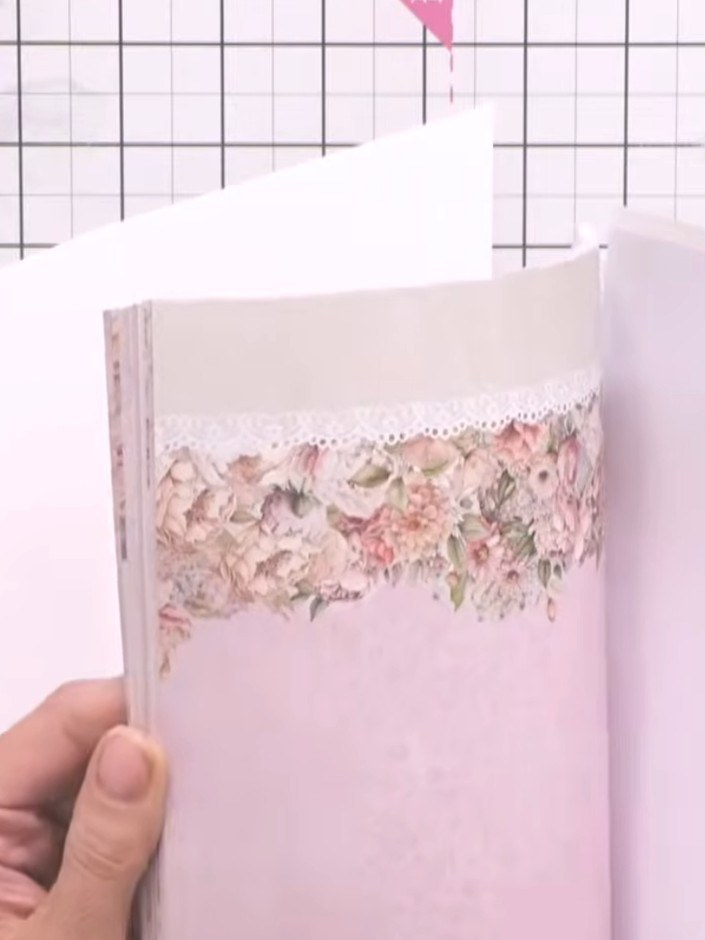
A project from our live show Create Together Club - 5 Days of Creativity - Broadcast Monday 2ND June 2025 · 06/02/2025
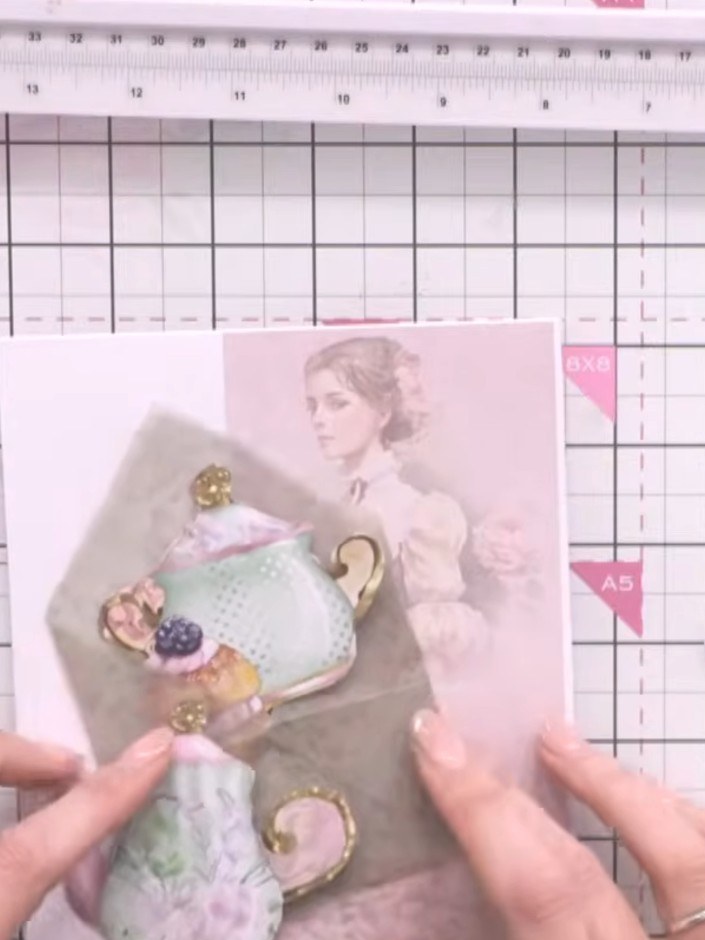
Create an elegant card featuring translucent vellum envelope pockets on the front. This delicate design in soft pinks and vintage tones showcases decorative elements including a teacup embellishment and sentiment strips. The main techniques include working with vellum, creating envelope pockets, and layering dimensional elements for a sophisticated finish.
 1
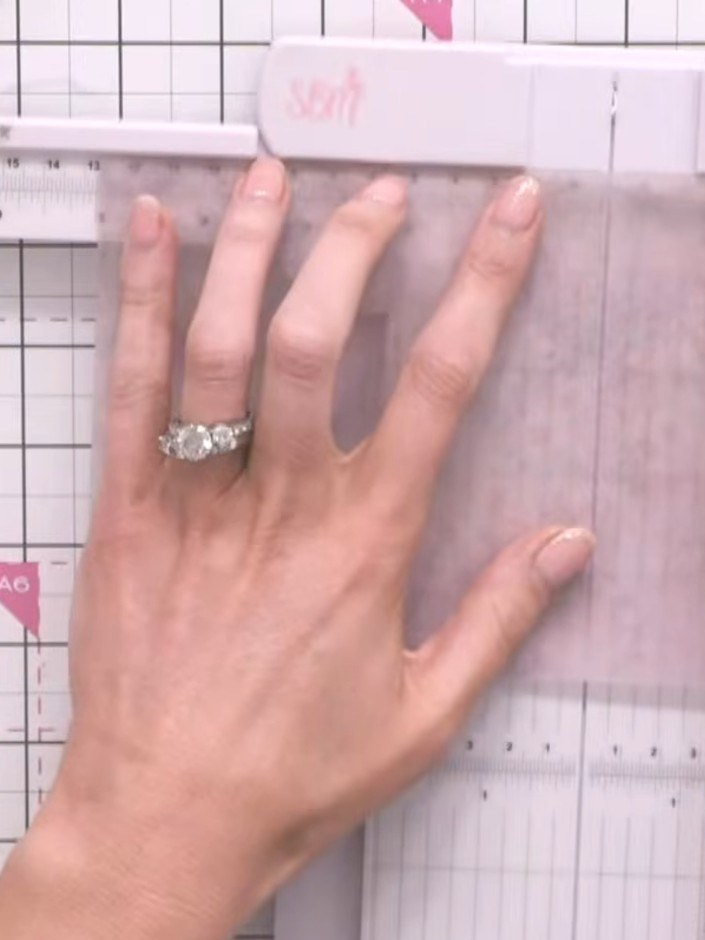
Cut two squares of plain vellum, each measuring 5 by 5 cm.
 2
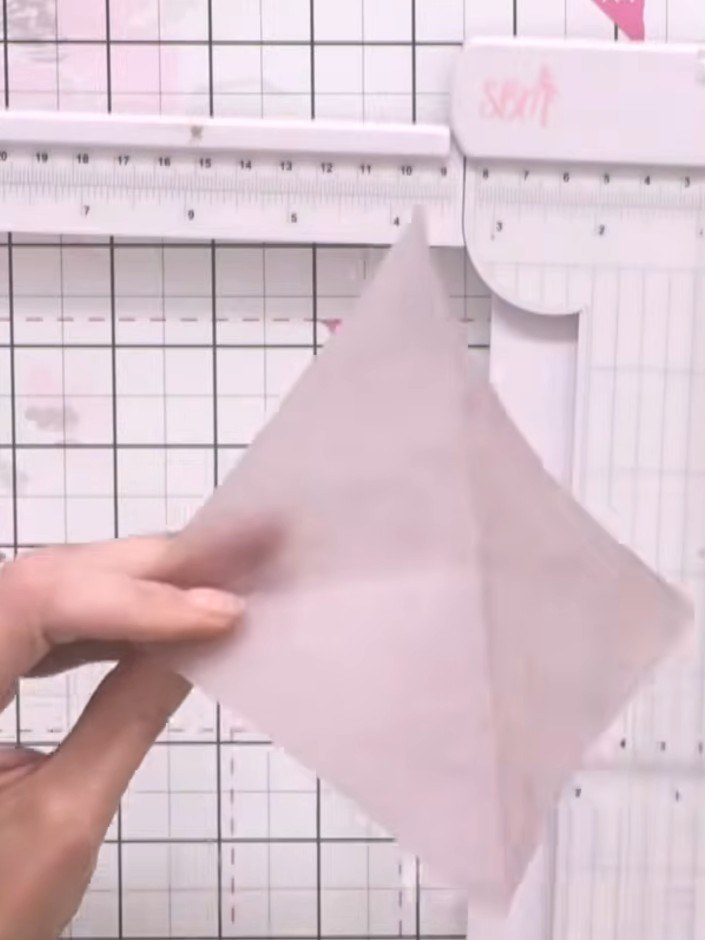
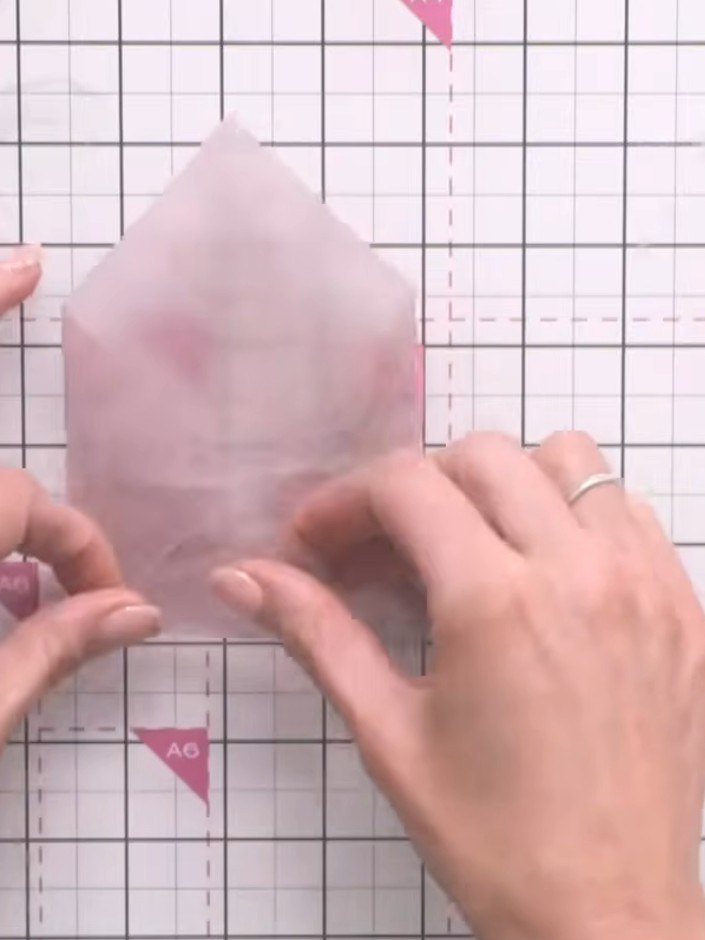
Fold the vellum square diagonally from corner to corner. Then fold the opposite corners in towards the centre to create an envelope shape.
 3
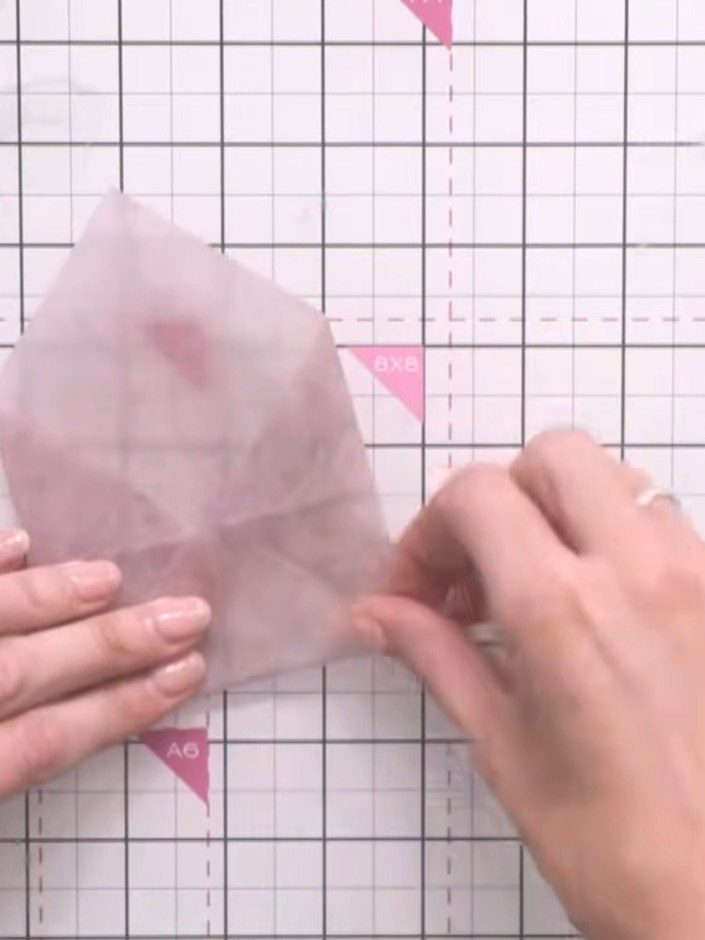
Bring the remaining two points of the vellum together and fold them down to close the envelope pocket.
 4
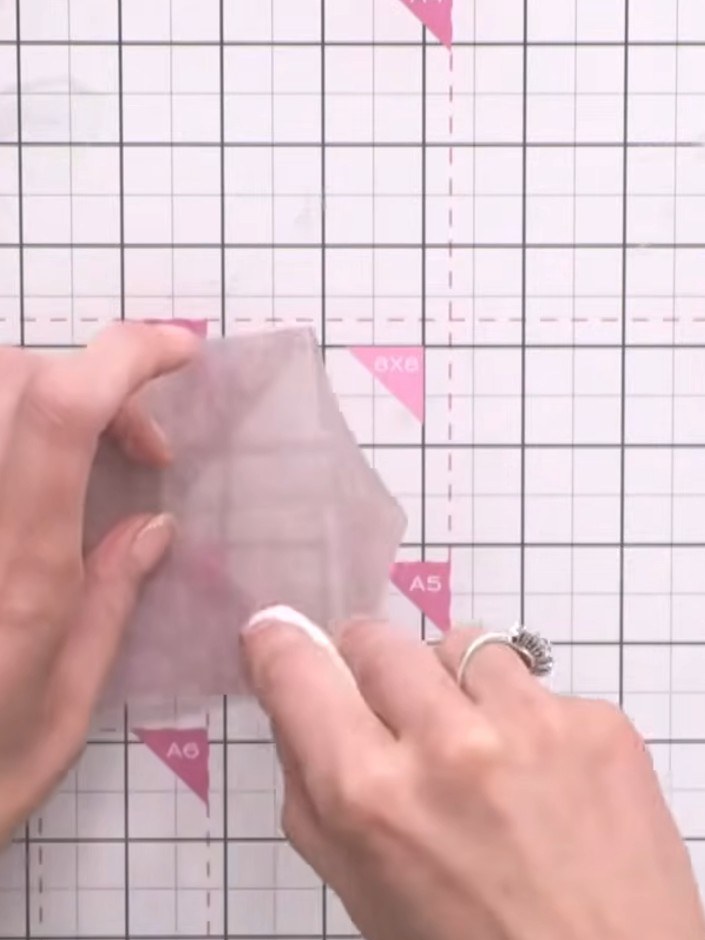
Score the folds firmly with your finger to create crisp edges on the vellum envelope.
 5
Secure the vellum envelope closed by applying small dots of adhesive along the overlapping edges using a tape pen or adhesive.
 6
Take the second vellum square and repeat the folding process. Fold the corners to create the envelope pocket shape and secure with double-sided tape.
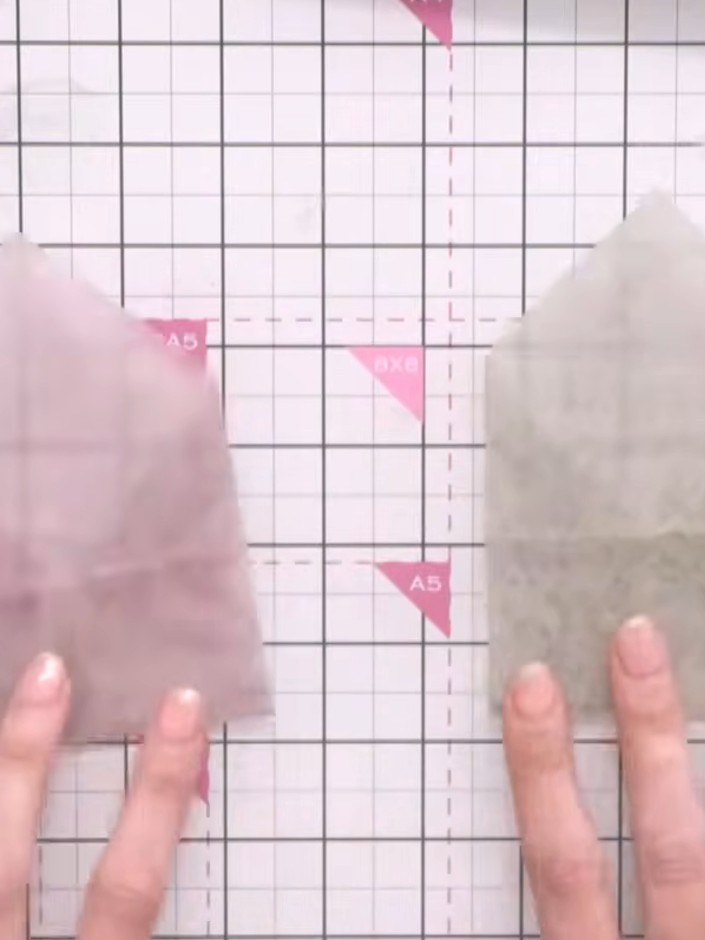 7
Take two pieces of vellum and place them on your cutting mat. These will be trimmed to create the envelope pockets for your card.
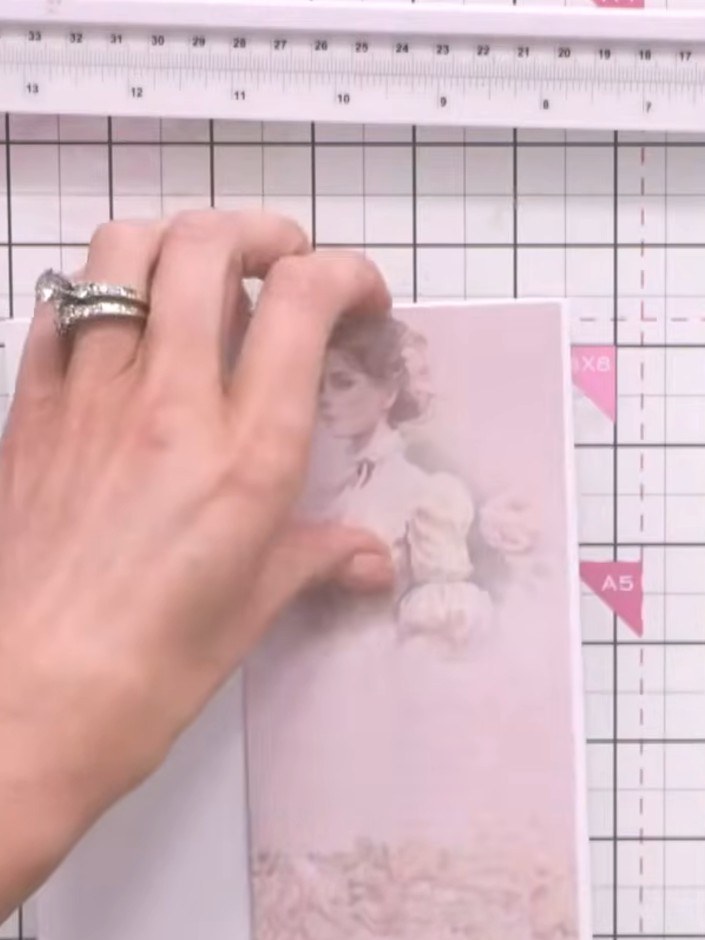 8
Adhere a patterned paper strip featuring the vintage lady image down one side of the card base, positioning it vertically.
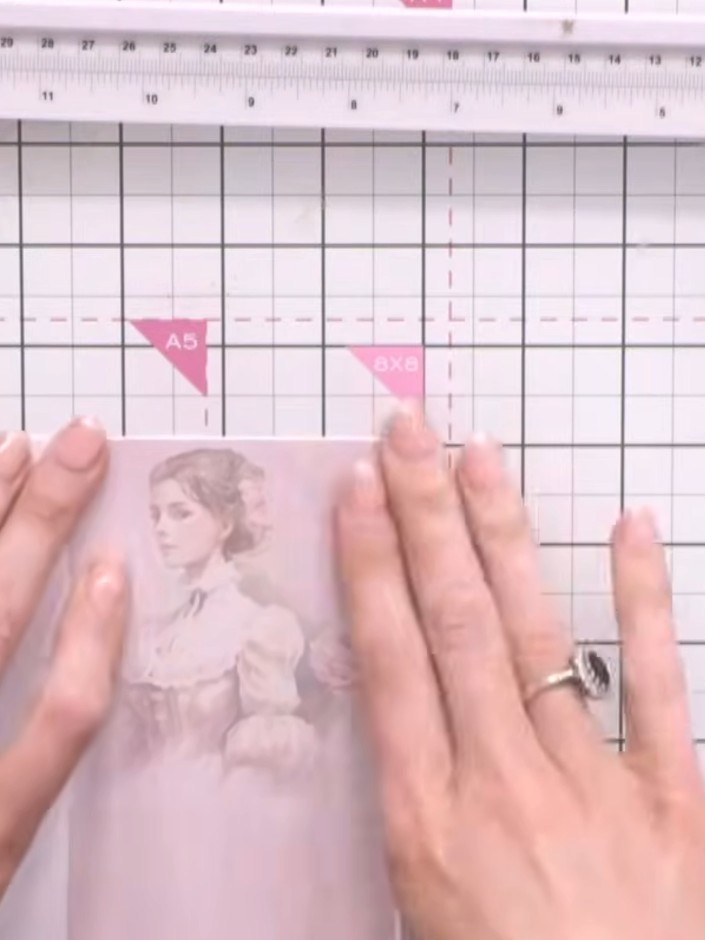 9
Position and glue the two vellum envelopes onto the card front, arranging them to create visual interest.
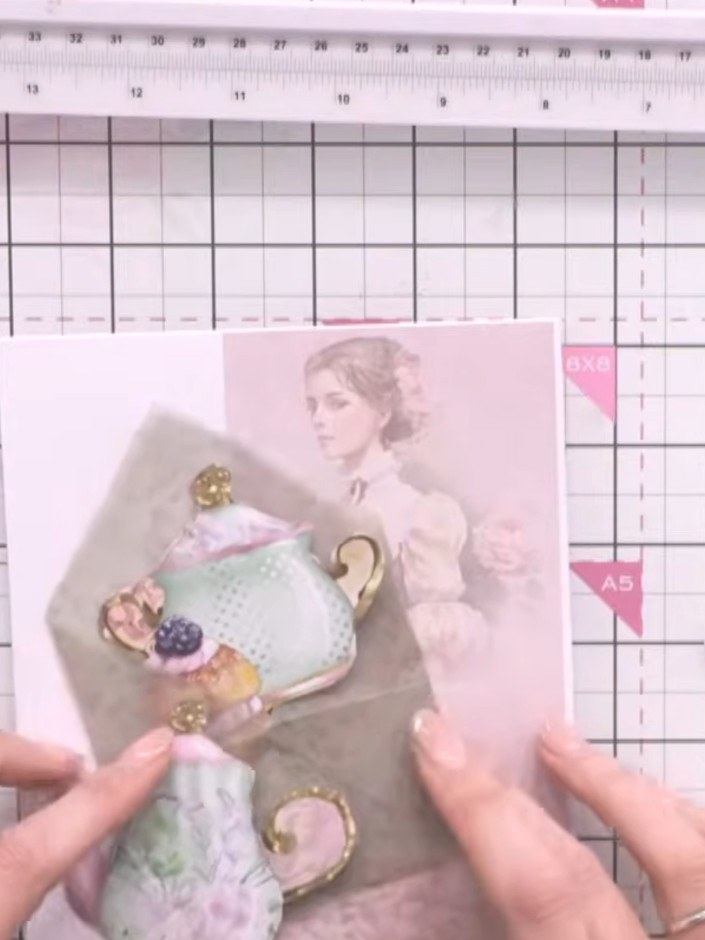 10
Fussy cut decorative embellishments such as teacups, teapots and cake designs from the patterned papers. Arrange and layer these cut-out elements inside and over the vellum envelopes to create dimension and visual interest.
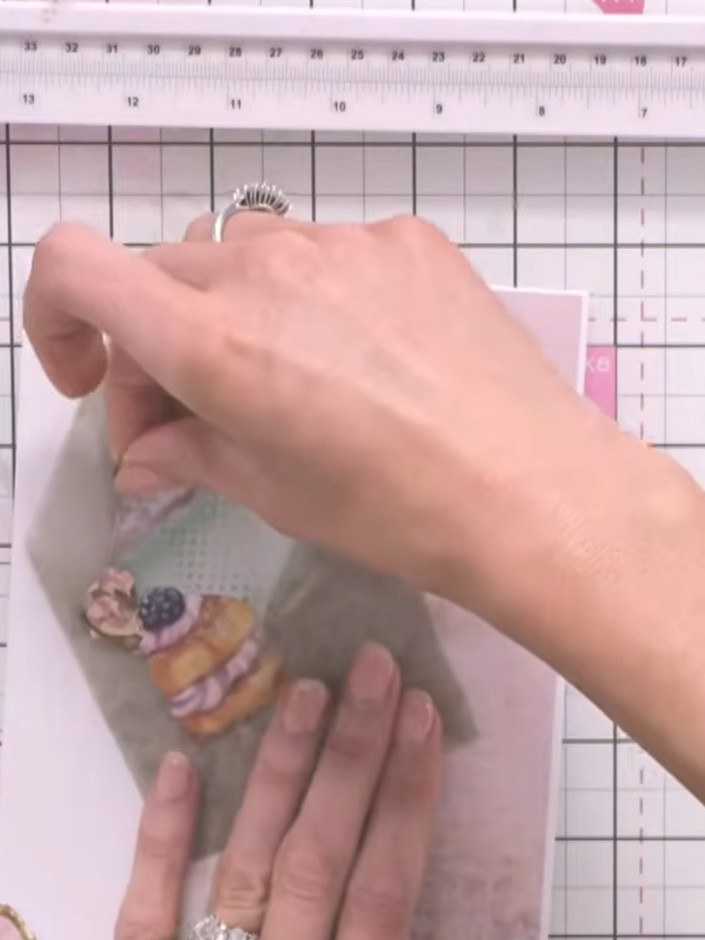 11
Add foam pads to the back of one of the decorative embellishments to create dimension on your card.
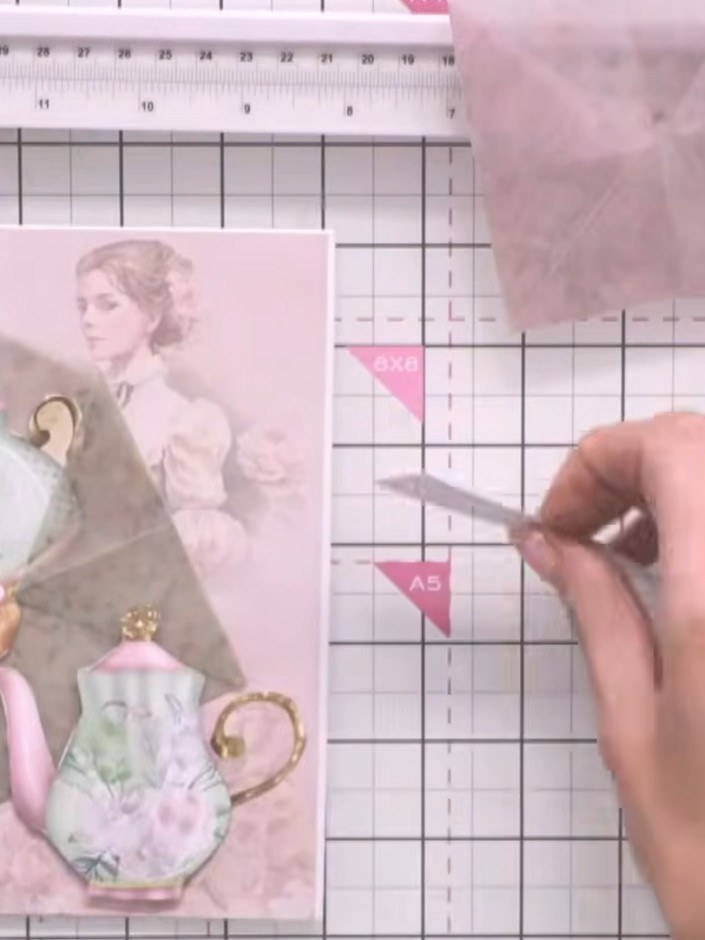 12
Add a sentiment to the front of the card using washi tape strips or pre-cut word sentiments. Position the sentiment on the vellum pocket to complete your card.
Share your make with the Stamps By Me community - and keep this guide for next time.
Written up from the show itself. See every guide from our shows · free how-to guides · watch live on My Telly · the previous layout