Give your friends $10 off their first order!
Refer a FRIEND








Prices change straight away. Every language is our own translation, not Google.
A project from our live show Create Together Club - 5 Days of Creativity - Broadcast Monday 2ND June 2025 · 06/02/2025
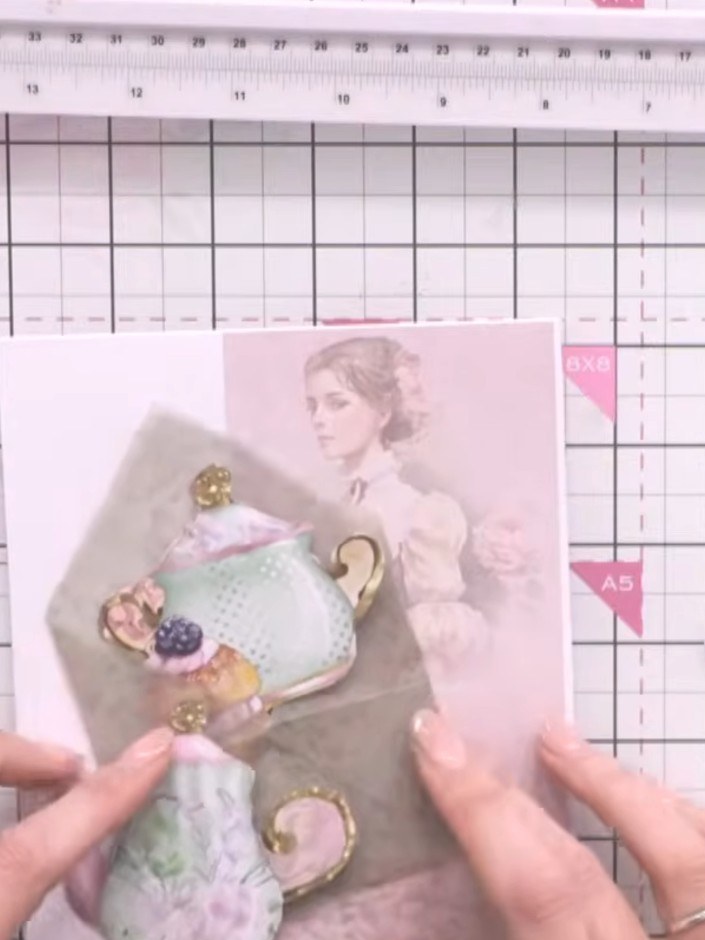
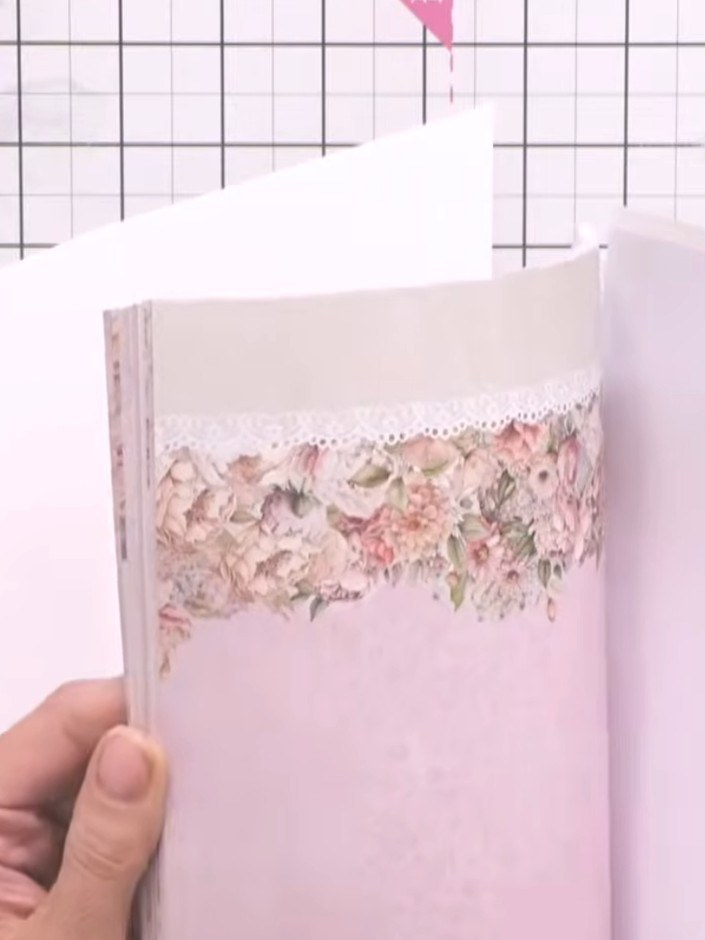
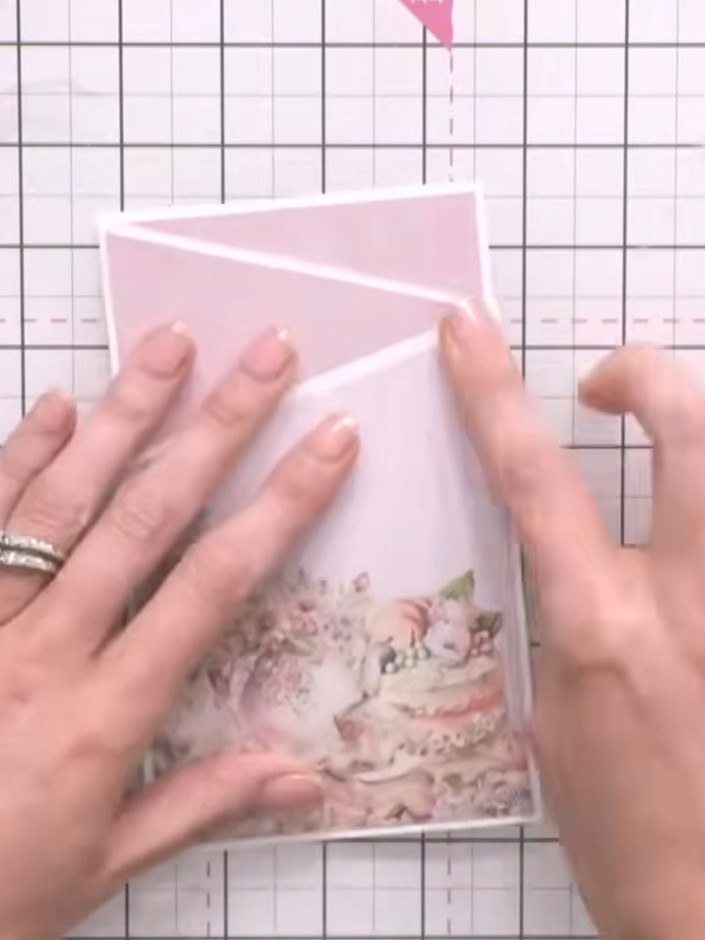
Make a stunning three-panel stepped card featuring the romantic Sweet Serenity collection in soft pinks, lavenders and golds. Each panel is layered with white-bordered decorative papers showcasing vintage teacups, delicate florals and elegant cake designs. The graduated sizing creates a beautiful cascading effect that adds dimension and sophistication to this special handmade card.
 1
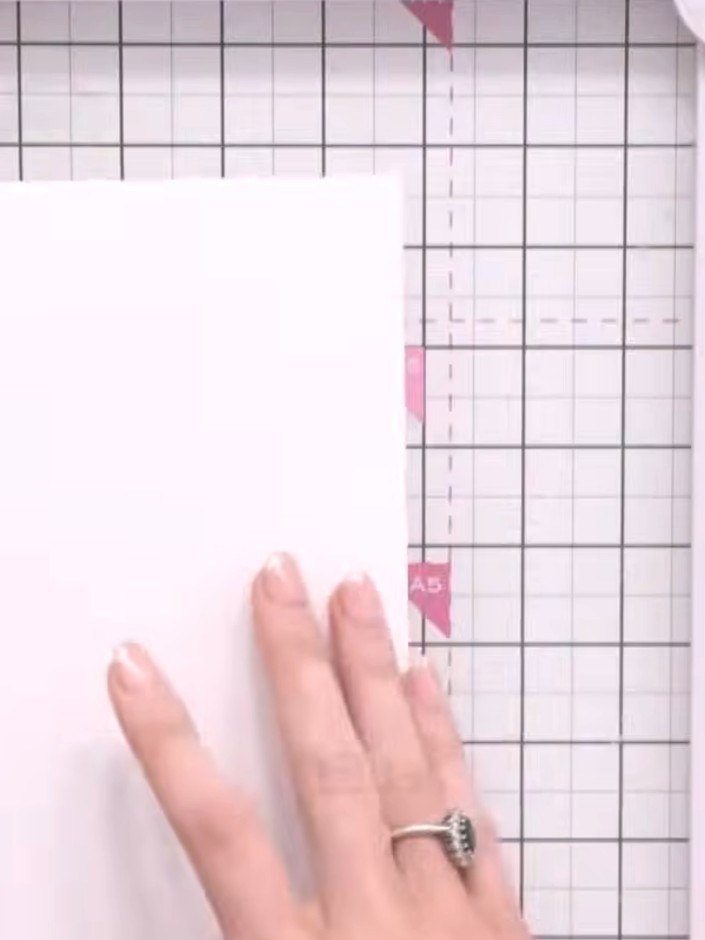
Cut a piece of white card stock to 30 cm long. Score at 10 cm and 20 cm to create three equal panels for your card base.
 2
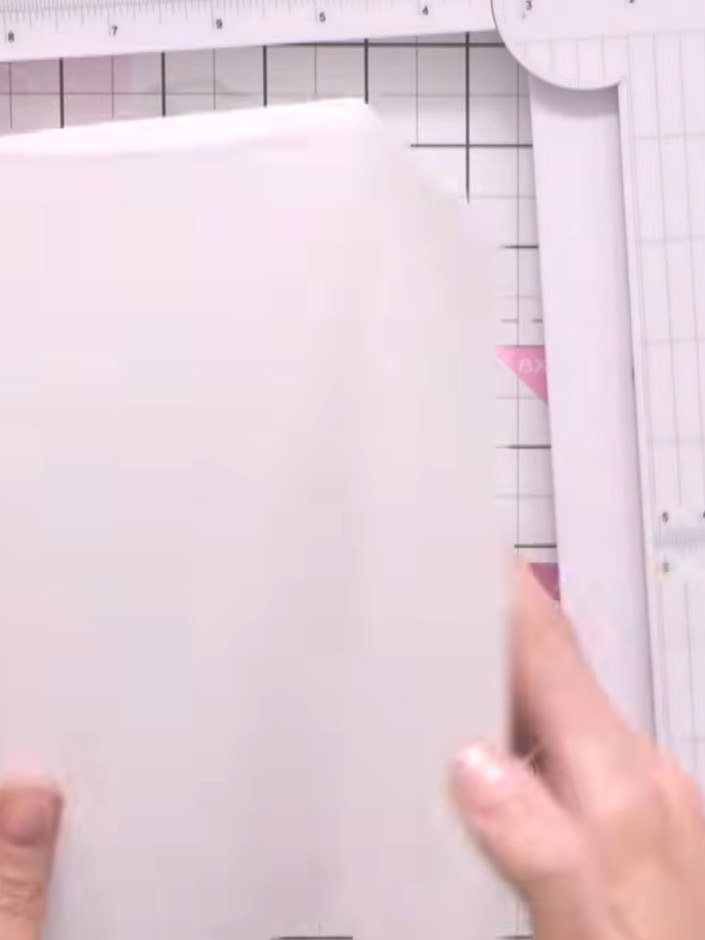
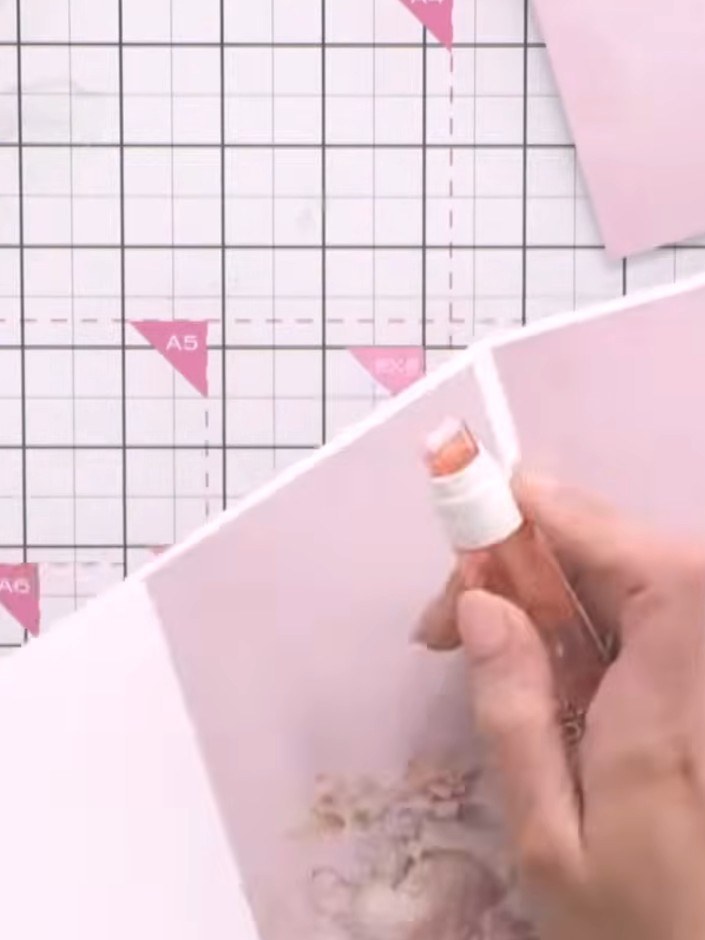
Fold the card at each score line, alternating the direction of each fold to create a concertina effect with fold-forward and fold-back creases.
 3
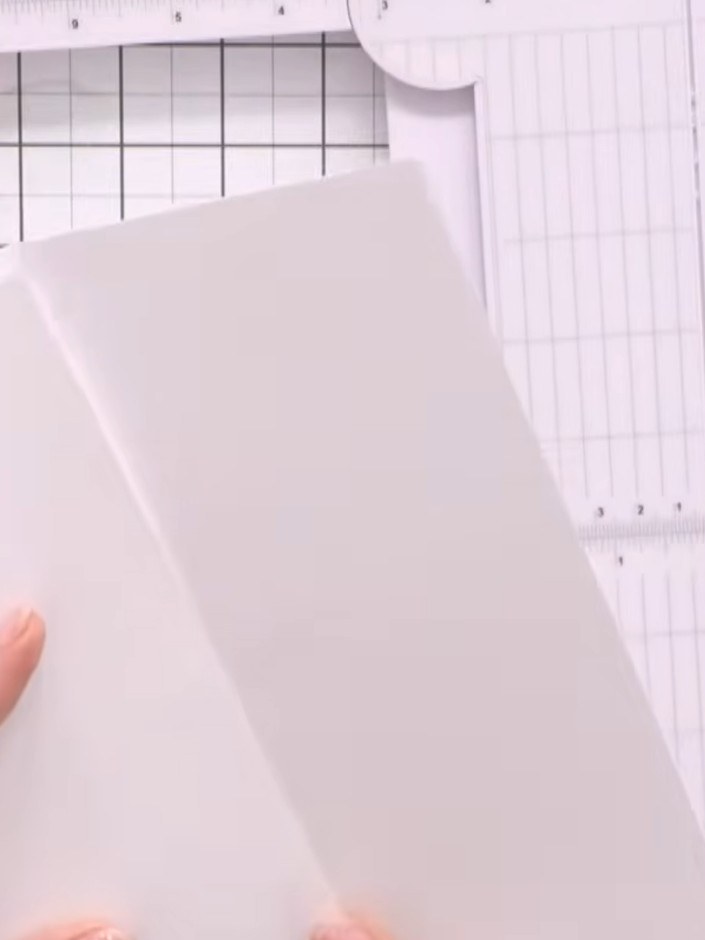
Place the folded card in your guillotine at an angle and cut from the top point downwards to create a tapered shape.
 4
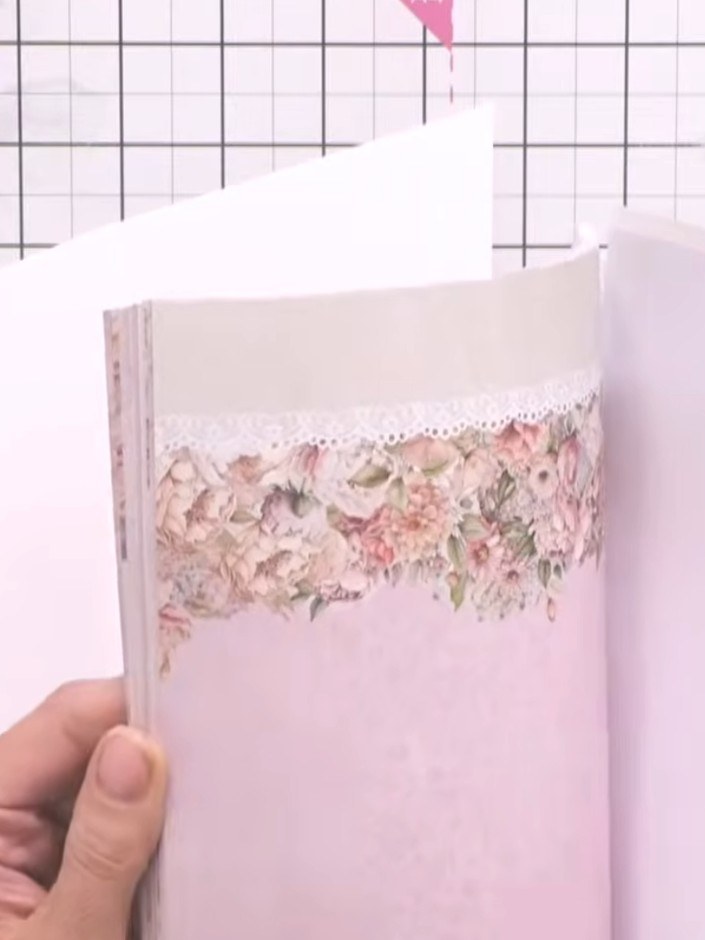
Select three pieces of patterned paper from the 7 by 7 inch pad, choosing designs that complement each other with coordinating colours and patterns.
 5
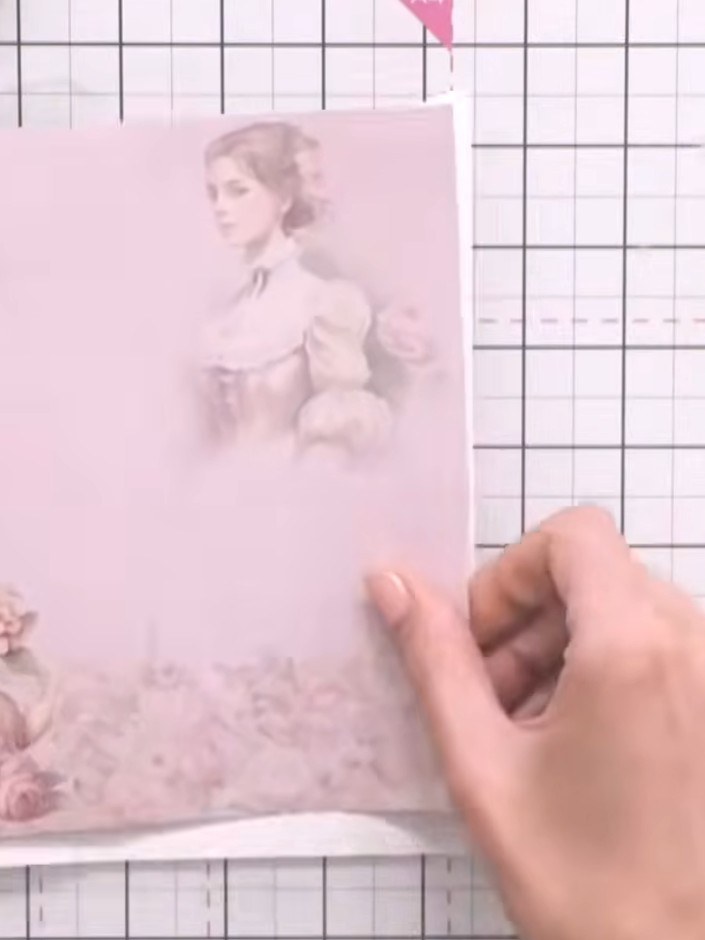
Cut each decorative paper panel slightly smaller than the card panel size, approximately 9.5 cm, to create a white border around the edges when mounted.
 6
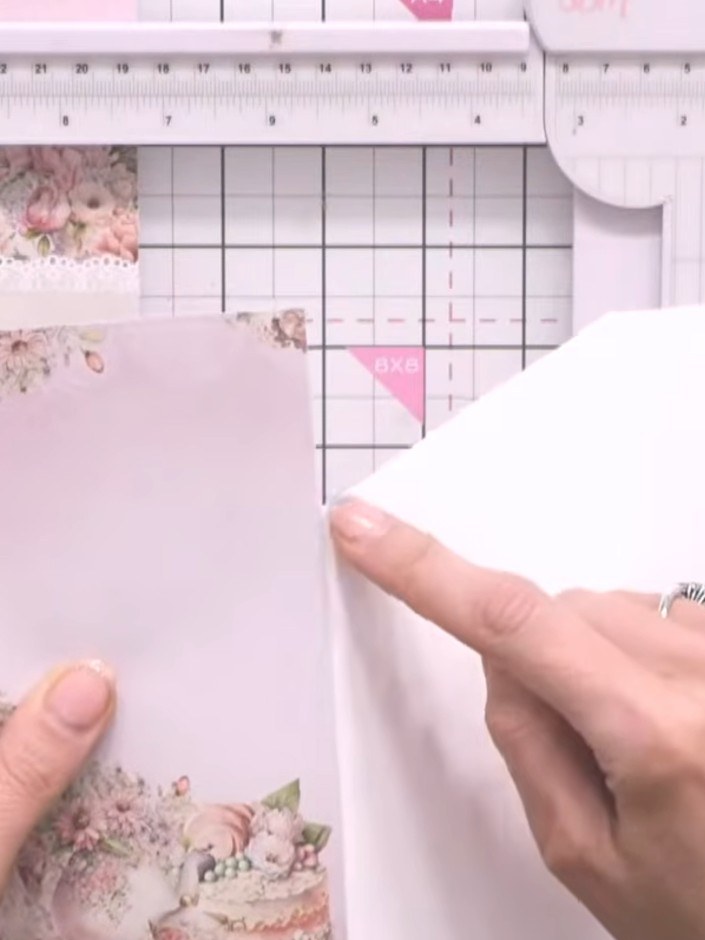
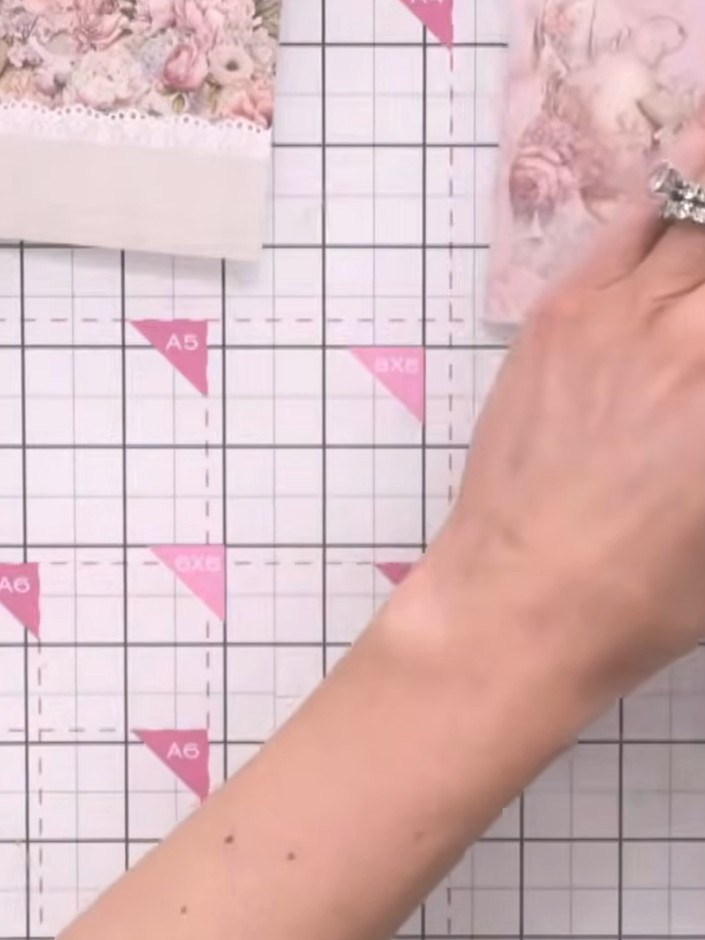
Cut a second piece of decorative paper slightly smaller than the first. Mark a point along the top edge where you want the border line to end, then cut diagonally from this point down to create the angled border edge.
 7
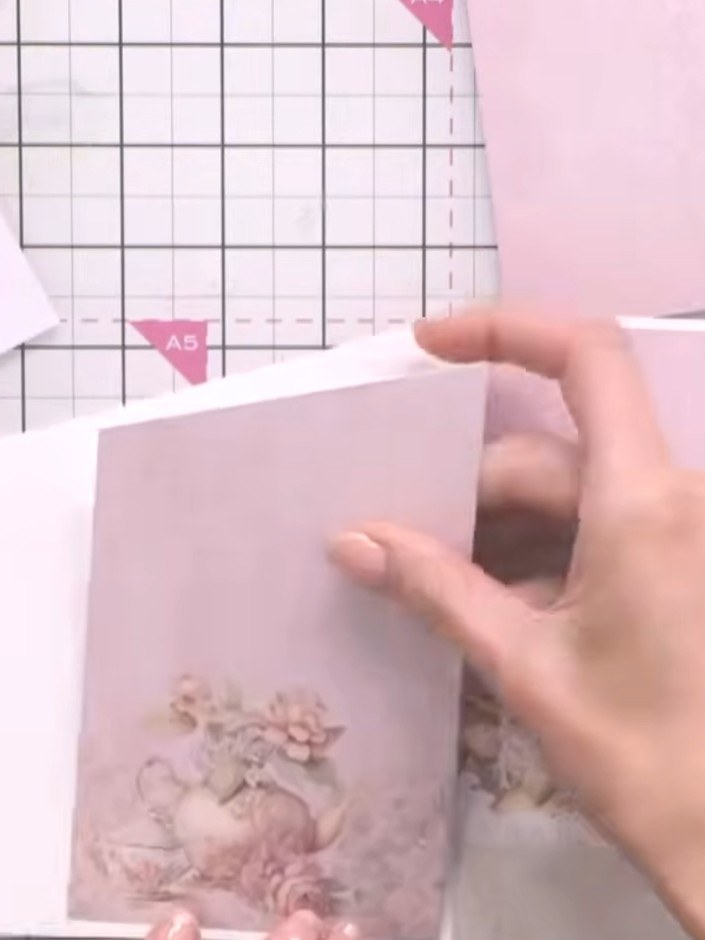
Adhere all three decorated panels to the card base using tape, aligning them with the top edge of the card.
 8
Fussy cut the embellishments from the embellishment pack, including the lady figure and decorative floral elements. Cut carefully around the detailed edges to create neat die-cut style pieces.
 9
Attach the fussy-cut lady figure to the front of the card using foam pads to add dimension.
 10
Add decorative embellishments from the pack to the inside flap of the card to create an interesting panel. Layer the pieces to add dimension and visual interest to the inner section.
Share your make with the Stamps By Me community - and keep this guide for next time.
Written up from the show itself. See every guide from our shows · free how-to guides · watch live on My Telly · the previous layout