Give your friends $10 off their first order!
Refer a FRIEND








Prices change straight away. Every language is our own translation, not Google.
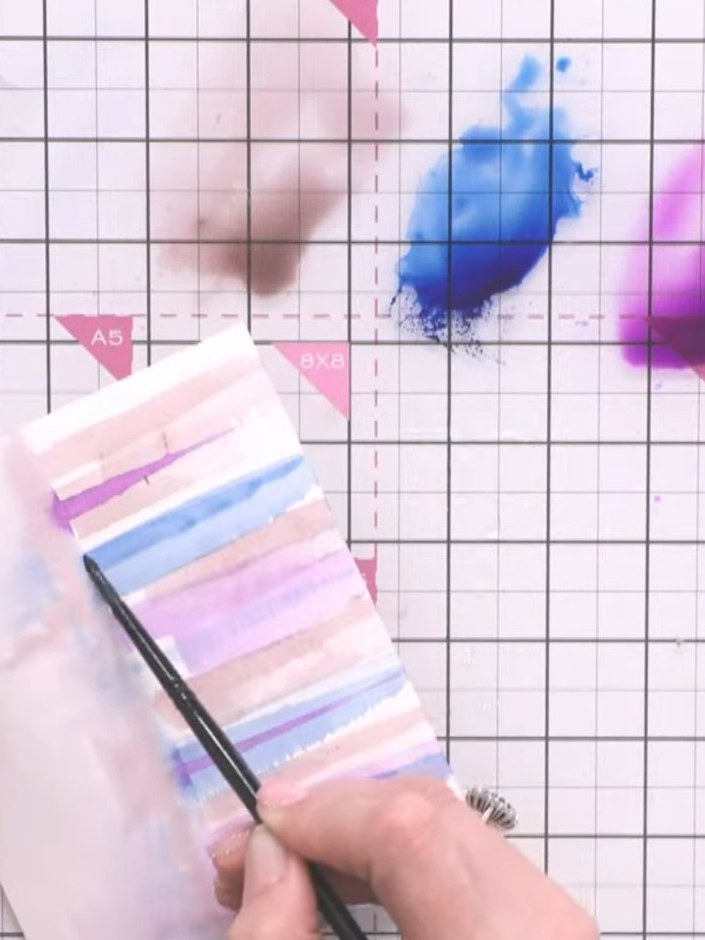
A project from our live show ONE DAY SPECIAL - Join Toni for her brand new launch - Broadcast 18th July 2025 · 07/18/2025
Create a striking industrial cityscape featuring abstract buildings, cranes and water reflections using watercolour washes in blues, purples, browns and ochres. This modern architectural piece combines loose watercolour techniques with structured ink pen line work to suggest an urban skyline reflected in water. The layered approach builds depth through wet washes, dragged ink details and fine pen marks for a contemporary, atmospheric result.
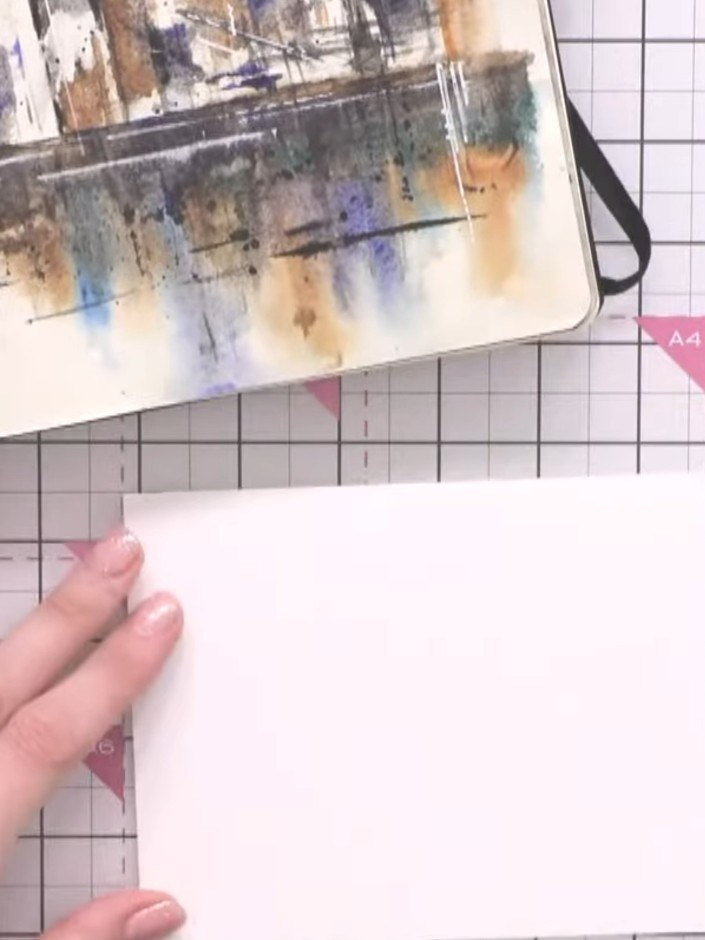 1
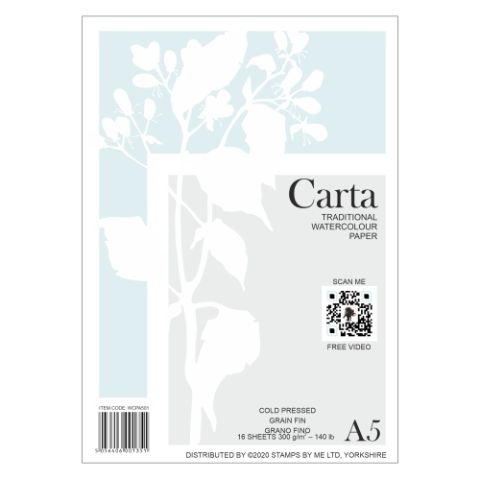
Cut a small piece of watercolour card to a manageable size. This makes the project less overwhelming and easier to work with.
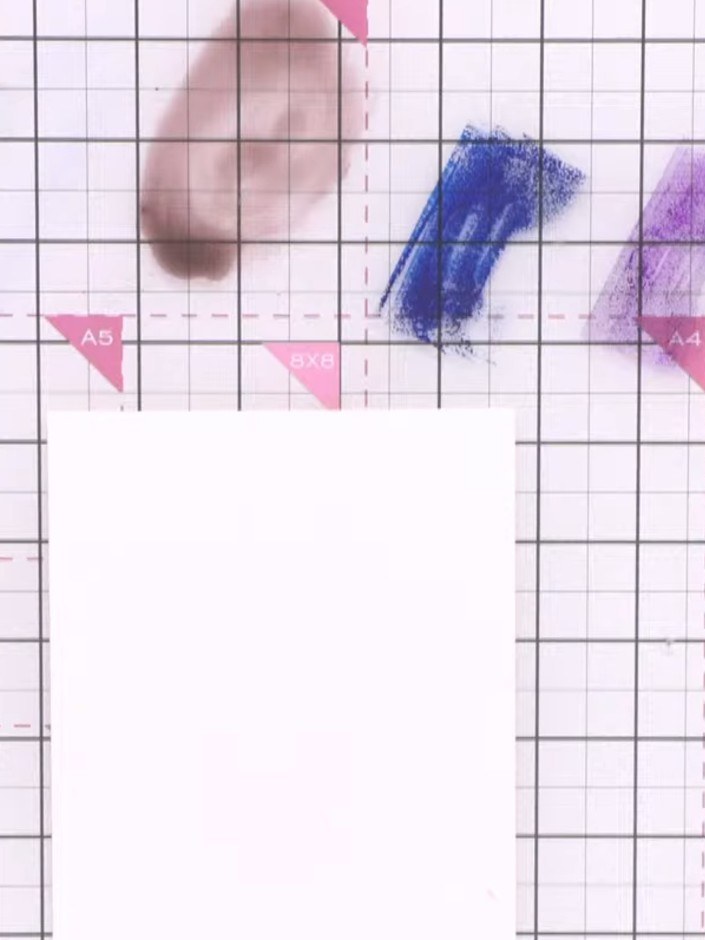 2
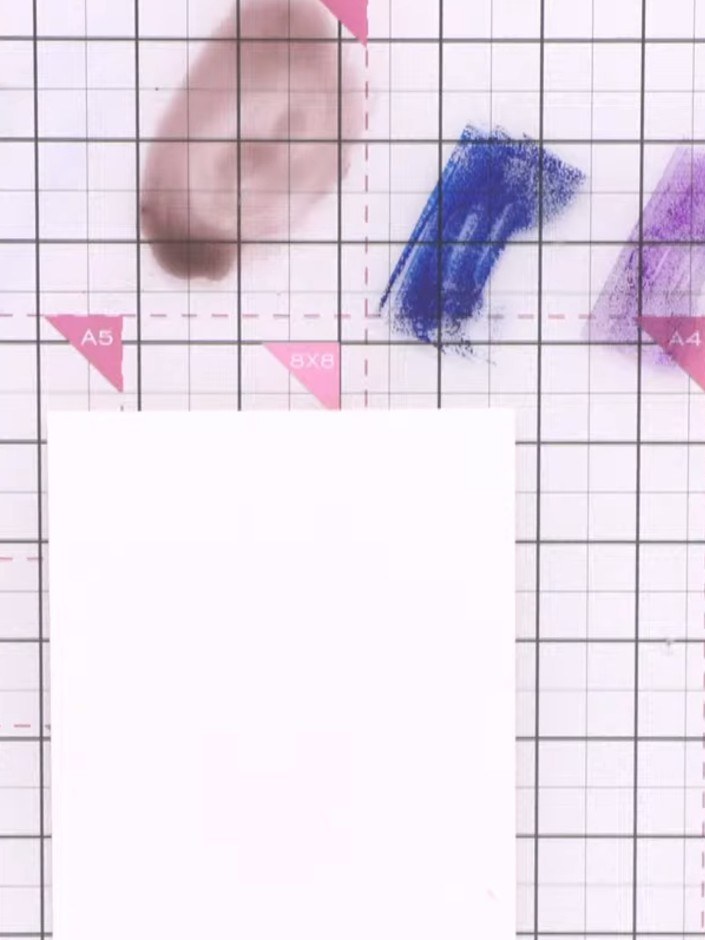
Create a puddle of teal ink mixed with water on your watercolour card. Use your paintbrush to mix the Tiffany ink with water to create a wet, diluted pool of colour.
 3
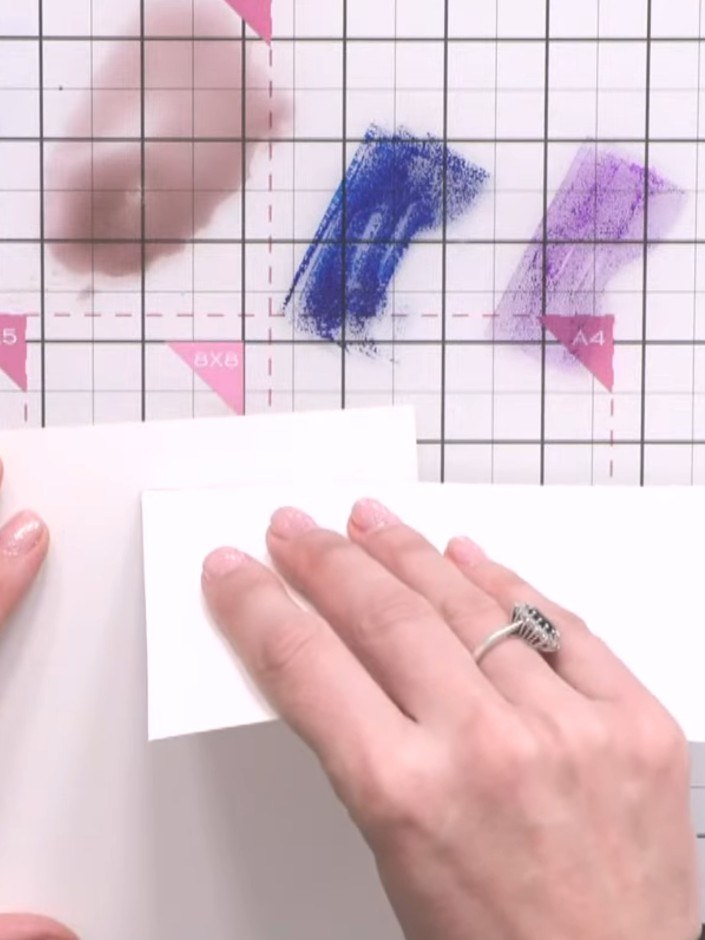
Drag a credit card or thick card edge through the wet ink puddle to create the first building line. The card will push the ink to create a linear architectural shape.
 4
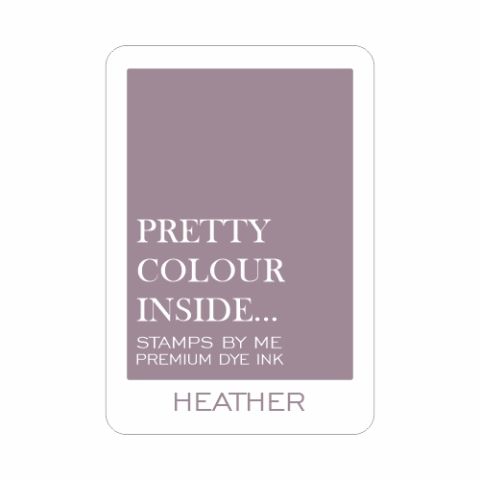
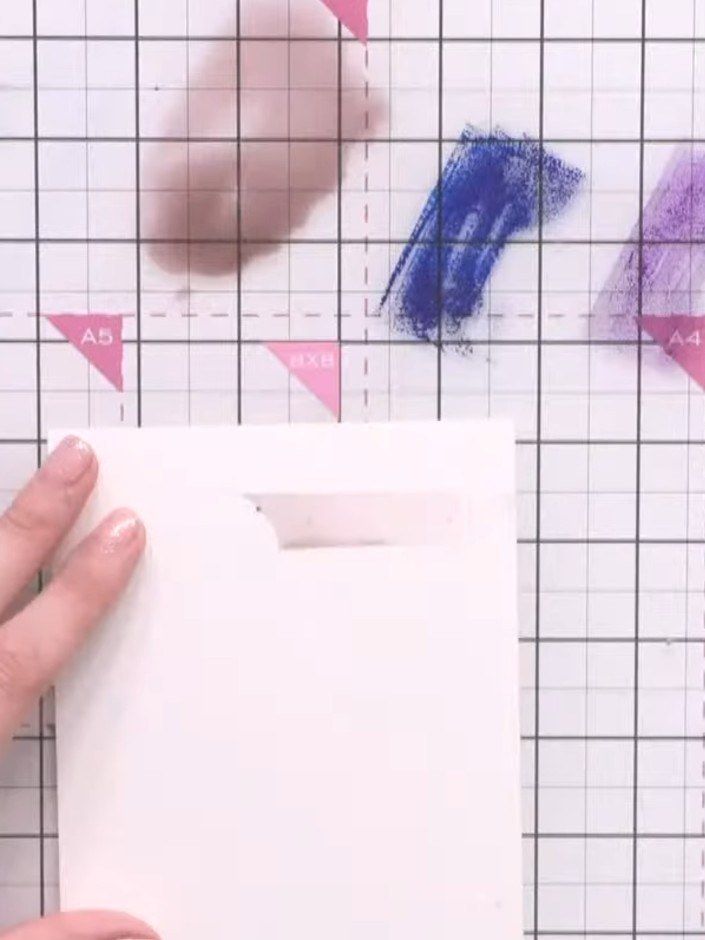
Using blue ink pads in different shades (such as ocean and heather), apply ink strokes at varying heights across the card to create the impression of multiple buildings of different sizes in the cityscape.
 5
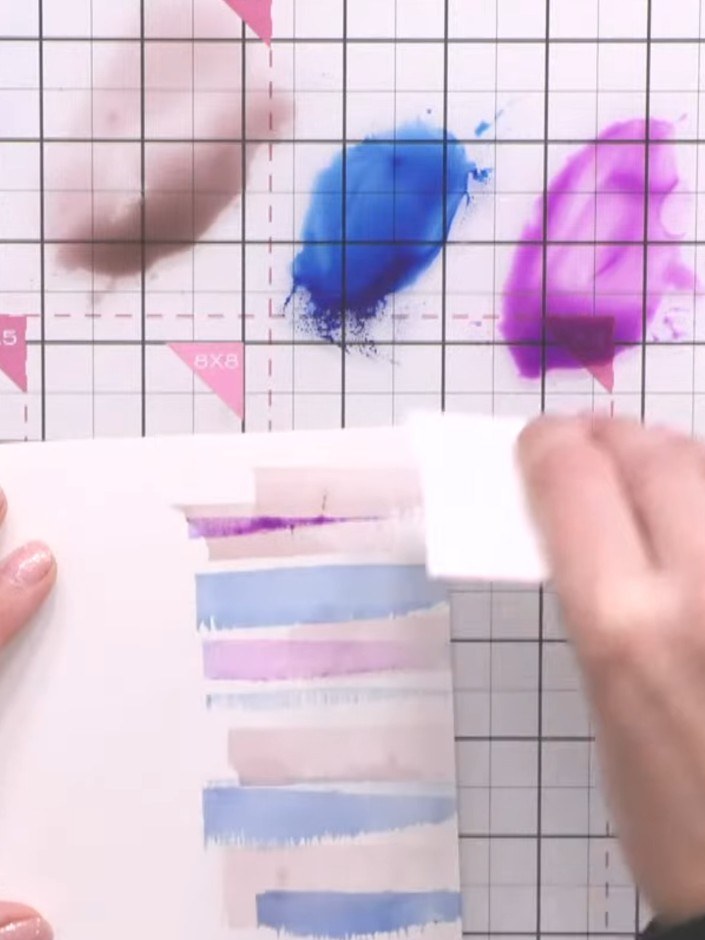
Turn the card around and add purple ink lines at different levels across the background to create depth and variation in your cityscape.
 6
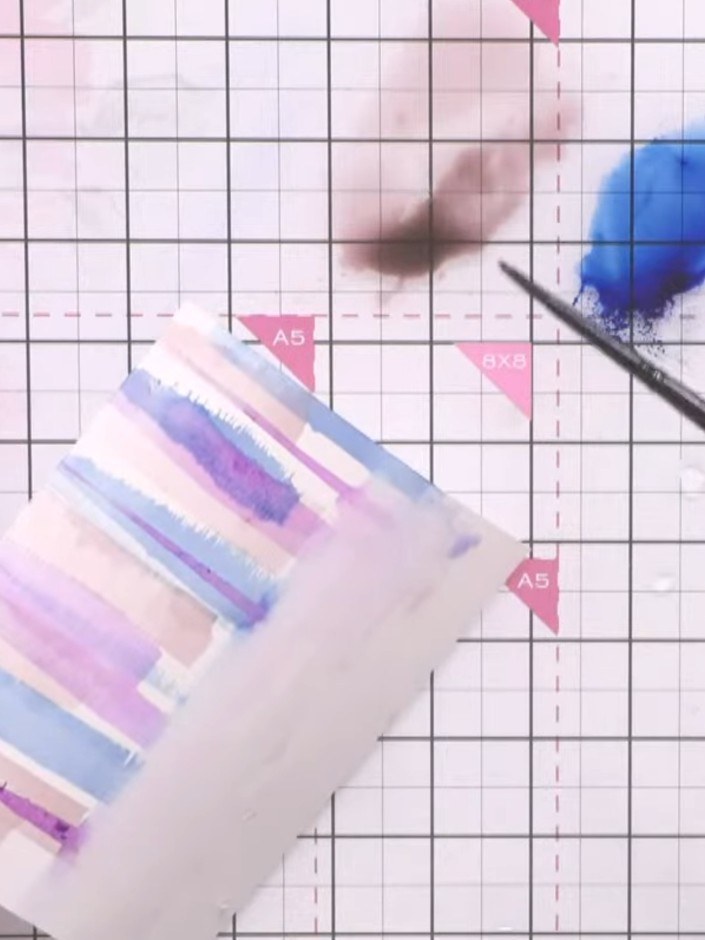
Use your brush to drag colour downwards from the building lines to create reflections in the water below. Pull the purple, blue and pink ink colours down the card with gentle brush strokes.
 7
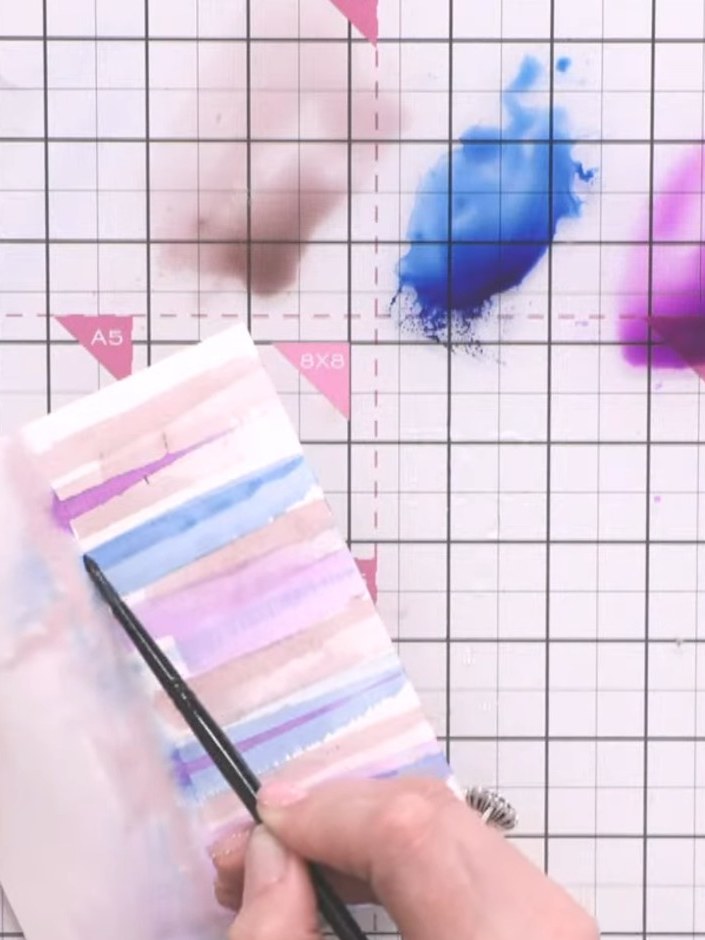
Define the building shapes by painting darker shadows on one side of each structure using a fine tip paintbrush. Layer the watercolour to create depth and dimension on the buildings.
 8
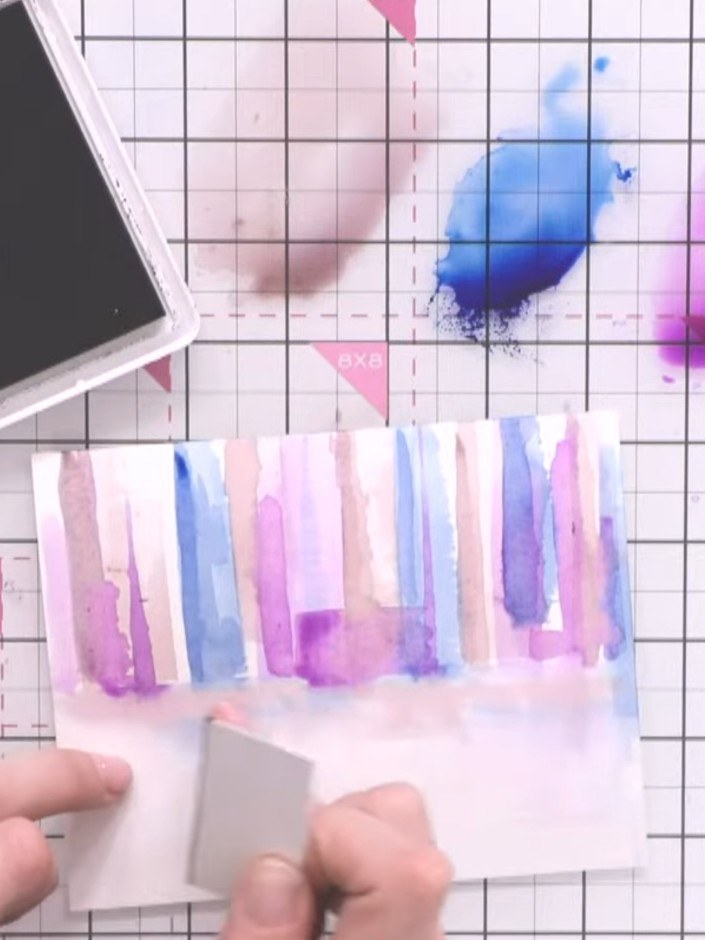
Using a fine black ink pen, connect the floating buildings with additional lines and smaller structures to ground the composition and create visual links between the architectural elements.
 9
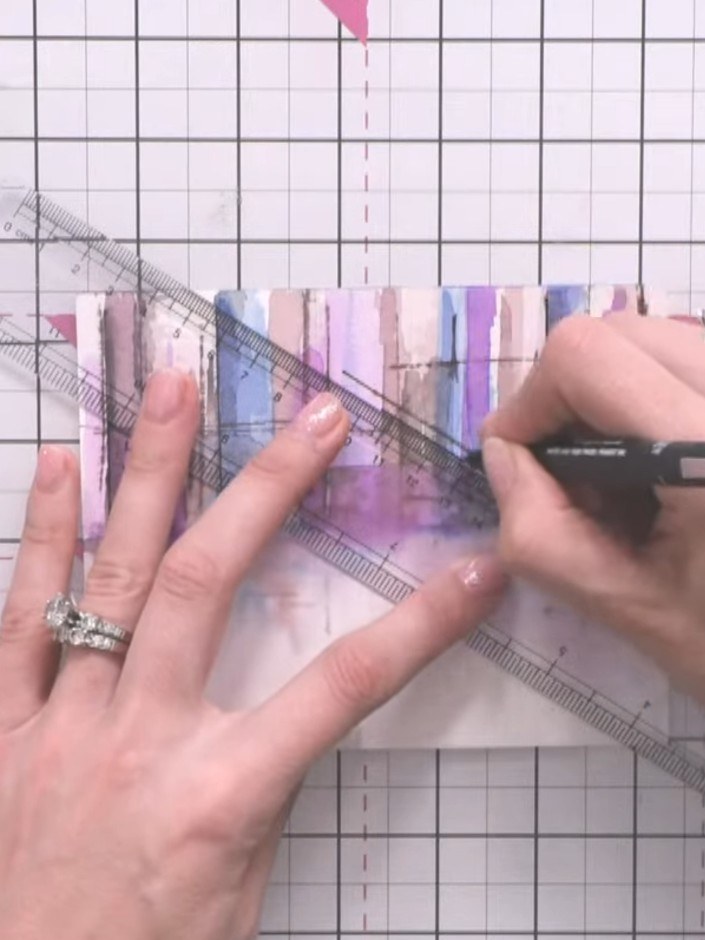
Once the watercolour is completely dry, use a fine liner pen and a ruler to add precise building outlines and window details to create an industrial cityscape effect.
 10
Using the fine liner pen, add crane details and extra structural lines to your cityscape. Draw diagonal lines for crane arms and vertical lines for additional building structures to enhance the industrial feel of the scene.
 11
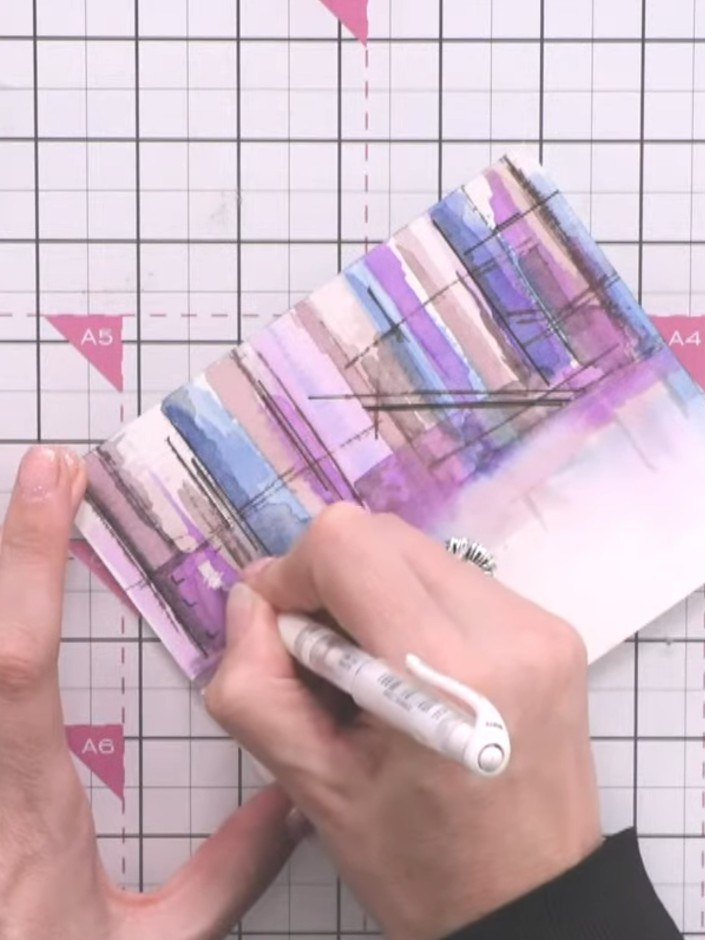
Use a white gel pen to add highlights on the cranes and buildings to bring them forward and create depth in your cityscape.
 12
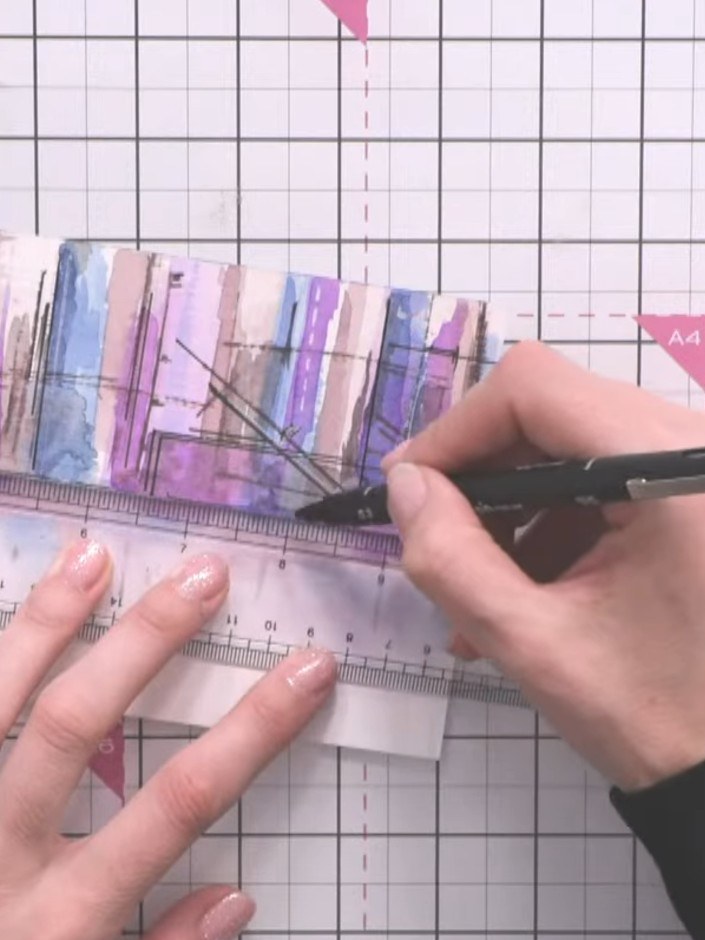
Using a fine liner pen and a ruler, draw a broken horizontal line across the base of the buildings to ground the composition and prevent them appearing to float.
Share your make with the Stamps By Me community - and keep this guide for next time.
Written up from the show itself. See every guide from our shows · free how-to guides · watch live on My Telly · the previous layout