Give your friends $10 off their first order!
Refer a FRIEND








Prices change straight away. Every language is our own translation, not Google.
A project from our live show HSN PRODUCT INSPIRATION - Join me for a fun filled show broadcast 25th August 2026 · 08/25/2026 · watch it from 30:30
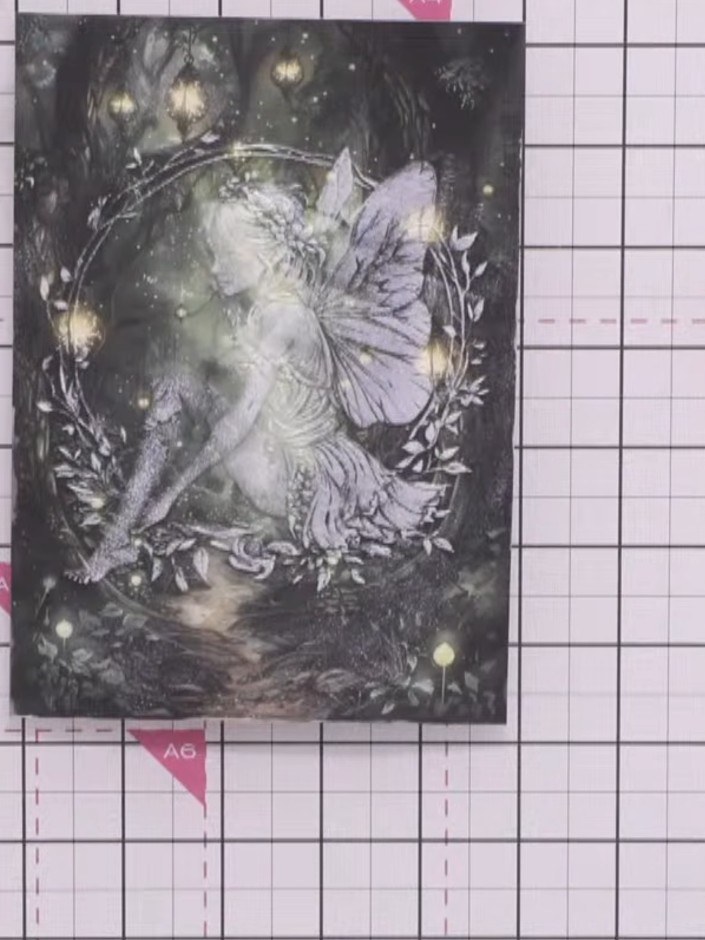
Create an enchanting fairy card featuring an embossed fairy design layered onto atmospheric patterned paper. The mystical forest background with its glowing lights and ethereal tones provides the perfect setting for the delicate fairy figure, which is enhanced with white ink highlights. This technique combines heat embossing with selective inking to create depth and bring the magical scene to life.
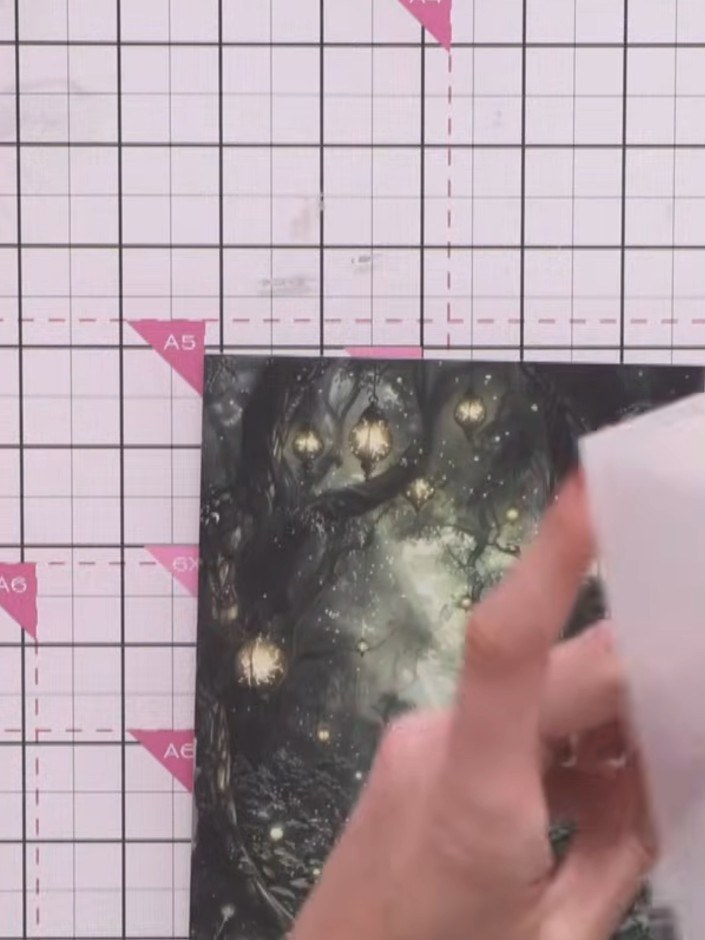
Select a patterned paper from the Misty Holo collection. Choose one with a plain or subtle background that will work well for stamping, such as the dark forest design shown.
▶ watch this step (30:30)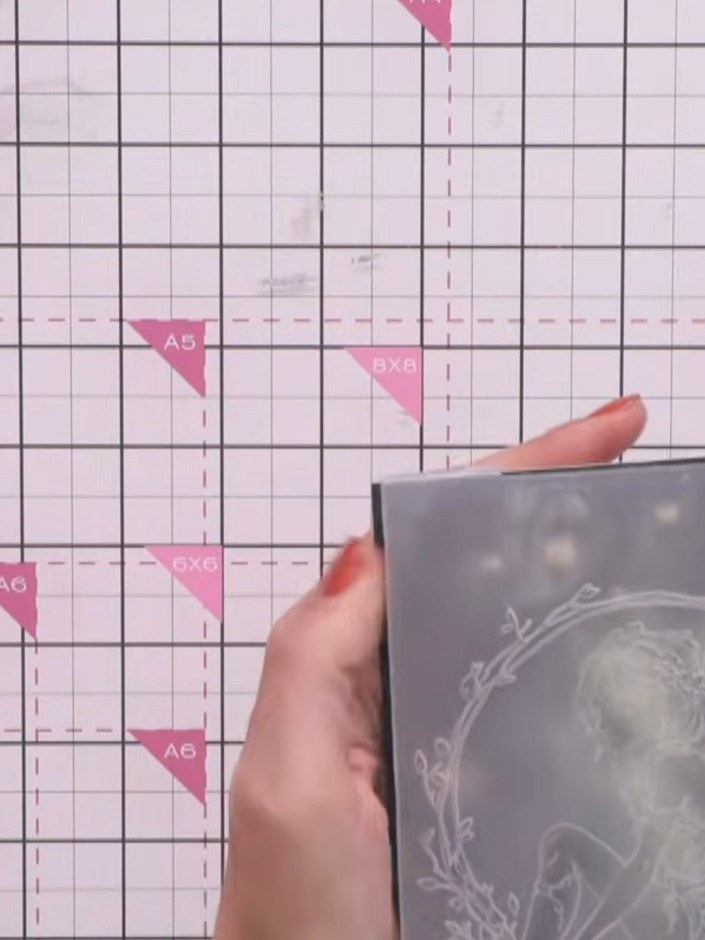
Place the patterned paper into the embossing folder with the raised side facing up. Position the paper carefully inside the folder before closing it.
▶ watch this step (30:45)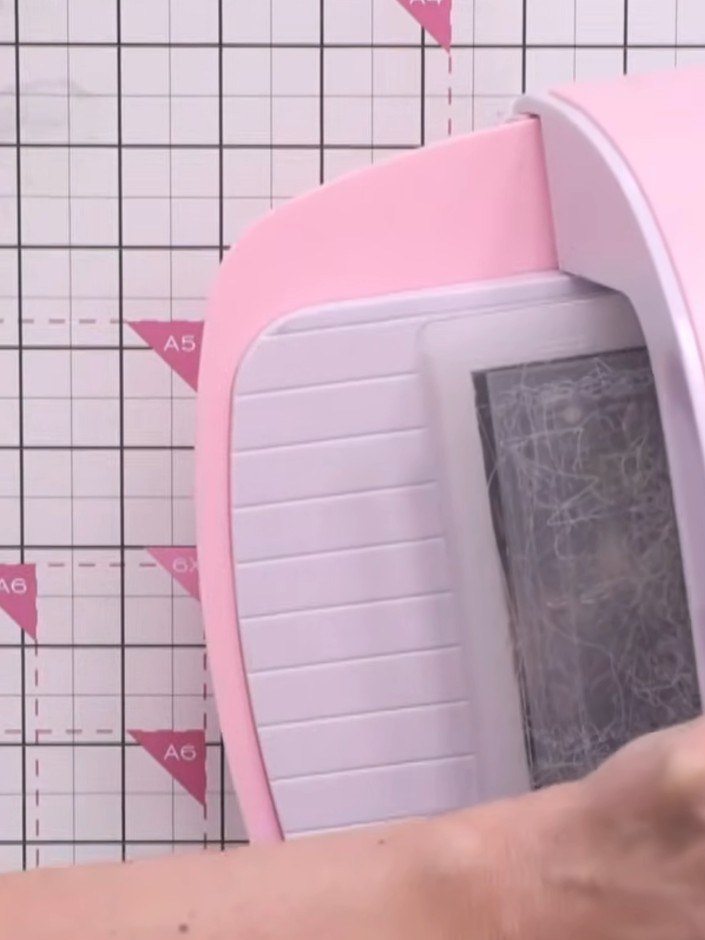
Run the paper through your embossing machine to create the raised design on the grey patterned paper.
▶ watch this step (31:00)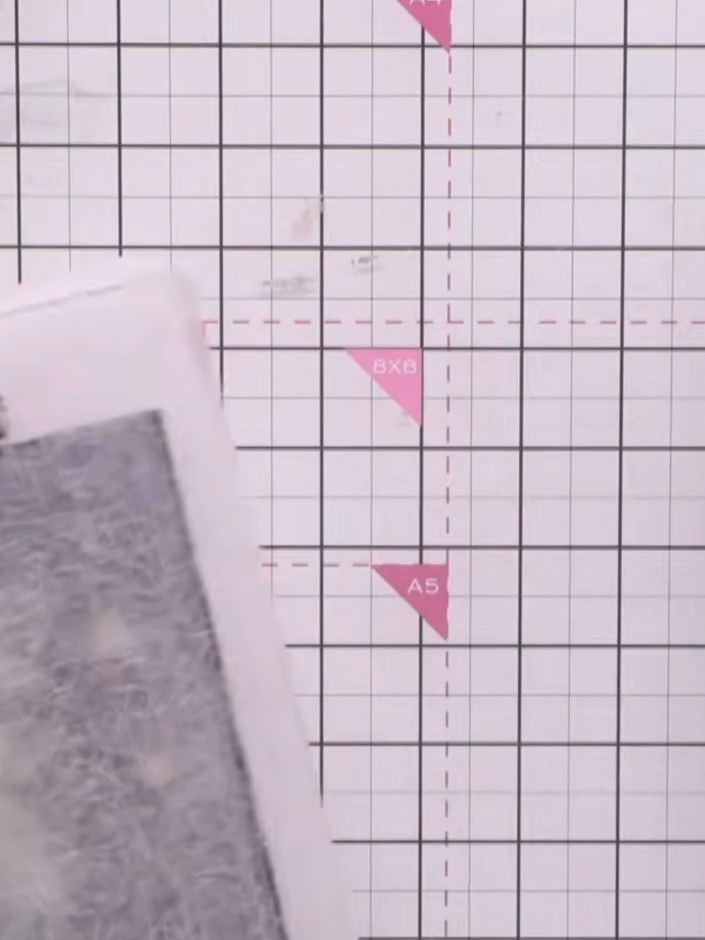
Remove the embossed paper from the die-cutting machine and carefully open the embossing folder to reveal your embossed design.
▶ watch this step (31:15)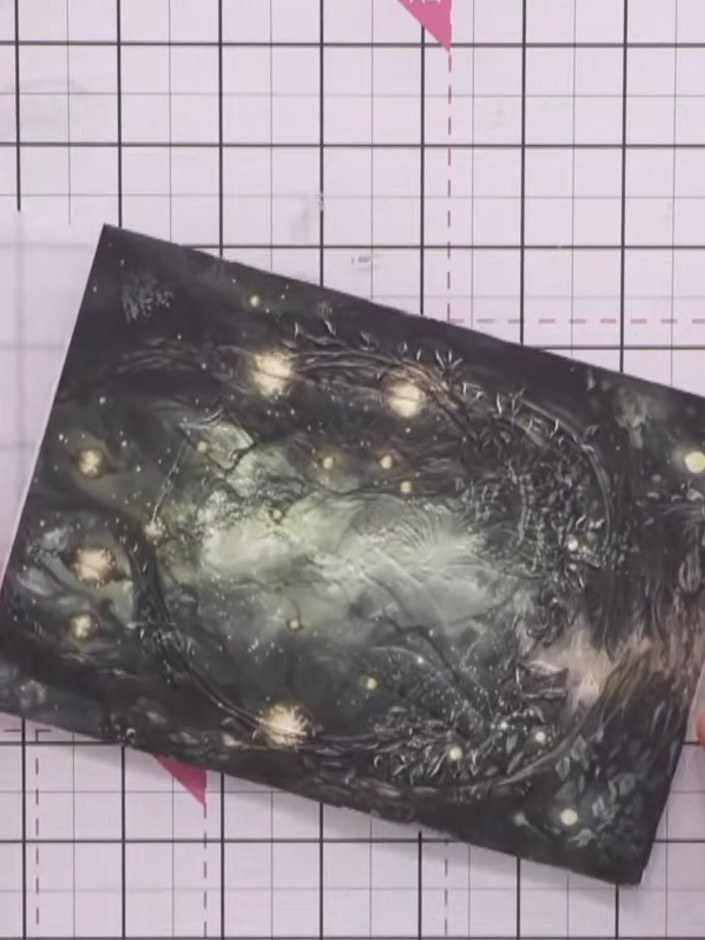
Tap a white ink pad onto the embossed fairy design to highlight the raised areas and make the fairy stand out against the dark patterned background.
▶ watch this step (31:30)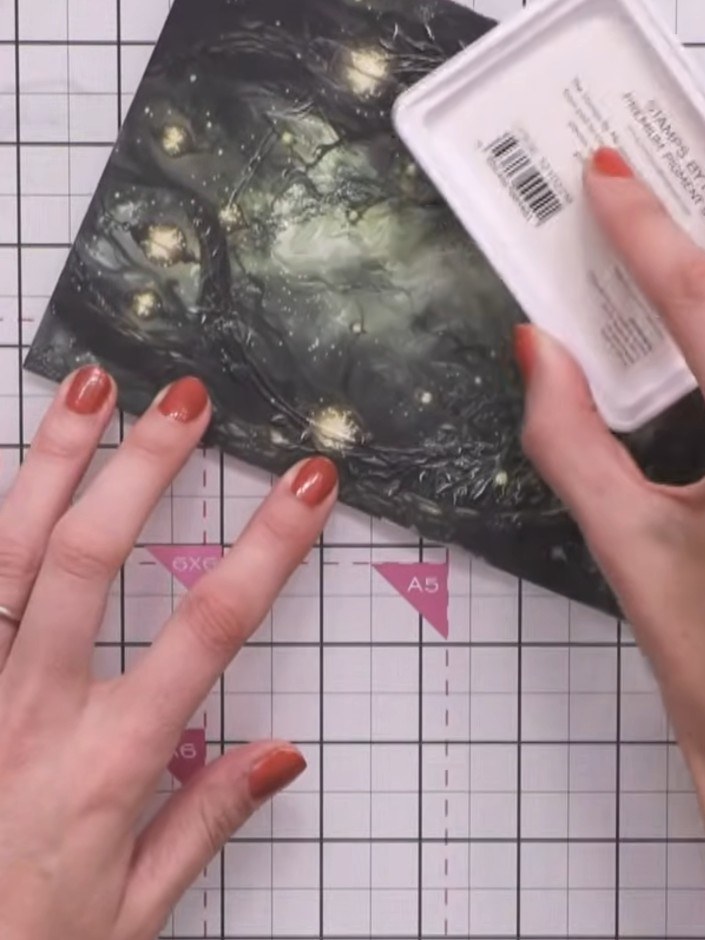
Apply white ink to the fairy's face, body, and wings using the stamp pad. Tap the ink pad gently over these areas to create contrast against the dark patterned background.
▶ watch this step (31:45)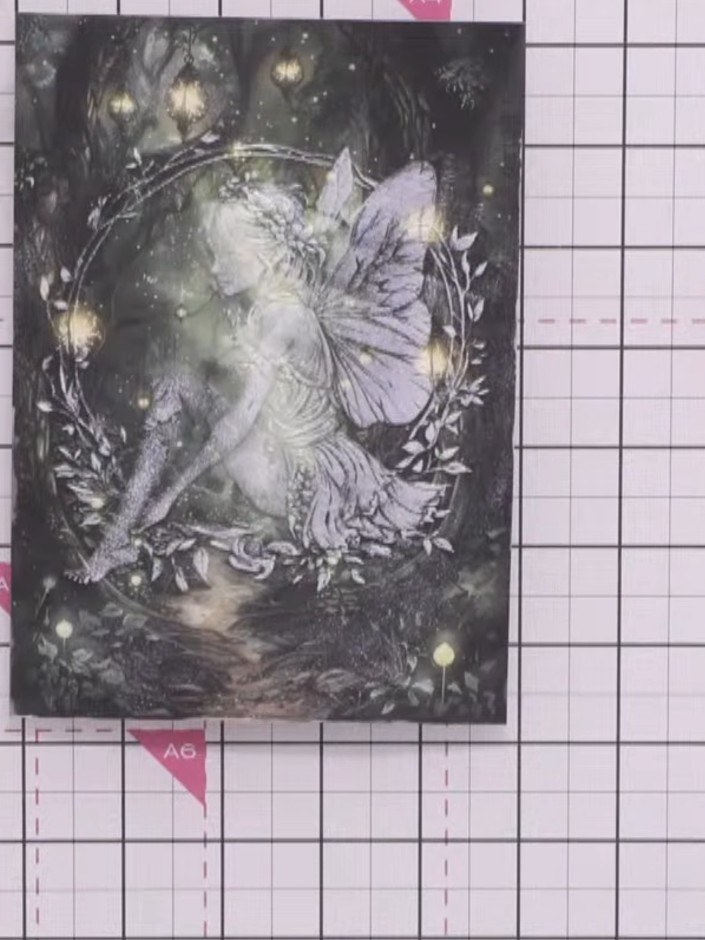
Allow the embossed fairy image to dry completely. The white embossing ink will set, revealing the detailed fairy design against the dark patterned background.
▶ watch this step (32:00)Written up from the show itself. See every guide from our shows · free how-to guides · watch live on My Telly


