Give your friends $10 off their first order!
Refer a FRIEND








A project from our live show ONE DAY SPECIAL - Join Toni for her brand new launch - Broadcast 25th July 2025 · 07/25/2025 · watch it from 1:01:30
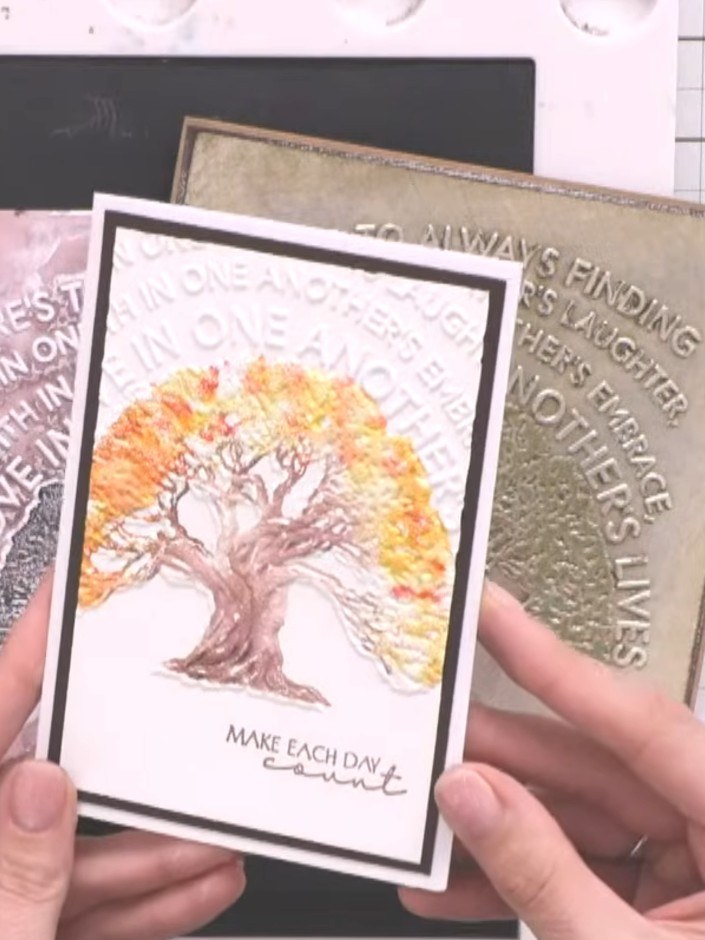
Make an elegant card featuring a detailed tree design with soft watercolour effects in pink and purple hues. Using an embossing folder inked with light colours and sprayed with water, you'll create a dreamy, blended background that adds depth and texture. The finished piece combines stamping and watercolour techniques for a sophisticated, organic look perfect for any occasion.
 Stamps By Me Stamp & Emboss Bundle - 230725ASEE IT
 Stamps By Me - Premium Pigment Ink Pure White - Cotton - 121022MSEE IT
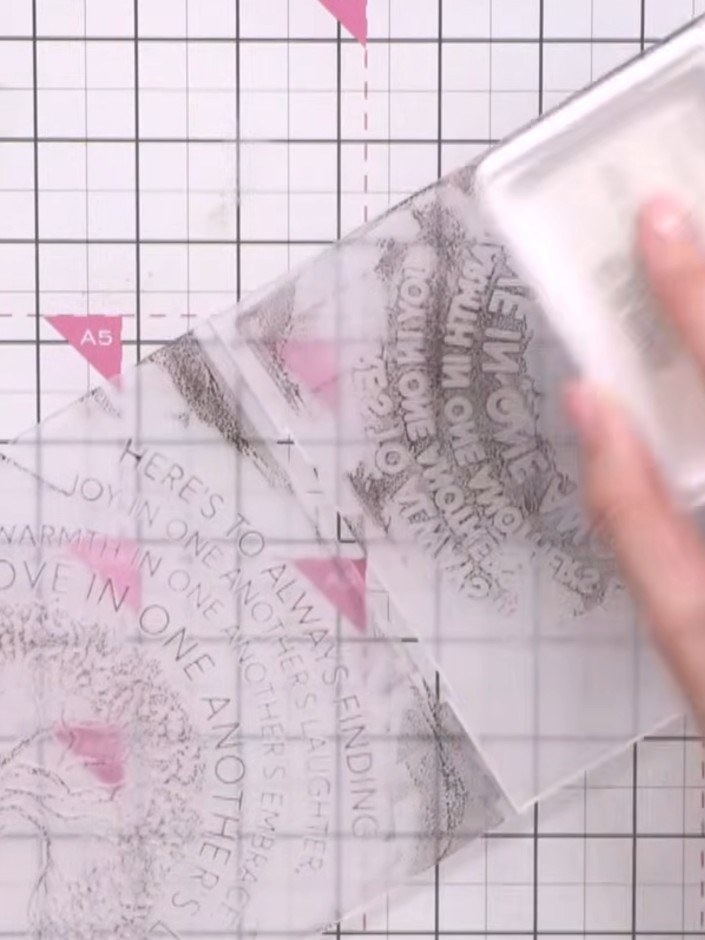
Ink up the tree embossing folder with a light colour ink pad, tapping both sides to ensure good coverage. Use a light ink such as Pure White or Cotton to create subtle definition on the embossed areas.
▶ watch this step (1:01:30)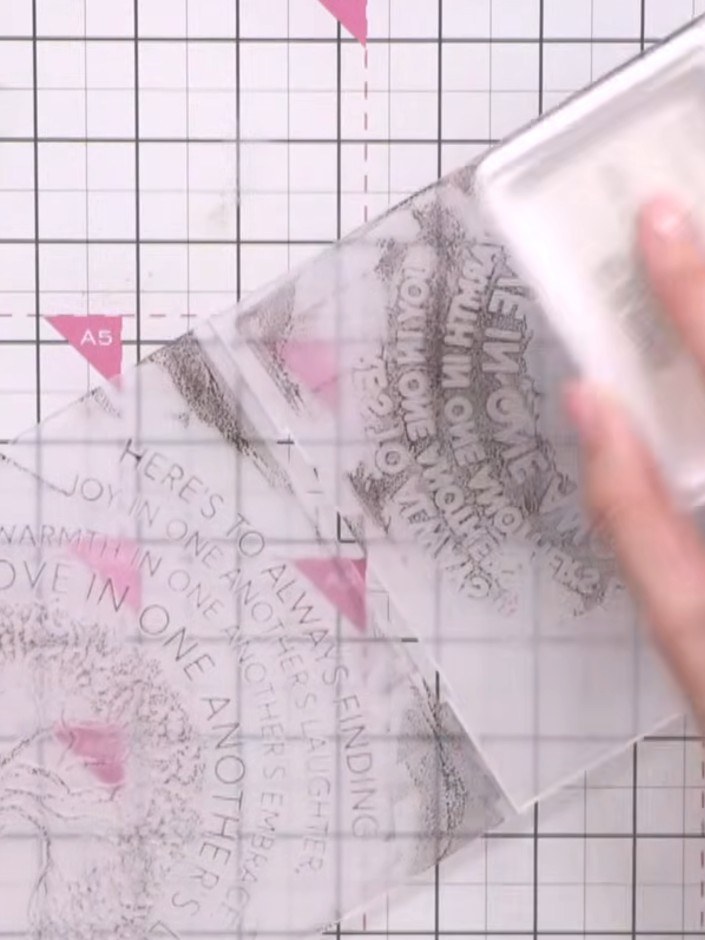
Lightly spray the inked embossing folder with water using a spray bottle. This will create a wet, blended watercolour effect on the embossed design.
▶ watch this step (1:01:45)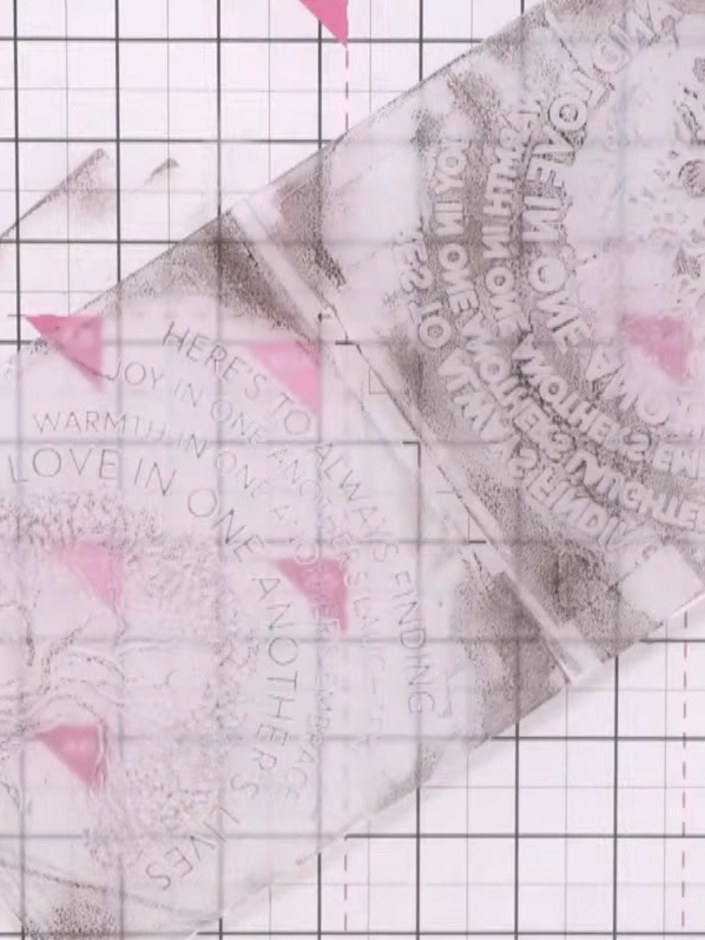
Place your new piece of card stock onto the wet, inked embossing folder and run it through your embossing machine to transfer the ink and create the embossed pattern.
▶ watch this step (1:02:00)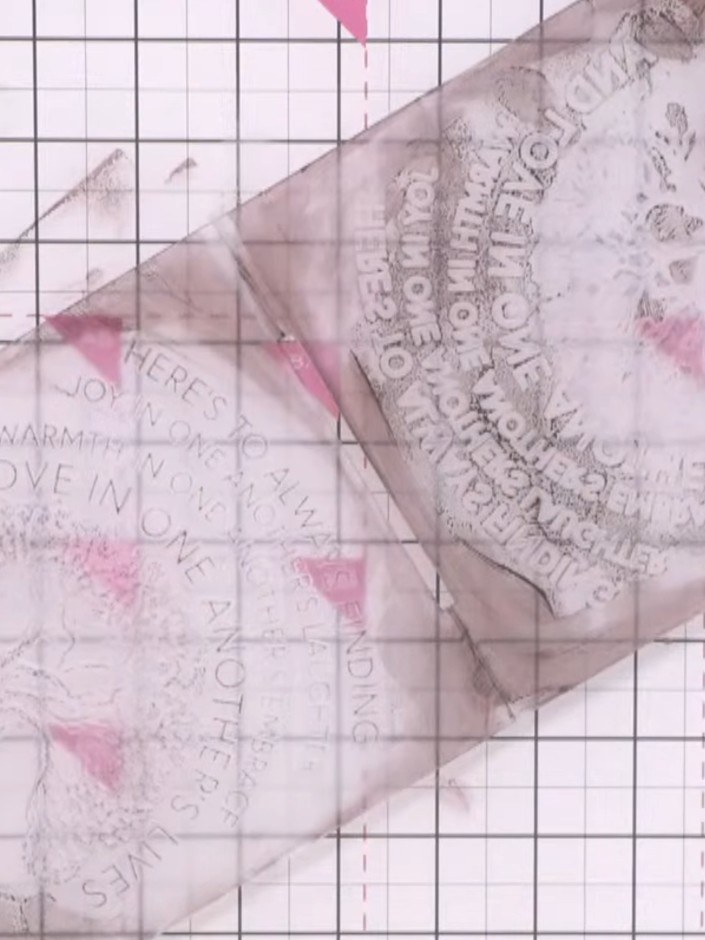
Remove the card from the craft mat and use a tissue or your finger to gently soften any harsh edges or bleeding ink lines on the watercoloured design.
▶ watch this step (1:02:30)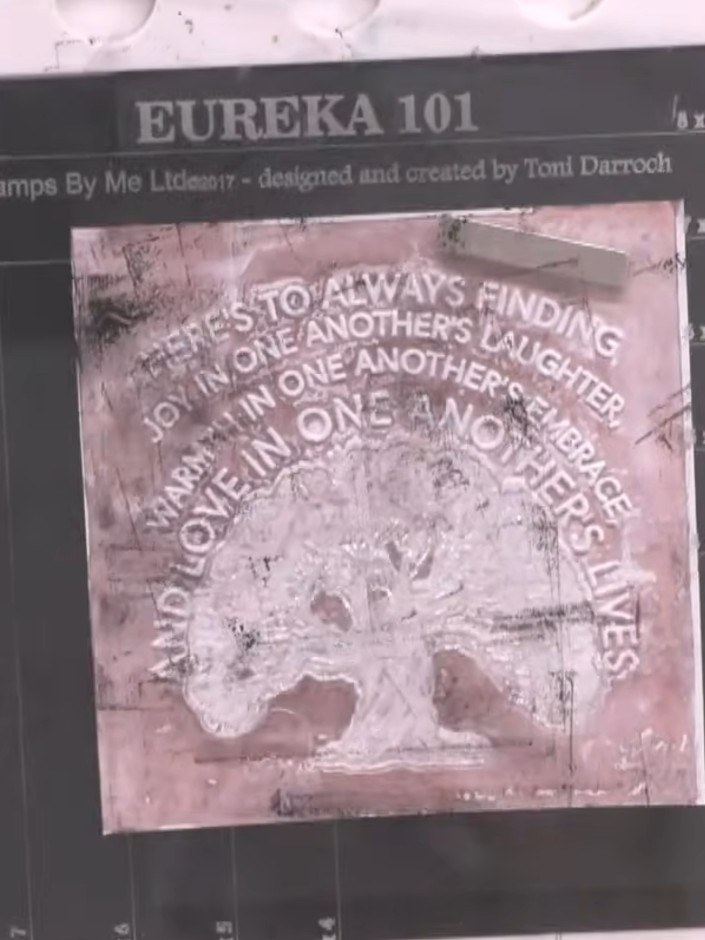
Stamp the tree design onto the dry watercoloured background using black pigment ink. Position the stamp centrally on the card and press firmly to ensure a clear impression.
▶ watch this step (1:06:00)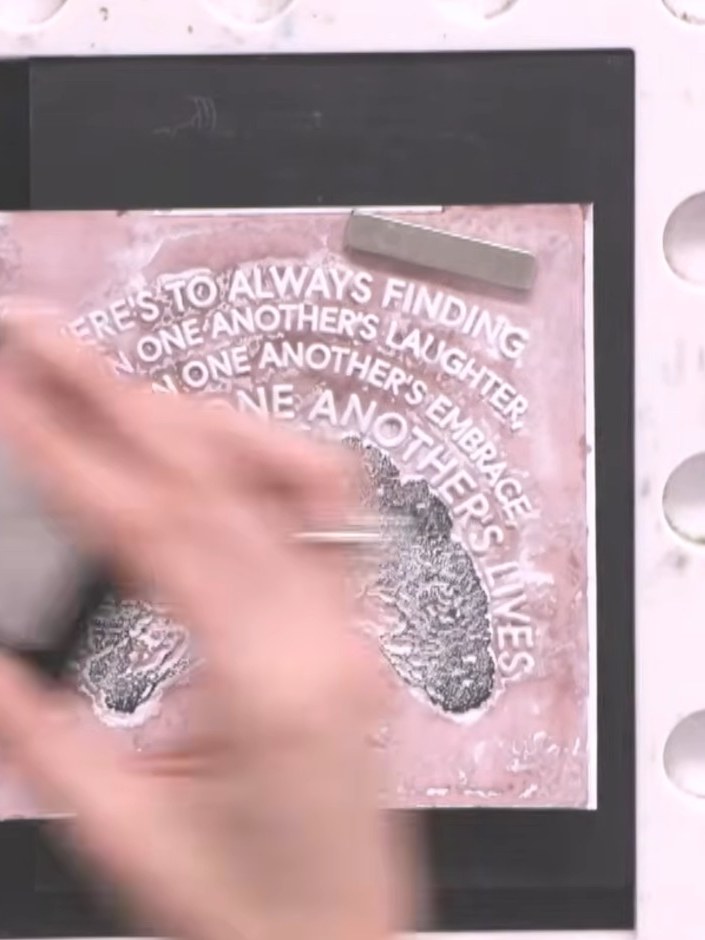
Stamp the tree image multiple times onto the card to build up the colour intensity, as the card may still be slightly damp from the spray. Continue stamping until you achieve the desired depth of colour.
▶ watch this step (1:08:00)Written up from the show itself. See every guide from our shows · free how-to guides · watch live on My Telly