Give your friends $10 off their first order!
Refer a FRIEND








A project from our live show MY PODCAST - Catch my latest updates broadcast 15th September 2025 · 09/15/2025 · watch it from 24:30
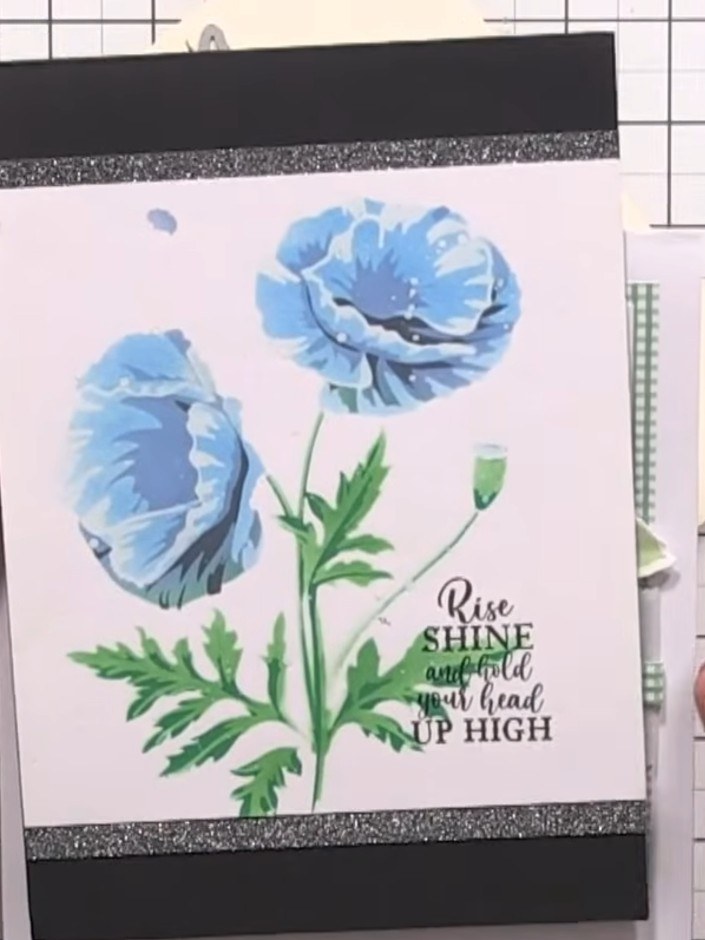
Create a stunning card featuring the Classic Rose layering stencil system with a unique diagonal split design. One half showcases elegant blue poppies in full colour with green foliage and an inspirational sentiment, whilst the other half displays the same design in sophisticated black and white monochromatic tones. This innovative technique demonstrates creative use of layering stencils with striking visual contrast enhanced by glittery borders.
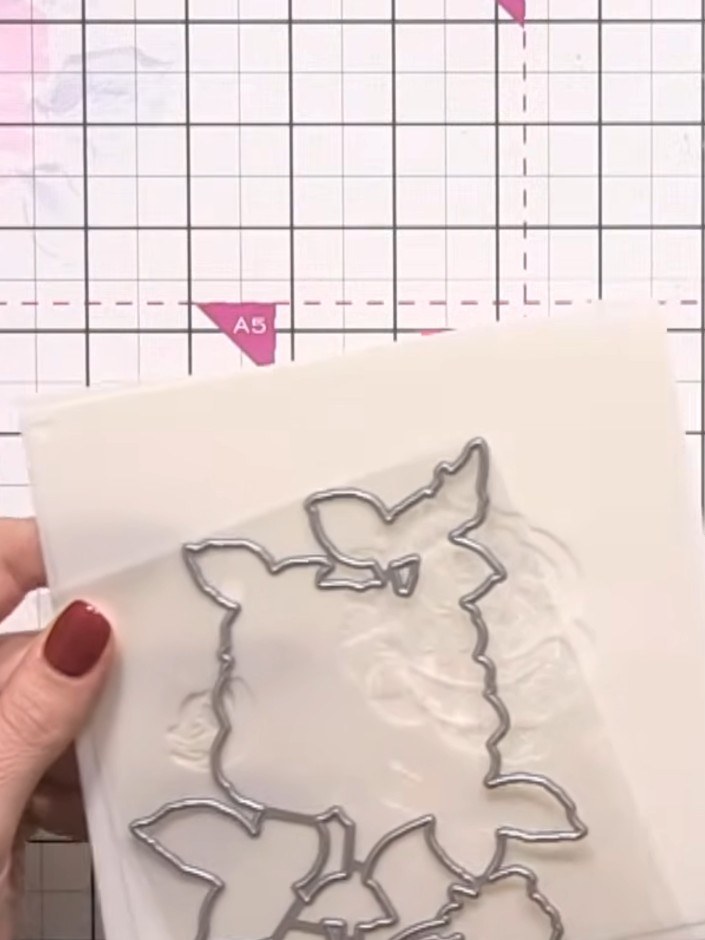
Select the Classic Rose stencil and die set from your materials. Take a cream or white card blank as your base for this project.
▶ watch this step (26:15)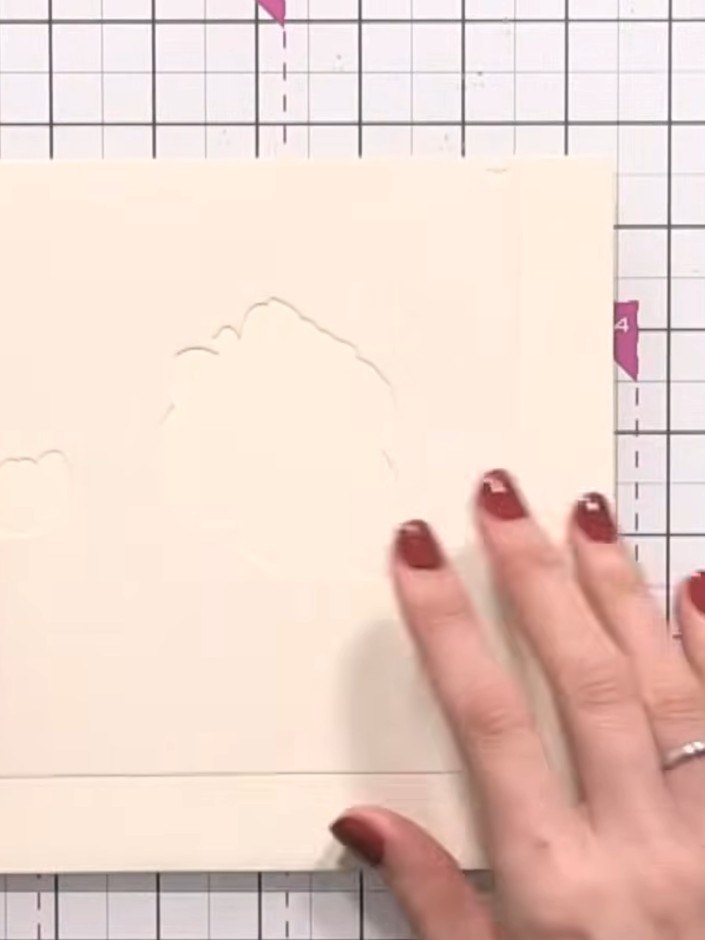
Line up the stencil with the edge of your card, using the heart registration marks in the corner as guides to ensure proper alignment.
▶ watch this step (26:30)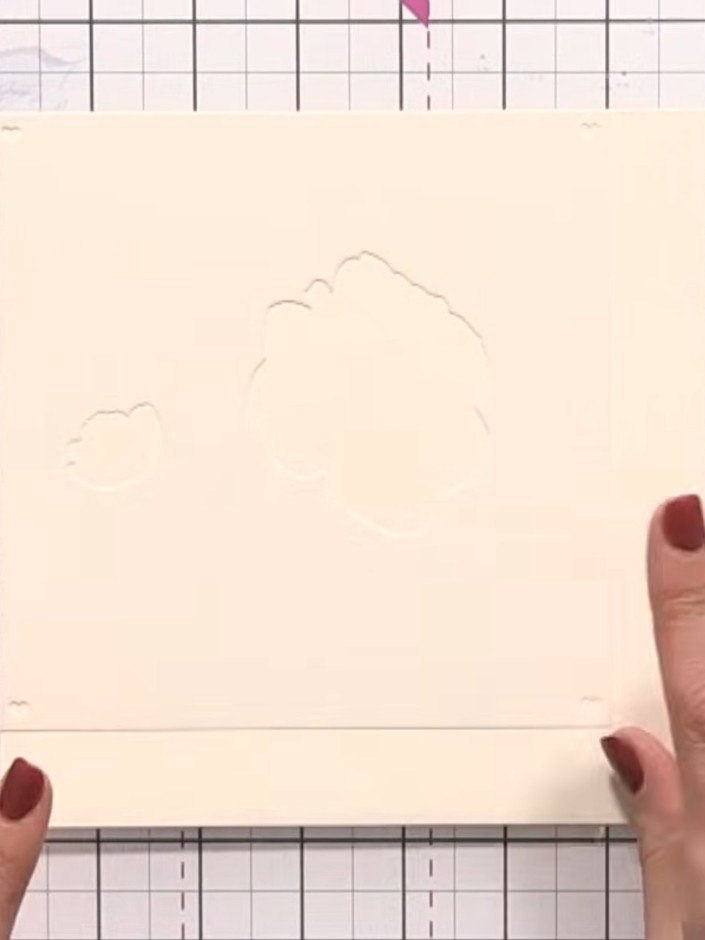
Position a piece of cream card stock diagonally across the stencil to divide the rose design into two halves. Place it so it covers approximately half of the stencilled image.
▶ watch this step (27:15)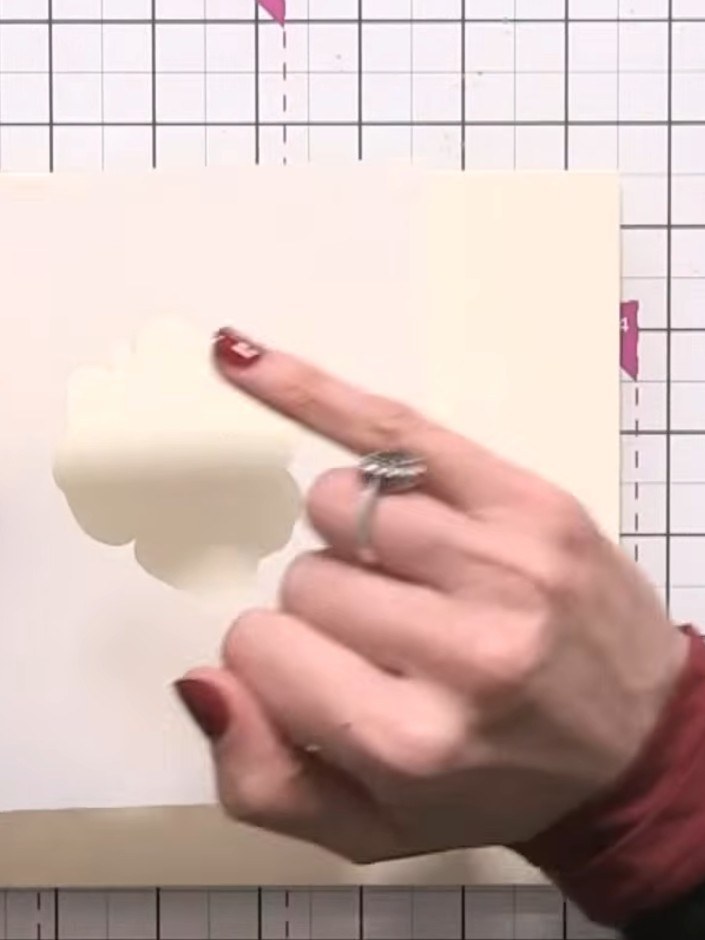
Using a black ink pad, lightly tap ink through the first numbered stencil layer on the left side of the card to create the monochromatic half of the rose design.
▶ watch this step (28:00)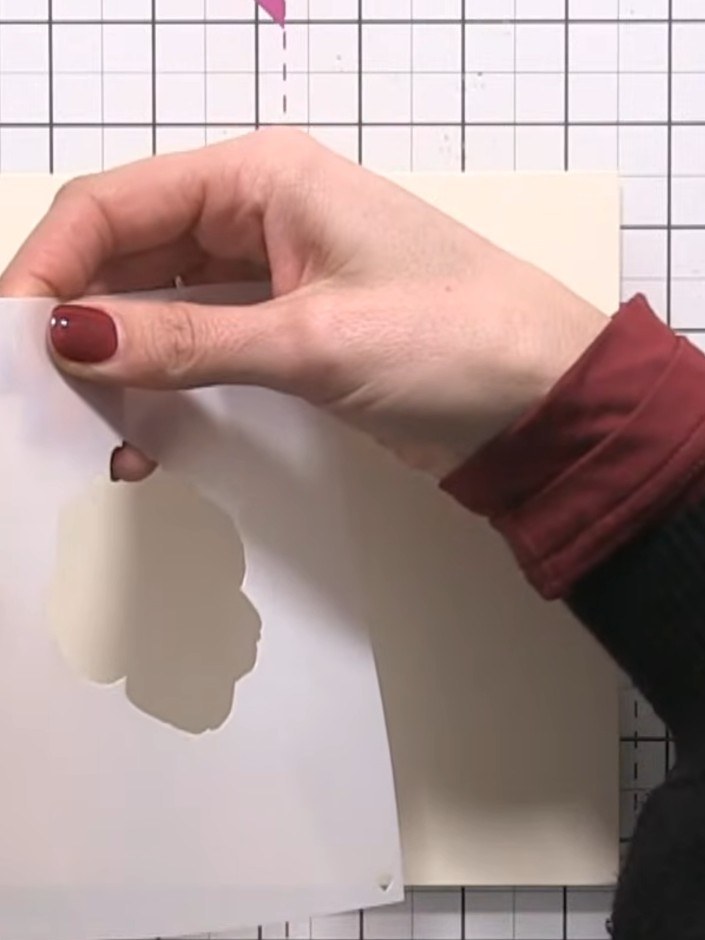
Carefully remove the stencil from the card. Reposition the stencil over the card, covering the black and white side with your dividing card to protect it.
▶ watch this step (28:30)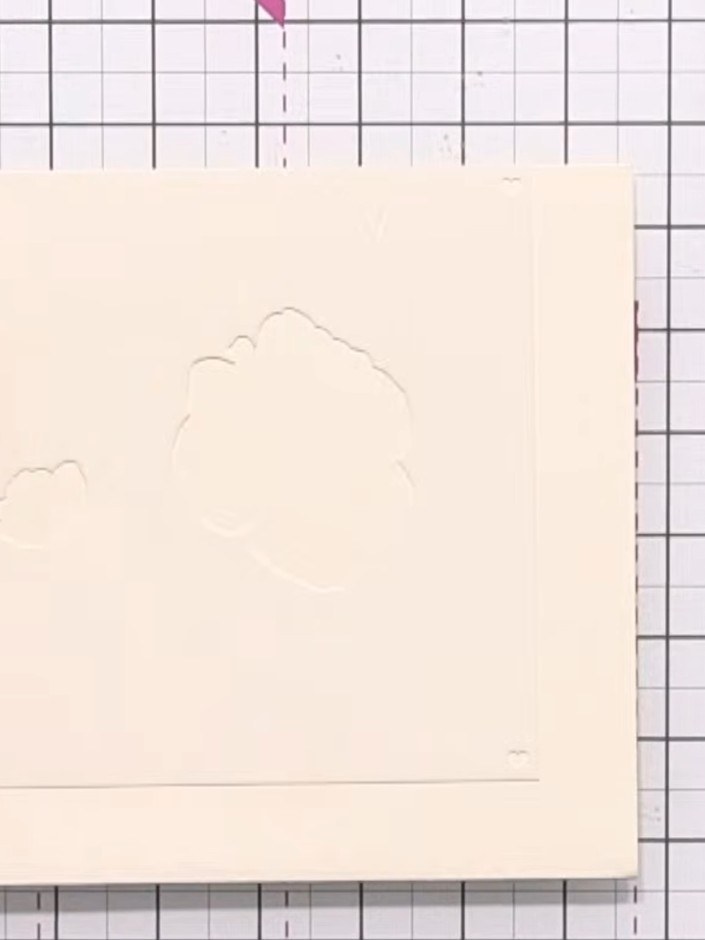
Using the first layer stencil, apply yellow or orange ink to the right side of the card (the coloured half). Use a blending brush to work the ink through the stencil.
▶ watch this step (29:00)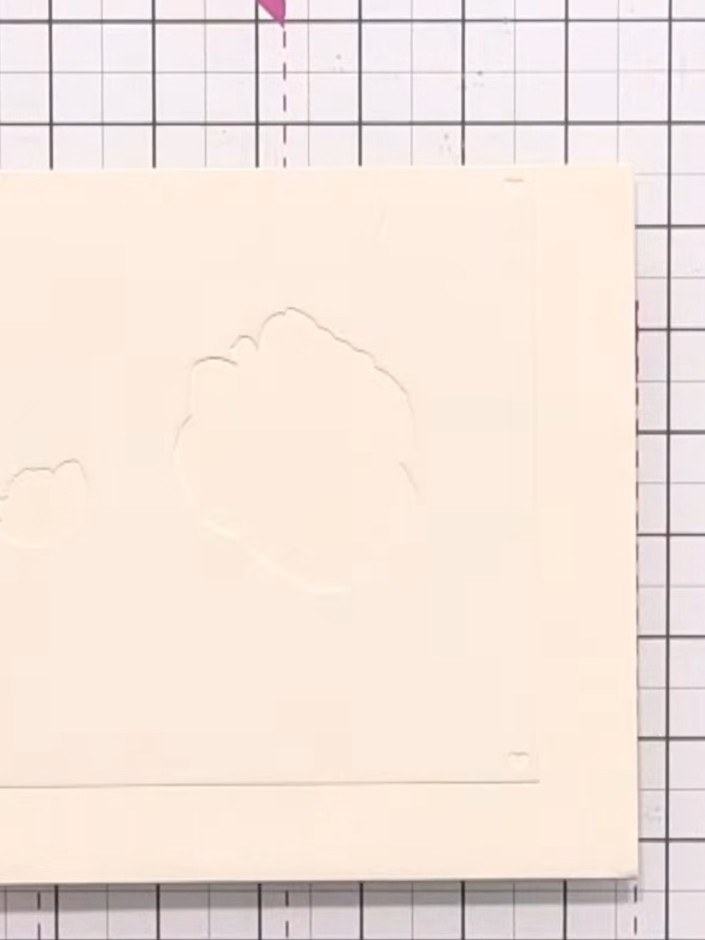
Position the second numbered stencil layer over your card. Apply black ink to the left side of the stencil, continuing to build up the monochromatic tones on that half of the design.
▶ watch this step (30:00)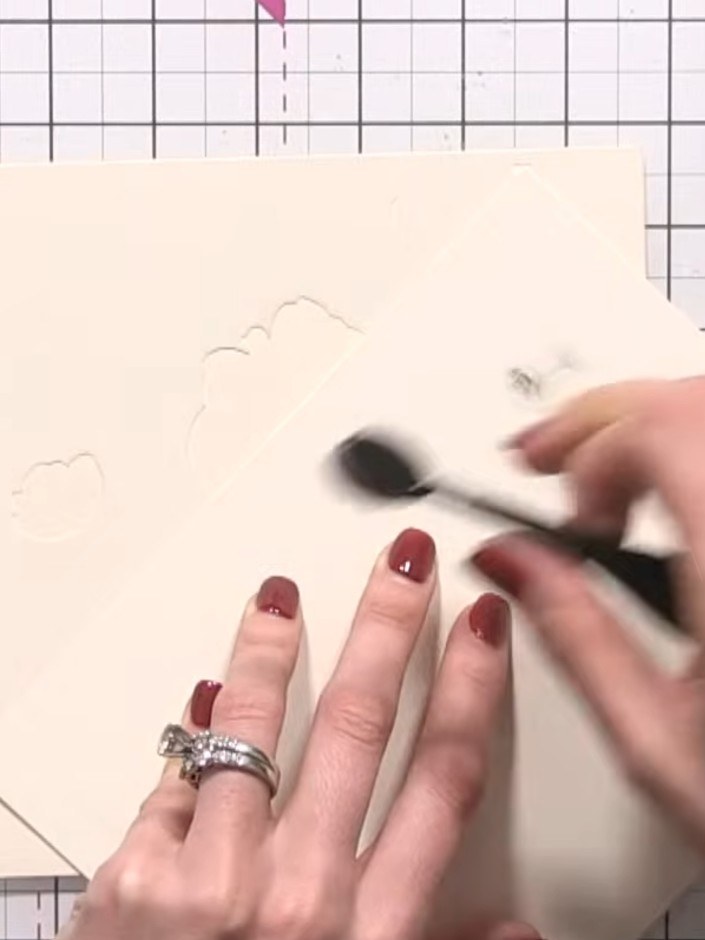
Position the second layer stencil over the right side of the card. Apply the same coloured ink or a darker shade using an ink pad or blending tool to add depth to the rose design.
▶ watch this step (31:00)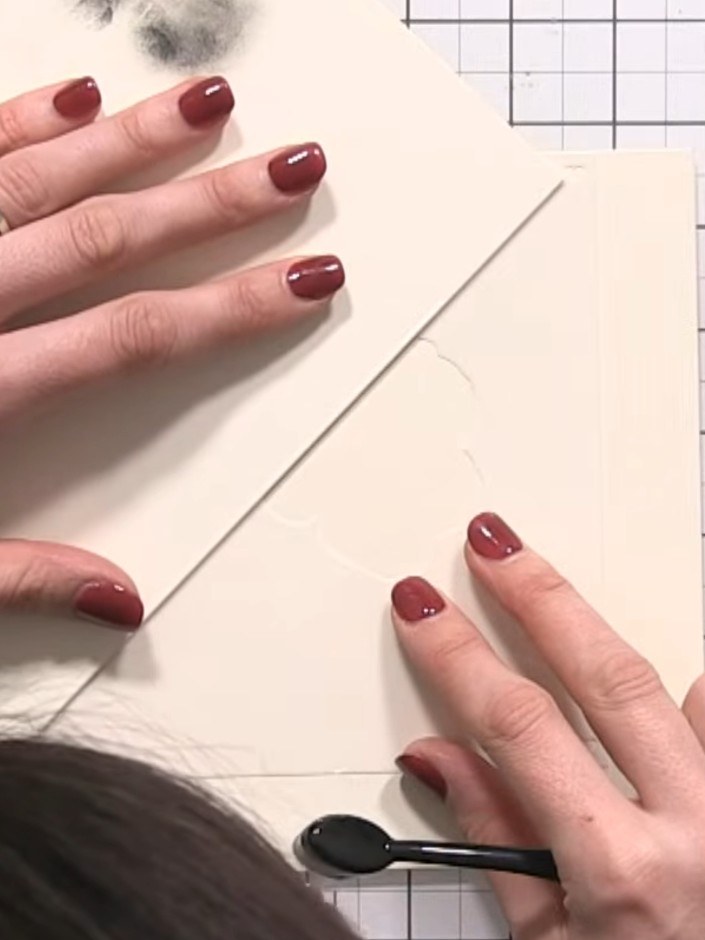
Continue working through the remaining numbered stencil layers, keeping the left side monochromatic (black/grey) and the right side coloured. Use the embossing tool to position each layer accurately on the card.
▶ watch this step (32:00)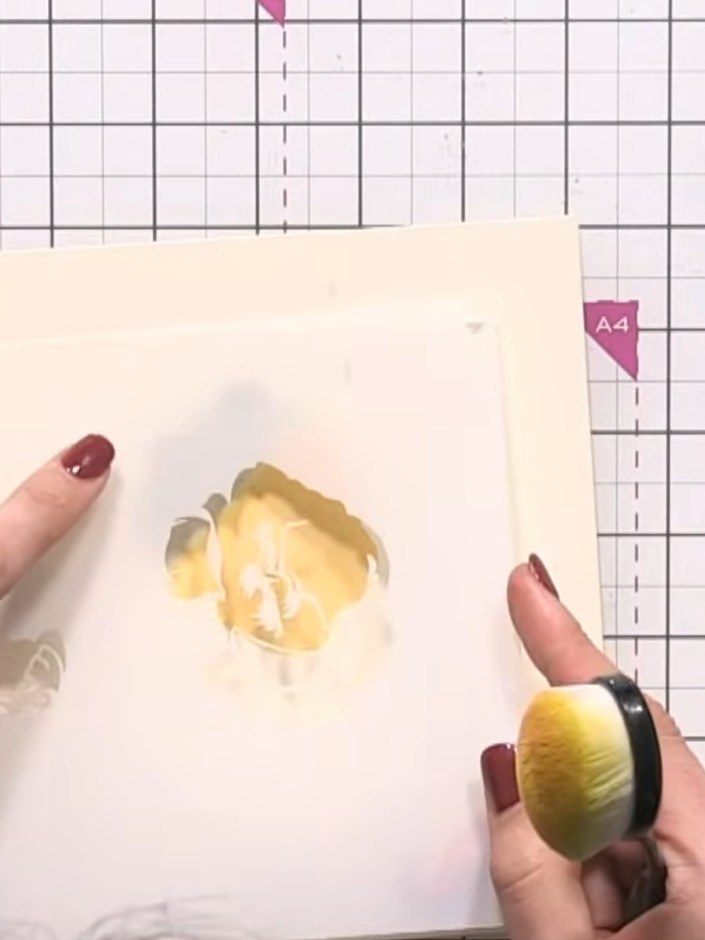
Once all layers are complete, allow the ink to dry fully before removing the stencil from the card.
▶ watch this step (33:00)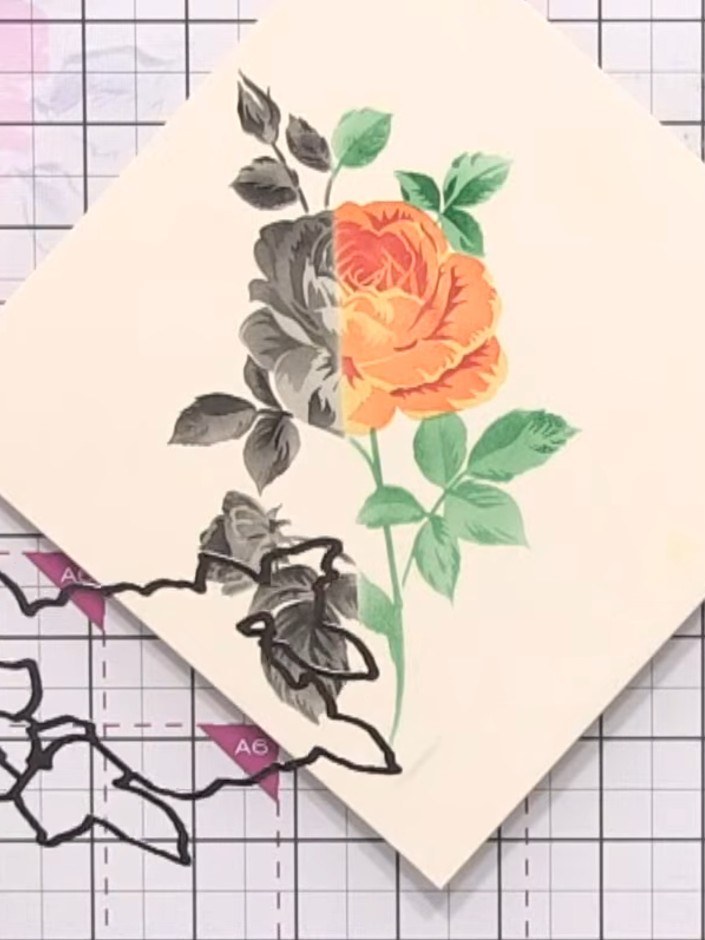
Die-cut the finished rose design using the coordinating die from the Classic Rose set. This will cut around the stamped and stencilled image, creating a neat edge for your card topper.
▶ watch this step (43:45)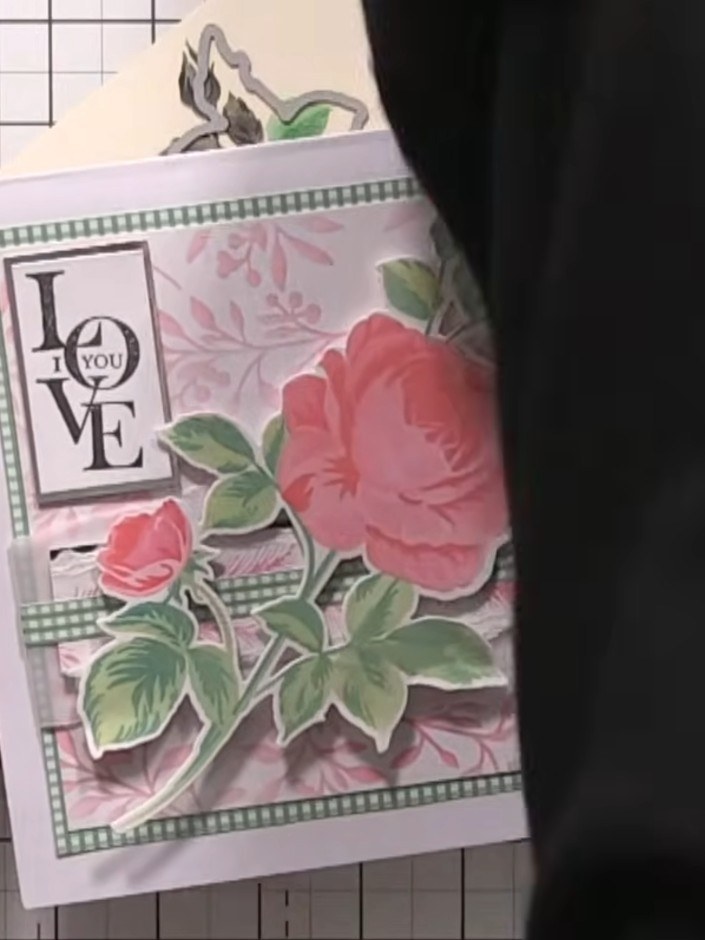
Mount the completed die-cut rose design onto your card base. Position it centrally and secure with adhesive. You can add a sentiment stamp in the centre where the monochromatic and coloured halves meet if desired.
▶ watch this step (49:00)Written up from the show itself. See every guide from our shows · free how-to guides · watch live on My Telly
