Give your friends $10 off their first order!
Refer a FRIEND








A project from our live show Create Together Club - 5 Days of Creativity - Broadcast Monday 22ND September 2025 · 09/22/2025 · watch it from 20:15
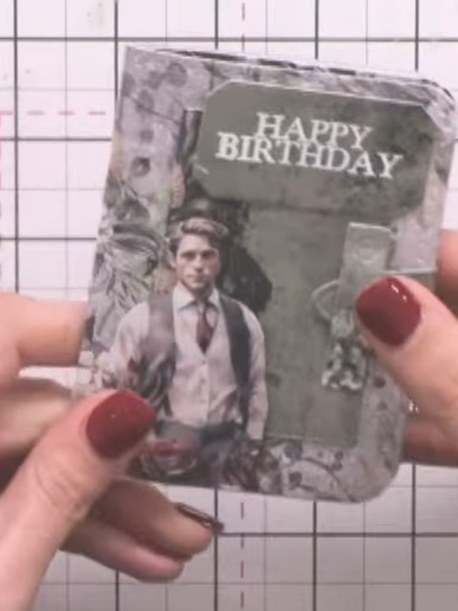
Create an elegant leather-effect wallet featuring a vintage 'Happy Birthday' design with multiple functional compartments. This sophisticated project uses die-cutting techniques to craft tiered pockets, hidden note sections, and decorative panels in muted grey and cream tones. The wallet is finished with realistic leather texturing and a decorative belt-style closure for a luxurious handmade gift.
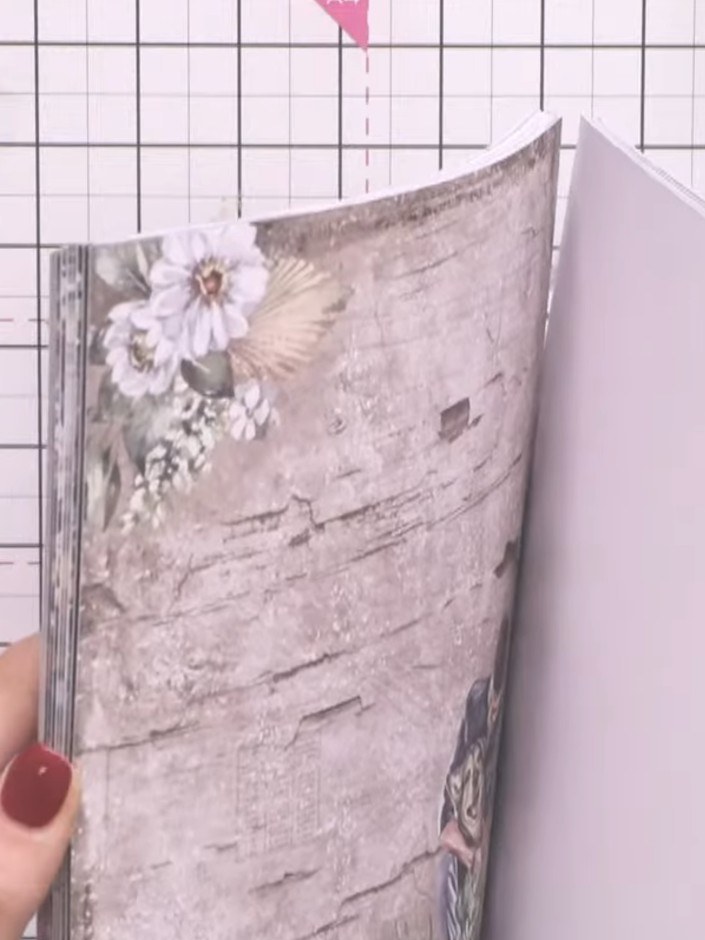
Select a patterned or plain cardstock from the paper pad. Cut the exterior wallet piece using the die from the Pocket Wallet die set on your cutting machine.
▶ watch this step (22:00)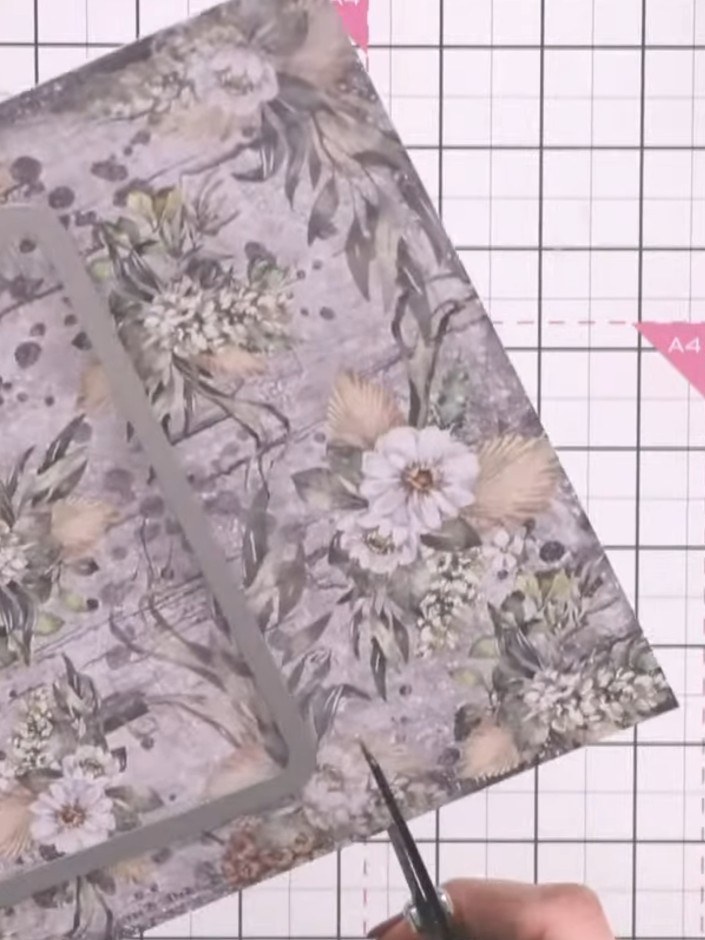
Score the exterior piece firmly along the fold line using a scoring tool to create a crisp crease in the thicker cardstock.
▶ watch this step (23:15)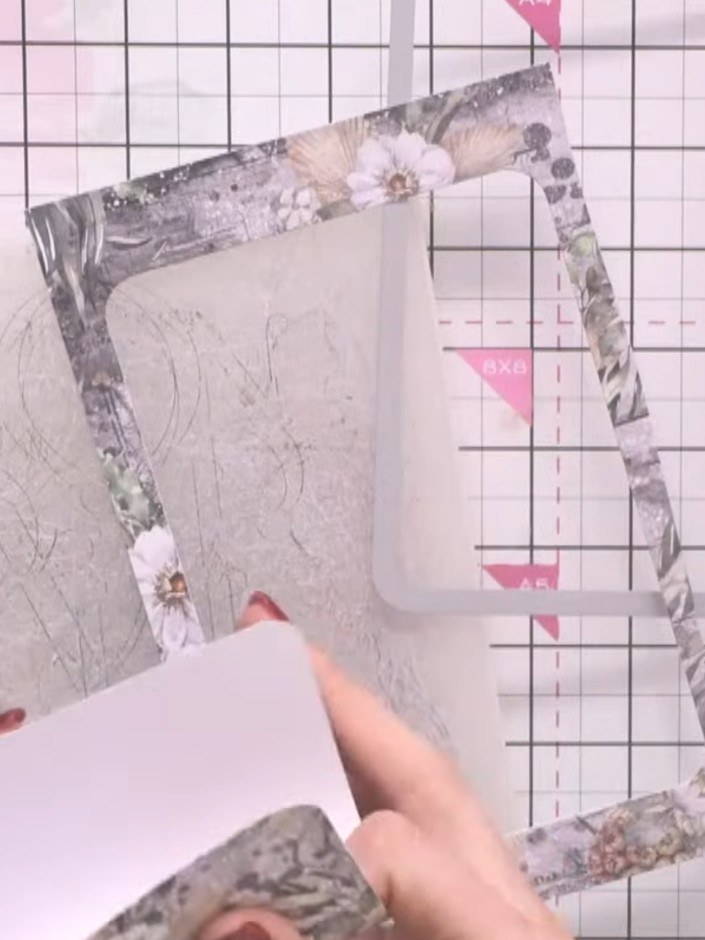
Fold the exterior piece in half along the scored line to form the wallet shape. The decorative patterned paper should be on the outside, with the plain interior facing inward.
▶ watch this step (24:30)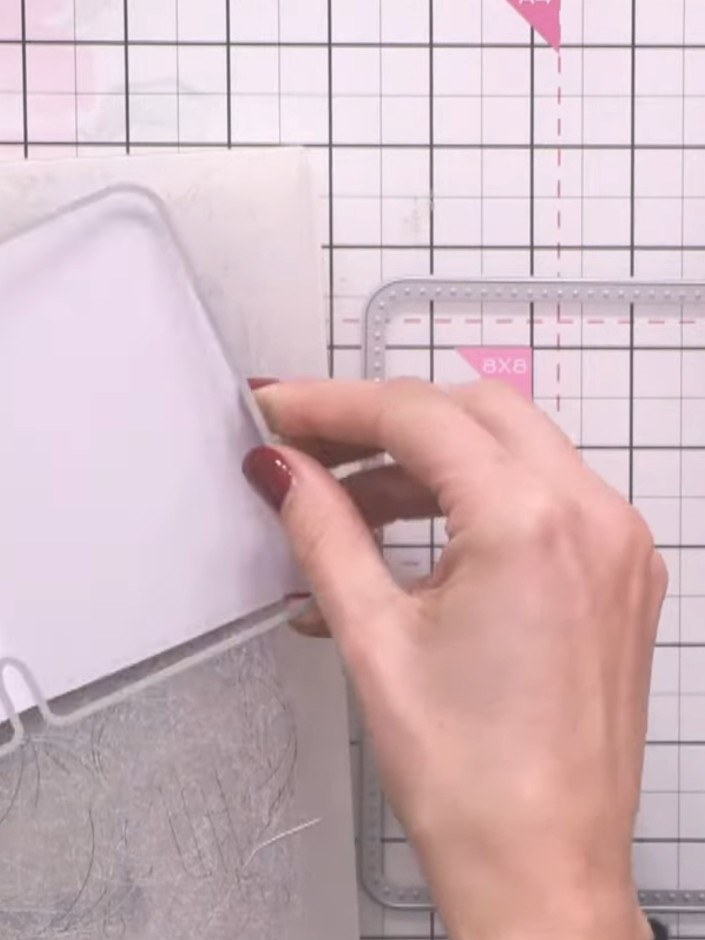
Cut the interior wallet piece from coordinating or contrasting cardstock using the same die set from the Tailored Threads collection.
▶ watch this step (25:00)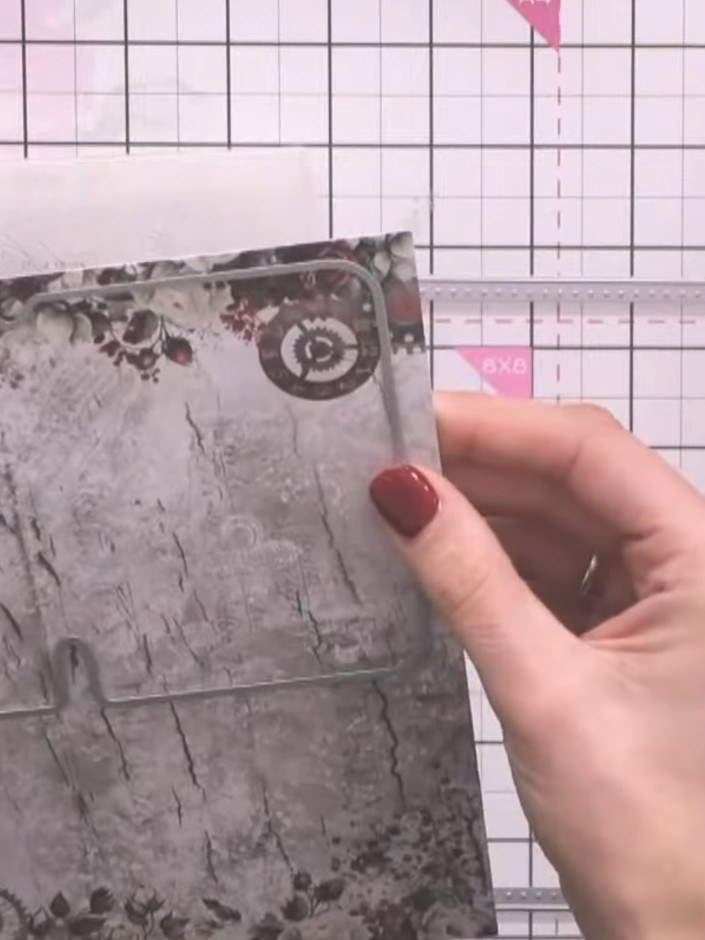
Score and fold the white interior piece in half to match the size of the decorative exterior piece.
▶ watch this step (26:15)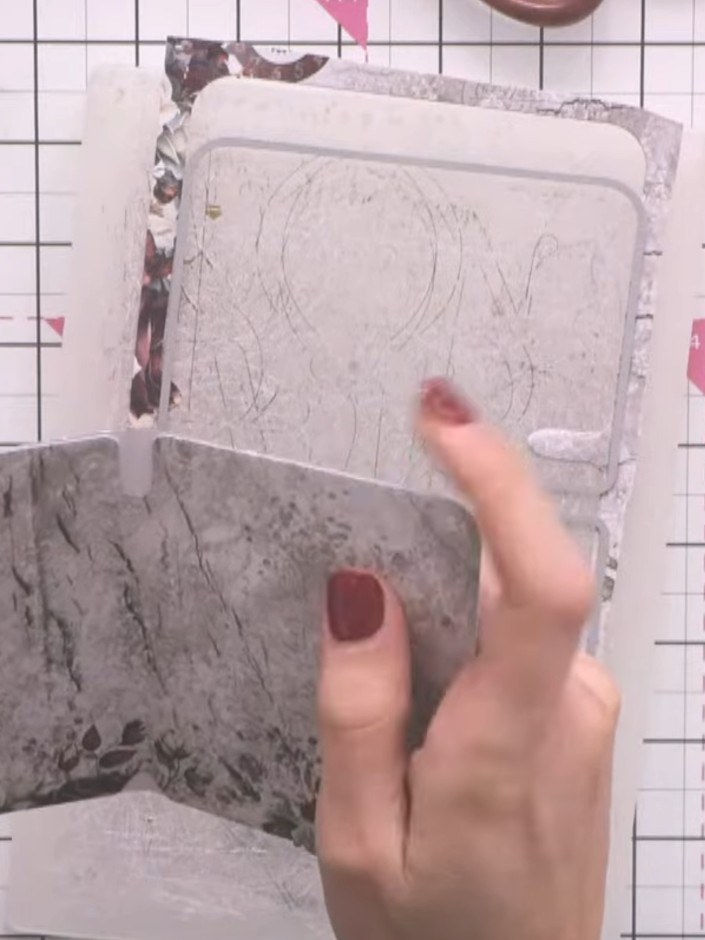
Cut a piece of white cardstock to create the hidden pocket insert. Position it inside the wallet base to create a tiered pocket effect where you can store notes and other items.
▶ watch this step (31:15)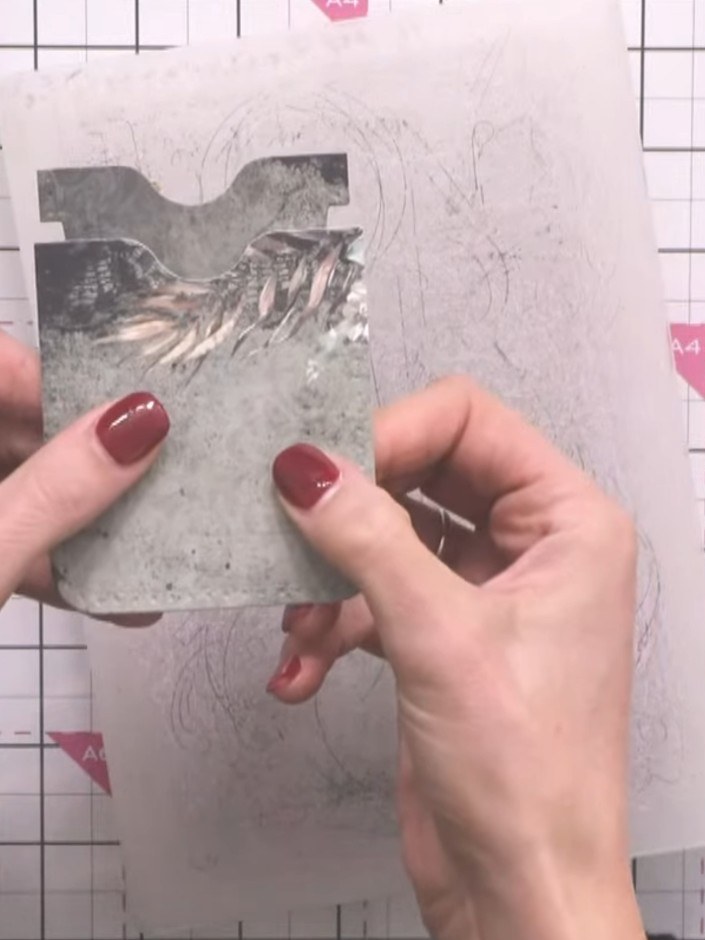
Cut out two dot-dash panel pieces from cardstock using the die to create side pockets for the wallet. The pieces should have a decorative scalloped top edge.
▶ watch this step (37:30)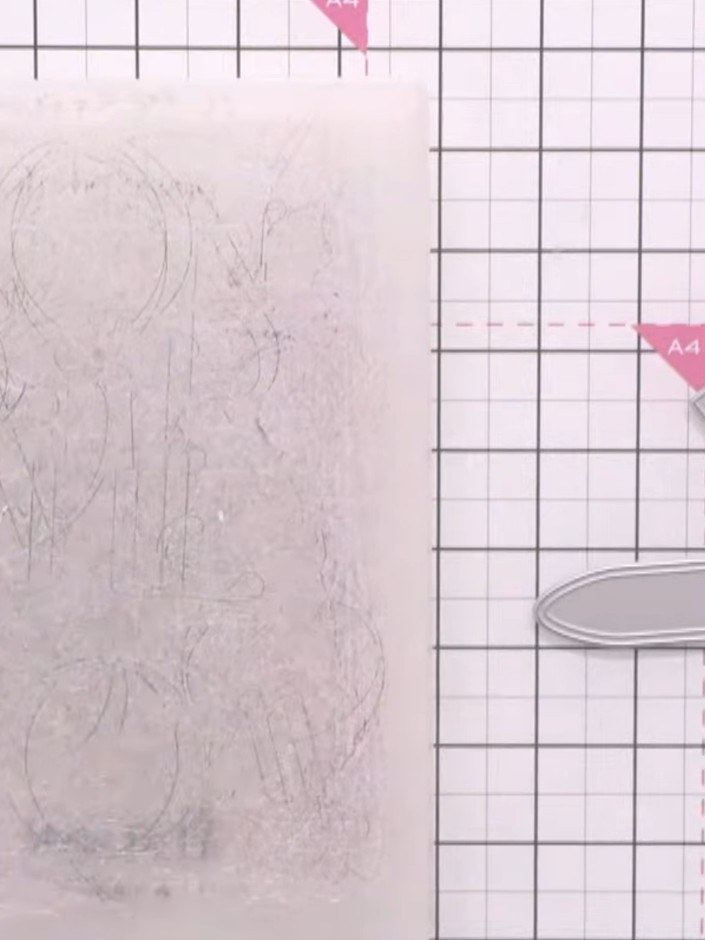
Cut out the decorative belt or leather strap closure piece from the cardstock using the stamp as a template.
▶ watch this step (38:00)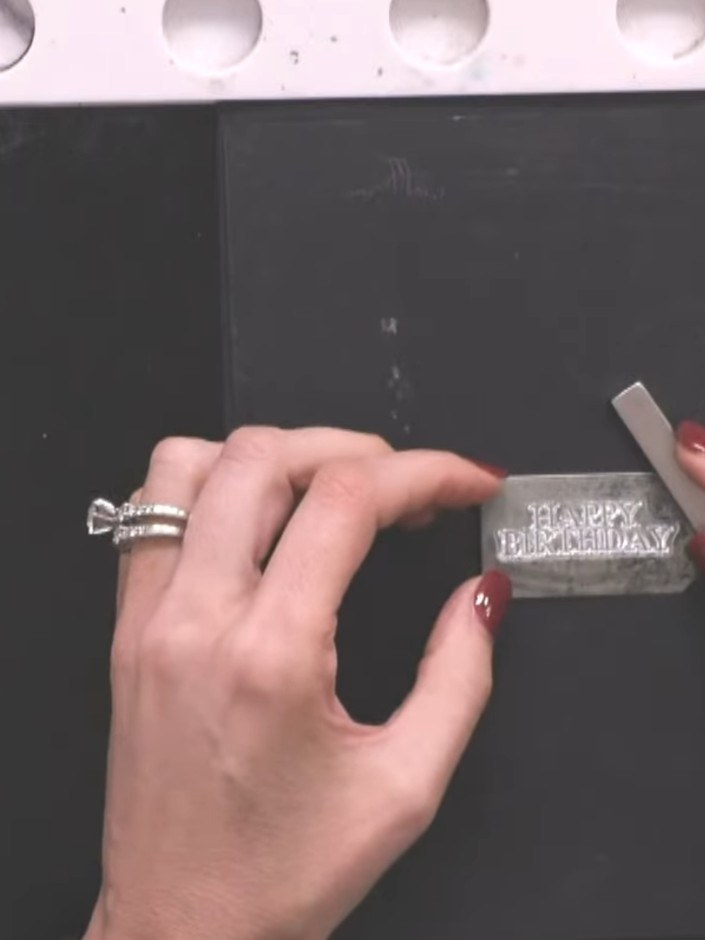
Stamp a sentiment such as 'Happy Birthday' onto one of the panel pieces using the stamp set and sticky ink pad. Position the stamp carefully on the leather-effect panel and press firmly to transfer the design.
▶ watch this step (42:00)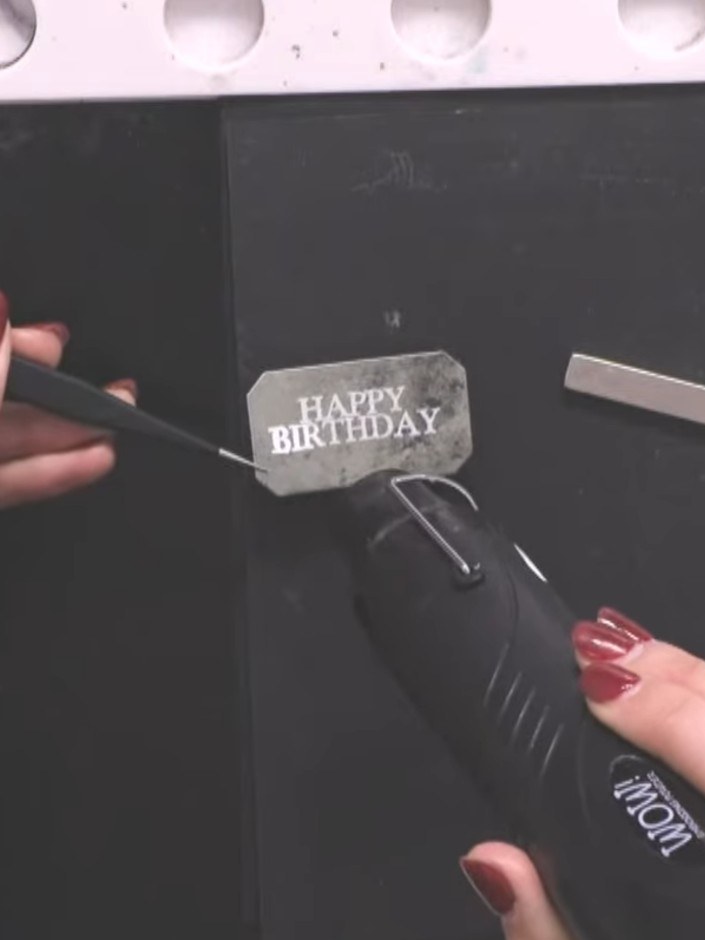
Heat emboss the stamped 'Happy Birthday' sentiment using a heat gun. Hold the heat gun over the embossing powder until it melts and sets to create a raised, glossy finish.
▶ watch this step (45:30)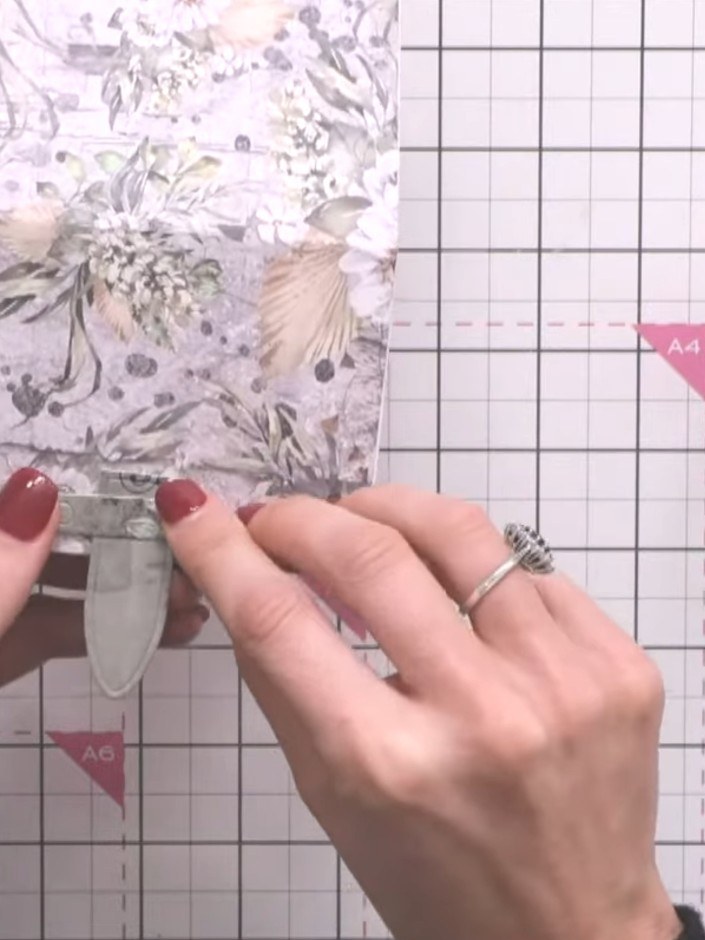
Position the interior piece onto the exterior piece. Apply adhesive to the bottom and side edges only, leaving the top edge open to create a pocket for inserting items.
▶ watch this step (50:00)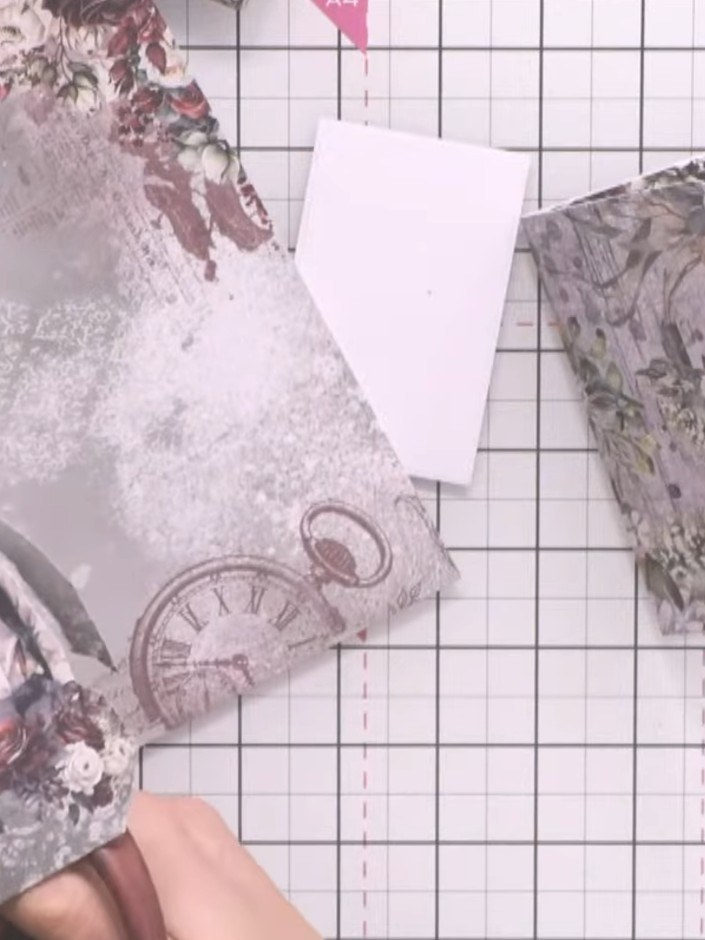
Fussy cut a decorative element such as a figure or floral motif from the patterned paper. Layer it onto the front of the wallet using foam pads for dimension.
▶ watch this step (51:30)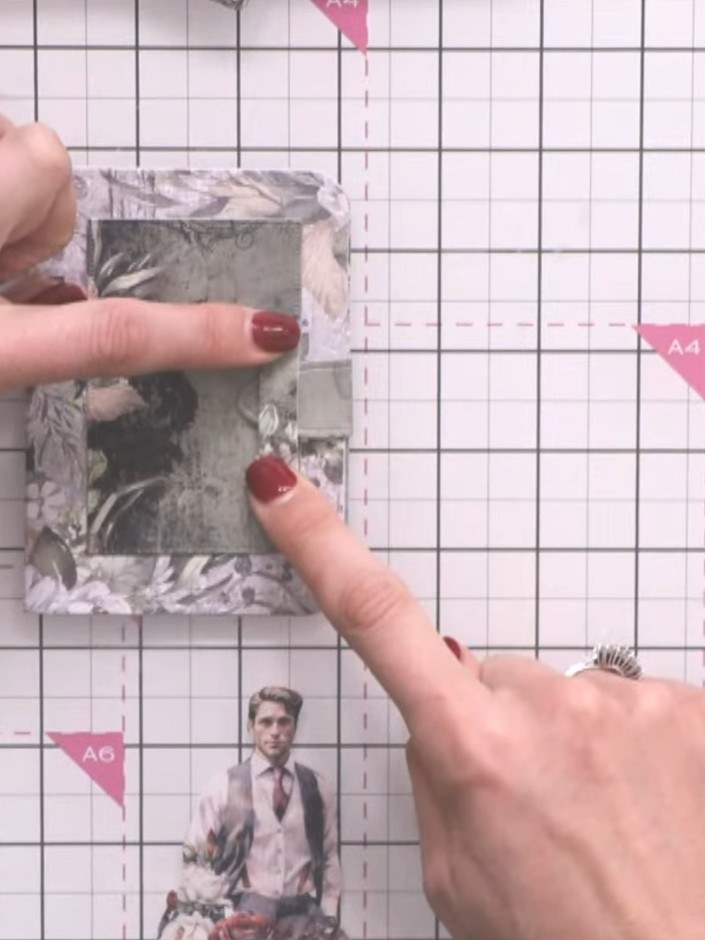
Position the belt closure piece across the front of the wallet and adhere it in place using strong adhesive, ensuring it will hold the wallet closed securely.
▶ watch this step (53:15)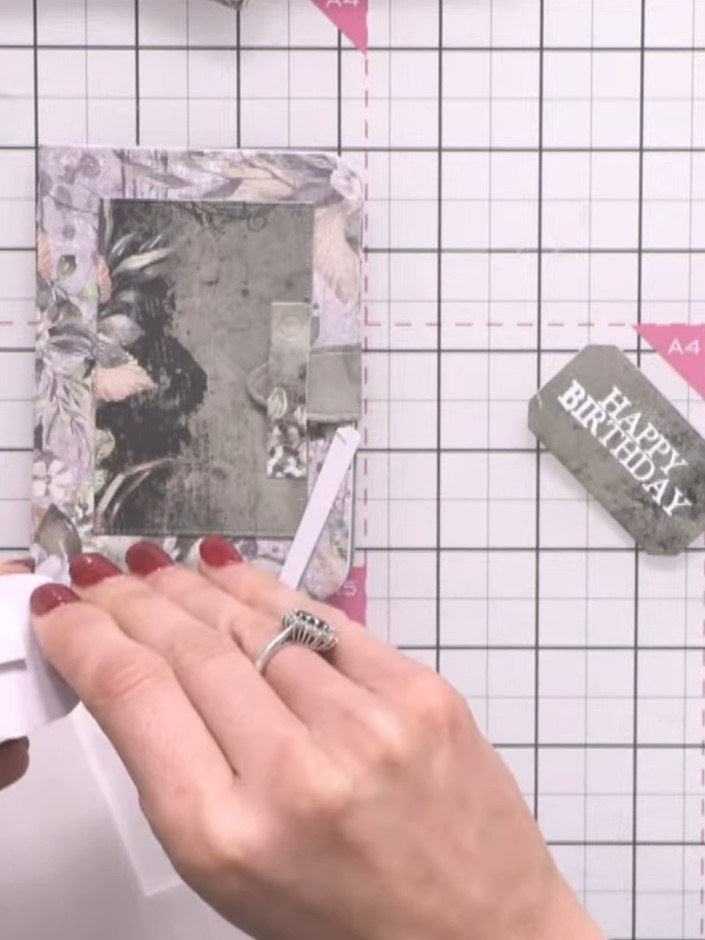
Use a blending brush with coordinating ink to colour any white edges of the cardstock, hiding the white core.
▶ watch this step (54:00)Written up from the show itself. See every guide from our shows · free how-to guides · watch live on My Telly
