Give your friends $10 off their first order!
Refer a FRIEND








A project from our live show Create Together Club - 5 Days of Creativity - Broadcast Friday 26TH September 2025 · 09/26/2025 · watch it from 17:30
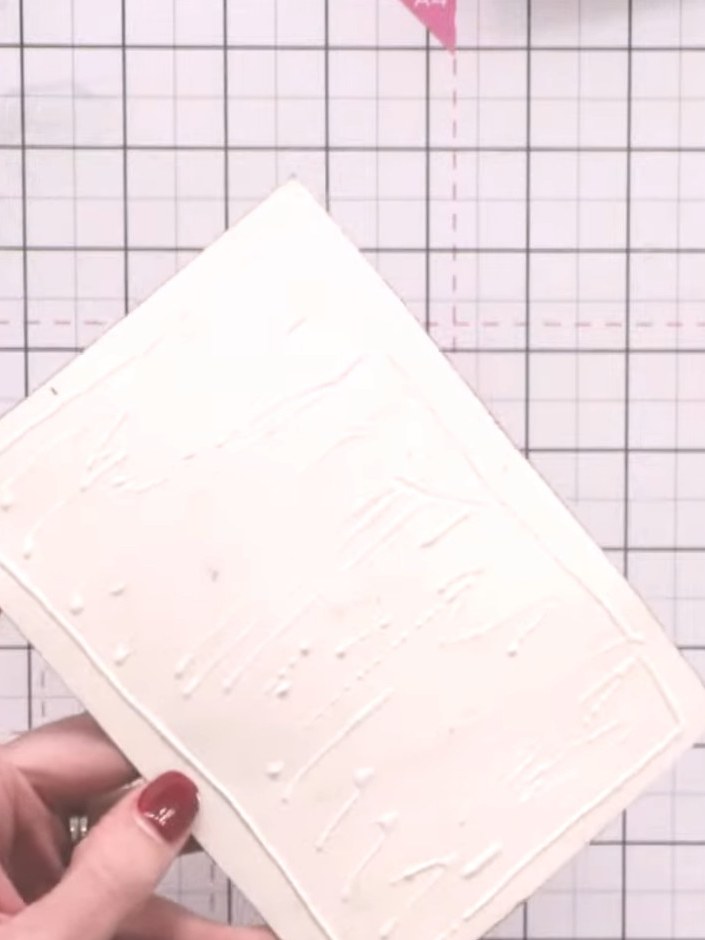
Create a sophisticated card featuring a stamped word background with watercolour ink effects, topped with an embossed sentiment plaque. The design combines inked backgrounds with heat-set embossing for a soft, layered look in vintage tones. Complete the project with a coordinating decorated envelope using matching stamped elements.
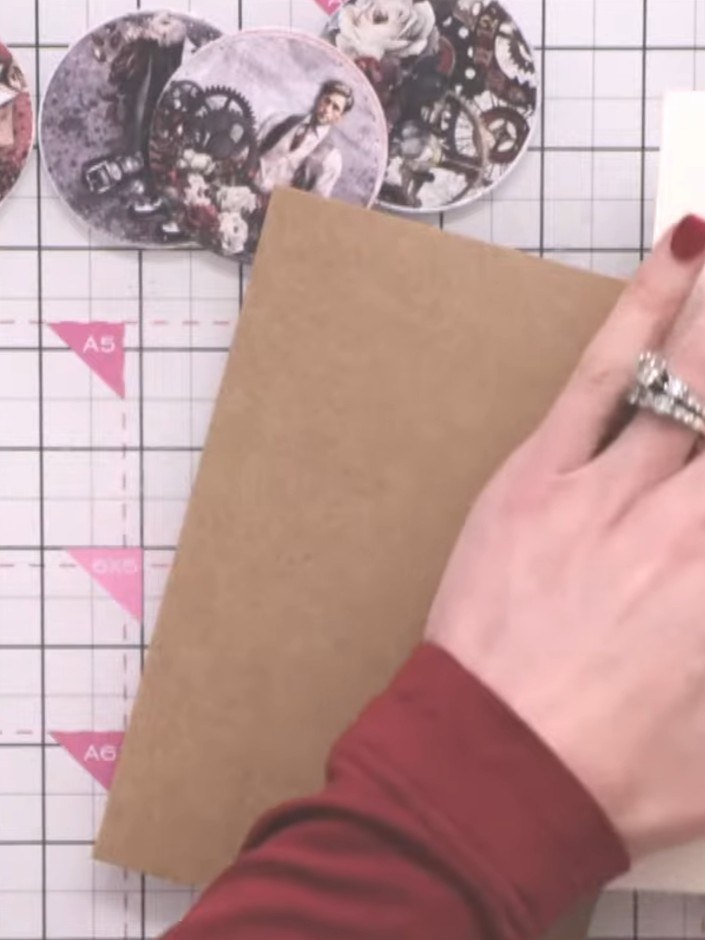
Cut a piece of cream card stock and a piece of kraft card stock to size for your card base and mat layer.
▶ watch this step (17:45)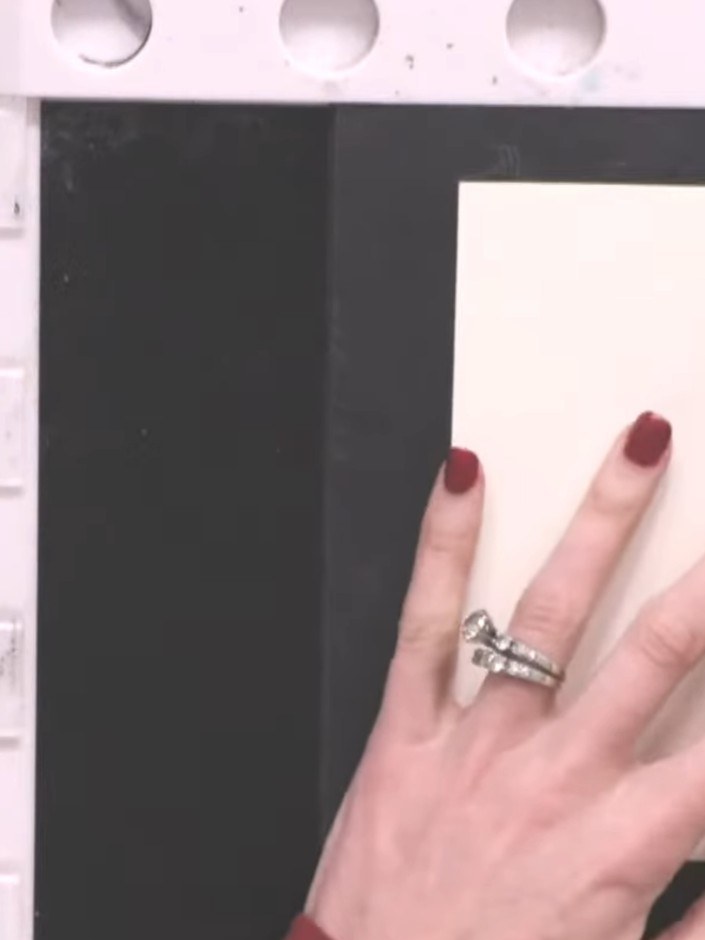
Position your cream card stock on your craft mat and hold it in place. Using a sticky ink pad, randomly stamp sentiment words from your stamp set across the surface of the card stock.
▶ watch this step (18:30)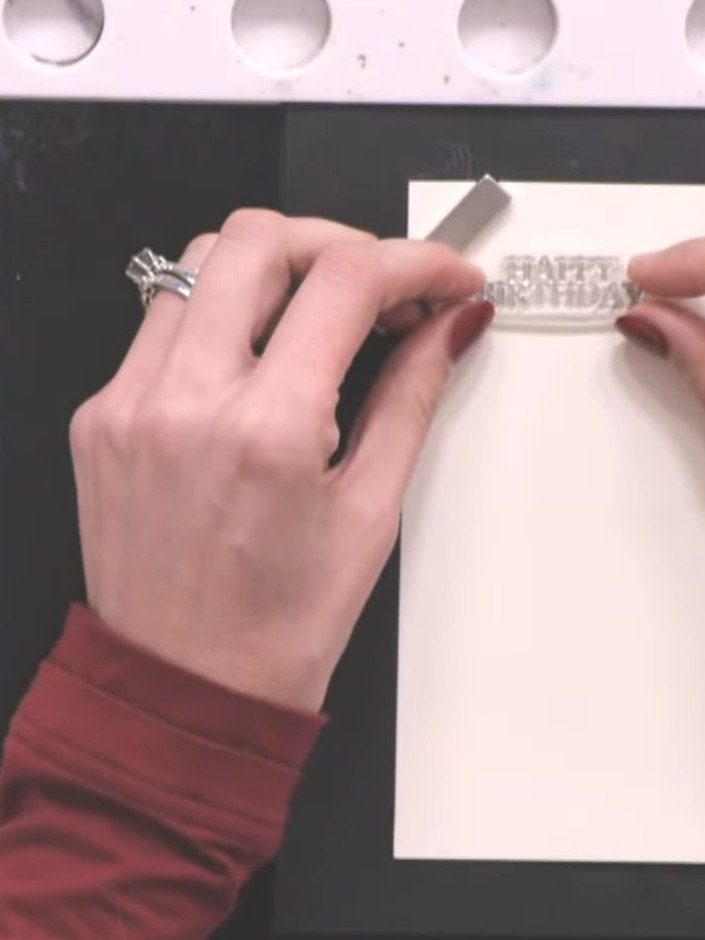
Reposition the card stock on the black card base and stamp the 'Happy Birthday' sentiment again in different overlapping positions to build up a layered background effect.
▶ watch this step (19:00)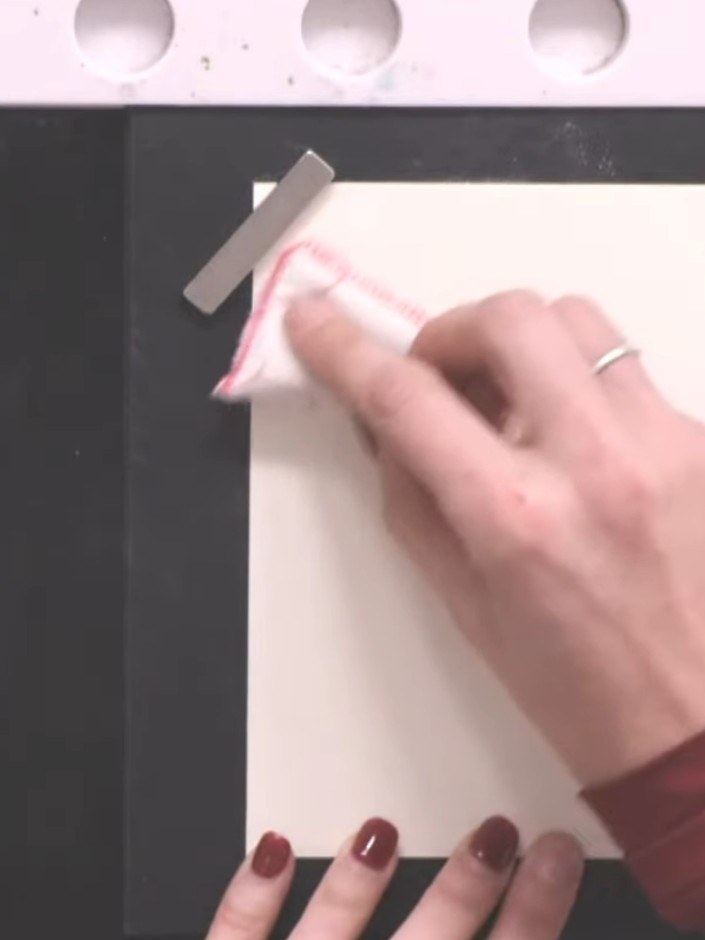
Dust the stamped surface with white embossing powder, tapping away the excess. Heat set with a heat gun until the powder melts and becomes glossy.
▶ watch this step (19:45)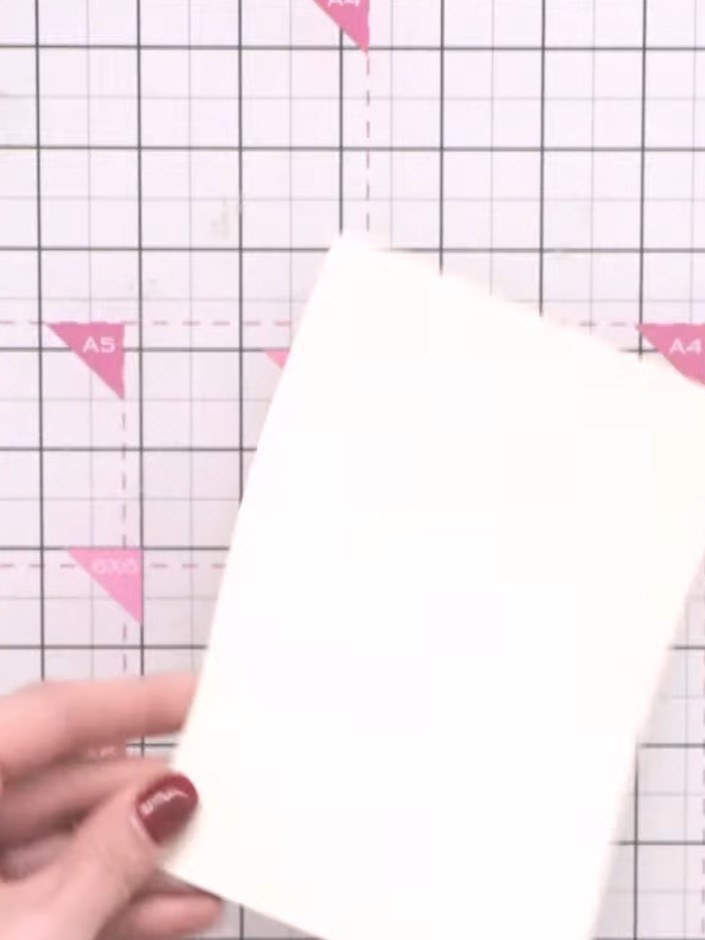
Place brown ink on a craft mat and spray with water to create a puddle. Drop your stamped card stock into the inky water to create a watercolour effect around the words.
▶ watch this step (24:45)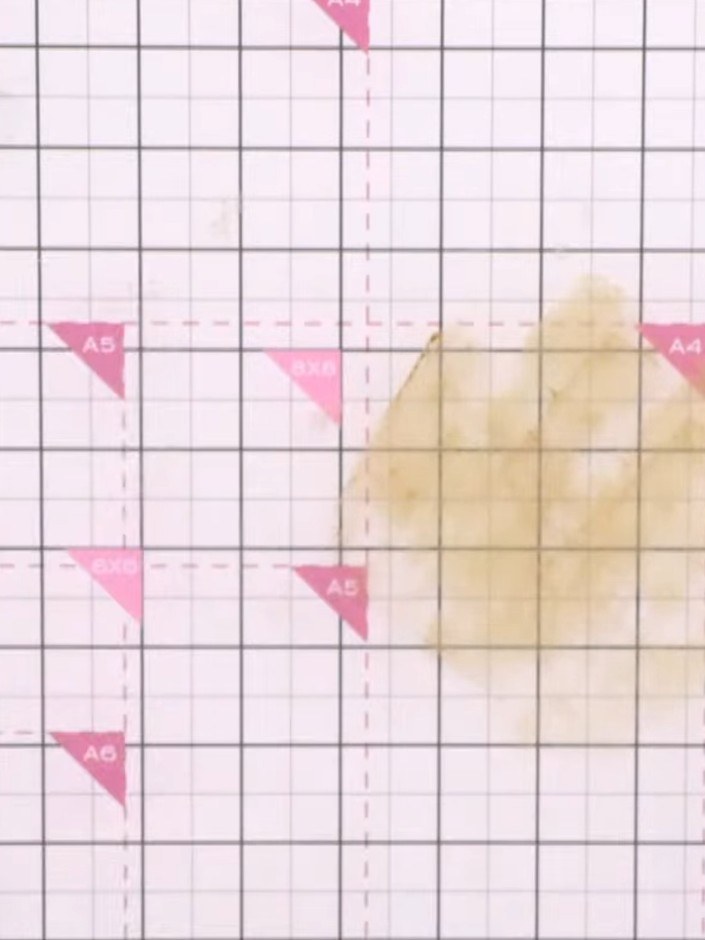
Add blue Distress Oxide ink to another area of your craft mat. Drop the card into the ink again to layer additional colour, creating a moody sky effect.
▶ watch this step (27:00)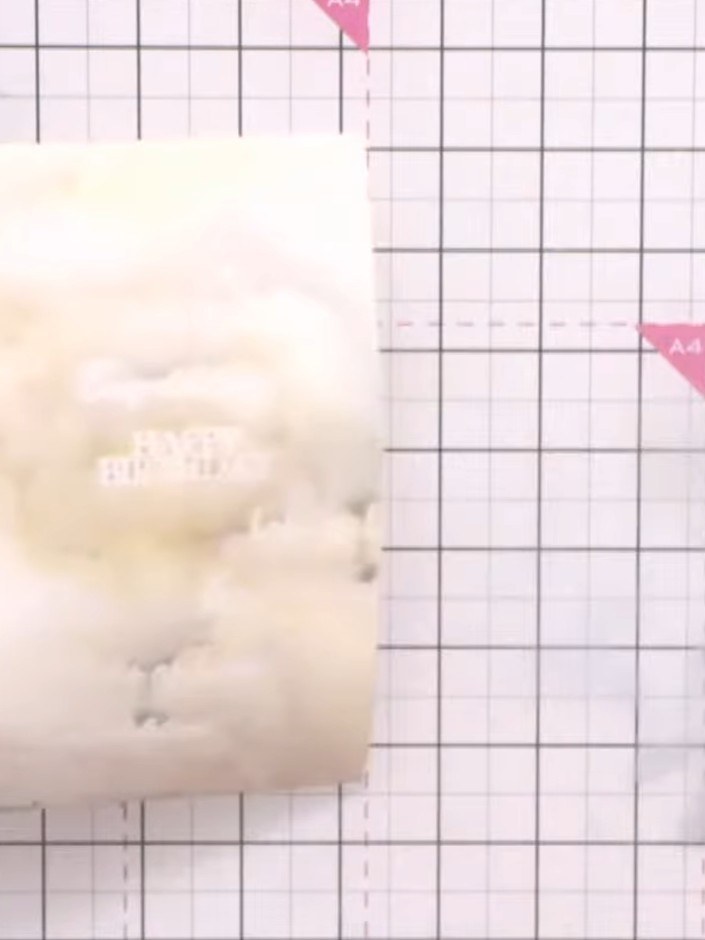
Soften any harsh lines by gently dabbing with your finger to blend the colours together on the stamped background.
▶ watch this step (29:45)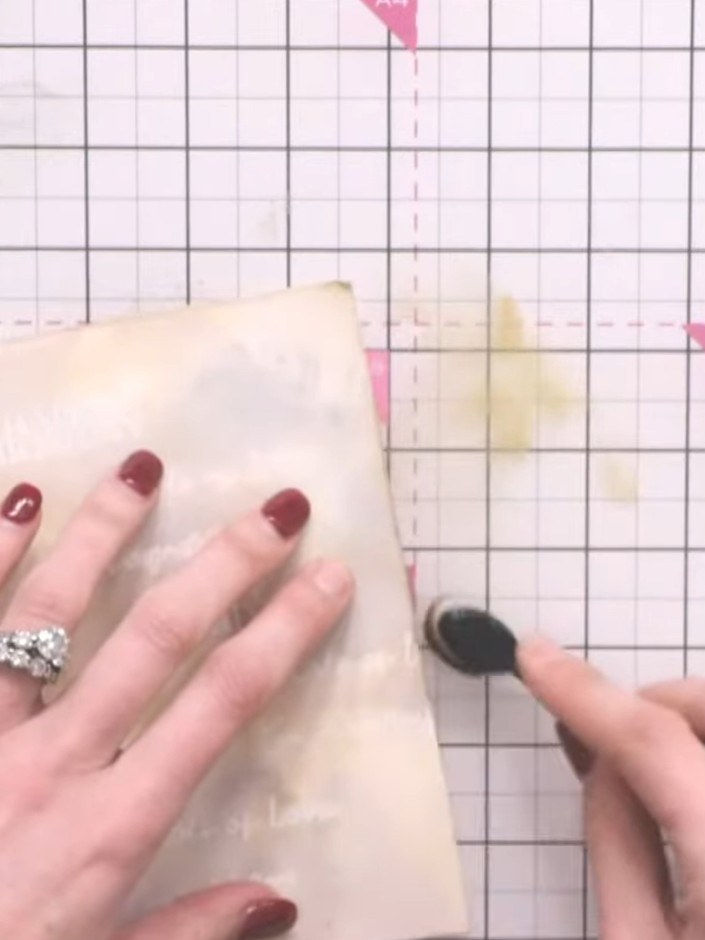
Use a blending brush with brown Distress Oxide ink to add colour and texture around the edges of the cream card stock. Work the ink gently around all four edges to create a vintage, aged effect.
▶ watch this step (31:45)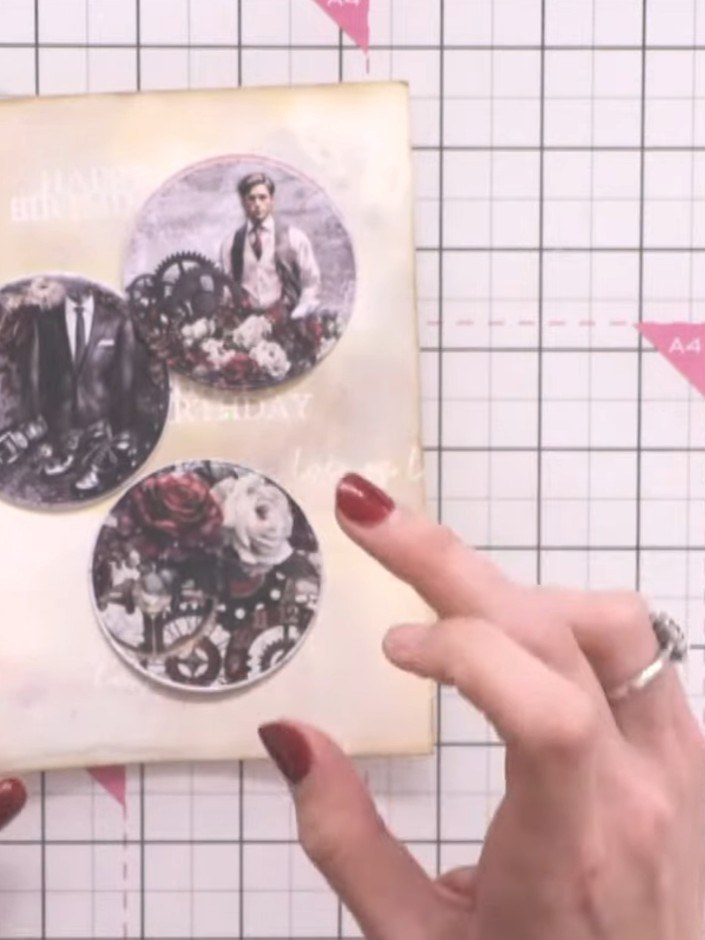
Arrange three circular die-cut images on your inked cream card background, positioning them to create a pleasing composition. The circles should feature vintage-style imagery including portraits and decorative elements.
▶ watch this step (40:00)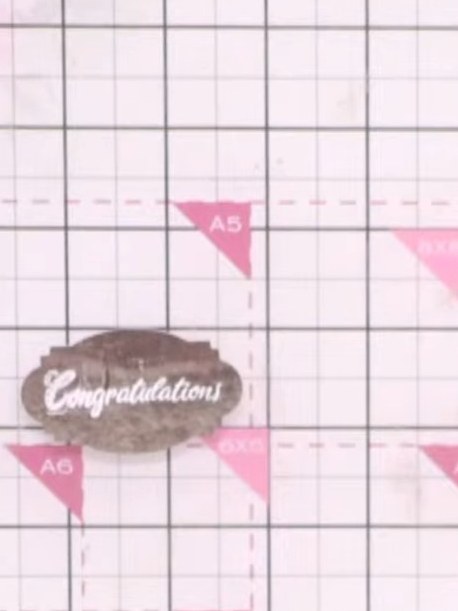
Heat set the embossed 'Congratulations' sentiment. Using a blending brush, edge the circle with black ink to add definition.
▶ watch this step (45:30)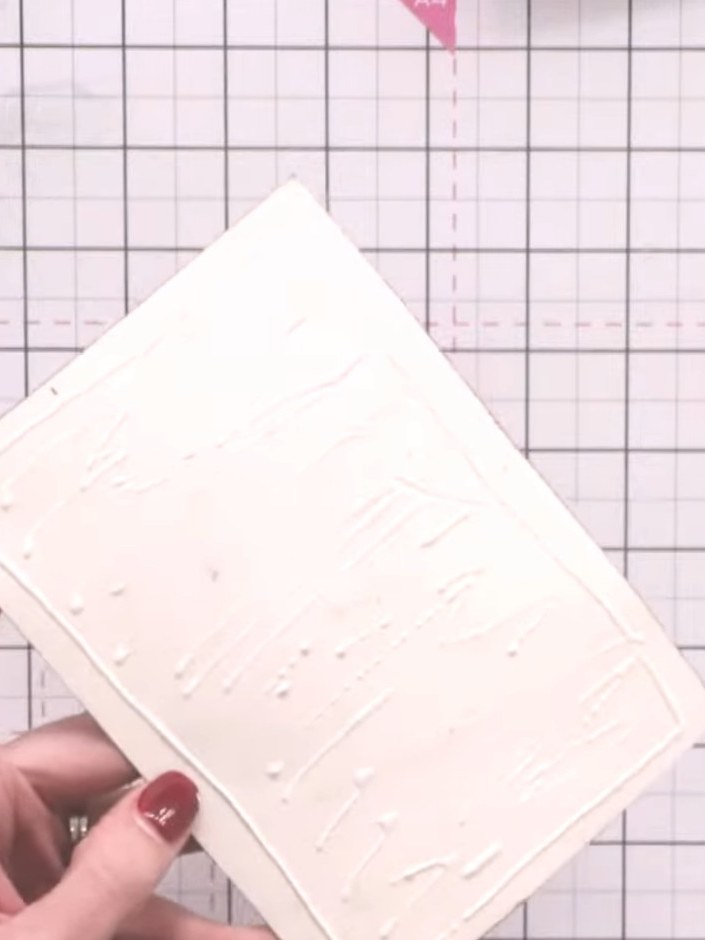
Adhere the embossed circle plaque to your card base, positioning it half on and half off the edge to create dimension.
▶ watch this step (47:30)Written up from the show itself. See every guide from our shows · free how-to guides · watch live on My Telly
