Offrez à vos amis 10 $ de remise sur leur première commande !
Parrainez un AMI








 The Friday Final Cutven. 20 nov. 5 h 00
 La vitrine de la communautélun. 23 nov. 5 h 00
 Deal Huntersmar. 24 nov. 8 h 00
Les prix sont mis à jour immédiatement. Chaque langue est notre propre traduction, pas Google.
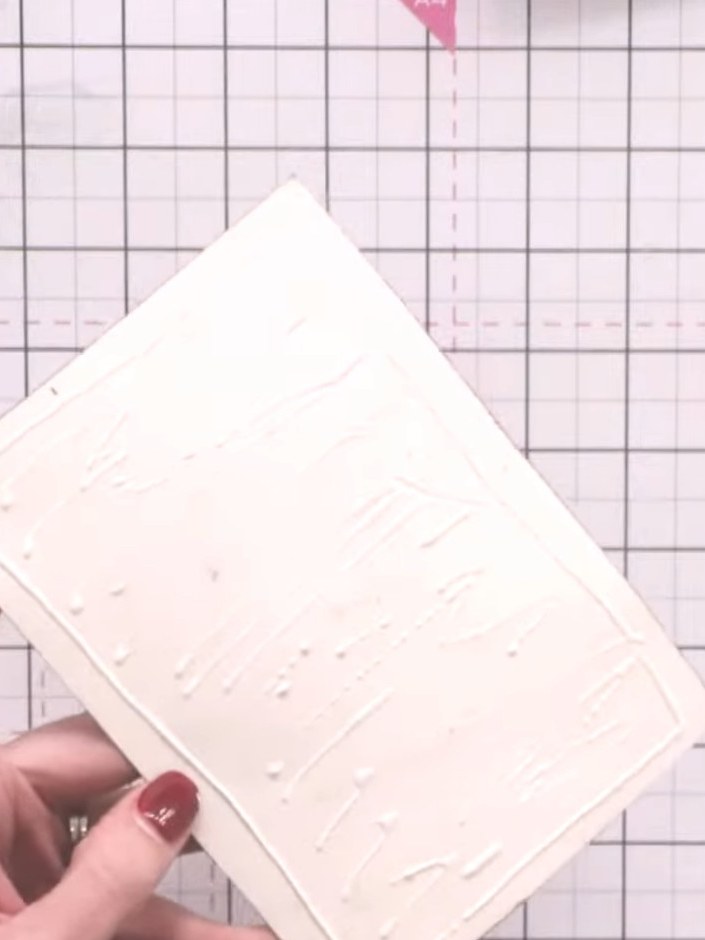
Une création de notre émission en direct Create Together Club - 5 Days of Creativity - Broadcast vendredi 26 septembre 2025 · 09/26/2025
Réalisez une carte élégante avec un fond de mots tamponnés et des effets d'encre aquarellés, rehaussée d'une plaque de texte embossée. Ce projet associe fonds encrés et embossage à chaud pour un rendu doux et tout en superpositions, dans des tons vintage. Pour finir en beauté, décorez une enveloppe assortie avec les mêmes éléments tamponnés.
 1
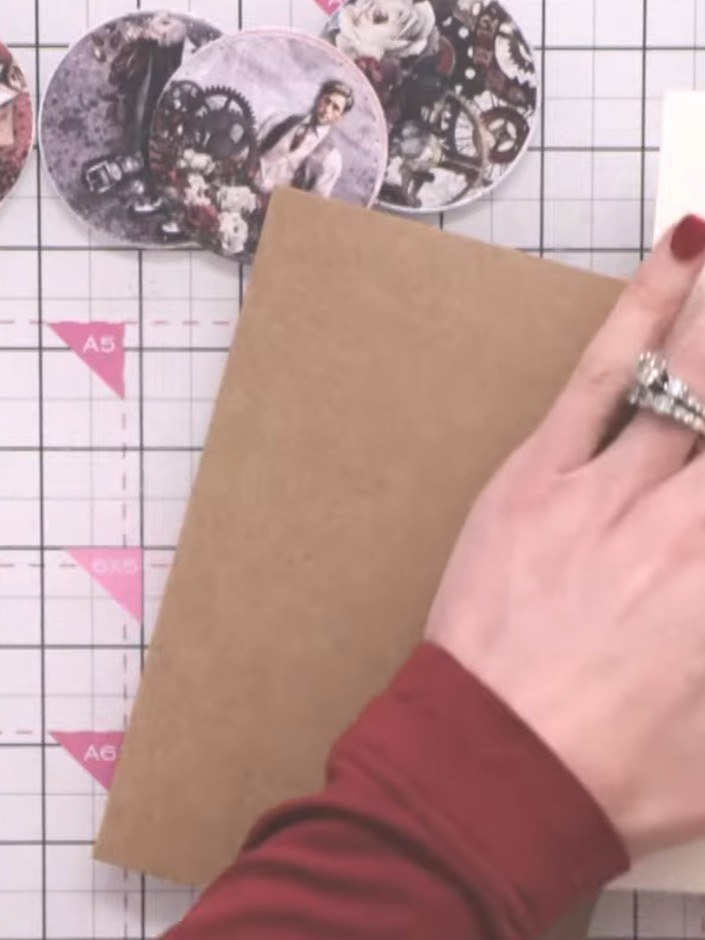
Cut a piece of cream card stock and a piece of kraft card stock to size for your card base and mat layer.
 2
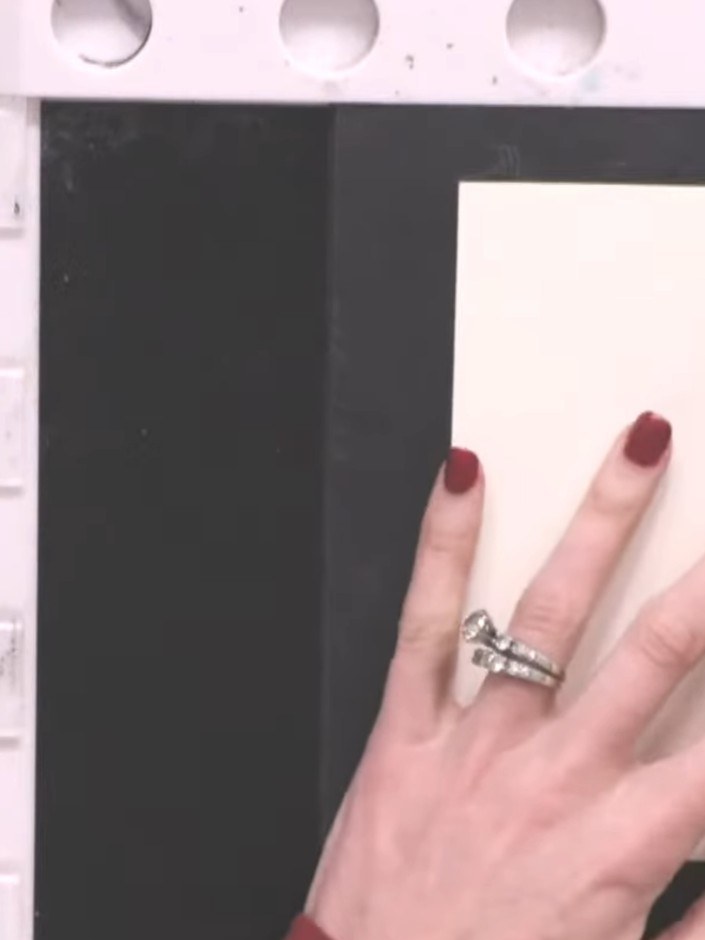
Position your cream card stock on your craft mat and hold it in place. Using a sticky ink pad, randomly stamp sentiment words from your stamp set across the surface of the card stock.
 3
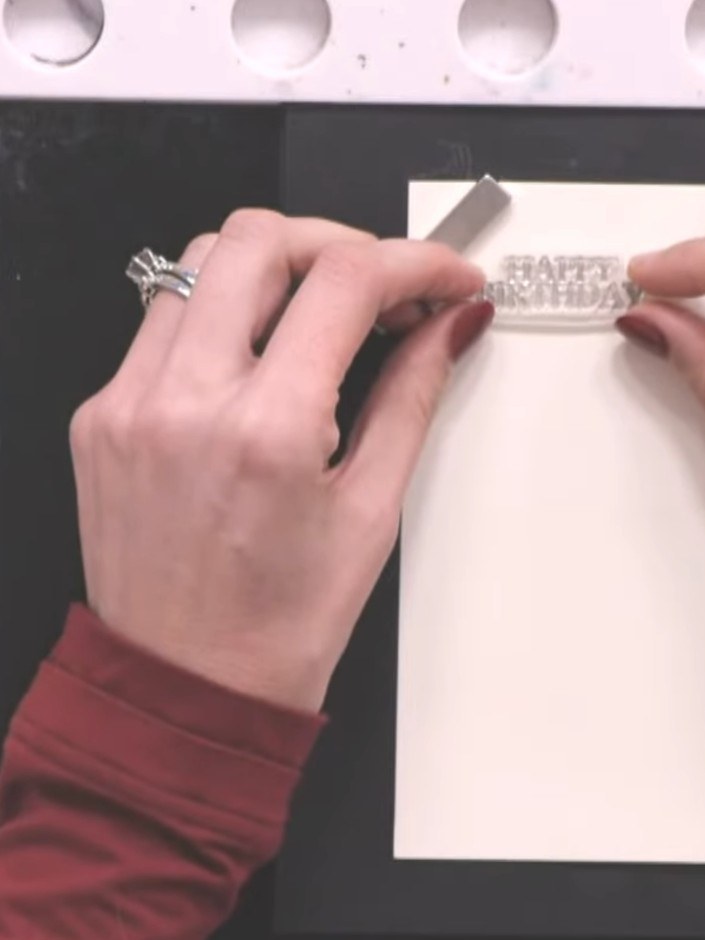
Reposition the card stock on the black card base and stamp the 'Happy Birthday' sentiment again in different overlapping positions to build up a layered background effect.
 4
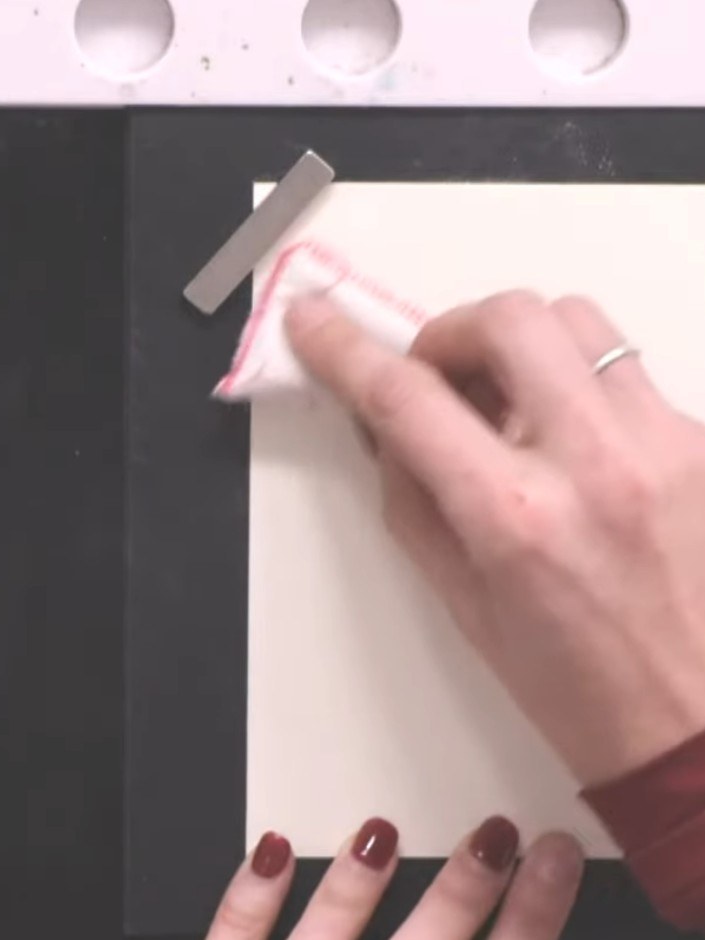
Dust the stamped surface with white embossing powder, tapping away the excess. Heat set with a heat gun until the powder melts and becomes glossy.
 5
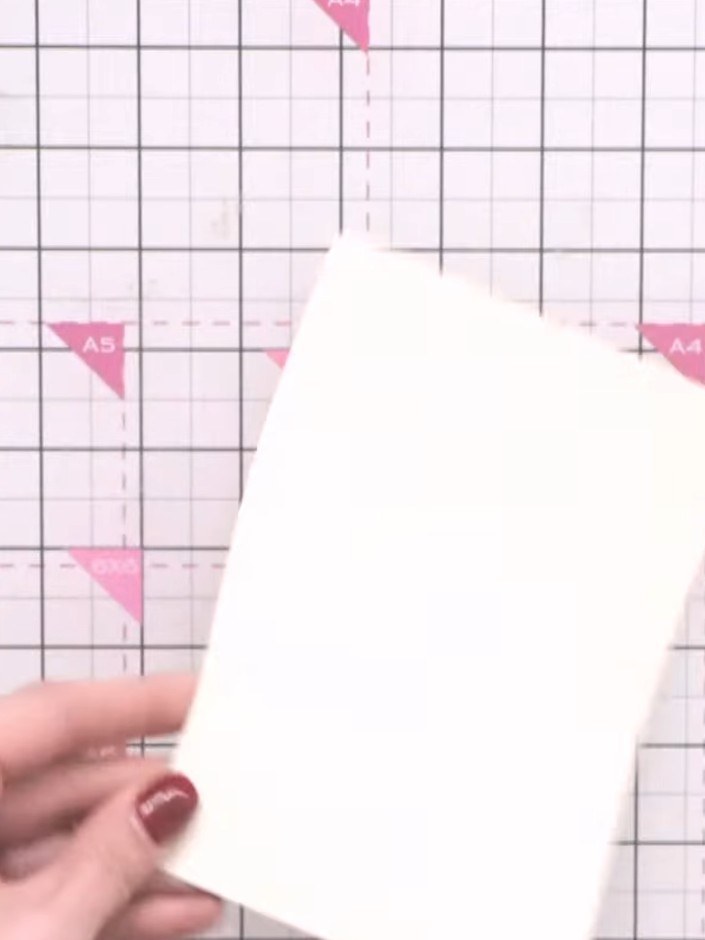
Place brown ink on a craft mat and spray with water to create a puddle. Drop your stamped card stock into the inky water to create a watercolour effect around the words.
 6
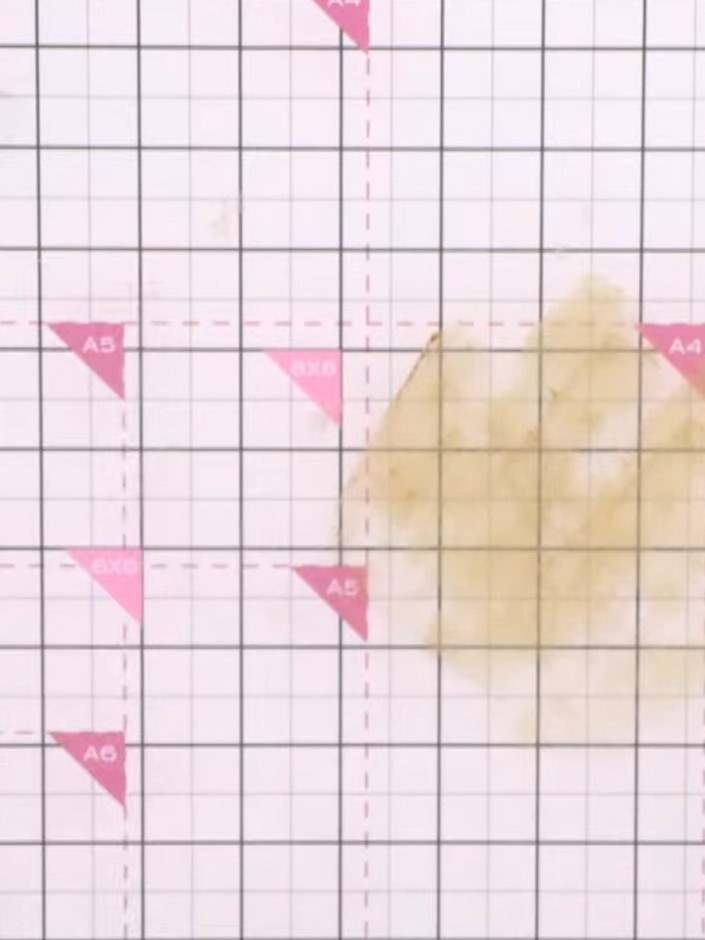
Add blue Distress Oxide ink to another area of your craft mat. Drop the card into the ink again to layer additional colour, creating a moody sky effect.
 7
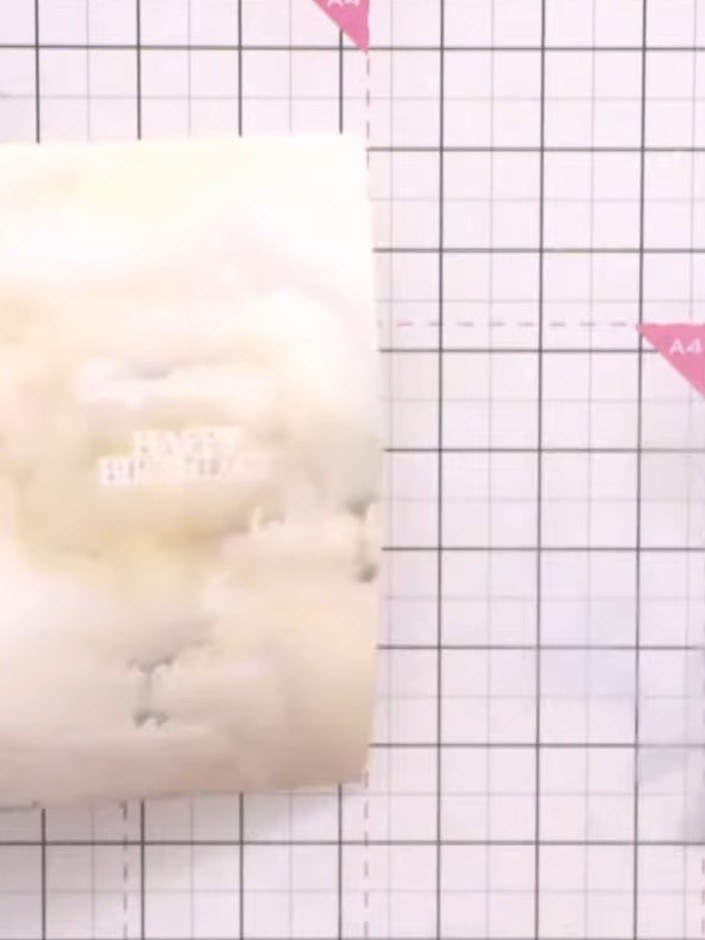
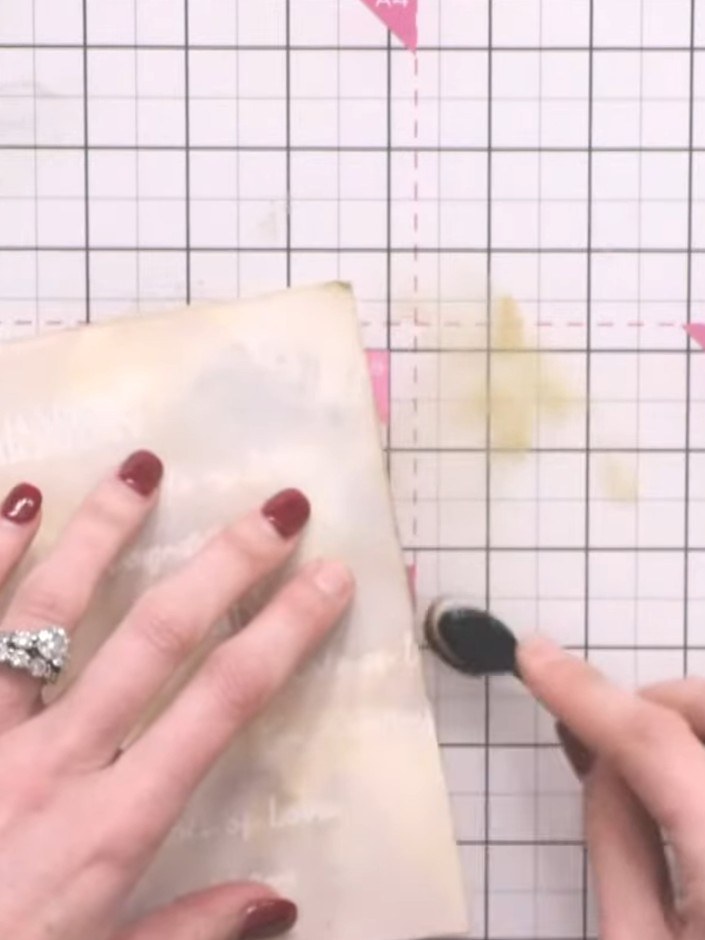
Soften any harsh lines by gently dabbing with your finger to blend the colours together on the stamped background.
 8
Use a blending brush with brown Distress Oxide ink to add colour and texture around the edges of the cream card stock. Work the ink gently around all four edges to create a vintage, aged effect.
 9
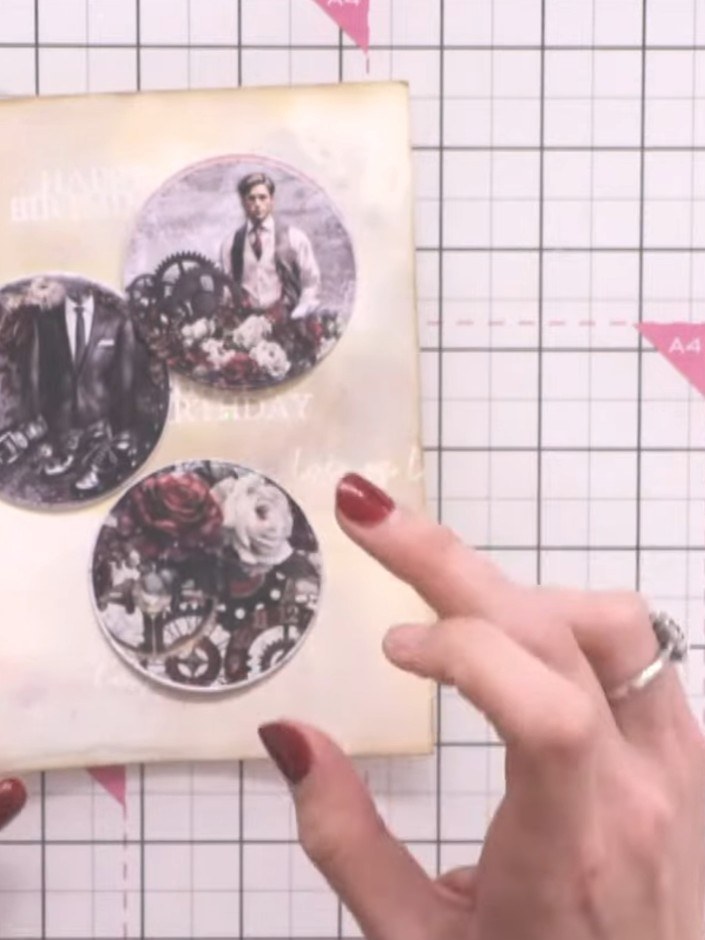
Arrange three circular die-cut images on your inked cream card background, positioning them to create a pleasing composition. The circles should feature vintage-style imagery including portraits and decorative elements.
 10
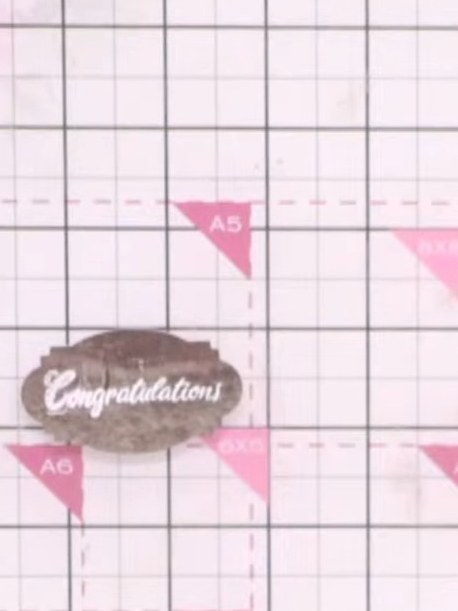
Heat set the embossed 'Congratulations' sentiment. Using a blending brush, edge the circle with black ink to add definition.
 11
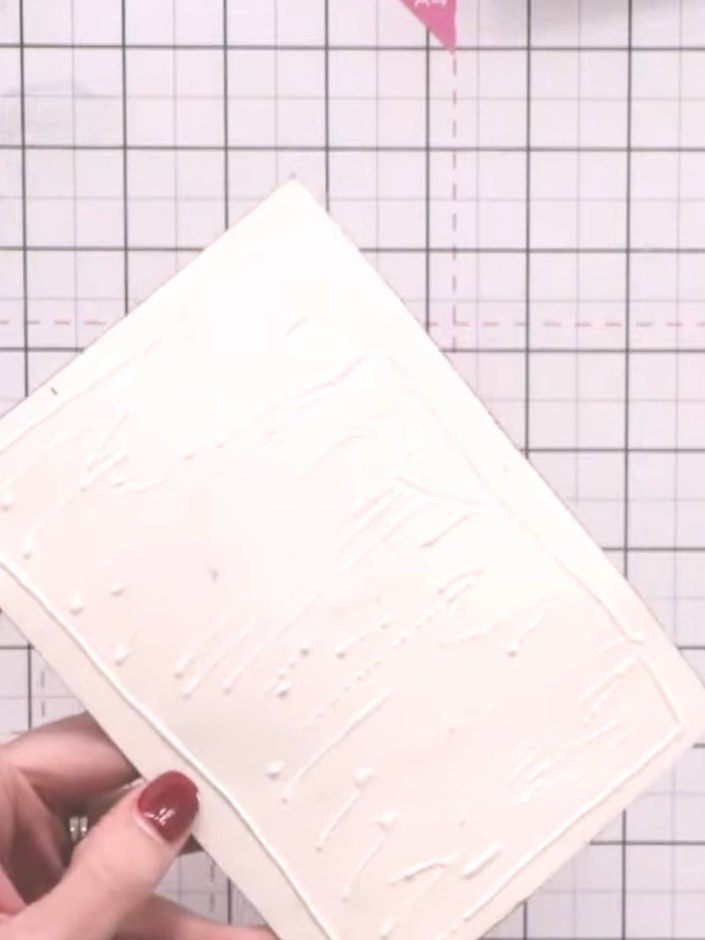
Adhere the embossed circle plaque to your card base, positioning it half on and half off the edge to create dimension. Cut a strip of patterned paper and layer it onto the envelope with a cream border strip. Add a cream circle with a drop shadow effect on top to complete the coordinating envelope.
Partagez votre création avec la communauté Stamps By Me - et gardez ce tutoriel pour la prochaine fois.
Rédigé à partir de l’émission elle-même. Tous les tutoriels de nos émissions · tutoriels gratuits · en direct sur My Telly · l’ancienne présentation