Give your friends $10 off their first order!
Refer a FRIEND








 The Friday Final CutFri 20 Nov 5am
 Community ShowcaseMon 23 Nov 5am
 Deal HuntersTue 24 Nov 8am
Prices change straight away. Every language is our own translation, not Google.
A project from our live show More Inspiration - Using - Stencils From Gnome for the Holidays Collection · 10/10/2025
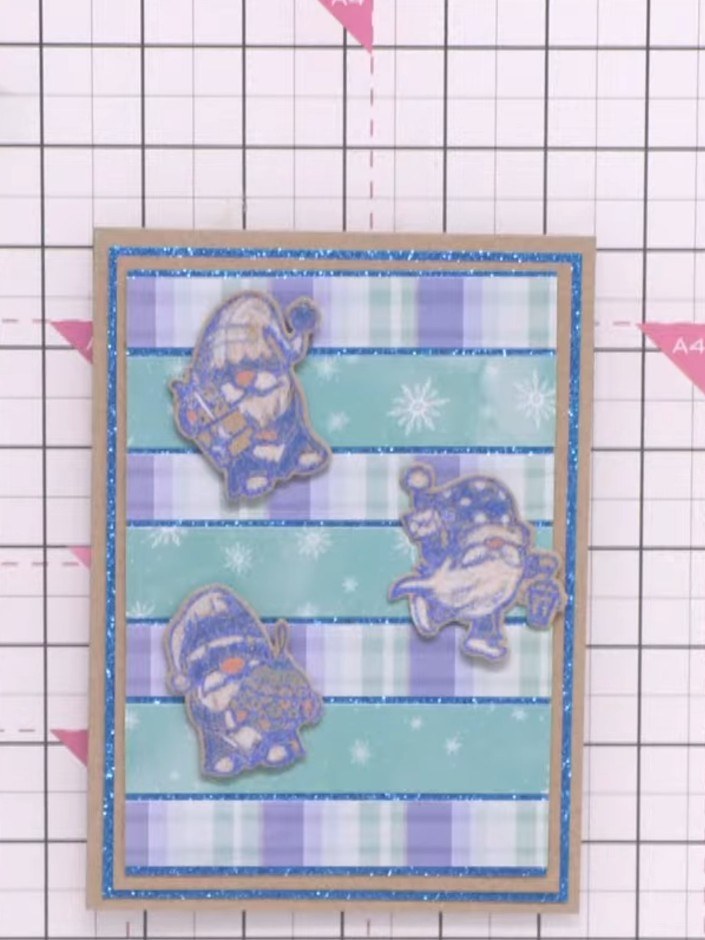
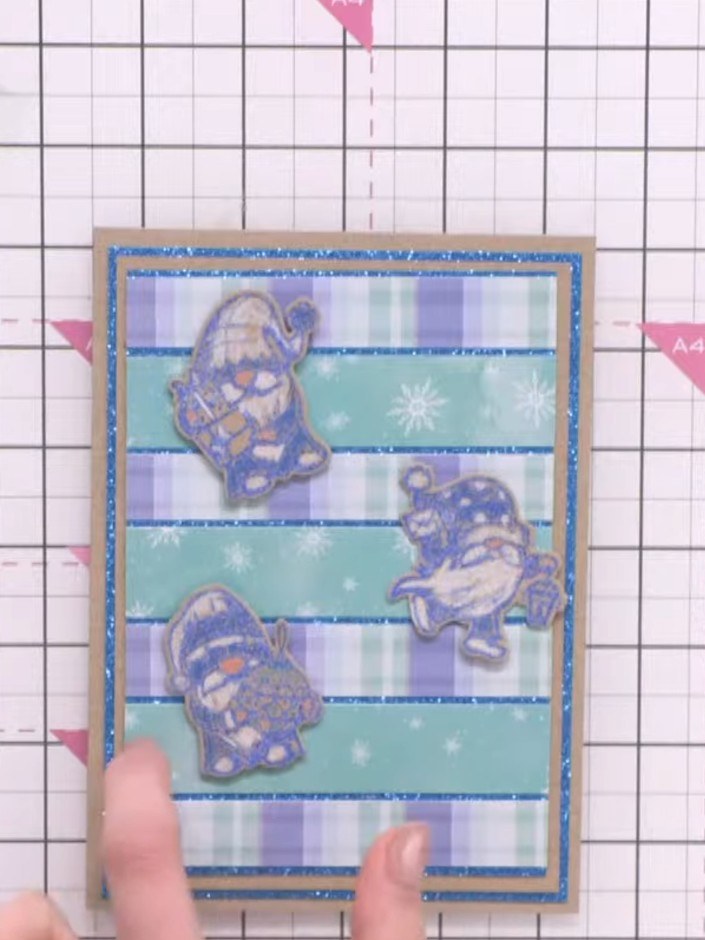
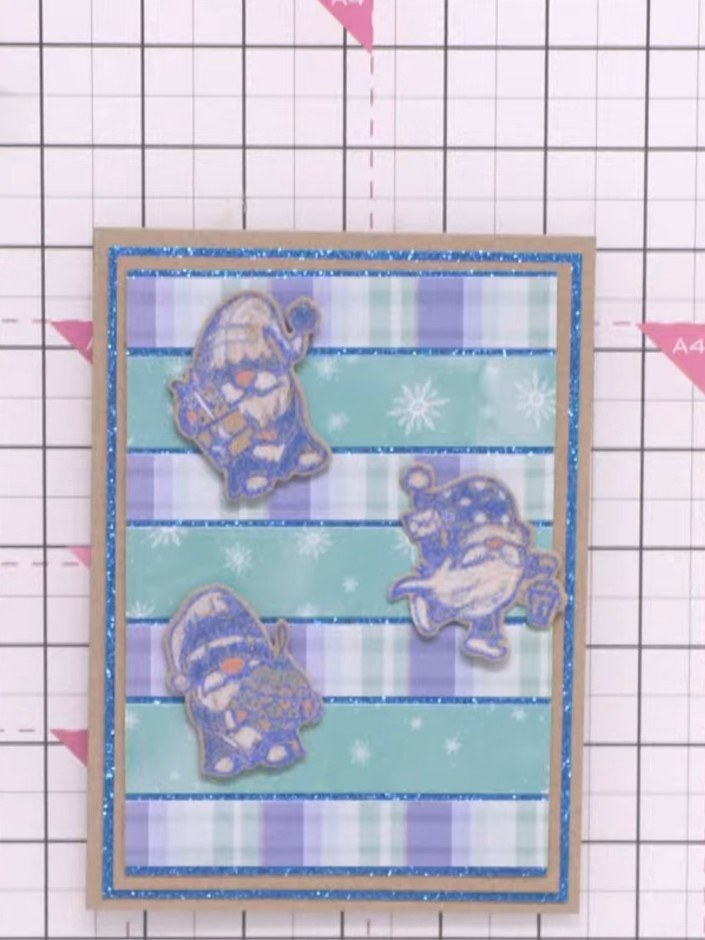
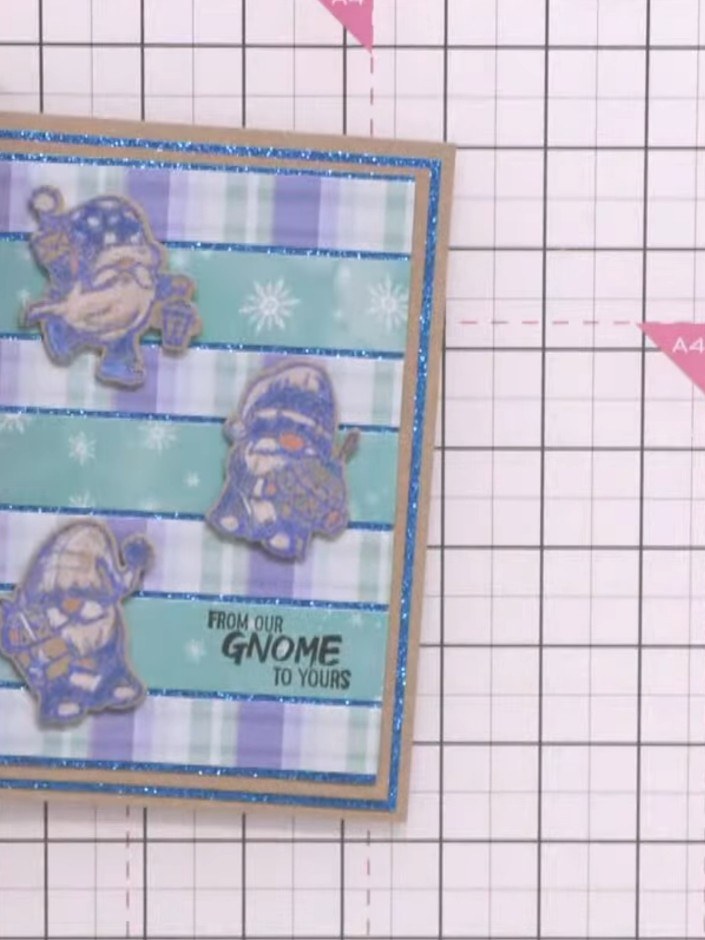
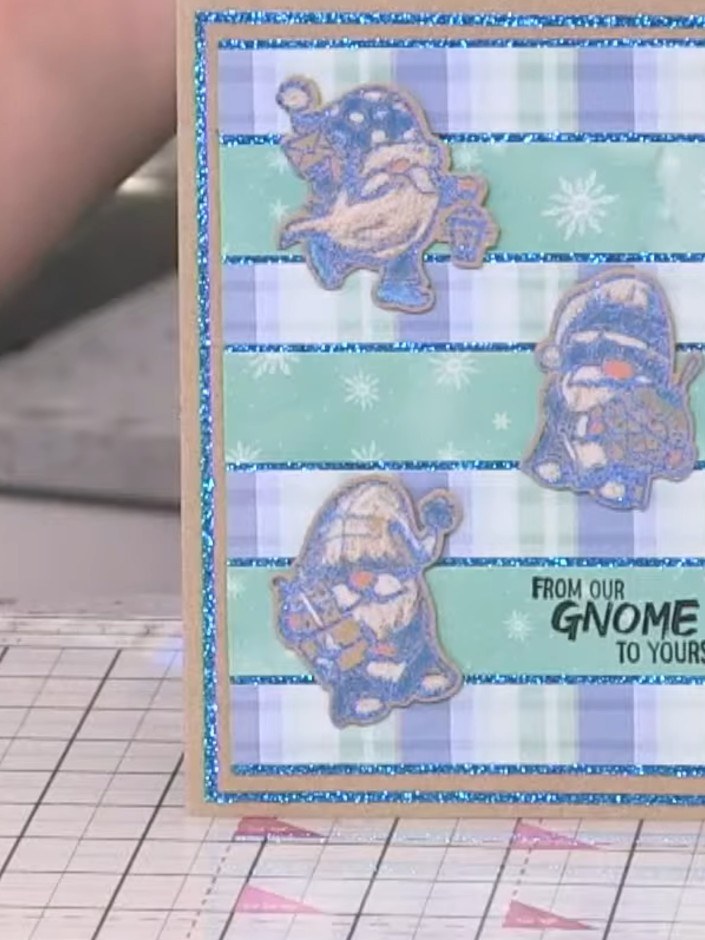
Create a charming festive card featuring an adorable gnome character on a striped background. The design uses blue and turquoise gingham patterned paper cut into horizontal strips to create a playful, dynamic backdrop. The gnome is coloured in complementary blues and purples, with the sentiment 'FROM OUR GNOME TO YOURS' completing this delightful Christmas card.
 1
Stamp the gnome character onto craft card using black ink. Ensure the image is clear and fully stamped. Allow the ink to dry completely. Layer strips of patterned paper onto blue glitter card to create a decorative background. Position a plaid paper strip horizontally across the blue glitter card and arrange the pieces to build up your design.
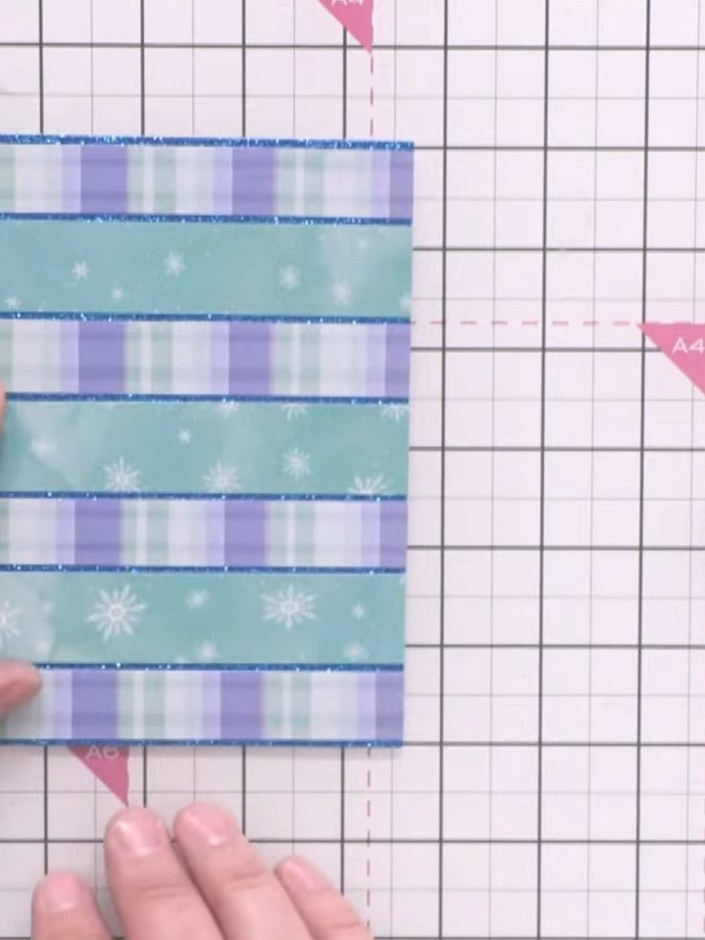 2
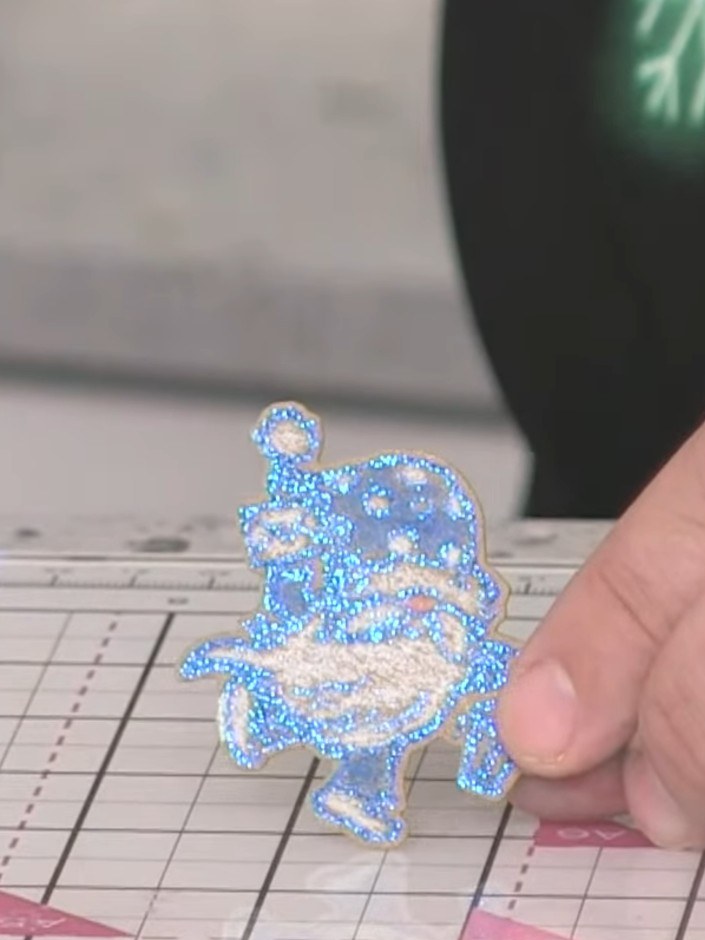
Apply sparkly glitter powder to the embossed areas on your patterned paper strips. Heat-set the glitter using a heat gun to fix it in place.
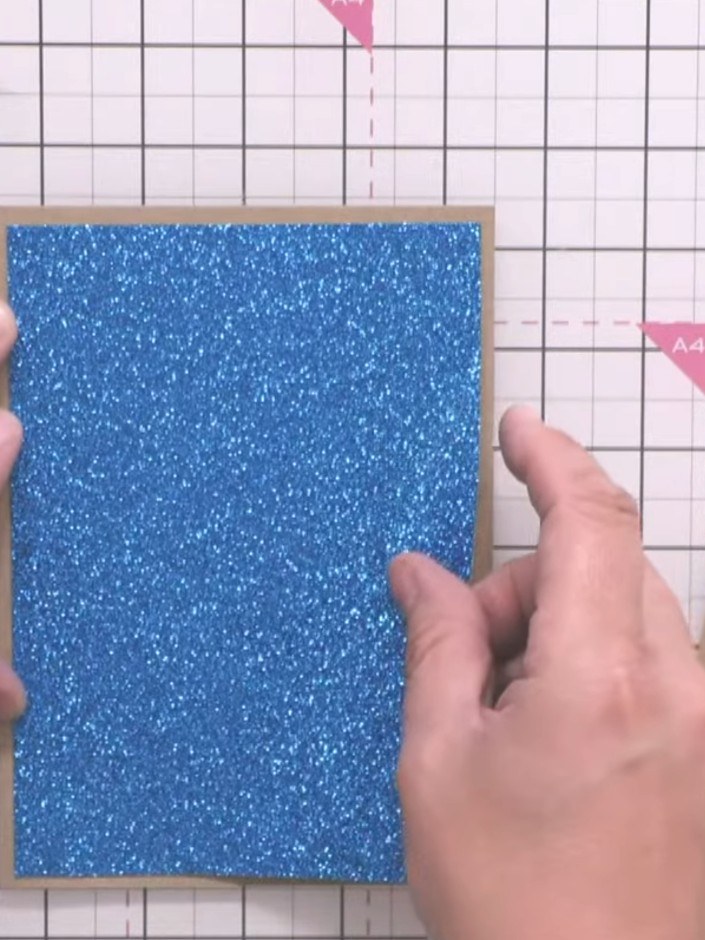 3
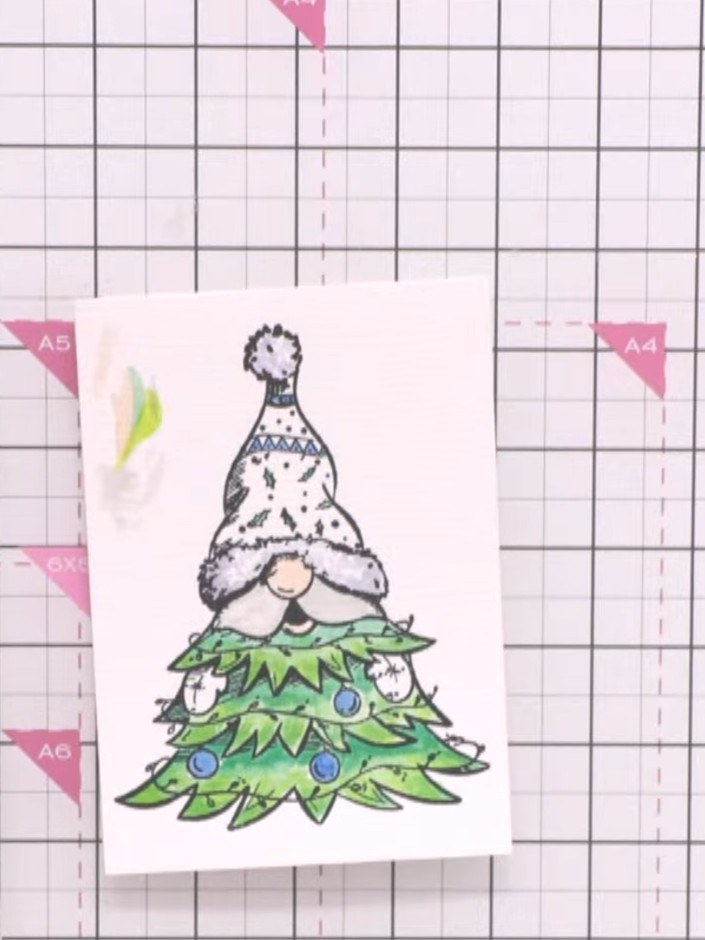
Die-cut the coloured gnome image using the coordinating die from the Gnome for the Holidays set.
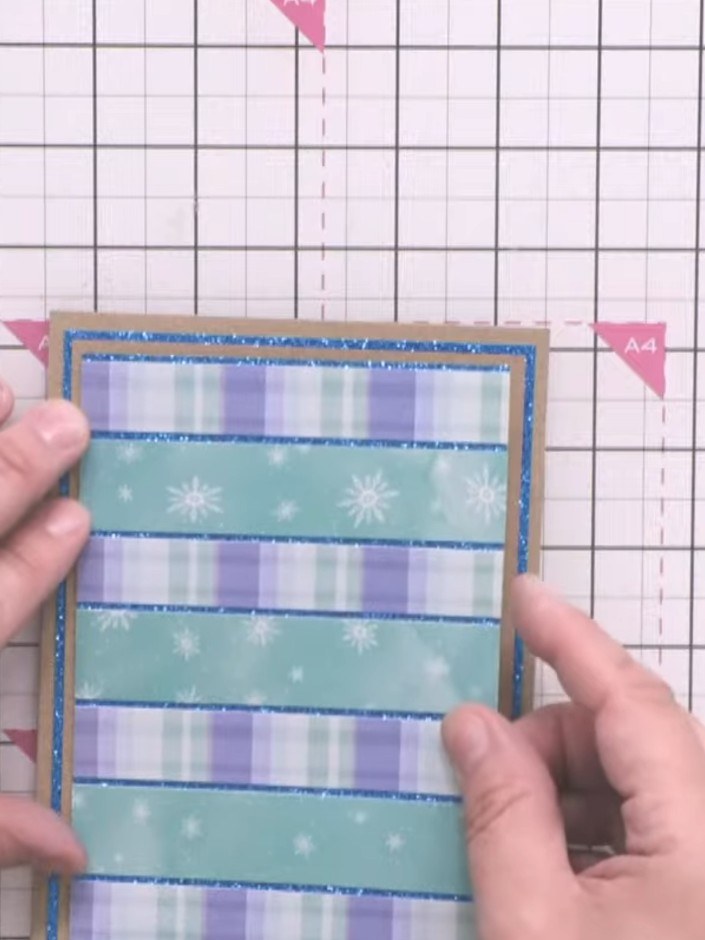 4
Cut the striped patterned paper from the Mystical Christmas pad into alternating strips of blue with snowflakes and purple/blue gingham.
 5
Layer the paper strips over glitter card to create a striped background, alternating the blue and pink tones. Position the strips horizontally across the card front, ensuring even spacing between each strip.
 6
Trim the layered striped panel to fit your card base, ensuring the edges are neat and even.
 7
Mount the completed striped background panel with the gnome toppers onto a craft card base using adhesive.
 8
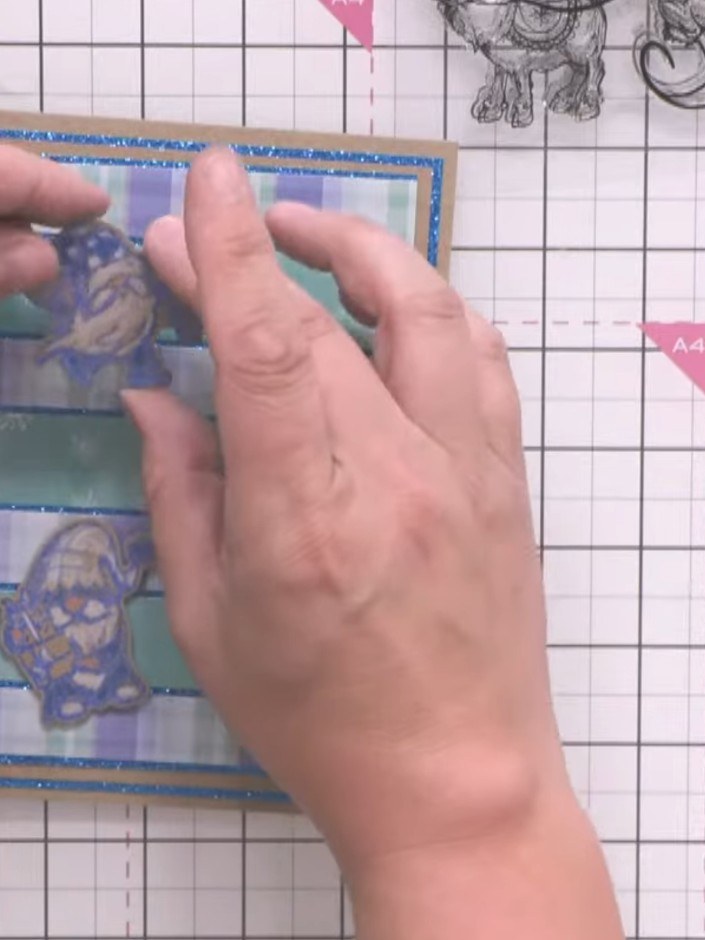
Adhere the die-cut gnome topper to the card front using 3D foam tape for dimension.
 9
Add a sentiment stamp or sticker to the bottom right of the card to complete your design. The example shown uses 'FROM OUR GNOME TO YOURS' in black text.
Share your make with the Stamps By Me community - and keep this guide for next time.
Written up from the show itself. See every guide from our shows · free how-to guides · watch live on My Telly · the previous layout