Give your friends $10 off their first order!
Refer a FRIEND








 The Friday Final CutFri 20 Nov 5am
 Community ShowcaseMon 23 Nov 5am
 Deal HuntersTue 24 Nov 8am
Prices change straight away. Every language is our own translation, not Google.
A project from our live show More Inspiration - Using - Gnome for the Holidays · 10/10/2025 · watch it from 36:45
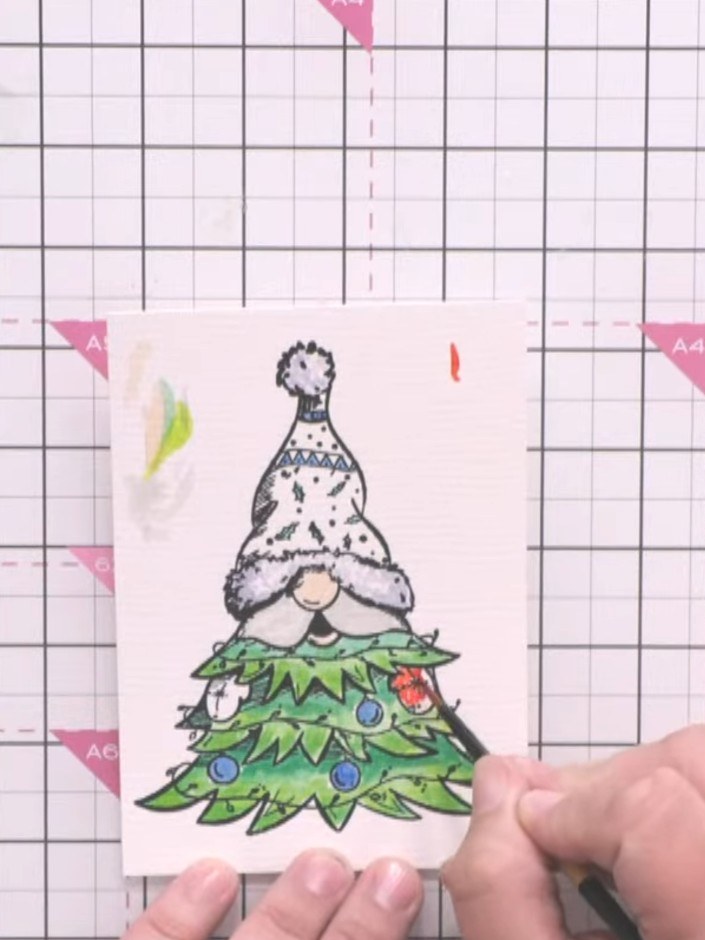
Create a charming Christmas gnome character card featuring a whimsical gnome perched atop a decorated Christmas tree. Stamp the design onto watercolour card, bring it to life with vibrant watercolours in greens, reds and blues, then add sparkle with embossed details. The result is a delightful dimensional card perfect for festive greetings.
 Avago-ink Designs Stamp & Die Set - Gnome for the Holidays - 110624FSEE IT
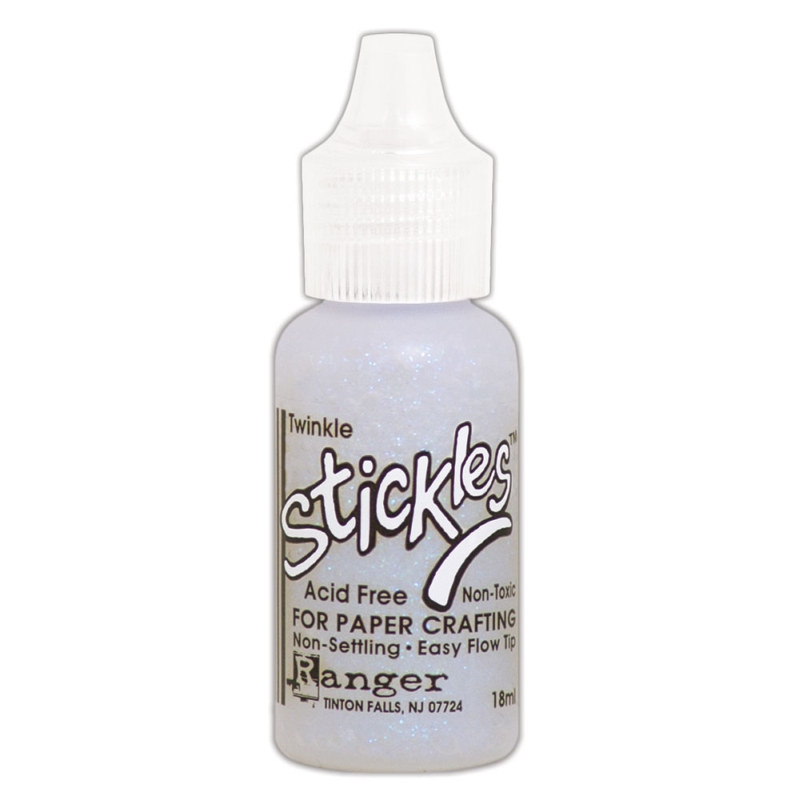 Stickles Glitter Glue TwinkleSEE IT
 Stickles Glitter Glue Diamond Stickles - STK-DIASEE IT
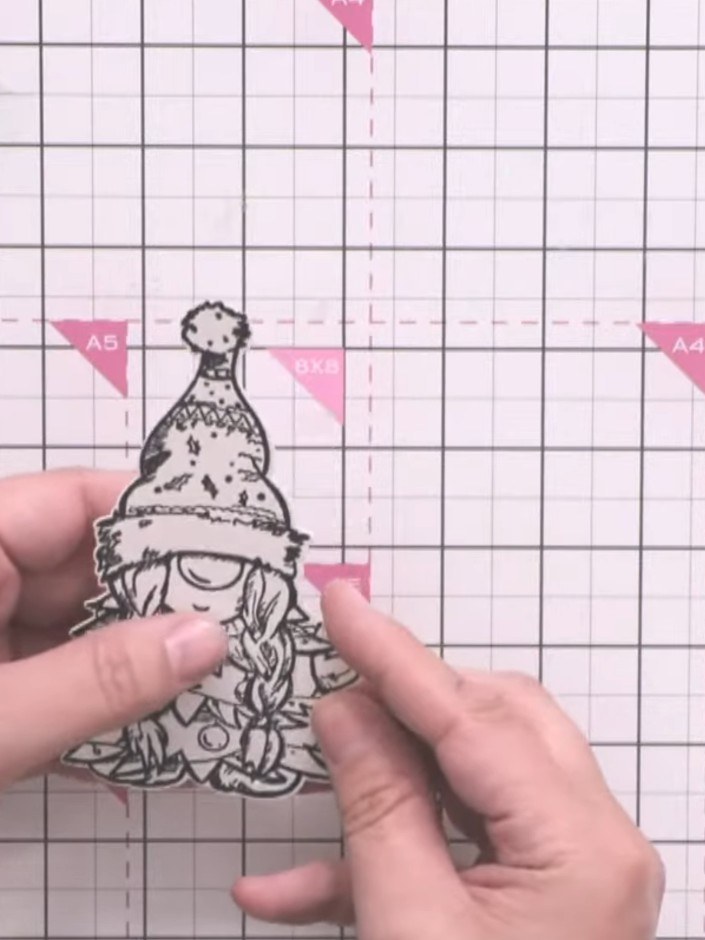
Stamp the gnome character from the Gnome for the Holidays stamp set onto watercolour card using black ink.
▶ watch this step (36:45)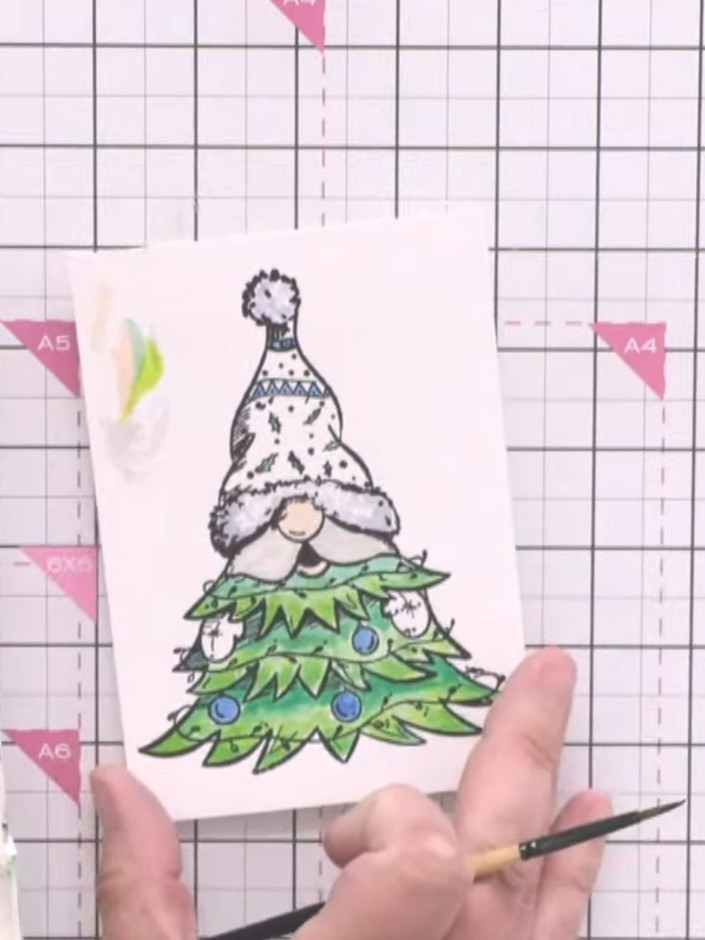
Colour the gnome's hat with red watercolour paint. Use lighter green at the bottom of the Christmas tree and darker green at the top to create dimension.
▶ watch this step (37:15)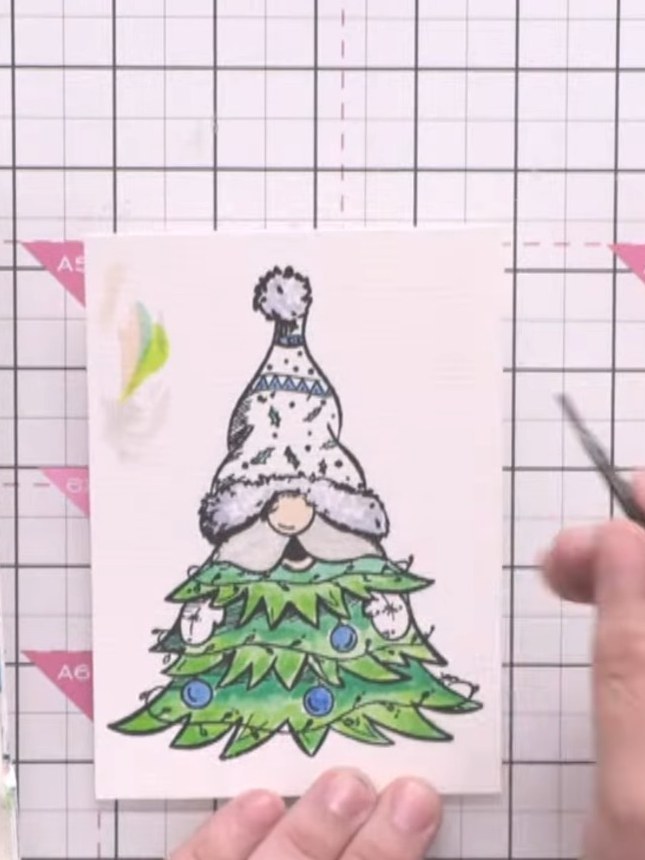
Add white highlights to the gnome's beard and hat details using white watercolour or white crayon. Apply the white colour loosely to create texture and dimension.
▶ watch this step (37:45)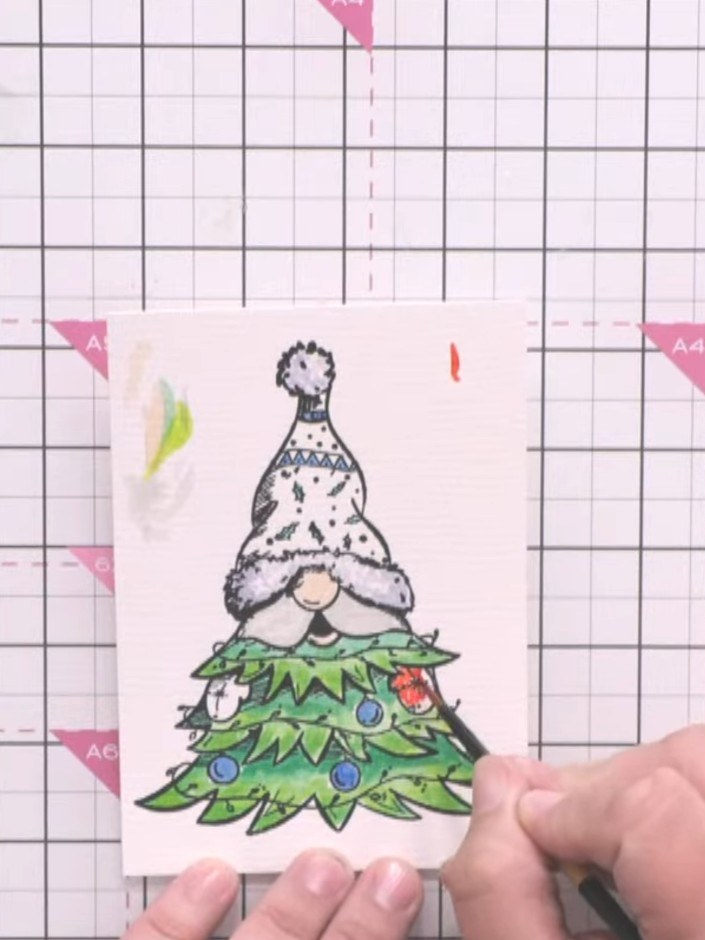
Add colour to the Christmas tree ornaments using watercolour paints. Paint the baubles in red and blue, keeping the colours vibrant and allowing the stamped details to show through.
▶ watch this step (38:00)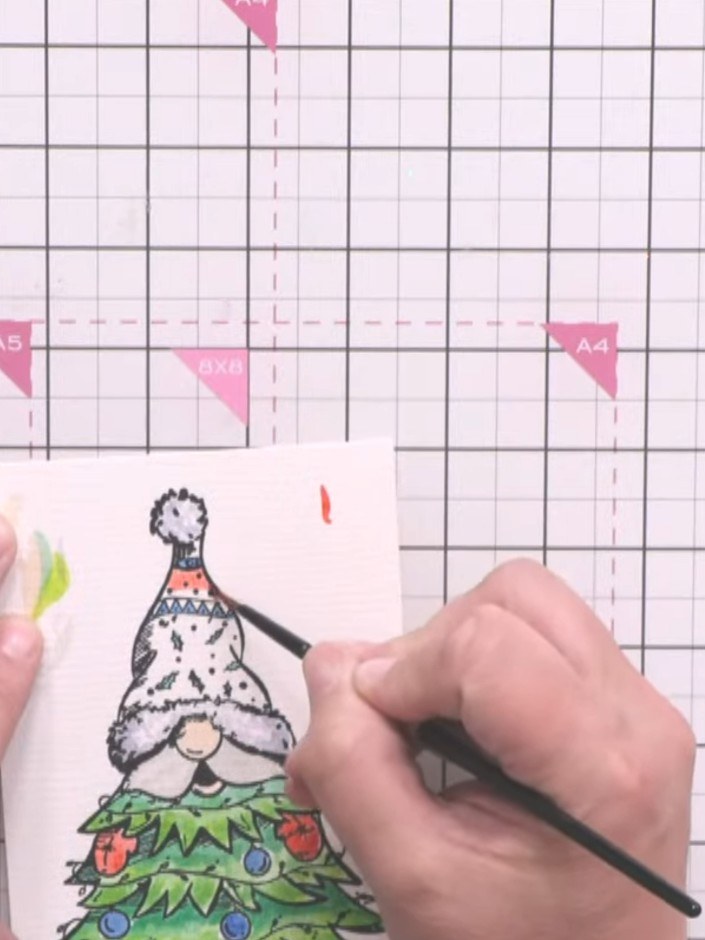
Heat the embossing powder with a heat gun until it melts and sets to create a shiny, raised finish on the gnome's hat.
▶ watch this step (38:15)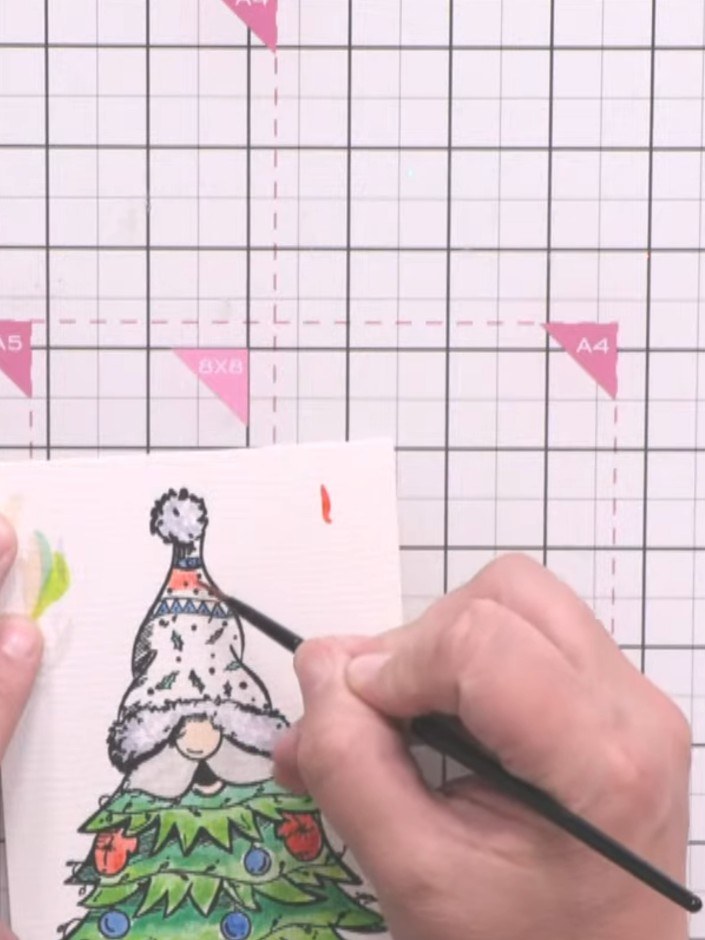
Die cut the gnome character using the coordinating die from the stamp set. The die cuts around the stamped and coloured gnome image.
▶ watch this step (38:30)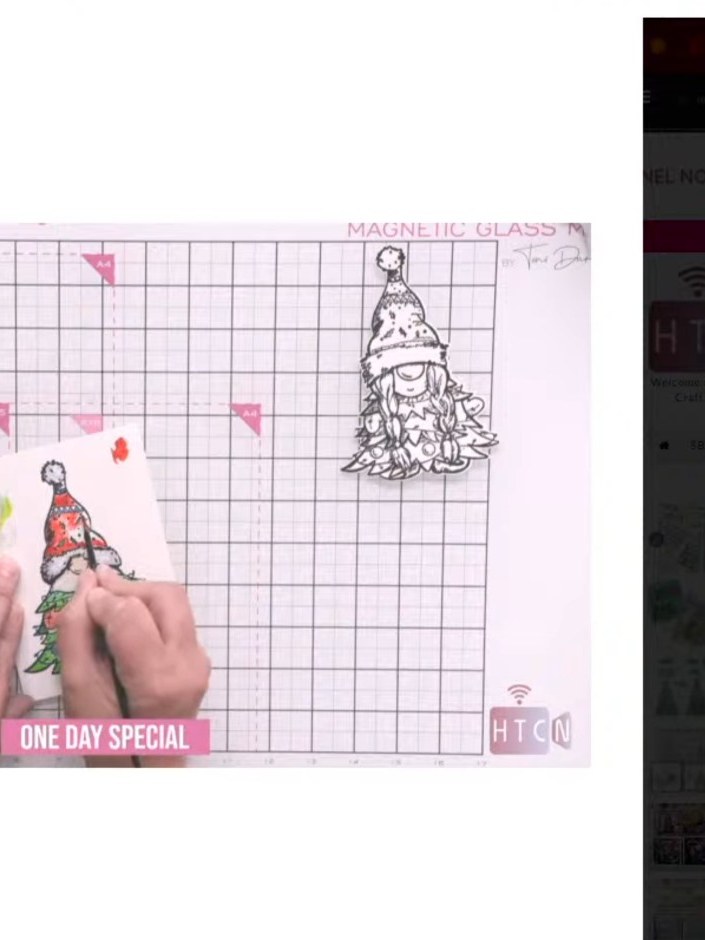
Mount the coloured and die-cut gnome characters onto your chosen card base. Use glitter card or patterned paper for the background to create festive Christmas cards.
▶ watch this step (39:00)Written up from the show itself. See every guide from our shows · free how-to guides · watch live on My Telly