Give your friends $10 off their first order!
Refer a FRIEND








A project from our live show MY PODCAST - Catch my latest updates broadcast 26th January 2026 · 01/26/2026 · watch it from 41:15
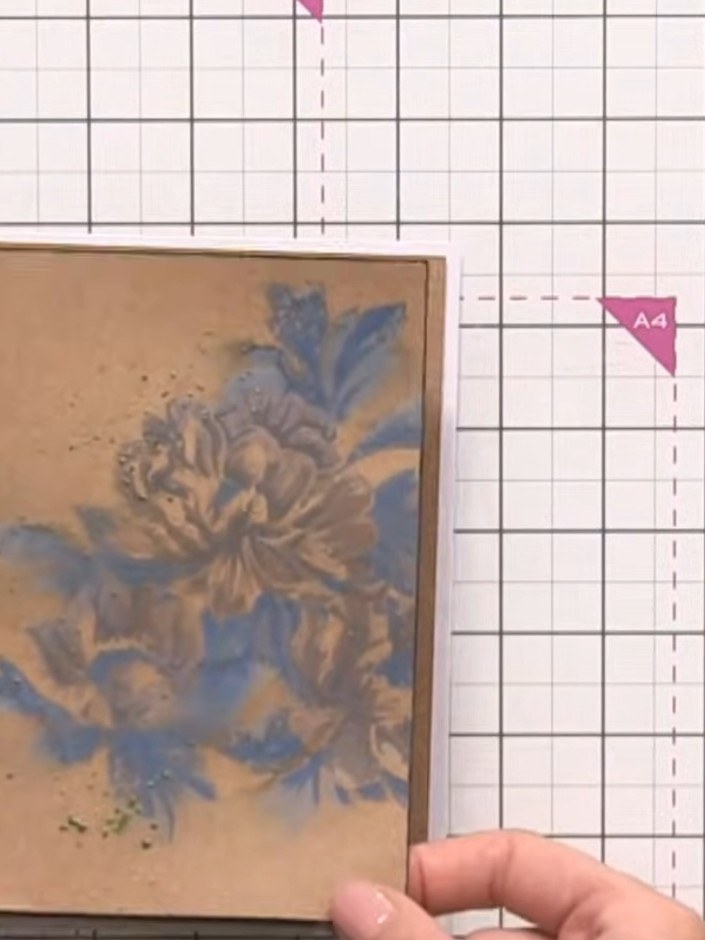
Create a sophisticated vintage-style card featuring a layered floral bouquet on kraft cardstock. Using stencils and a single ink colour with water spraying, you'll achieve an elegant etched wood effect in blue and brown tones. This dimensional technique is perfect for masculine or vintage-themed greeting cards.
 Stamps By Me - Antique Bouquets - Layering Stencils and Dies - 070425BSEE IT
 Stamps By Me Bumper Pack - Summer Sanctuary - 070425ASEE IT
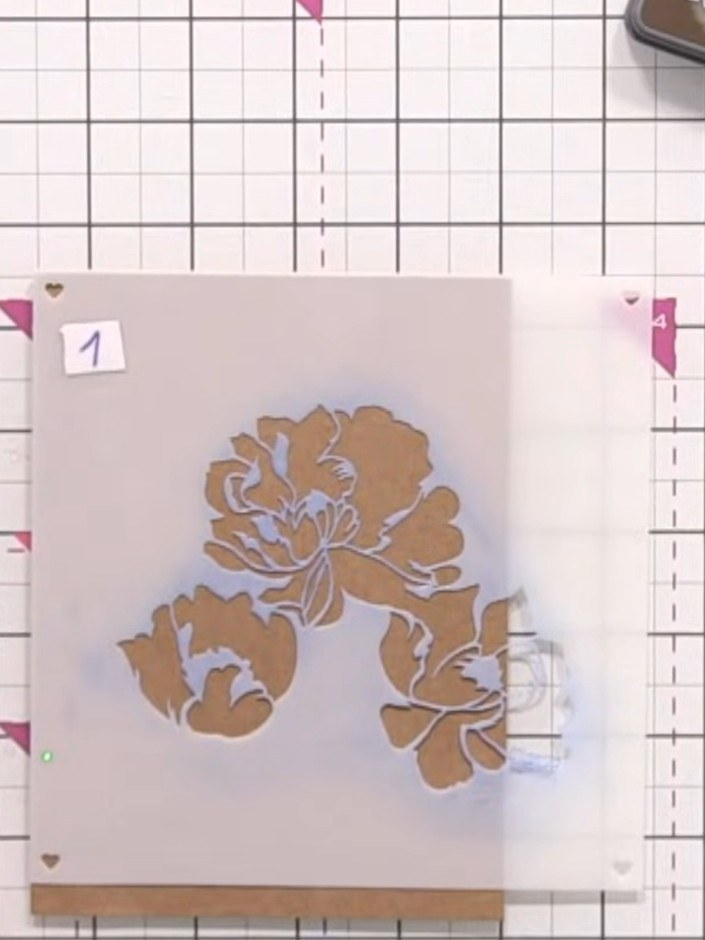
Cut a piece of craft card to A6 size (10.5 x 14.8 cm) for your card base.
▶ watch this step (47:15)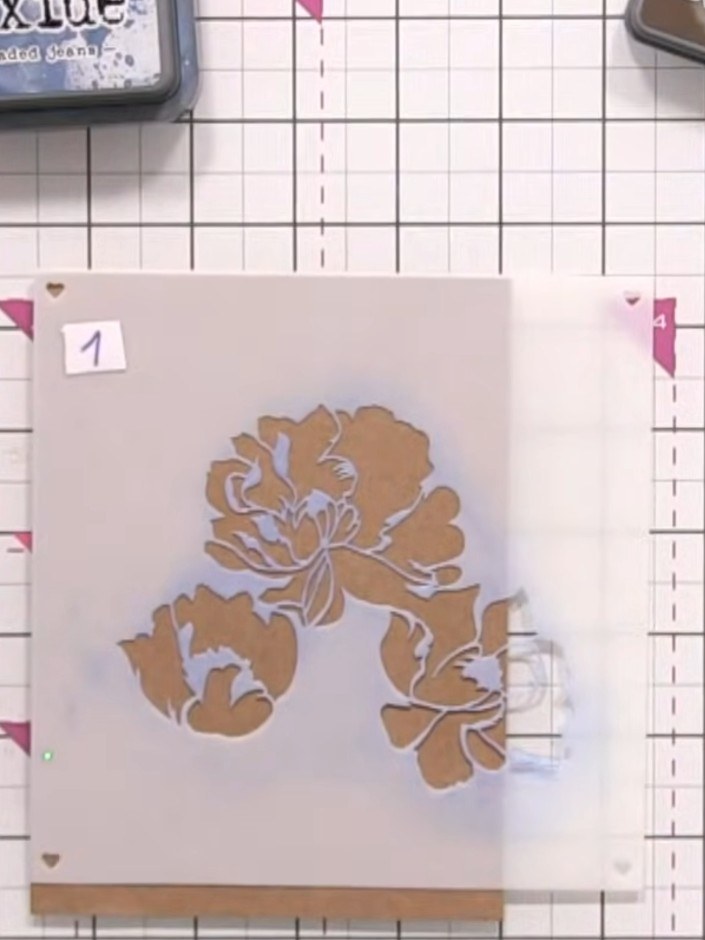
Position your first layering stencil at the corner of your card, placing it half on and half off the page. Lightly spray the stencil with water to help it adhere to the card.
▶ watch this step (47:30)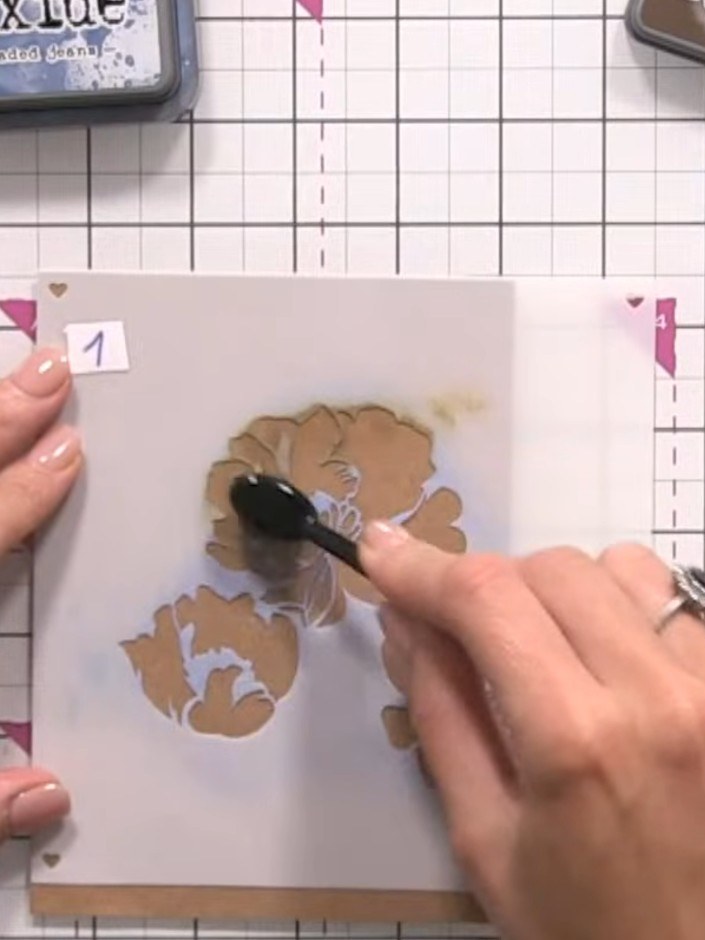
Apply walnut brown ink through the first stencil using light pressure. Press gently to build the colour gradually, working brown onto brown for a subtle tonal effect.
▶ watch this step (48:15)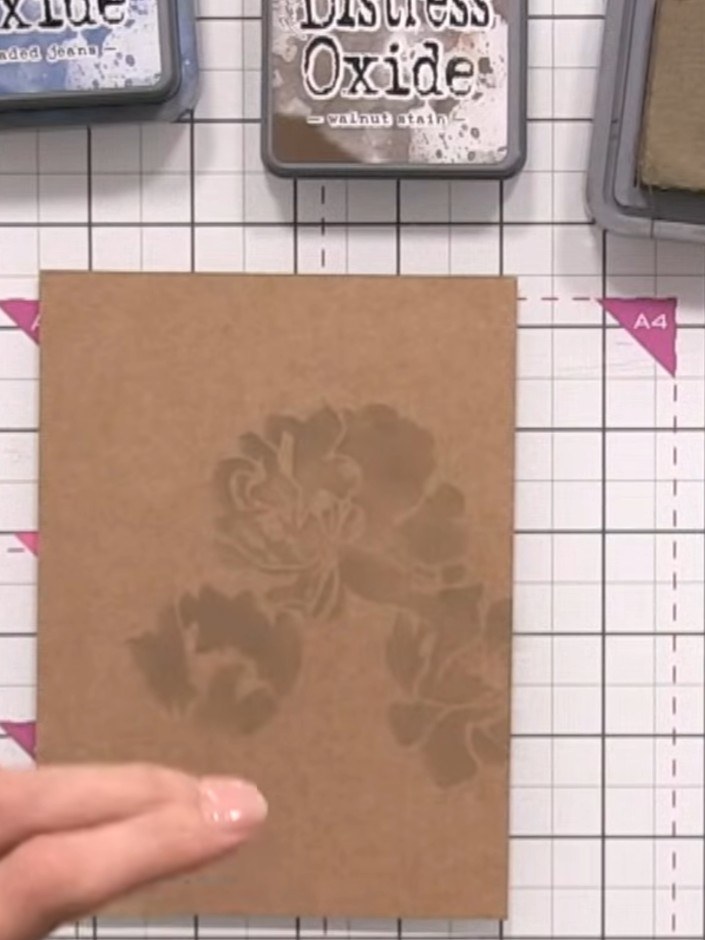
Spray the inked area lightly with water to create an oxidised effect and allow the colour to develop.
▶ watch this step (49:45)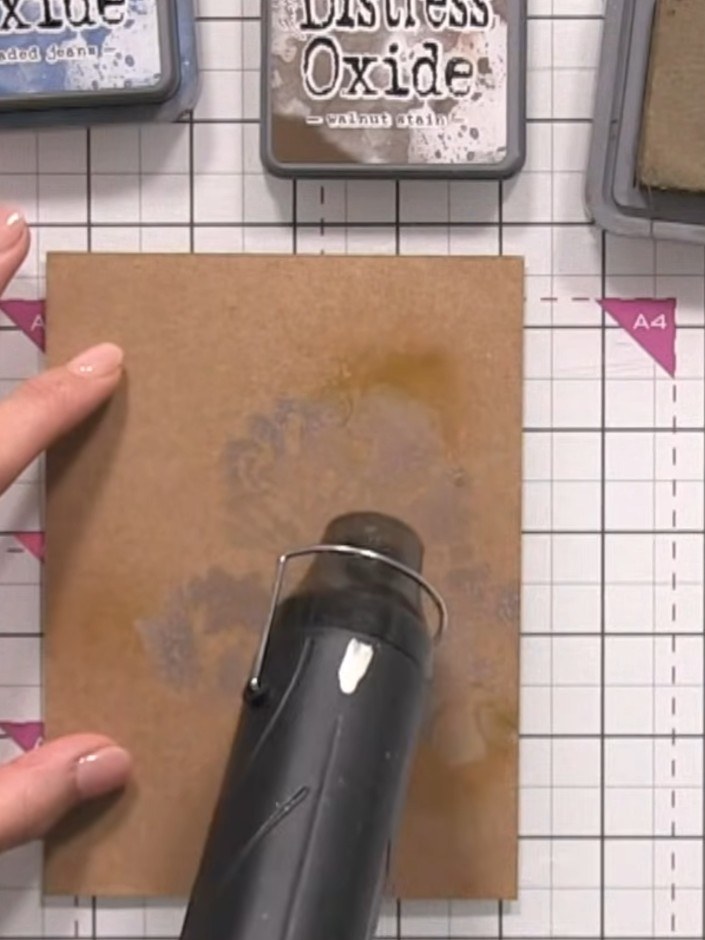
Dry the sprayed area with a heat gun, moving it around to blend the water and ink together on the kraft card.
▶ watch this step (50:45)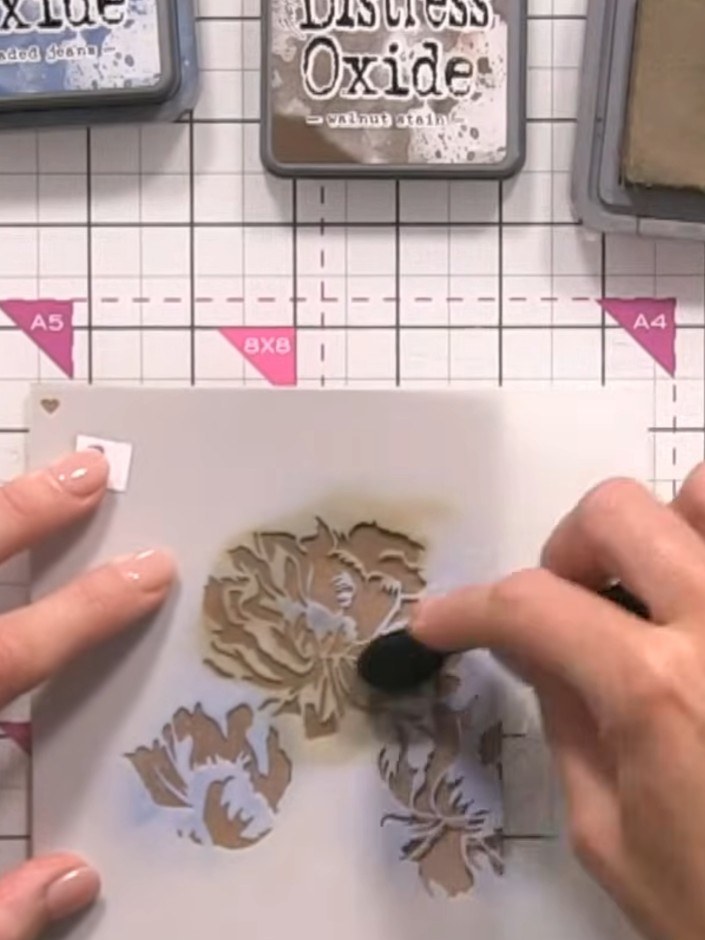
Position your second stencil layer aligned with the card edge. Apply the brown Distress Oxide ink with slightly more pressure to add depth and dimension to the floral design.
▶ watch this step (52:30)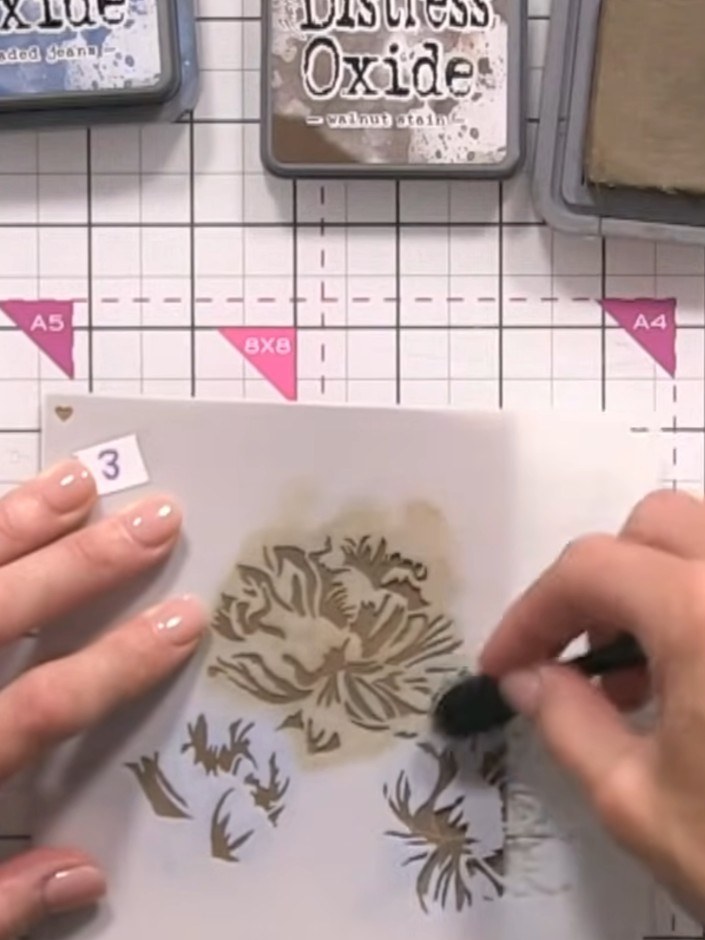
Continue building up the floral design using stencil layers three and four. Press progressively harder with each layer to create shadow and dimension in the stamped image.
▶ watch this step (53:45)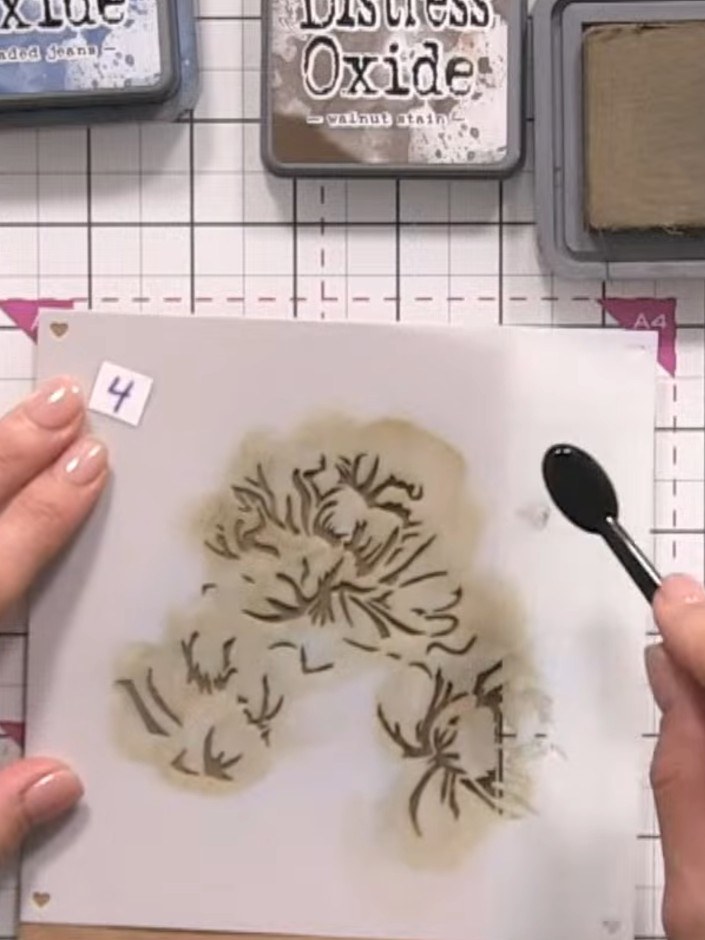
Using black ink, add shading to the final flower layer to deepen the shadows and create contrast. Apply the ink with a blending tool, focusing on the edges and details of the stamped image.
▶ watch this step (55:00)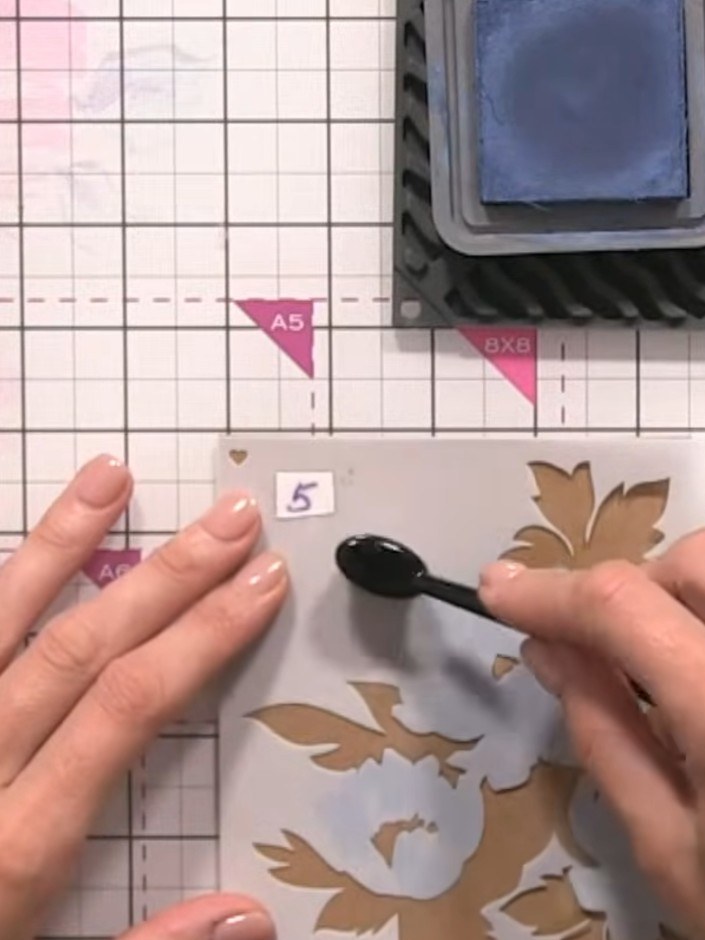
Apply blue ink through stencil layers five and six to add colour variation to the leaves. Use a blending brush to apply the ink, creating depth in your design.
▶ watch this step (56:45)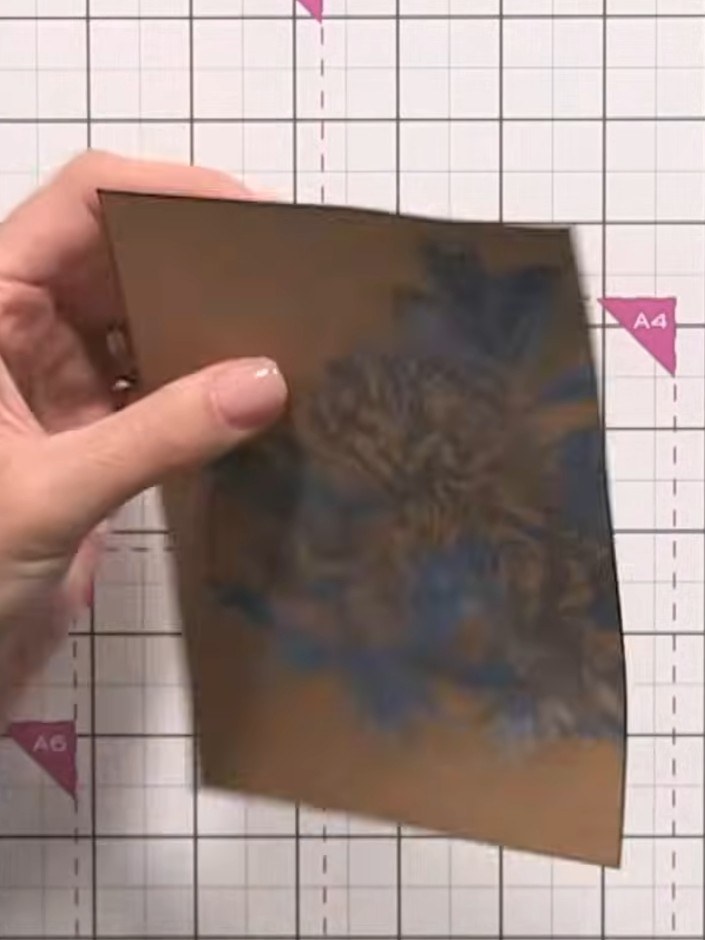
Using a black ink pad held at an angle, carefully edge the entire stencilled piece to add definition and depth to the design.
▶ watch this step (1:04:00)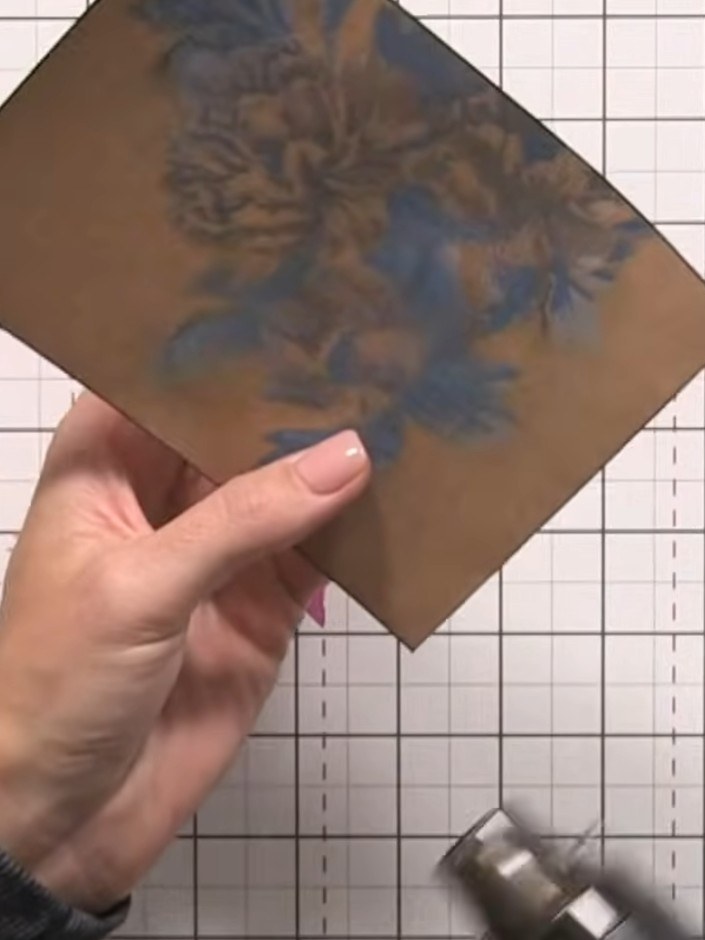
Mount your stencilled kraft card piece onto a white card base with a coordinating matt layer in between to create a frame effect.
▶ watch this step (1:05:00)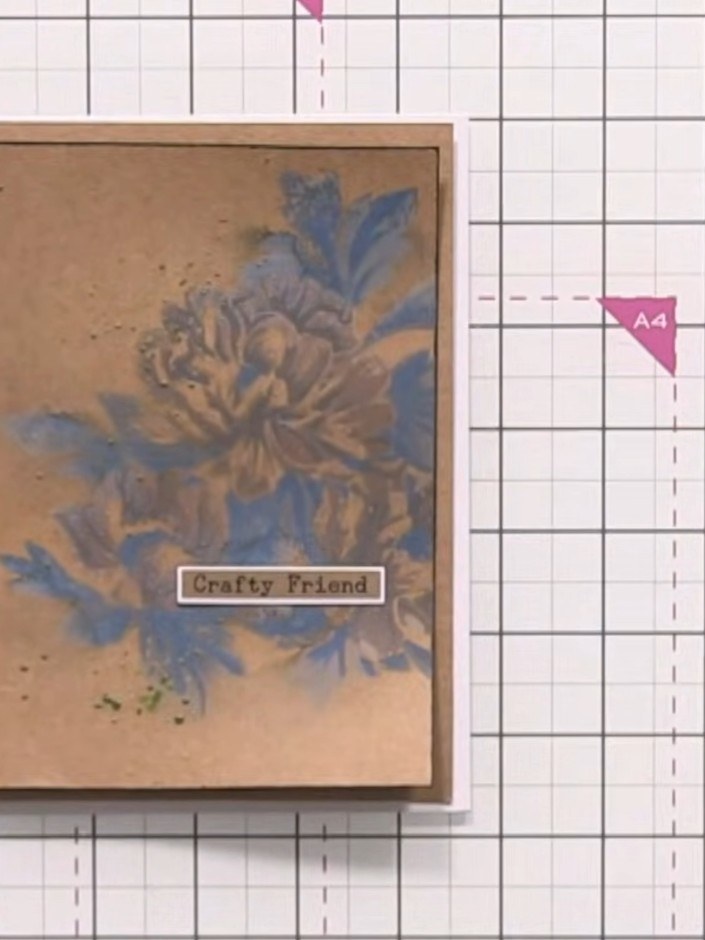
Add a sentiment label to the card using washi tape or stamps. Finish with gold ink splats using a stencil or flicking technique for a vintage touch.
▶ watch this step (1:08:30)Written up from the show itself. See every guide from our shows · free how-to guides · watch live on My Telly