


Step 1 of 13
Place the tag die that measures approx 6 1/4 x 3 1/4", on to the white card (7 x 4"), and run it through your die cutting machine.








Prices change straight away. Every language is our own translation, not Google.
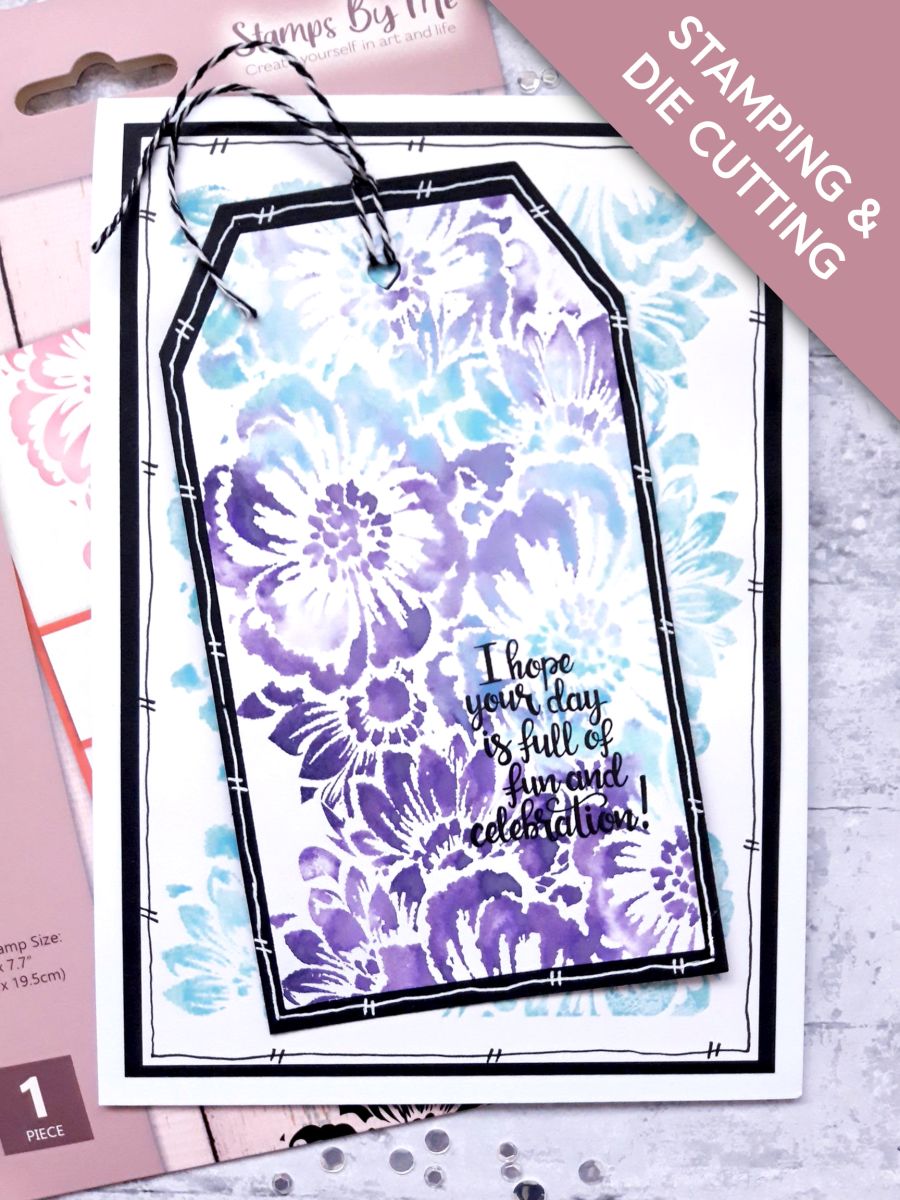
Place the tag die that measures approx 6 1/4 x 3 1/4", on to the white card (7 x 4"), and run it through your die cutting machine.
Use one of the little shaped dies, from the same set, to die cut a hole at the top of your die cut tag.
Ink up the stamp, from the Abstract Flowers Stamp Collection, with the Distress Oxides.
Spritz with water and stamp on to your tag. You can reink and stamp it again, until you are happy with the result.
Lay the largest spined tag die, from the Tagged Die set, on to the black card (7 x 4").
Run it through your die cutting machine, then cut off the hinged spine, as shown in the image.
Lay the stamped tag in place, on top of the black die cut tag, and pop a little mark through the die cut hole, making a mark on the black card underneath.
Use the same die as before, to die cut a hole where marked, on the black tag.
Adhere the stamped tag, in place on the black tag, lining up the 2 die cut holes.
Use a white gel pen to add a decorative, stitched frame, around your tag.
Attach Bakers Twine through the die cut hole.
Ink up your sentiment stamp, from the Romantic Rose Stamp And Die Collection, with the Onyx Black Versafine.
Stamp in the bottom, right corner, of your tag.
Set your tag to one side.
Ink up your stamp from the Abstract Flowers set again, but this time, only with the Salvaged Patina Oxide.
Spritz with water and stamp centrally, on to the 7 1/2 x 5" white card.
Once dry, use your black pen to draw a decorative frame around your background.
Adhere this on to the 7 3/4 x 5 1/4" black card.
Adhere your background on to your top folding, white card blank.
Adhere your tag, at a jaunty angle, on to the front of your card. You can use wet glue, or foam pads for added dimension.
Share your make with the Stamps By Me community - and keep this guide for next time.
Prefer the previous layout? Open the old page.



