


Step 1 of 5
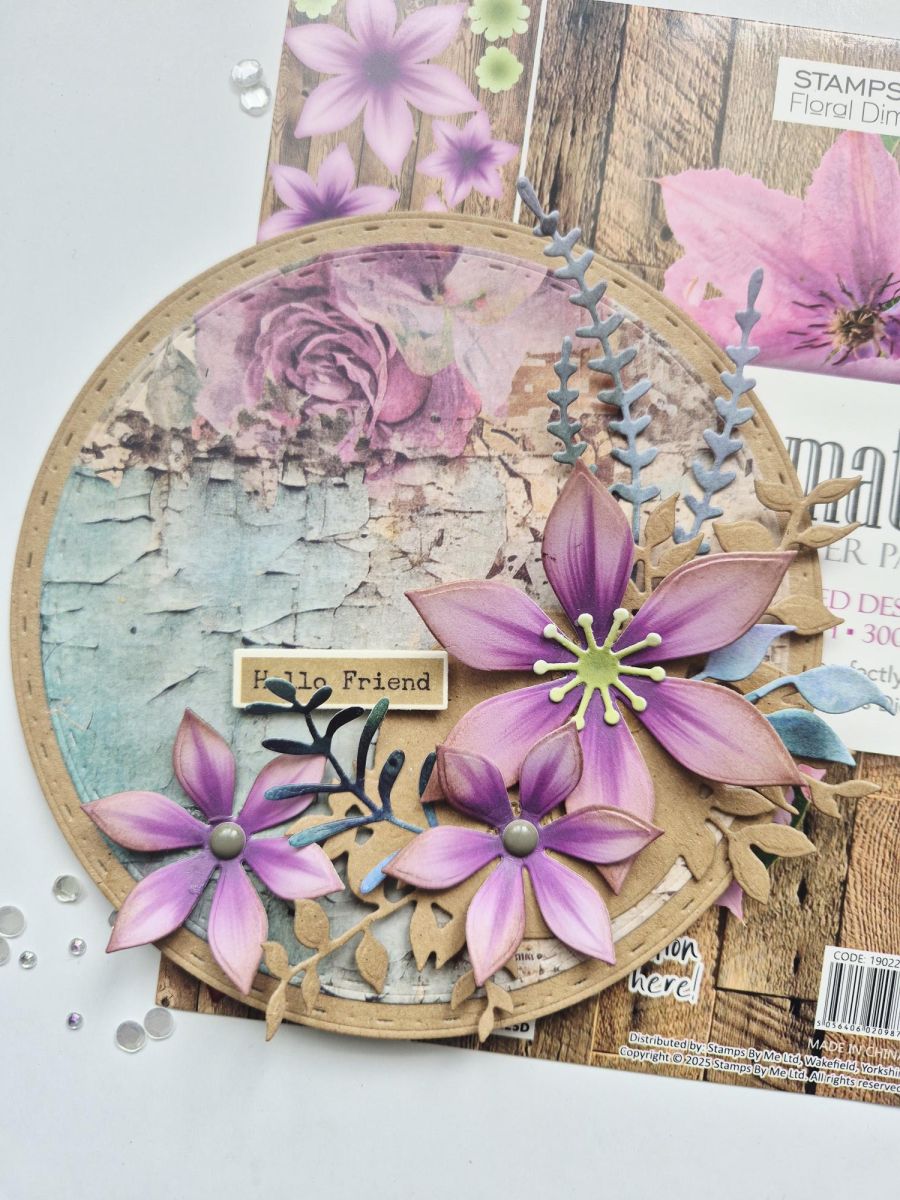
Die cut the flowers from your chosen Clematis sheet.








Prices change straight away. Every language is our own translation, not Google.
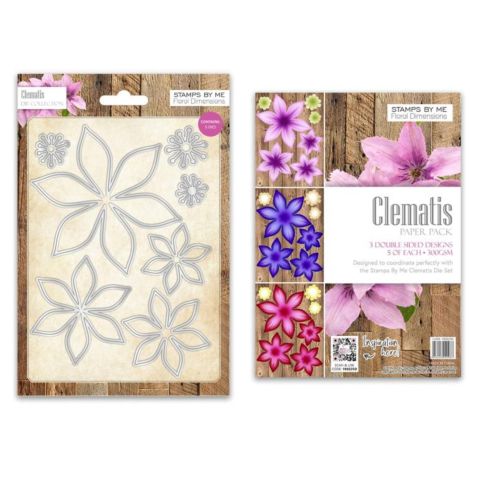 Stamps By Me - Floral Dimensions - ClematisClematis Floral Dimensions
Die cut the flowers from your chosen Clematis sheet.
Die cut a selection of foliage using papers from your crafty stash and the Foliage Adornment dies.
Tip: Die cut lots and keep them in a tub for future projects!
Using your circle nesting dies, cut TWO circles from Kraft cardstock. Score a line about 1cm down and secure red liner tape ABOVE the score line. Adhere both die cut circles together to create a shaped card blank. Trim a sliver off the bottom of the back page, allowing it to stand-up.
Die cut a smaller circle from the Timeless papers and adhere to your card blank.
Using 3D glue gel, wet glue and/or foam pads, adhere your die cut Clematis and foliage so they sit around the bottom right curve of your card.
Adhere your chosen sepia sentiment tab where required, to complete your project.
Share your make with the Stamps By Me community - and keep this guide for next time.
Prefer the previous layout? Open the old page.



