


Step 1 of 7
Cut two panels from your chosen papers, one 3 1/2 x 7" and the second 2 1/4 x 3 3/4".
Cut "mats" from black cardstock... 3 3/4" x 7 1/4" and 2 1/2 x 4".
Adhere the decorative papers to the "mats".








Prices change straight away. Every language is our own translation, not Google.
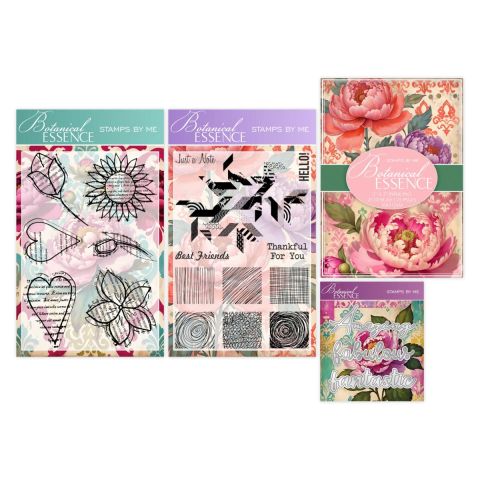 Stamps By Me - Botanical Essence BundleBotanical Essence Bundle$64.99BUY✓ ADDED
Cut two panels from your chosen papers, one 3 1/2 x 7" and the second 2 1/4 x 3 3/4".
Cut "mats" from black cardstock... 3 3/4" x 7 1/4" and 2 1/2 x 4".
Adhere the decorative papers to the "mats".
Use a black pen to draw decorative frames around both panels.
The smaller panel will be a pocket, so apply red liner tape along the long bottom edge and the two short sides, as shown here.
Adhere the pocket to the larger panel..it will overhang slightly on the 2 sides as shown here.
Pop this to one side.
Create a "tag" from black cardstock (you can use your tagged dies if you have them) but ensure it will fit into the "pocket".
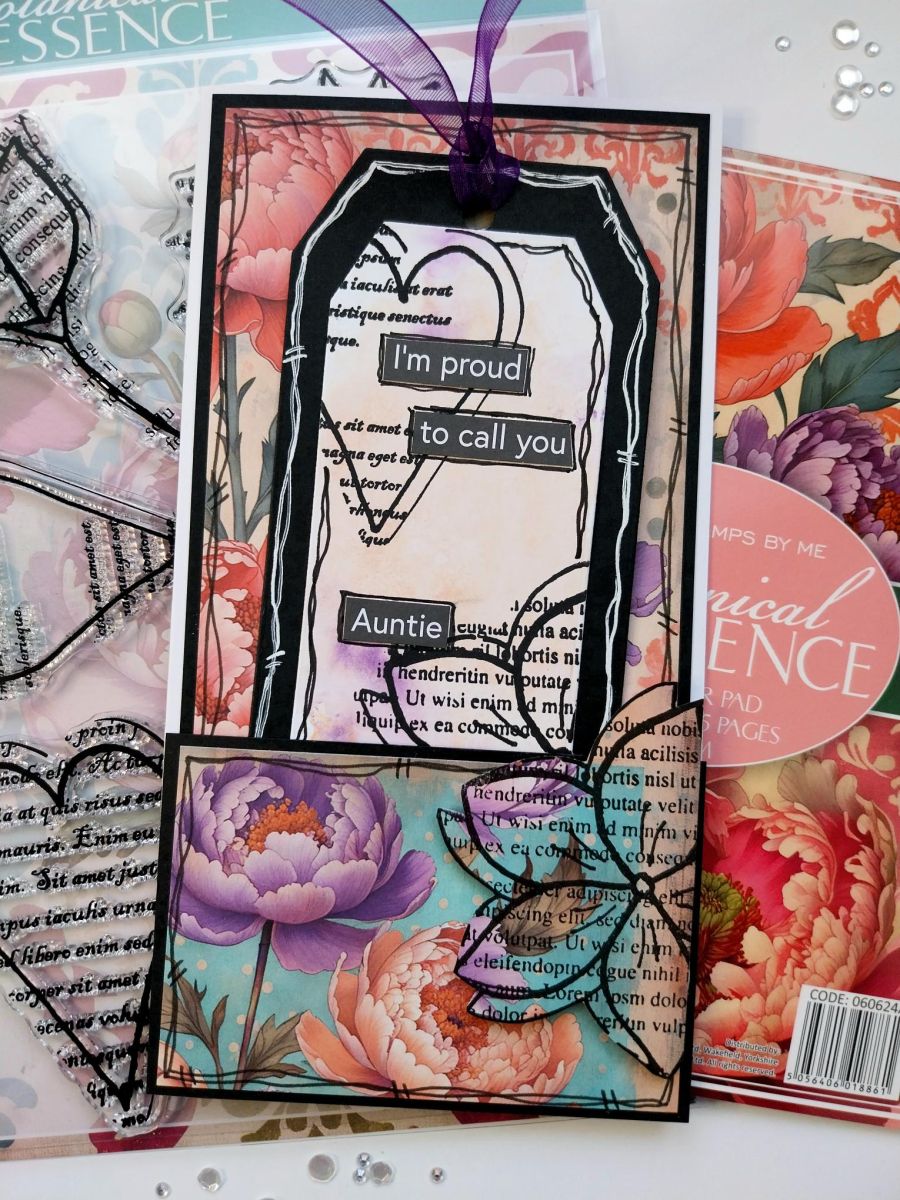
Cut a smaller "tag" from white card. Apply your Distress inks to your glass mat and spritz with water. Smoosh the white tag into the ink until you are happy with your inky background. Once dry, randomly stamp the floral/heart in Midnight, where preferred, then use a black pen to create a frame around the inky tag.
Adhere this to the black, larger tag and use a white gel pen to create a frame around this.
Finally, punch a hole in the top of the tag and thread through your chosen ribbon.
Adhere your decorative panel with pocket, onto your DL card blank so the edges of the pocket sit flush with the edges of the card blank.
Stamp one of the larger flowers in Midnight, onto a scrap piece of the paper and fussy cut. Adhere to the right side of the pocket, ensuring you don't apply glue where the flower overhangs the pocket onto the inner panel or your tag may not fit the pocket! Cut off the excess area of the flower so it sits flush with the right edge of your card blank.
To complete your tag card, adhere your chosen sentiment tabs onto the pull-out tag.
Share your make with the Stamps By Me community - and keep this guide for next time.
Prefer the previous layout? Open the old page.



