


Step 1 of 6
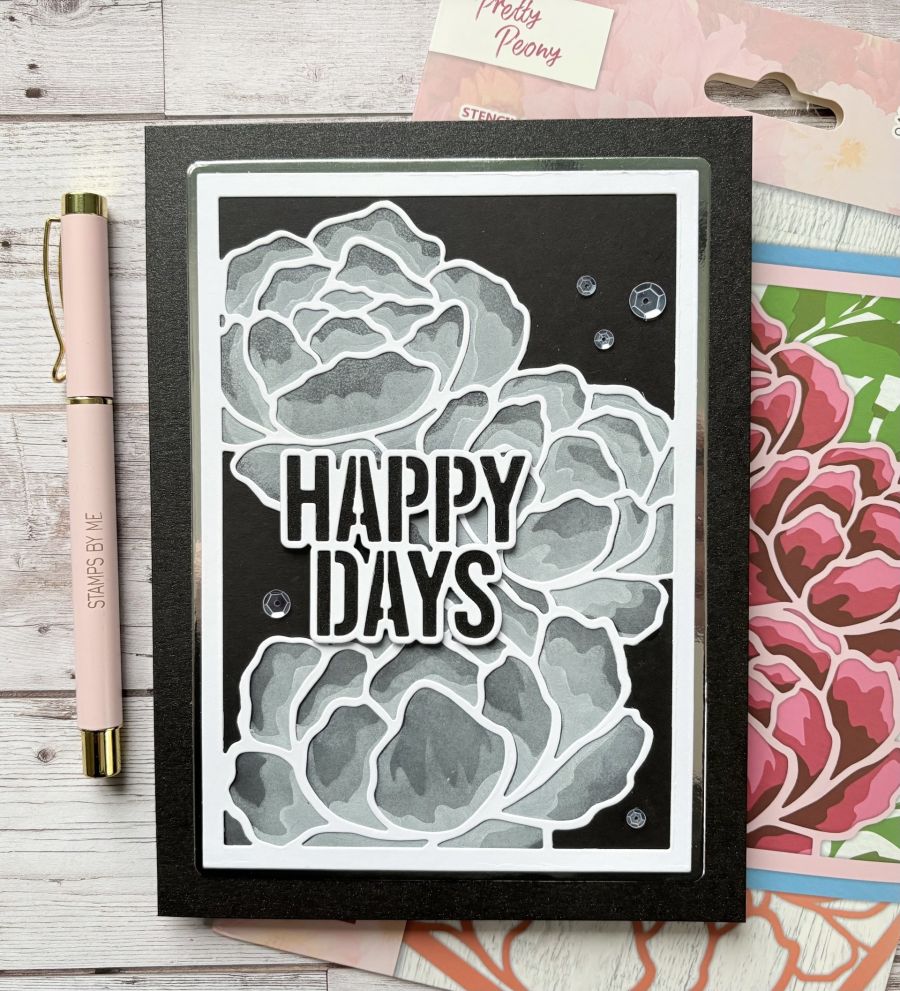
Die cut the Pretty Peony from white card and the rectangle die from Silver Mirri.








Prices change straight away. Every language is our own translation, not Google.
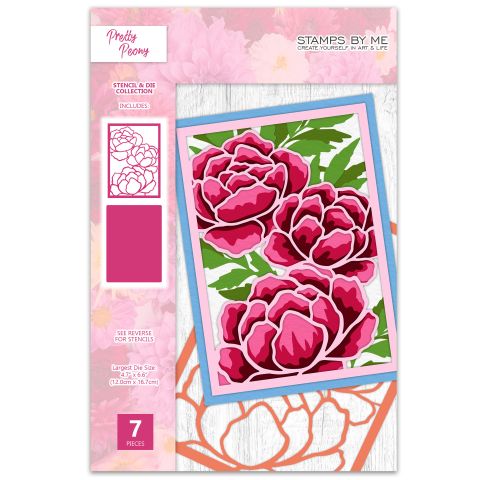 Stamps By Me - Stencils And Die Set - Pretty PeonyPretty Peony Stencil & Die Set$34.99BUY✓ ADDED
Die cut the Pretty Peony from white card and the rectangle die from Silver Mirri.
Take a piece of black card trimmed to 4 1/2 x 6 1/4. Using a small blending brush, add Cotton Ink though the first Peony stencil.
Repeat the process with the 2nd & 3rd Peony stencils. I did not use the 2 stencils with the leaves on for this card.
Die cut the Happy Days sentiment in back and white and add to the front of your card using foam pads.
Finally, add some sequins using glue.
Share your make with the Stamps By Me community - and keep this guide for next time.
Prefer the previous layout? Open the old page.



