tap a picture to see it big · tap DONE as you go - this device remembers
Step 1 of 6
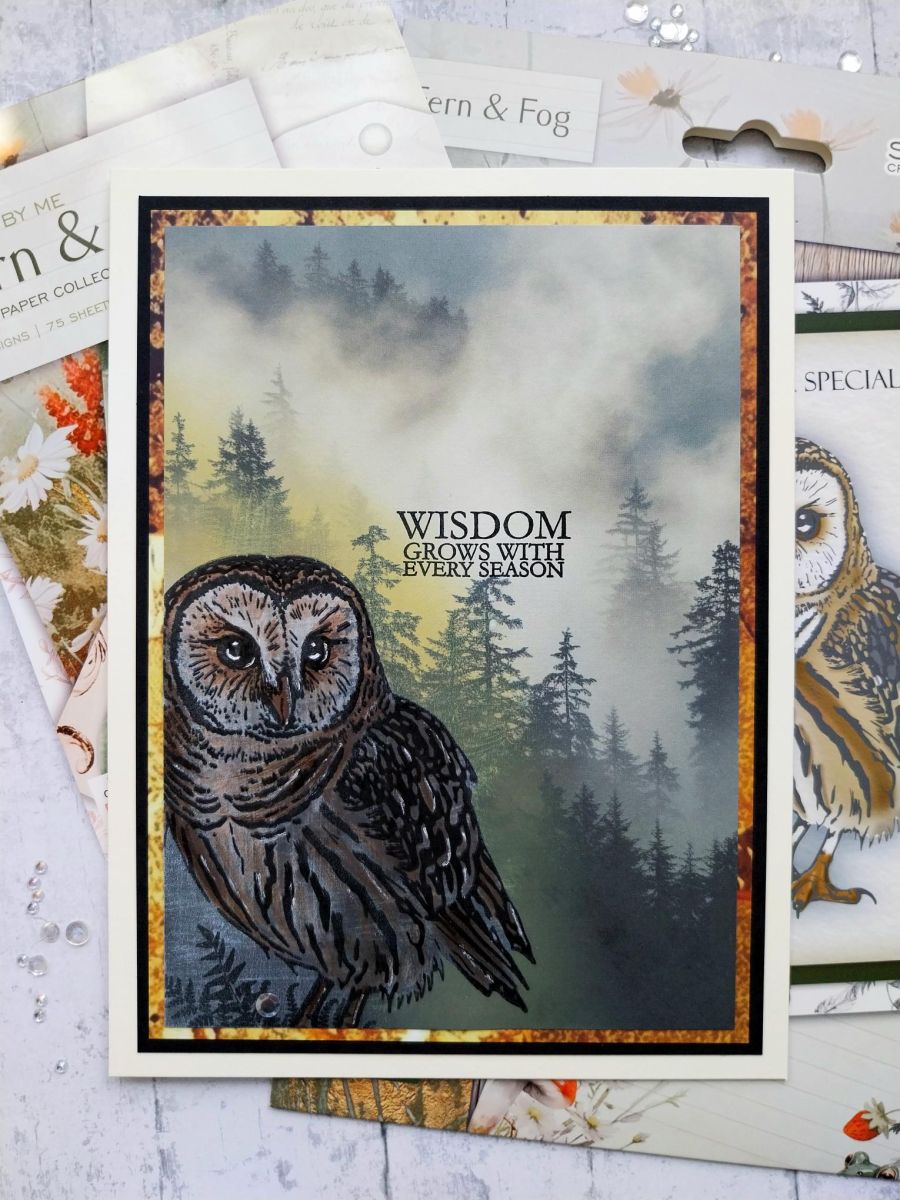
Choose your landscape paper from the collection and dry-brush the White Lace Confetti paint where you want your Owl to be stamped. Ensure the flat paint brush is as dry as possible. You only want to "push back" the printed design, allowing your stamped image to "pop".
Step 2 of 6
Stamp your Owl with the Midnight ink.
Step 3 of 6
Use your watercolour paints to colour the image and once dry, add accents and highlights with a white gel pen.
Step 4 of 6
Place the Owl "mask" over your image and blend out the Fossilized Amber away from the mask, giving the effect of sunshine reflecting from behind the Owl.
Step 5 of 6
Choose your coordinating paper from the Gilded Gold paper pack and trim to 5 1/4 x 7 1/4". Trim a sheet of black card to 5 1/2 x 7 1/2".
Ahere the paper to the black card and then onto your cream card blank.
Step 6 of 6
Adhere your finished artwork onto your card, to finish.
You made it!
Share your make with the Stamps By Me community - and keep this guide for next time.
Hello! I'm Toni's AI craft helper - I know the projects from Toni's shows, our guides and everything in the shop. Ask me anything, like "which dies go with this stamp set?" or "what do I need to start ink blending?"
An AI helper (not Toni herself), answering from Toni's shows and our shop - please check the product page before you buy.