Give your friends $10 off their first order!
Refer a FRIEND








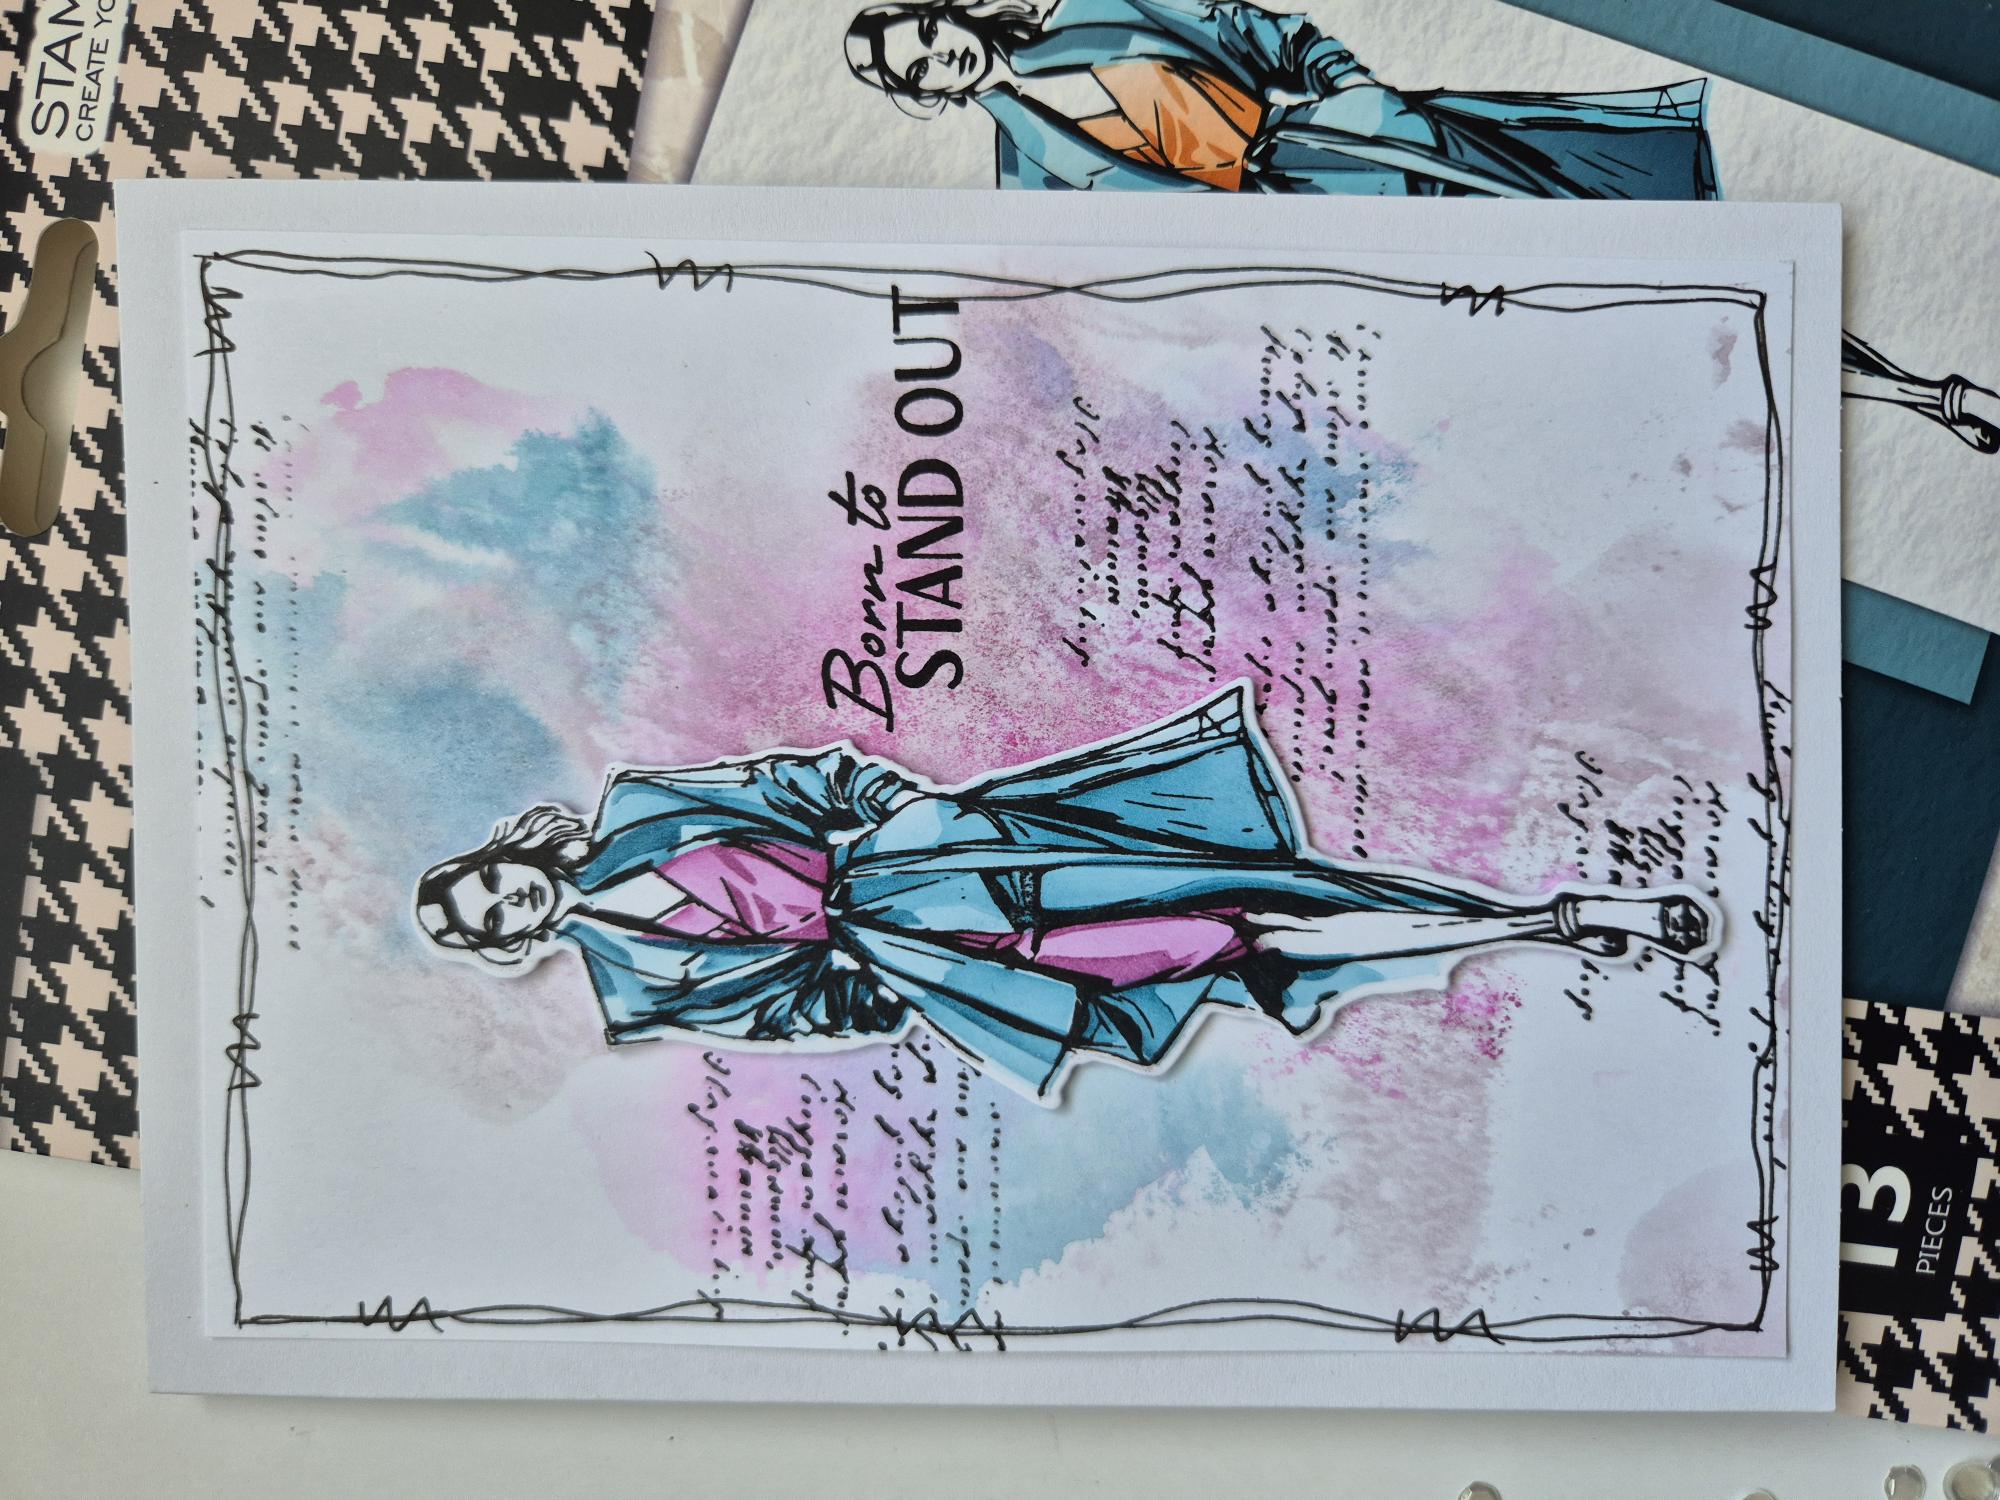
WHAT YOU WILL NEED:
Mia Stamp, Die & Stencil Set
Script stamp from your crafty stash
White Card blank 5 x 7"
White cardstock
SBM Hybrid Ink Pad: Midnight
SBM Dye Ink Pad: Tiffany, Heather, Fandango
Blending brush
Black pen
Eureka 101 Watercolour Tablet
SBM A3 Magnetic glass mat
Paper Trimmer
Glue
Foam pads
Die Cutting machine
[click image to enlarge] 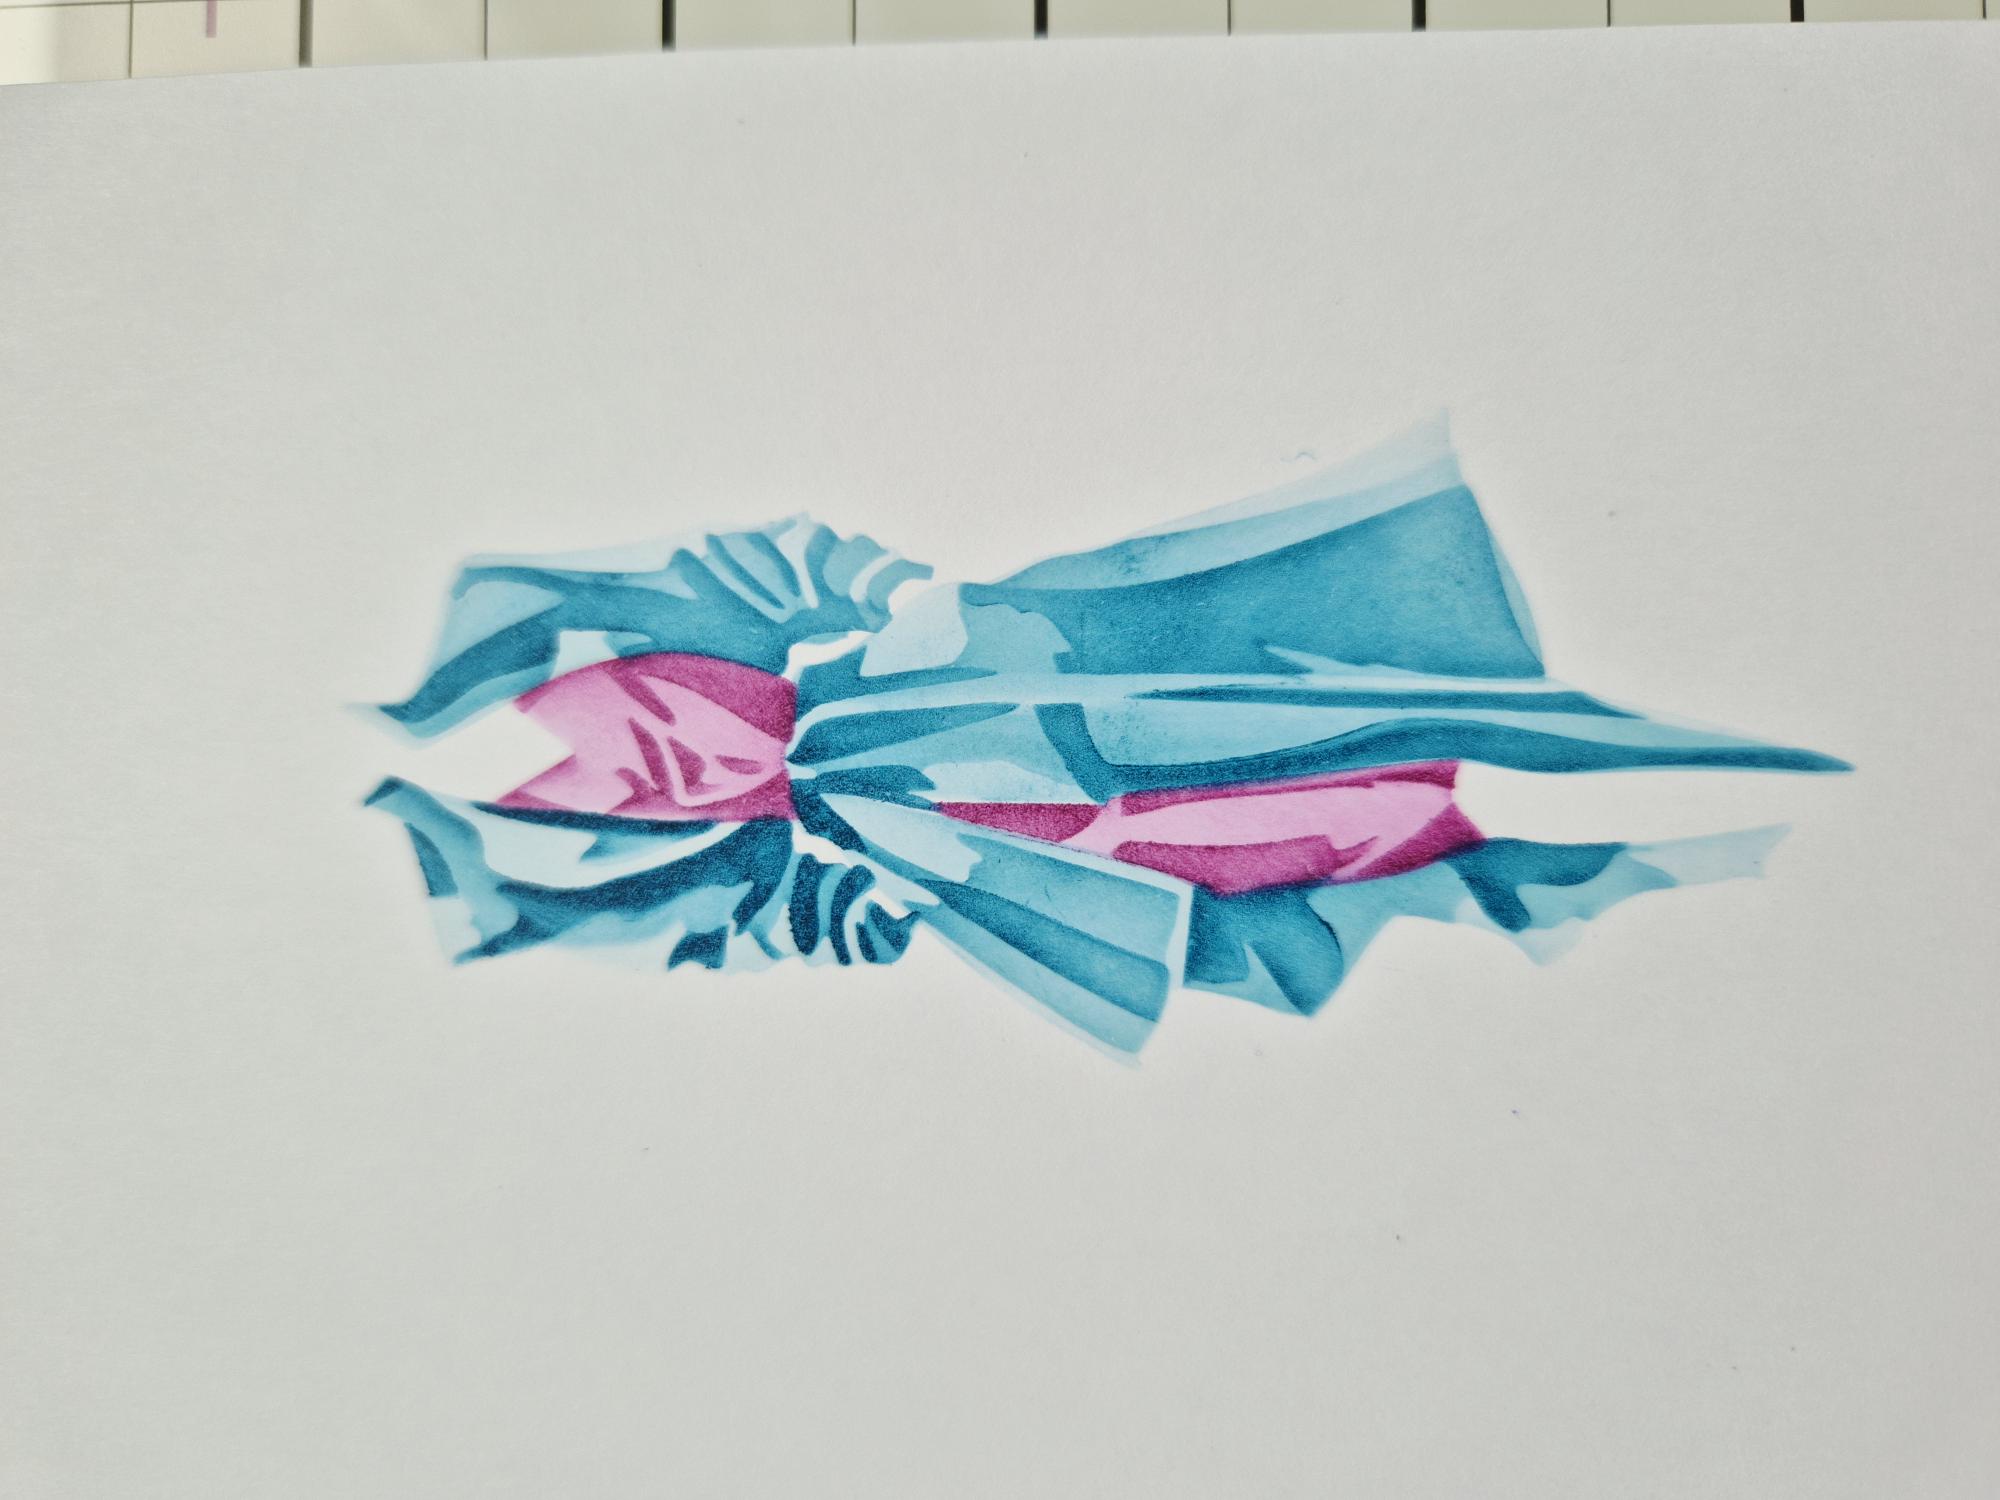
|
Place stencil 1 from the Mia pack, onto the card. Blend lightly with Tiffany ink. Line up stencil 2 and blend with the same ink but with more pressure. Line up stencil 3 and use the same ink pad again but with even more pressure. Line up stencil 4 and lightly blend with Heather. Line up stencil 5 and apply the Heather with more pressure. |
|
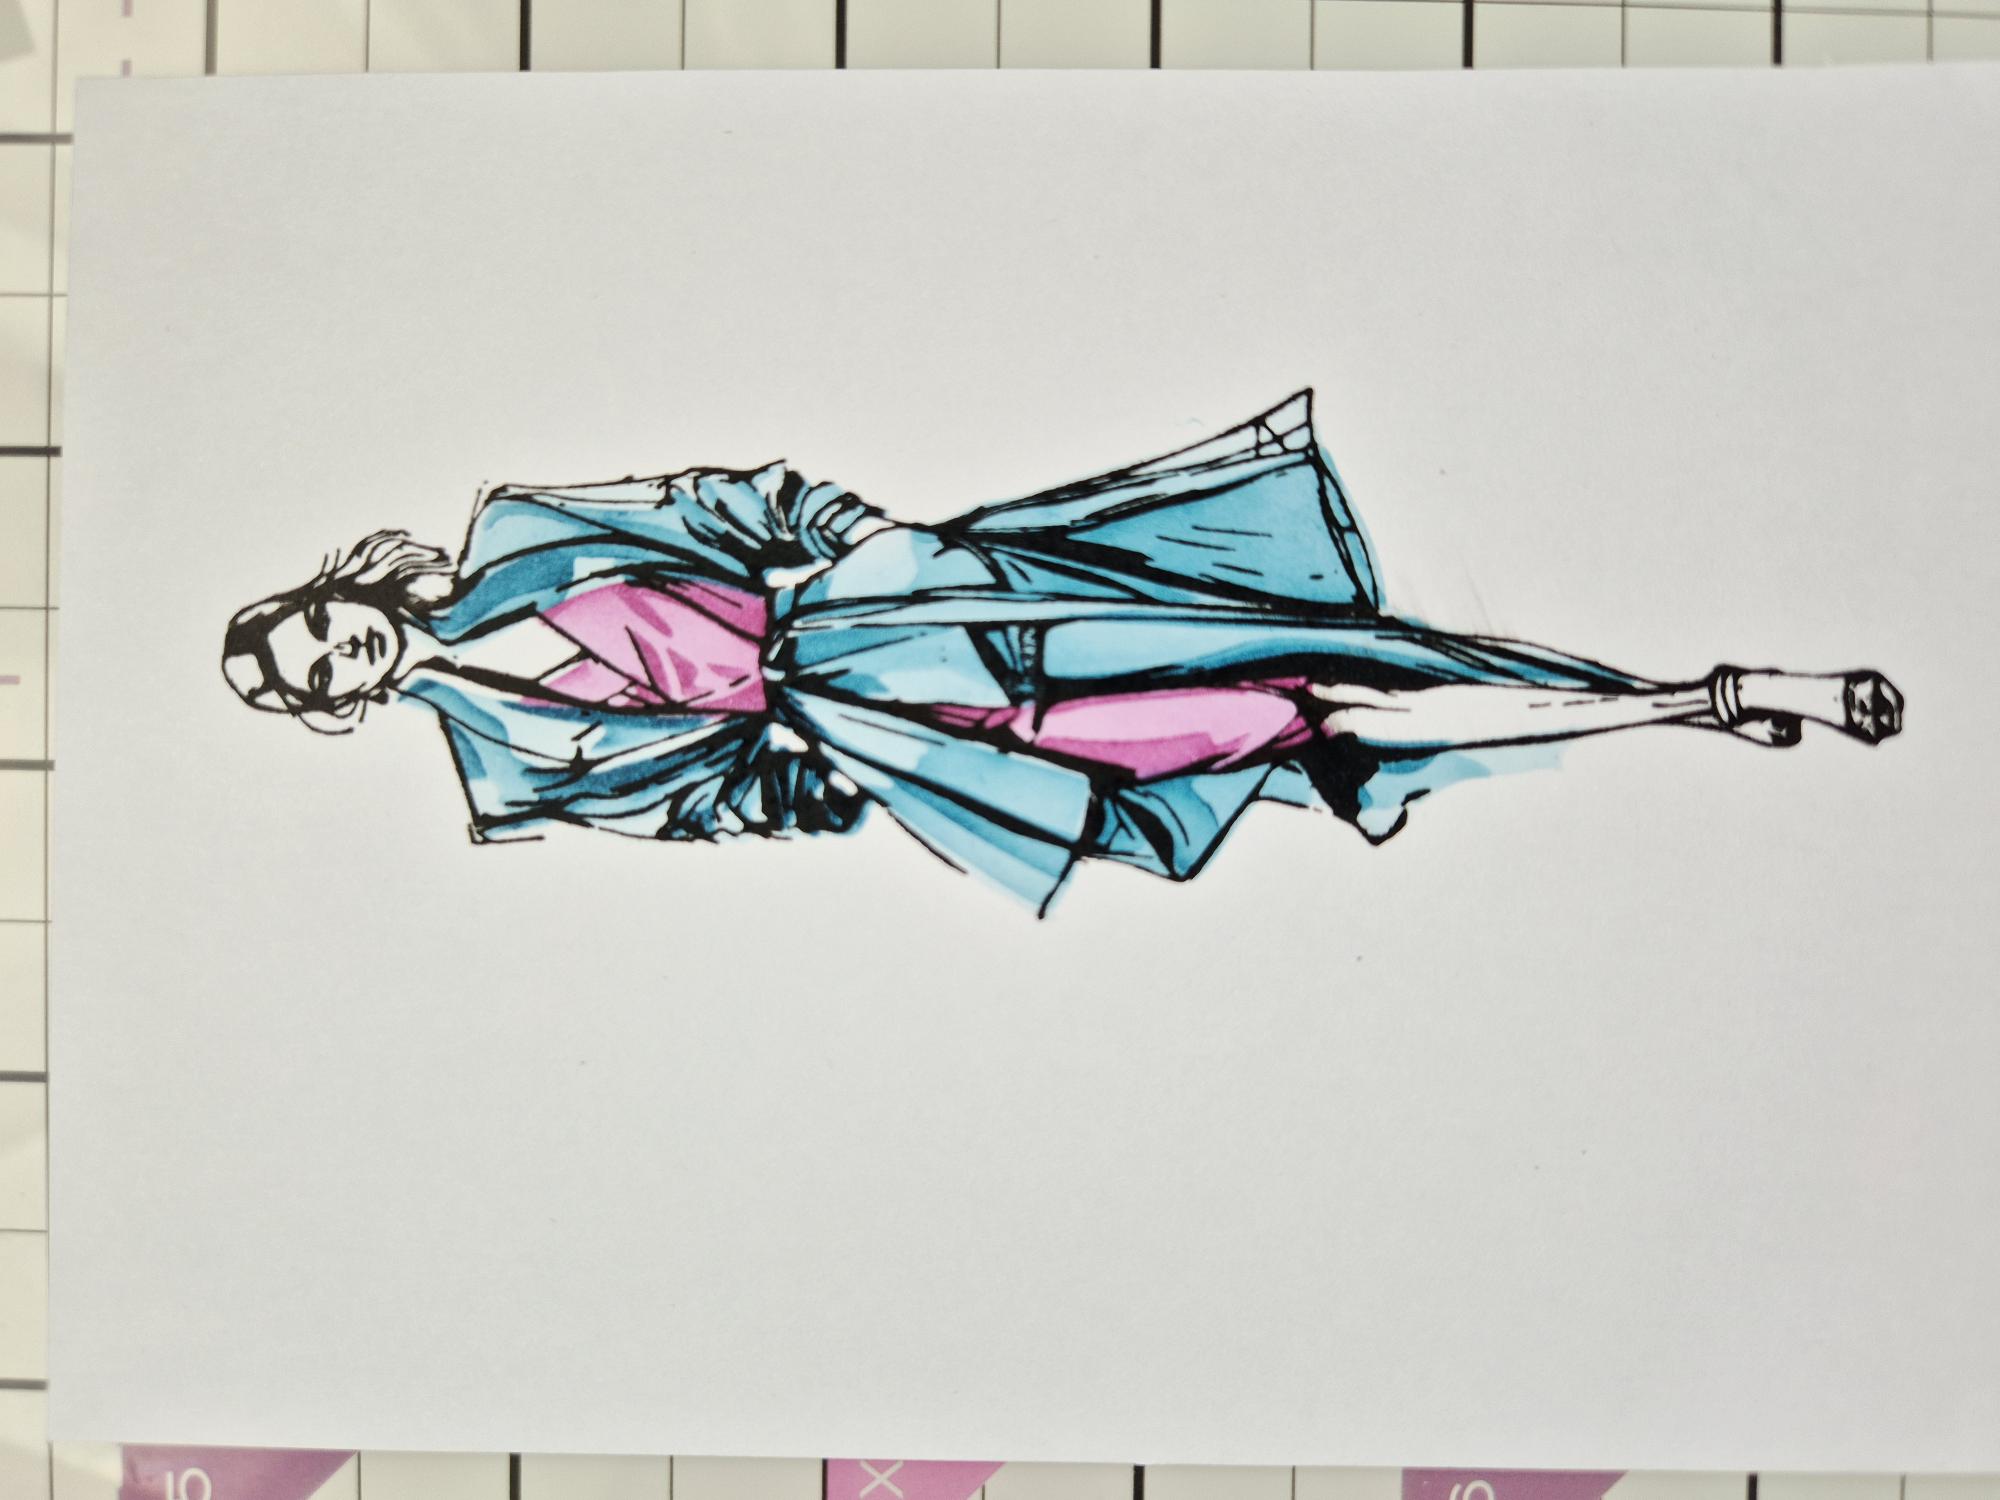
Stamp over your stencilled image with the Midnight ink. |
|
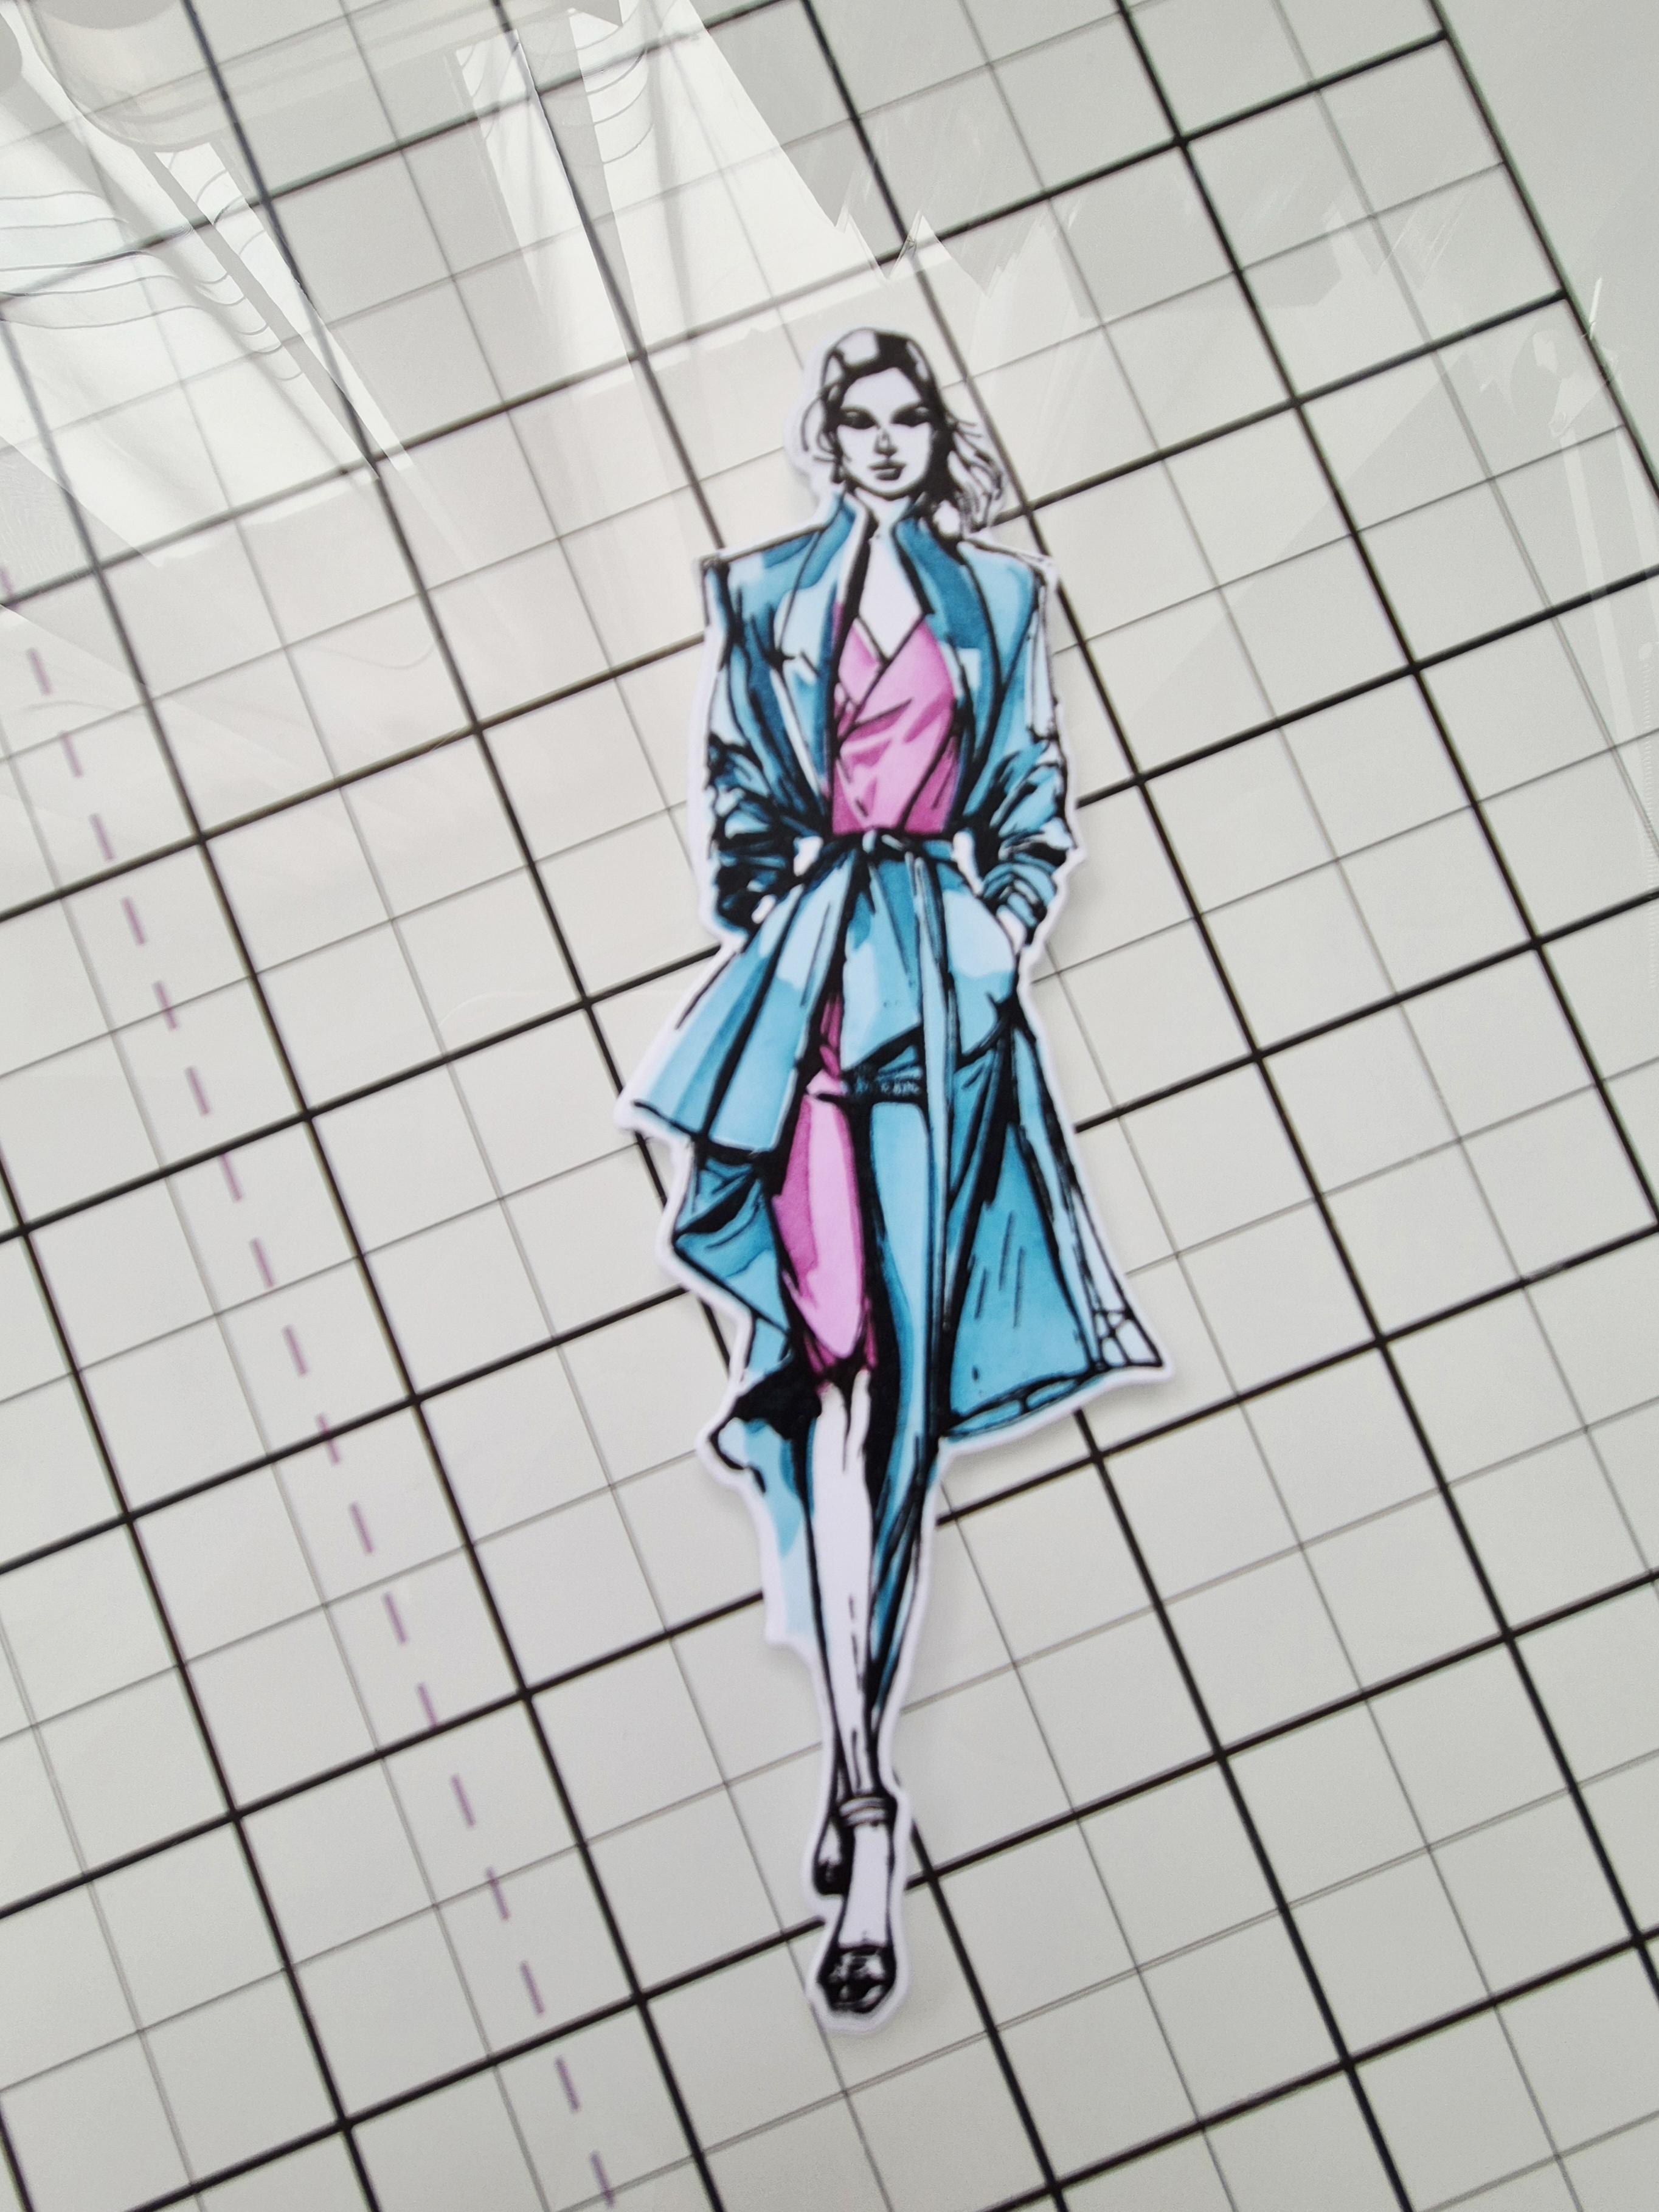
Use the coordinating die to cut Mia out. |
|
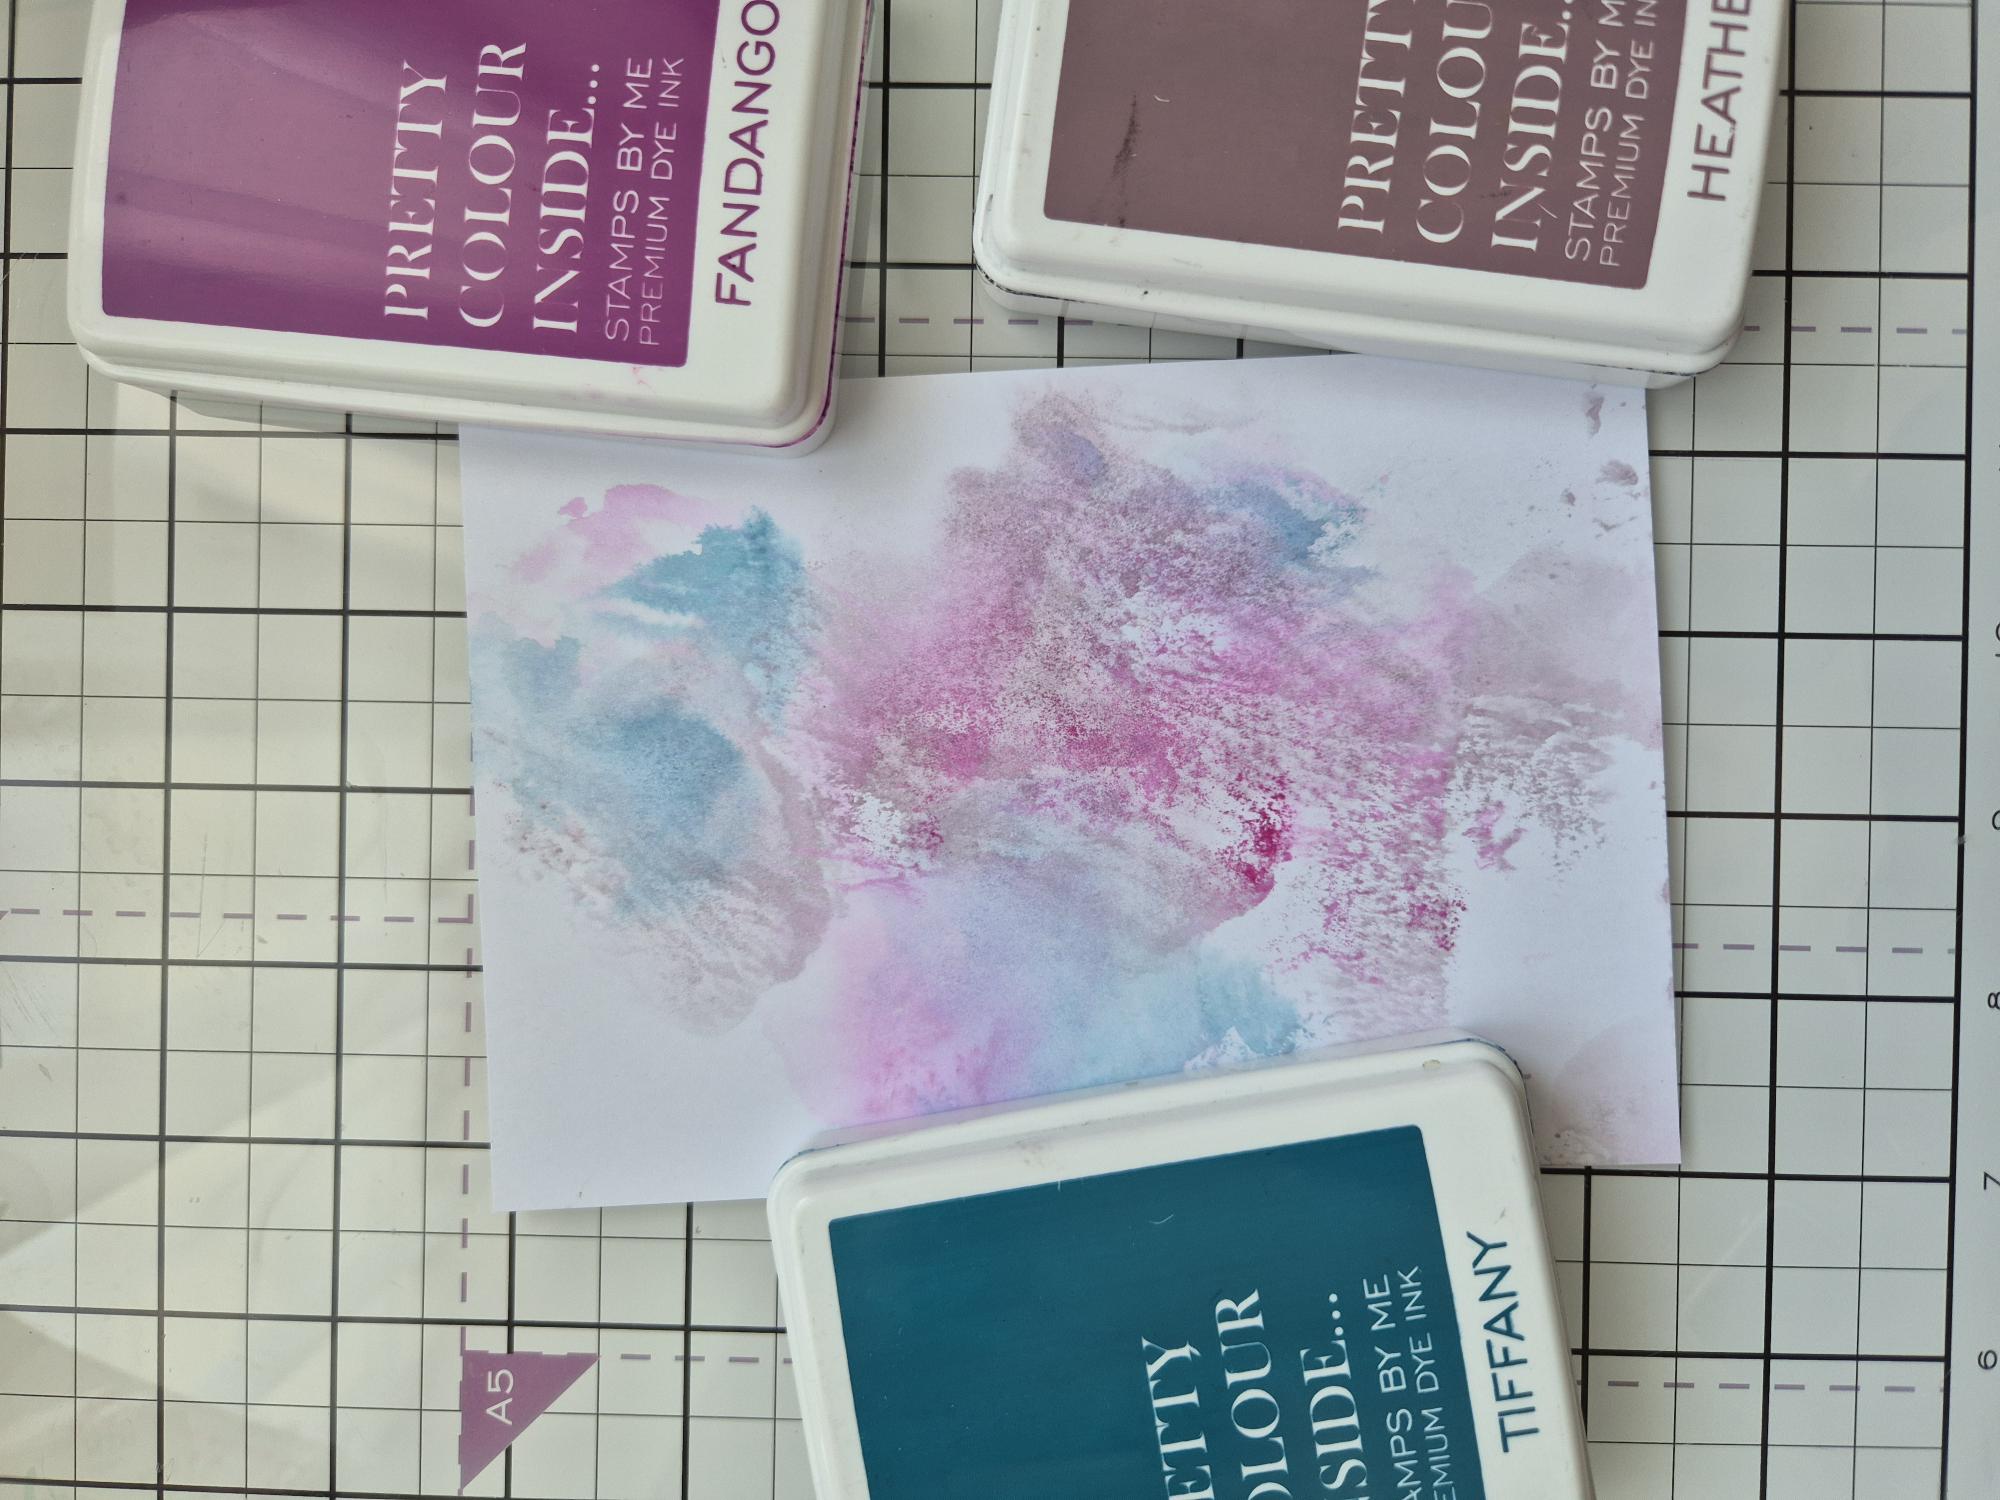
Trim a piece of white cardstock to 5 1/4 x 7 1/4". Using one coloured ink pad at a time, swipe each onto your glass mat. Lightly spritz with water and "smoosh" your card into the ink. Dry between each colour. You can keep smooshing the ink until you are happy with your inky background. |
|
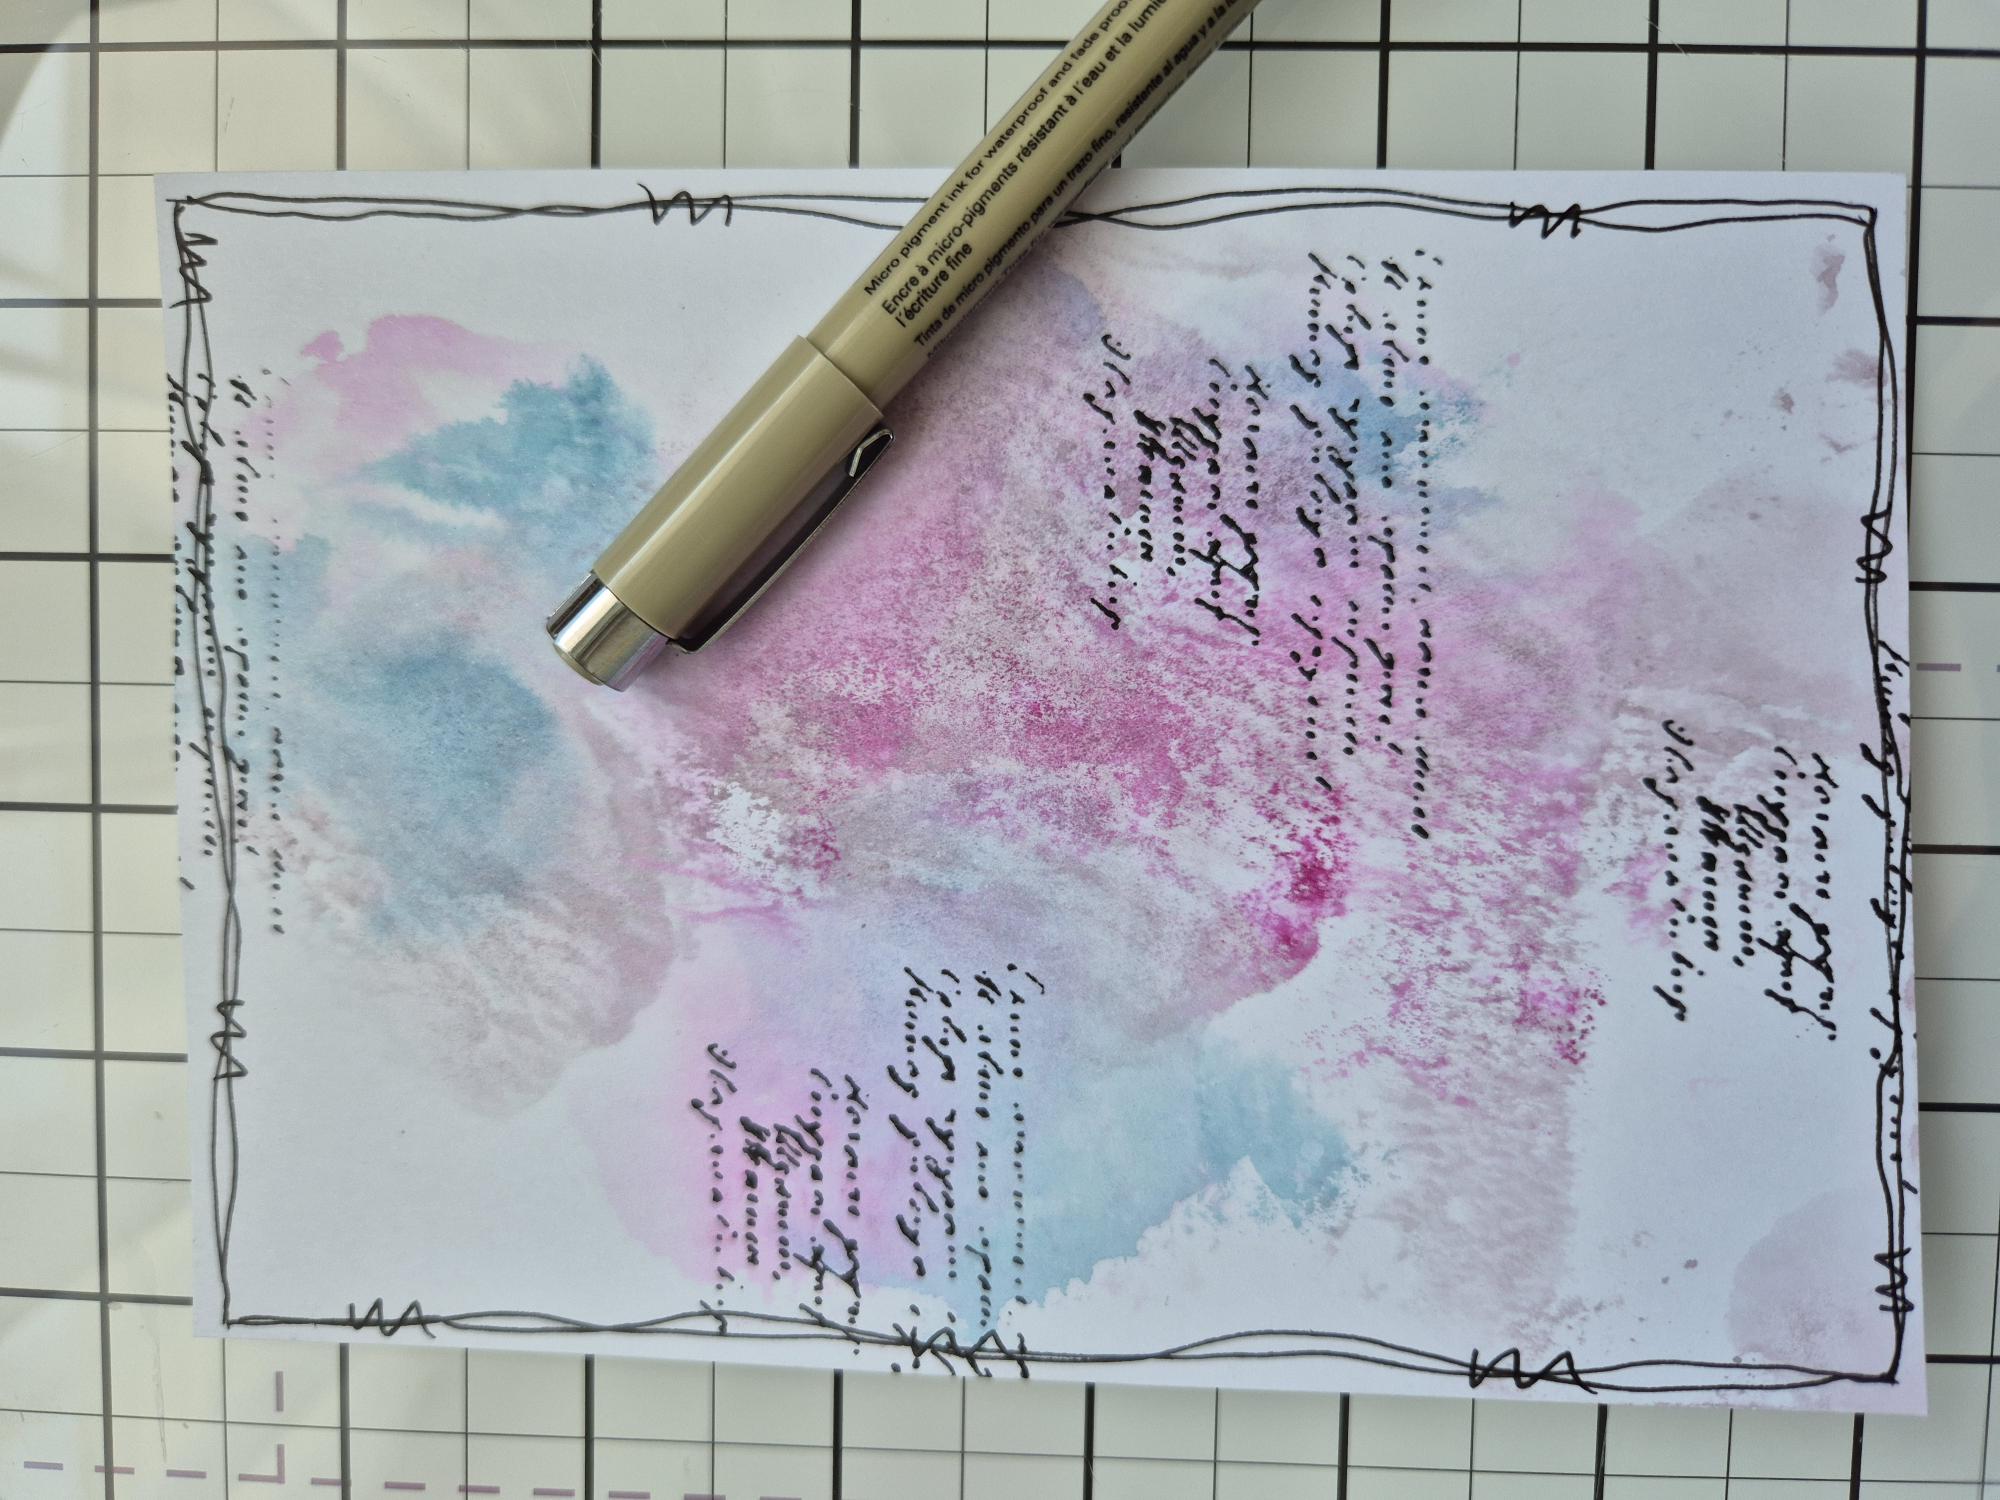
Ink up your script stamp with Midnight and randomly stamp onto your background. Use a black pen to draw your own decorative frame around the edge of the card. |
|
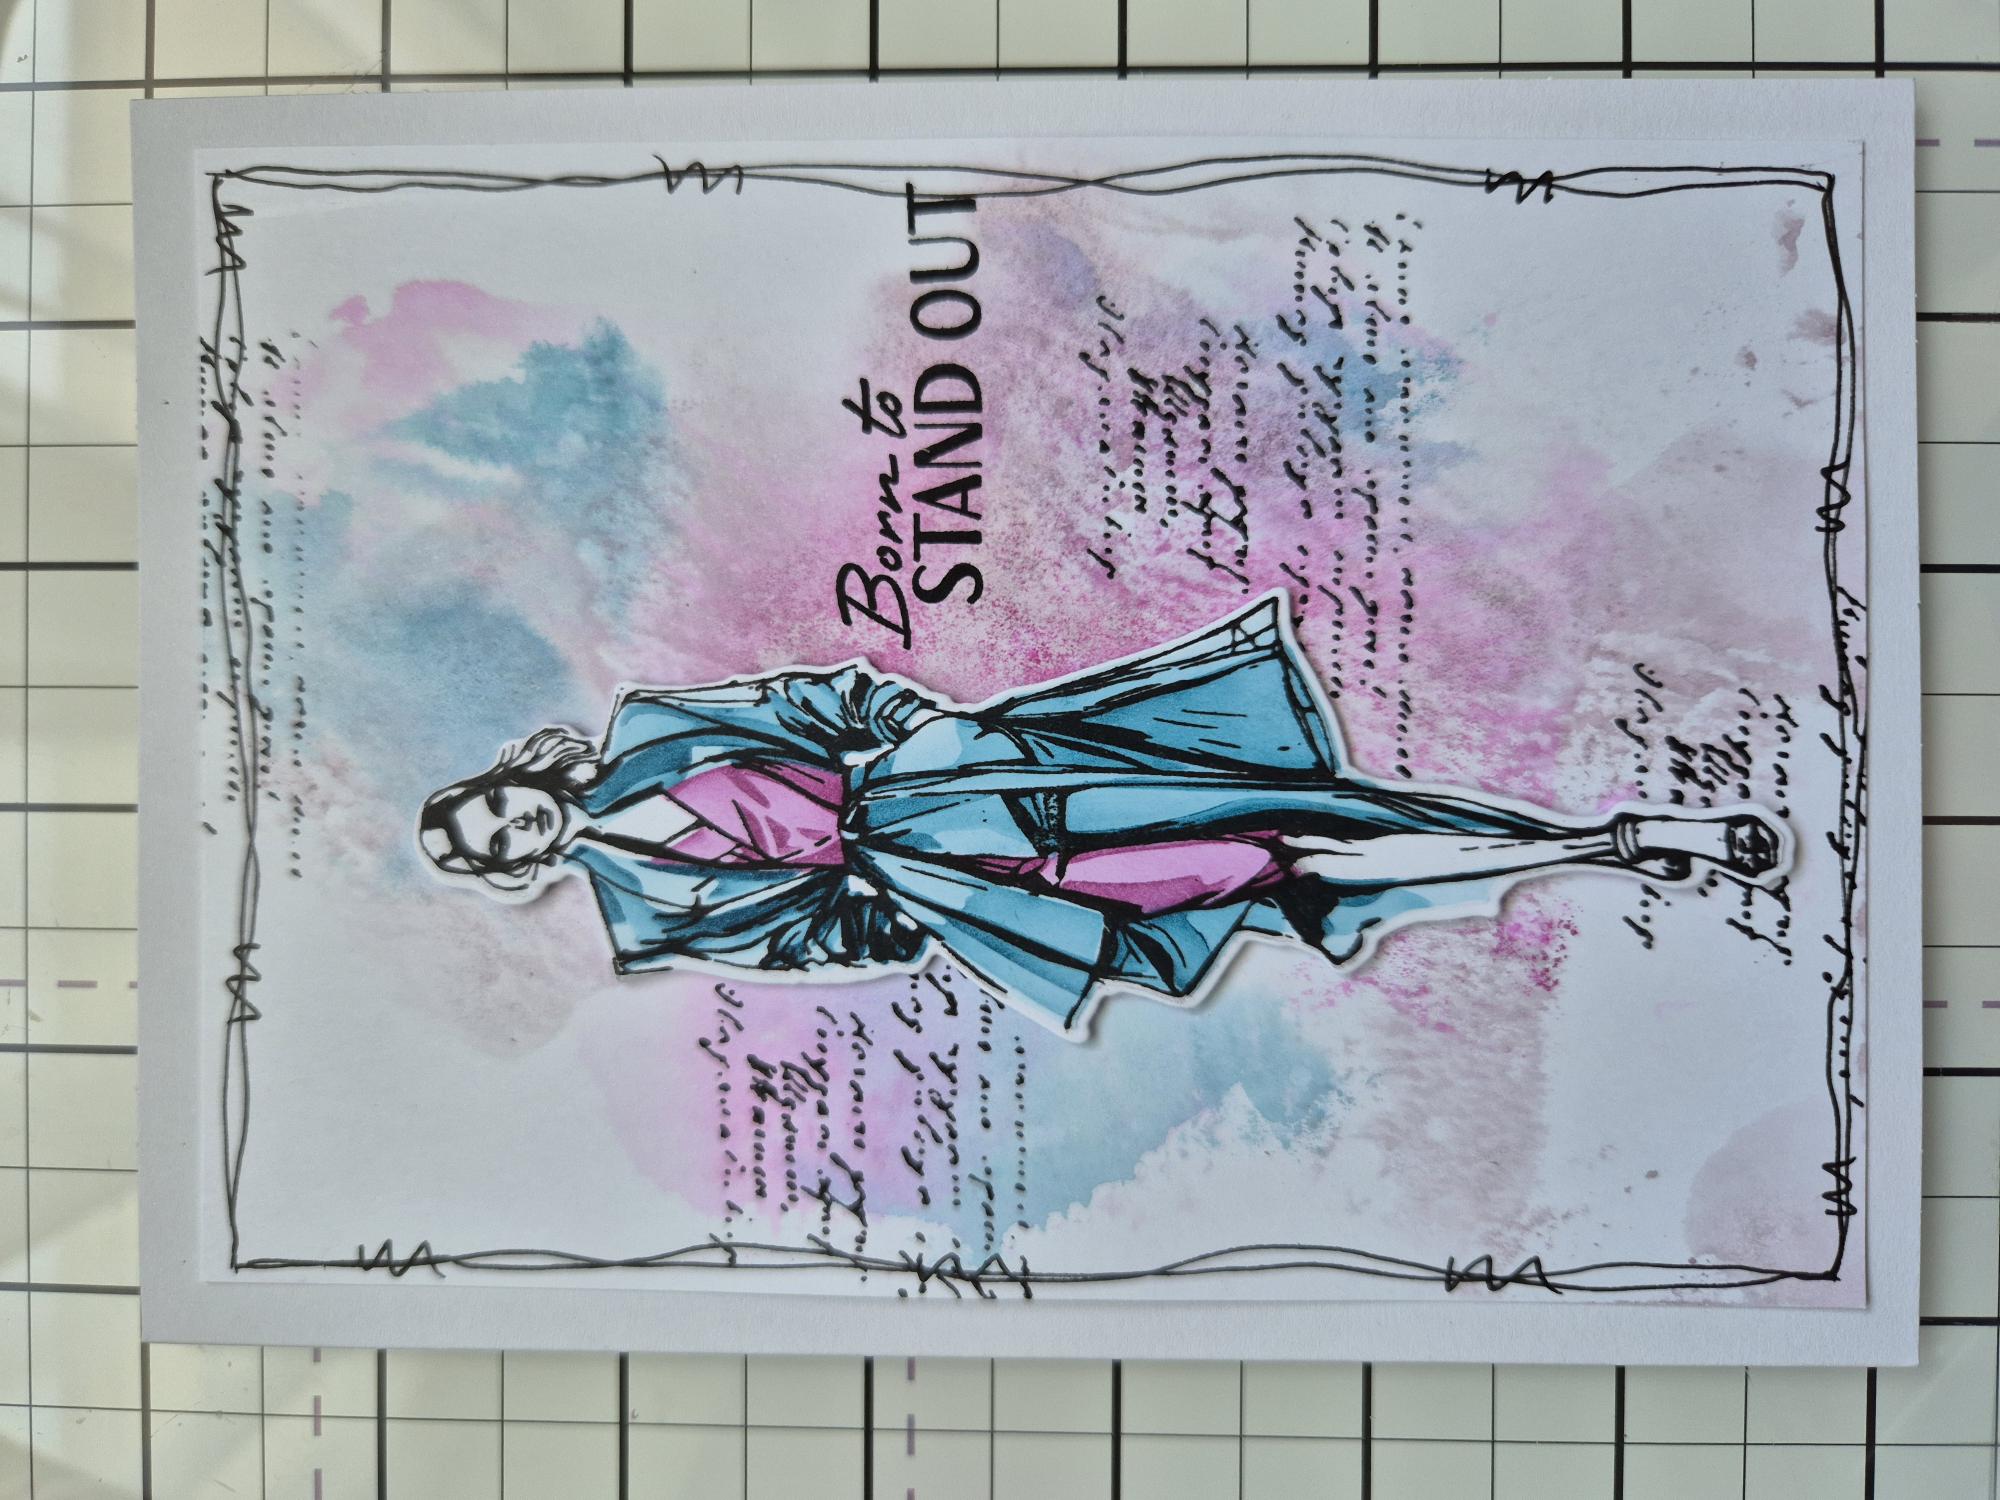
Adhere Mia onto your inky background and stamp your sentiment in Midnight. Adhere to the front of your card blank to complete your project. |