


Step 1 of 7
Cut a piece of the Mirri card to 4 3/4’ x 6 3/4’ .
Select a piece of the patterned paper from the Starlight & Snowflakes pad and trim to
4 1/2’ x 6 3/4’ .








Prices change straight away. Every language is our own translation, not Google.
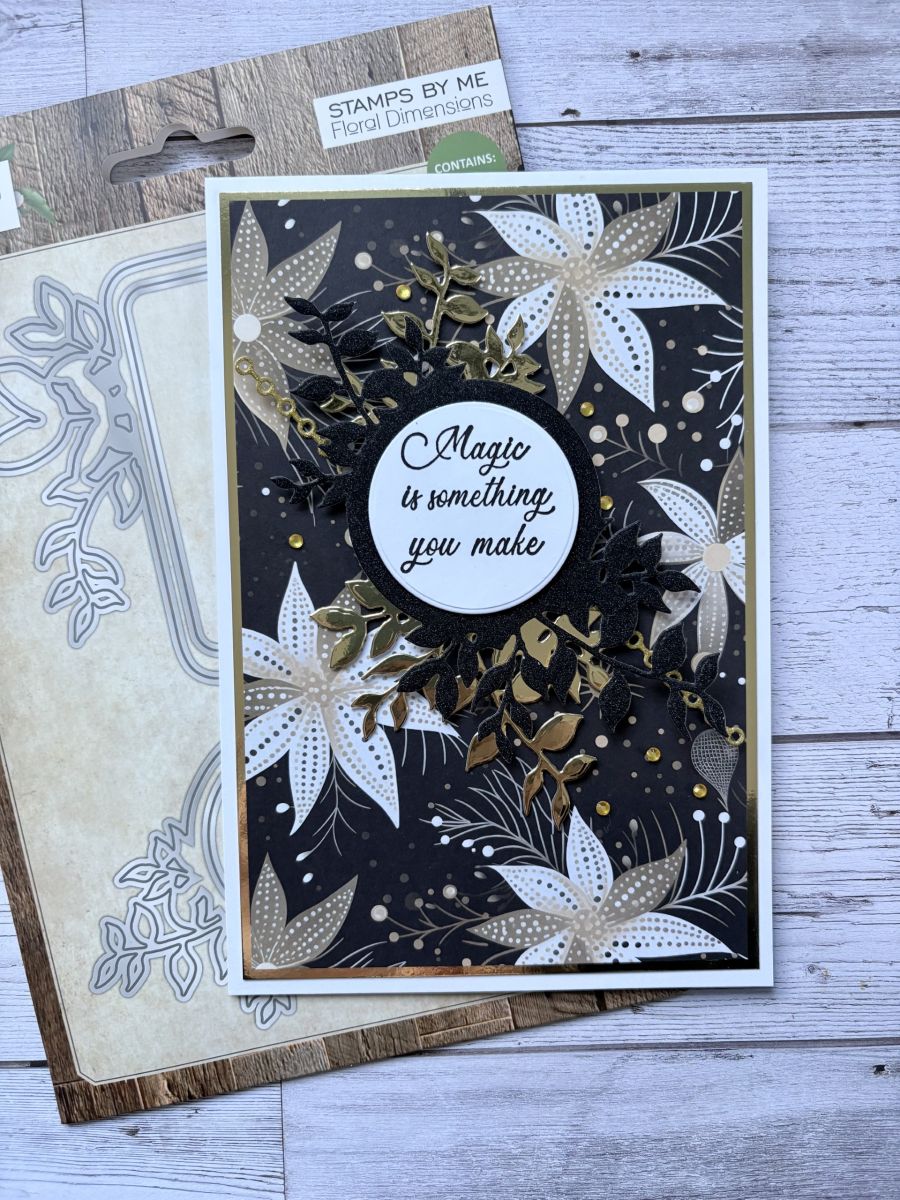
Using the Foliage Banners, die cut a white circle and the round Foliage Banner out of black glitter card & also gold Mirri card.
Stamp your chosen sentiment using the Midnight Ink, onto the white circle.
Die cut 2 of the dies from the Adornments set, out of gold glitter card.
Matt & layer the patterned paper and mirri card onto the card blank.
Glue the banner dies and stamped sentiment together using silicone glue and then to your card. Glue the small adornments cut from glitter card under the banner.
For a finishing touch add some gold gems.
Share your make with the Stamps By Me community - and keep this guide for next time.
Prefer the previous layout? Open the old page.



