


Step 1 of 11
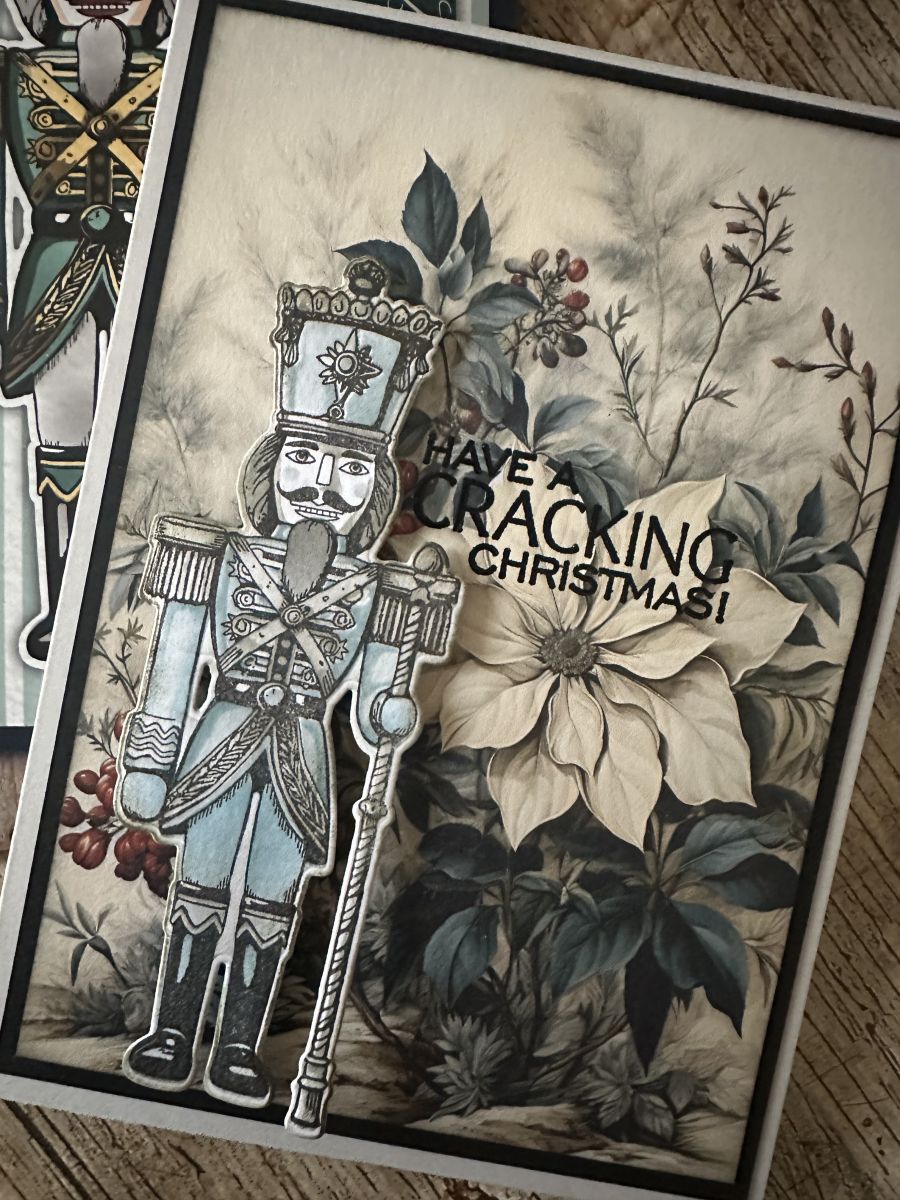
Pick a page from the Holly & Berry (or alternative) Paper Mounts set and trim off a quarter of an inch from each side. Blend a little Black Soot around the edge of the card.








Prices change straight away. Every language is our own translation, not Google.
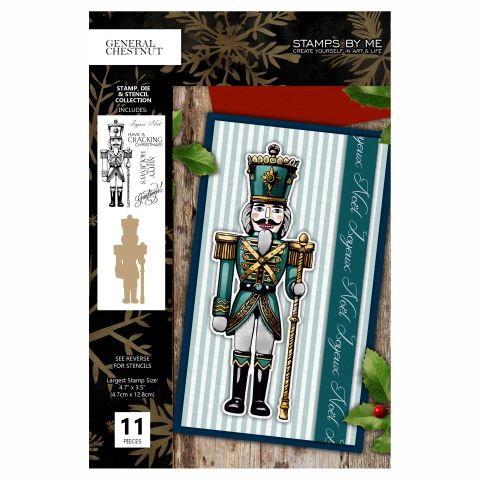 Stamps By Me Stamp, Stencil & Die Set - General ChestnutGeneral Chestnut Stamp, Die and Stencil set$29.99BUY✓ ADDED
Pick a page from the Holly & Berry (or alternative) Paper Mounts set and trim off a quarter of an inch from each side. Blend a little Black Soot around the edge of the card.
Work your way through the numbered stencils in order, lining each one to the top right hand corner of your mixed media cardstock.
Start with a light blend of Hickory Smoke through stencil 1.
Continue with a further layer of Hickory Smoke through stencil 2.
Swap out to your Ocean ink pad on stencil 3.
Continue with Ocean ink pad on stencil 4.
On the final stencil I've used Ocean everywhere except the face when I have used Black Soot instead.
Line up and stamp your general using your Midnight ink pad.
Die cut your general and then blend a little Black Soot around the edges, to tone down the white space.
Play around with your composition and once happy stamp your sentiment using your Midnight ink pad and heat emboss with black embossing powder
Construct your card using your black matt and layer piece and securing the general with foam pads.
Share your make with the Stamps By Me community - and keep this guide for next time.
Prefer the previous layout? Open the old page.



