tap a picture to see it big · tap DONE as you go - this device remembers
Step 1 of 8
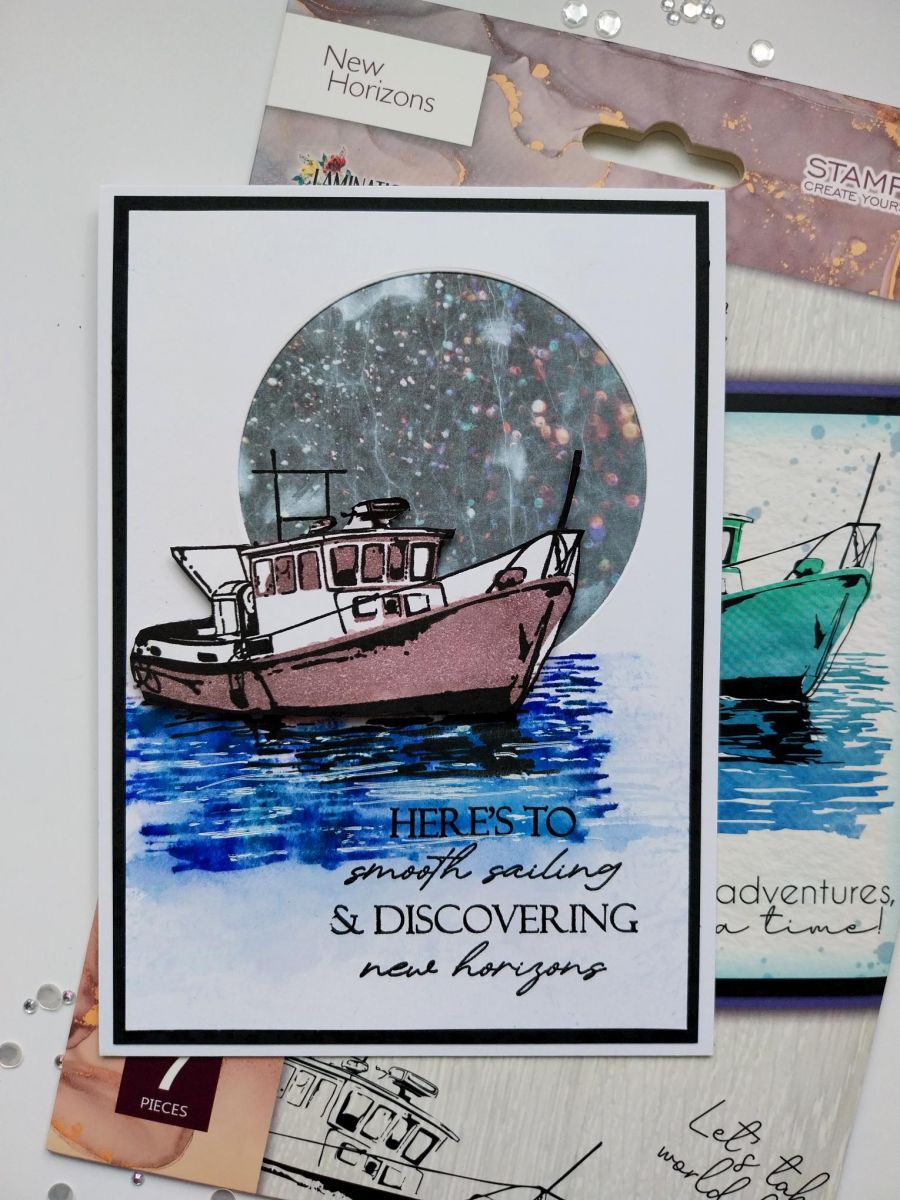
As well as your white 5 x 7" card blank, you will need black card cut to 4 3/4 x 6 3/4", white card cut to 4 1/2 x 6 1/2" and a piece of decorative paper from Dew Drop, big enough to go behind a die-cut circle aperture (of your chosen size).
Step 2 of 8
Die cut the circle in the centre and towards the top, of the white cardstock cut earlier. Adhere the decorative paper behind the aperture.
Step 3 of 8
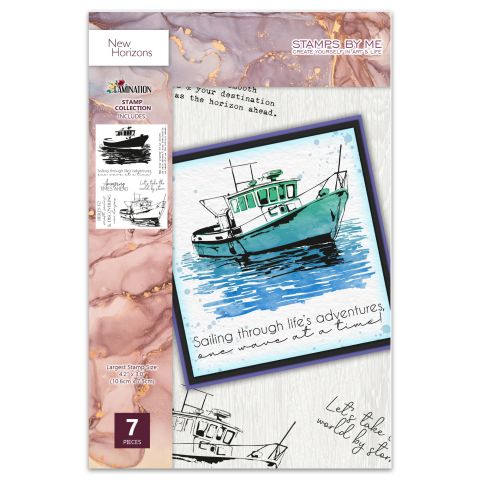
Ink up the solid boat stamp with Heather, Tiffany and Surfboard, spritz with water and stamp onto the card and over the aperture. Stamp the detailed stamp over the top, in Midnight. Don't worry too much about getting a completely crisp stamped image of the boat as we will be stamping another to cover it up!
Step 4 of 8
On a seperate piece of white card stamp the solid stamp in Heather and the detailed stamp in Midnight.
Step 5 of 8
Fussy cut the boat.
Step 6 of 8
Using a paint brush and the inks, drag the edges of the sea down to blend out harsh edges and extend the design as required.
Step 7 of 8
Stamp your sentiment in Midnight and then use foam pads to adhere your 3D boat in place.
Step 8 of 8
Finish your card by matting your artwork onto the black cardstock and then onto your card blank.
You made it!
Share your make with the Stamps By Me community - and keep this guide for next time.
Hello! I'm Toni's AI craft helper - I know the projects from Toni's shows, our guides and everything in the shop. Ask me anything, like "which dies go with this stamp set?" or "what do I need to start ink blending?"
An AI helper (not Toni herself), answering from Toni's shows and our shop - please check the product page before you buy.