


Step 1 of 6
Take a " light pink" sheet from the Vintage Roses paper pack. Stamp the solid teacup and teapot stamps in the Heather. Stamp the detailed images over the top, in the Smokey Grey Versafine.








Prices change straight away. Every language is our own translation, not Google.
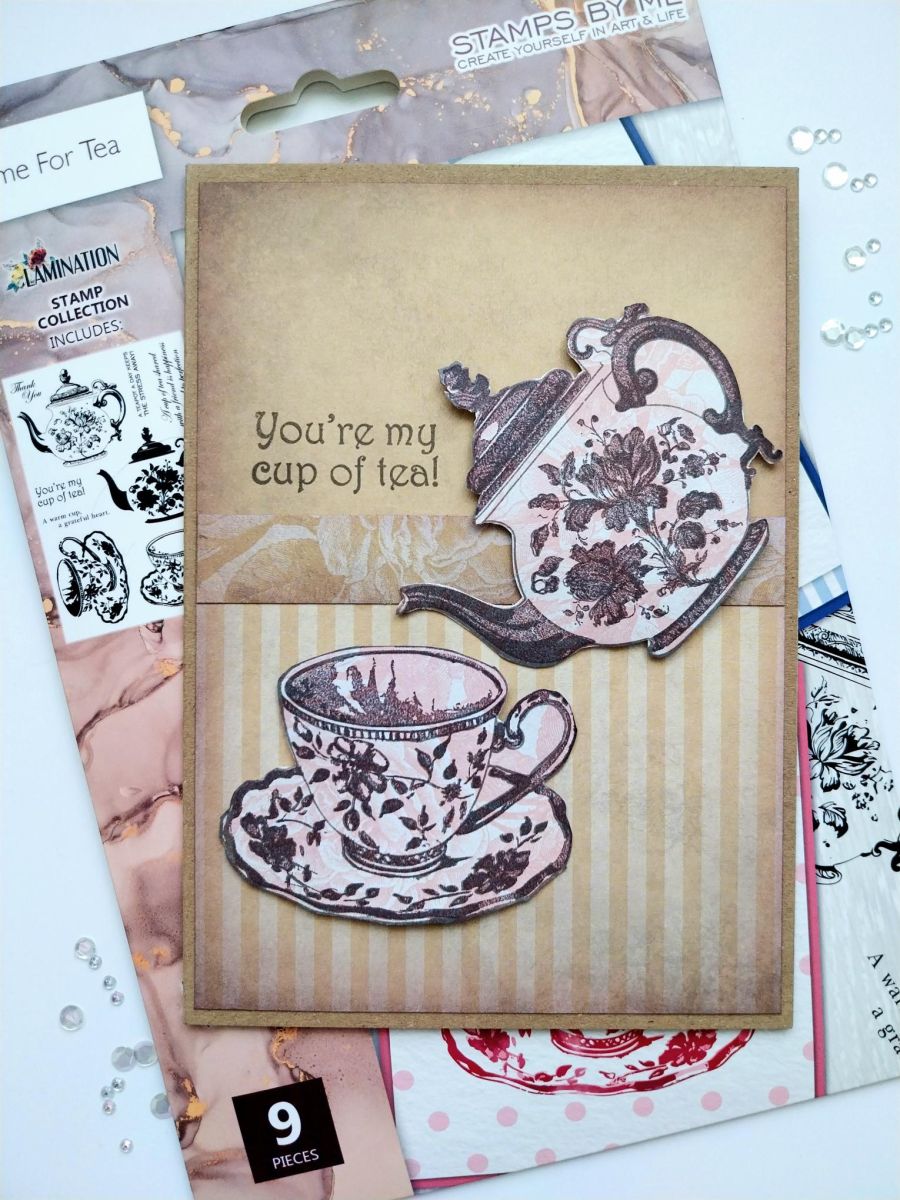
Take a " light pink" sheet from the Vintage Roses paper pack. Stamp the solid teacup and teapot stamps in the Heather. Stamp the detailed images over the top, in the Smokey Grey Versafine.
Fussy cut the stamped images and pop to one side.
Using your 5 x 7 kraft card blank as a size guide, cut two panels from the Stripes and Hues light brown coordinating papers, both 4 3/4" wide and as deep as you want each panel to be. I chose to have the stripes panel slightly deeper.
Blend the Heather around the edges of the papers.
Adhere to your card blank. Cut a narrow strip the same width, from the coordinating Roses paper. Edge with the Heather and adhere across the "join" of the other two papers.
Stamp your sentiment above and to the left of the middle panel, with the Versafine before adhering your teacup and teapot with foam pads to finish.
Share your make with the Stamps By Me community - and keep this guide for next time.
Prefer the previous layout? Open the old page.



