


Step 1 of 5
Choose your painted mount from the Tails & Tweets pack and wrap TWO torn vellum panels across the bottom third. Tuck the edges over and secure on the reverse with double-sided adhesive tape.








Prices change straight away. Every language is our own translation, not Google.
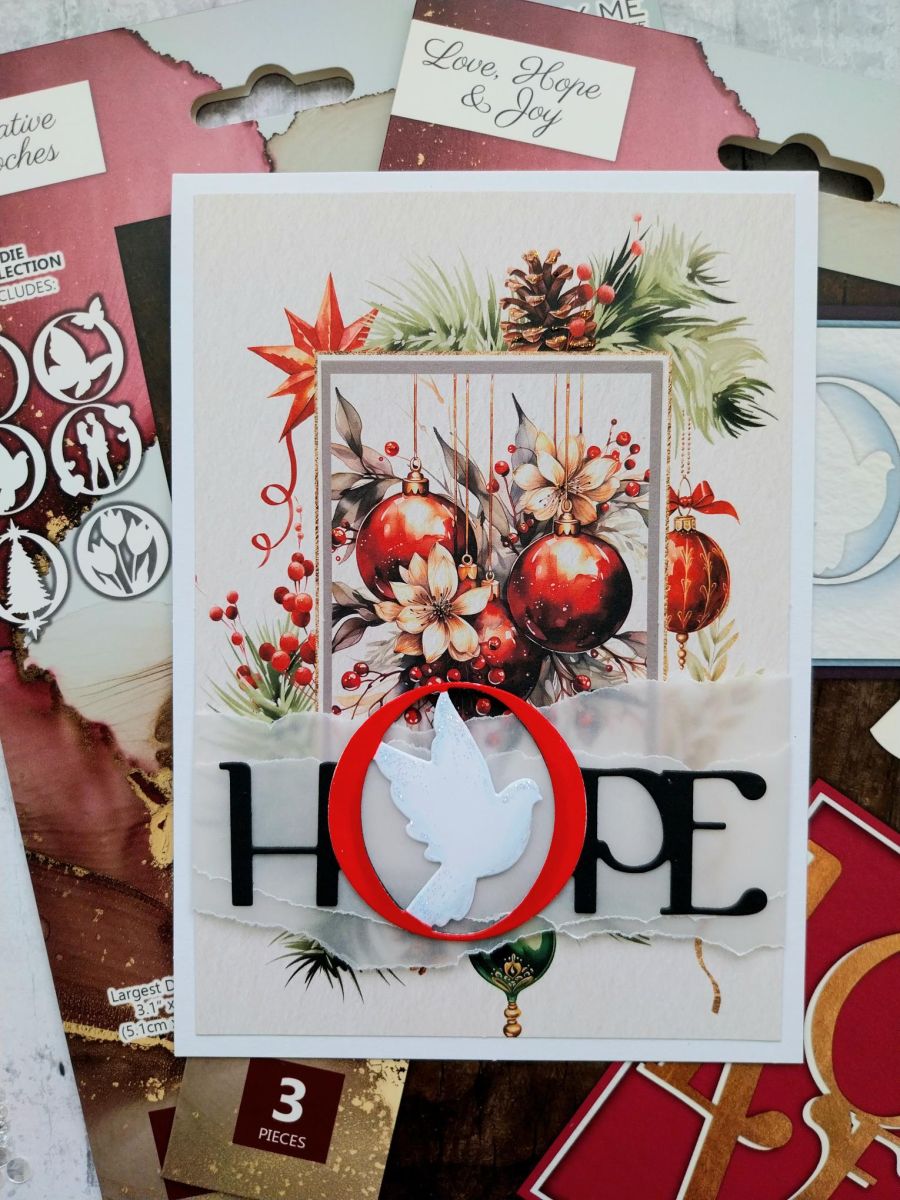
Choose your painted mount from the Tails & Tweets pack and wrap TWO torn vellum panels across the bottom third. Tuck the edges over and secure on the reverse with double-sided adhesive tape.
Mat onto your white card blank.
Die cut TWO "HOPE" sentiments, one from white cardstock and one from black. Die cut the Dove brooch from white cardstock and colour the circle frame with a red pen.
Adhere together, with the black HOPE on top and adhere across the torn vellum panels.
To finish, use the Stickles to add a touch of sparkle to the Dove.
Share your make with the Stamps By Me community - and keep this guide for next time.
Prefer the previous layout? Open the old page.



