


Step 1 of 5
Cut a piece of white card, measuring 4 x 6’.
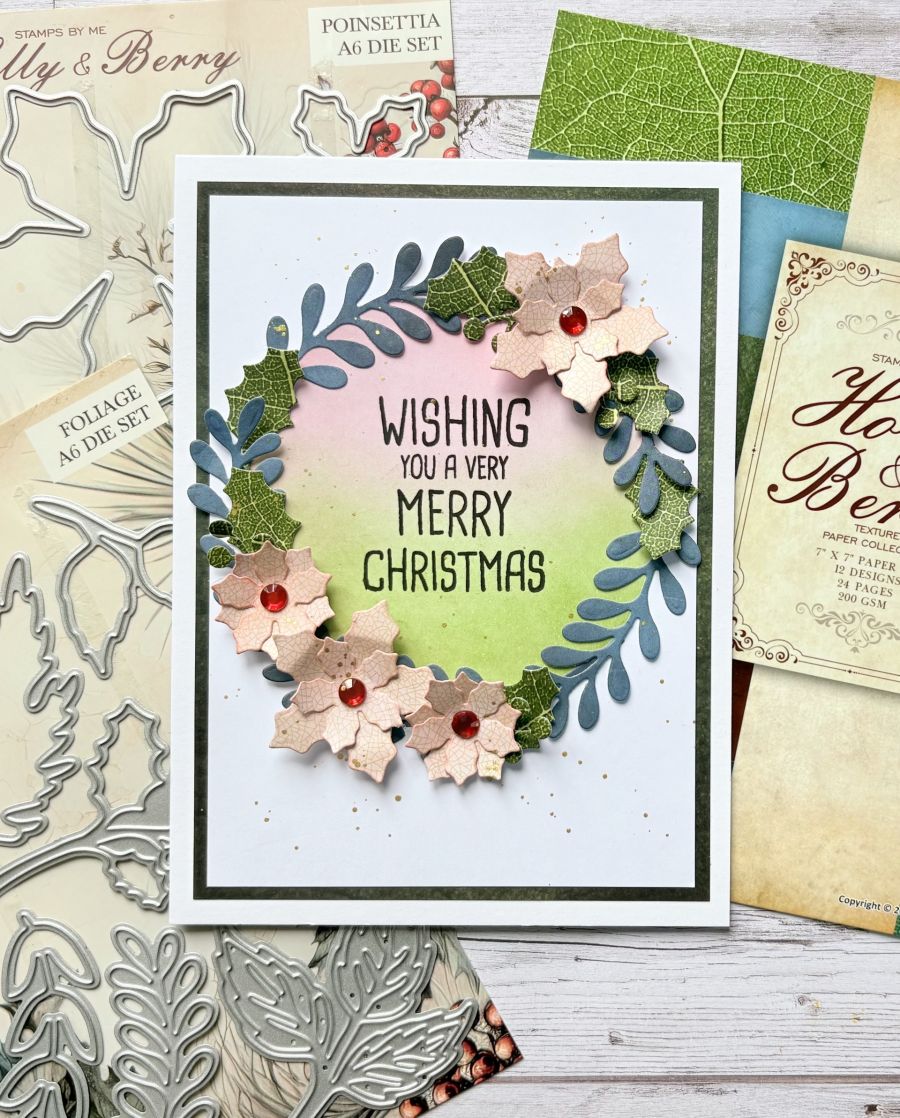
Using a blending brush add some Mowed Lawn ink on the bottom half of the stencil and Festive Berries on the top half.








Prices change straight away. Every language is our own translation, not Google.
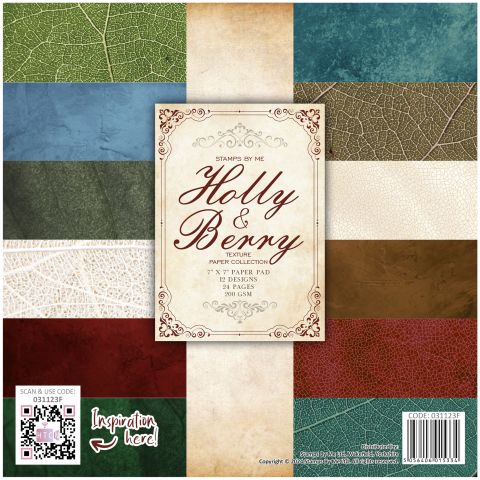 HOLLY & BERRY PAPER TEXTURES PACK - 7 x 7Holly & Berry 7x7 Texture Paper Pad$12.99BUY✓ ADDED
Stamp your chosen sentiment using the Midnight ink. Die cut a selection of the Poinsettias and foliage from different colours in the paper pack.
Adhere foliage around your circle using glue, to create your wreath shape.
Add some ink to the flowers using Festive Berries and a blending brush. Layer them up using glue. Adhere with some extra foliage to the wreath and add some red gems to the centres of the Poinsettias.
Mat the wreath onto a piece of the dark green paper measuring 4 1/4 x 6 1/4 . Add some splats of gold using the Oyster Confetti ink and a paintbrush. Finally mount onto your card blank.
Share your make with the Stamps By Me community - and keep this guide for next time.
Prefer the previous layout? Open the old page.



