


Step 1 of 5
Choose TWO coordinating papers. Trim your focal design sheet to 6" square and your background paper to 6 3/4" square.
Blend around the edges with the Frayed Burlap Ink.








Prices change straight away. Every language is our own translation, not Google.
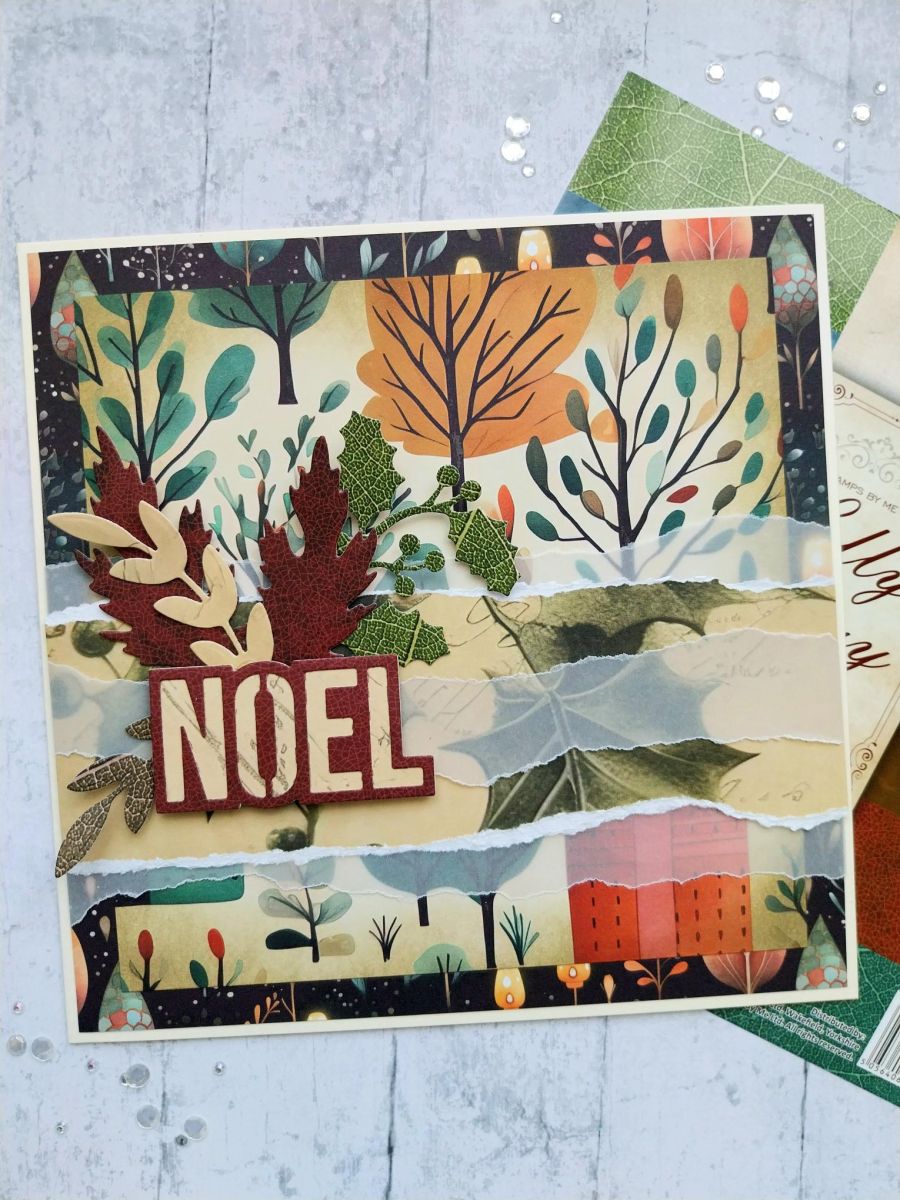
Choose TWO coordinating papers. Trim your focal design sheet to 6" square and your background paper to 6 3/4" square.
Blend around the edges with the Frayed Burlap Ink.
Adhere the smaller sheet onto the larger.
Tear a panel of vellum the same width as the background paper and adhere across the bottom third. Tear a slightly narrower panel of decorative paper (same width) and adhere across the vellum, then tear a smaller panel of vellum (same width) and adhere across, as seen here.
Adhere to your cream card blank.
Die cut a selection of foliage/leaves from the papers in the collection.
Die cut the NOEL mat and layer, from the Festive Baubles collection, in coordinating papers and adhere together.
To finish, use a mixture of wet glue and foam pads to create and adhere your 3D foliage display, to the left of the torn paper/vellum panel.
Share your make with the Stamps By Me community - and keep this guide for next time.
Prefer the previous layout? Open the old page.



