


Step 1 of 7
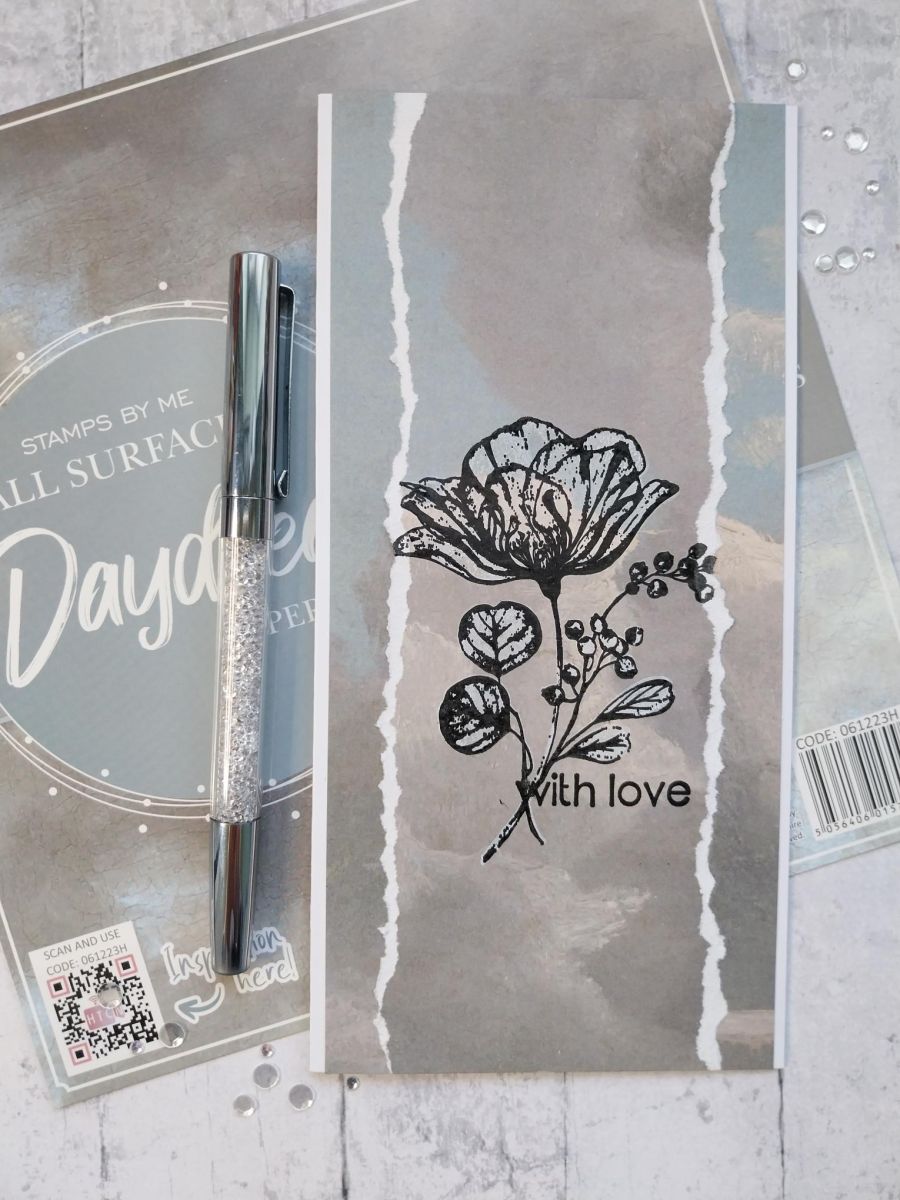
Choose your paper from the Daydream pad and trim to 3 3/4 x 8".








Prices change straight away. Every language is our own translation, not Google.
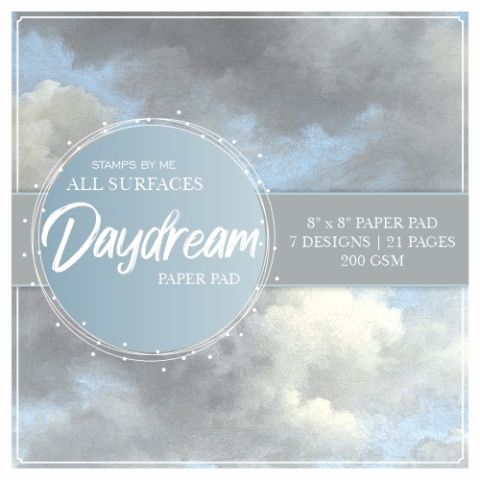 STAMPS BY ME - ALL SURFACES - DAYDREAM - 8 x 8 PAPER PADAll Surfaces Daydream 8 x 8 Paper Pad$12.99BUY✓ ADDED
Choose your paper from the Daydream pad and trim to 3 3/4 x 8".
Tear a panel from the remaining piece of paper, so the lamination stamp will just fit on to it.
Ink up the solid lamination stamp with the Cotton ink and stamp onto the torn panel. Re-ink and stamp several times, to get a crisp white image.
Dry thoroughly with a heat tool as Pigment ink is very slow drying and will smudge when wet!
Stamp the detailed lamination stamp over the top, with the Midnight ink
Stamp your chosen sentiment in black.
Adhere the stamped panel onto the previously trimmed paper, lining up the top and bottom edges.
Adhere to your DL card to finish.
Share your make with the Stamps By Me community - and keep this guide for next time.
Prefer the previous layout? Open the old page.



