


Step 1 of 9
Choose TWO painted mounts the same.








Prices change straight away. Every language is our own translation, not Google.
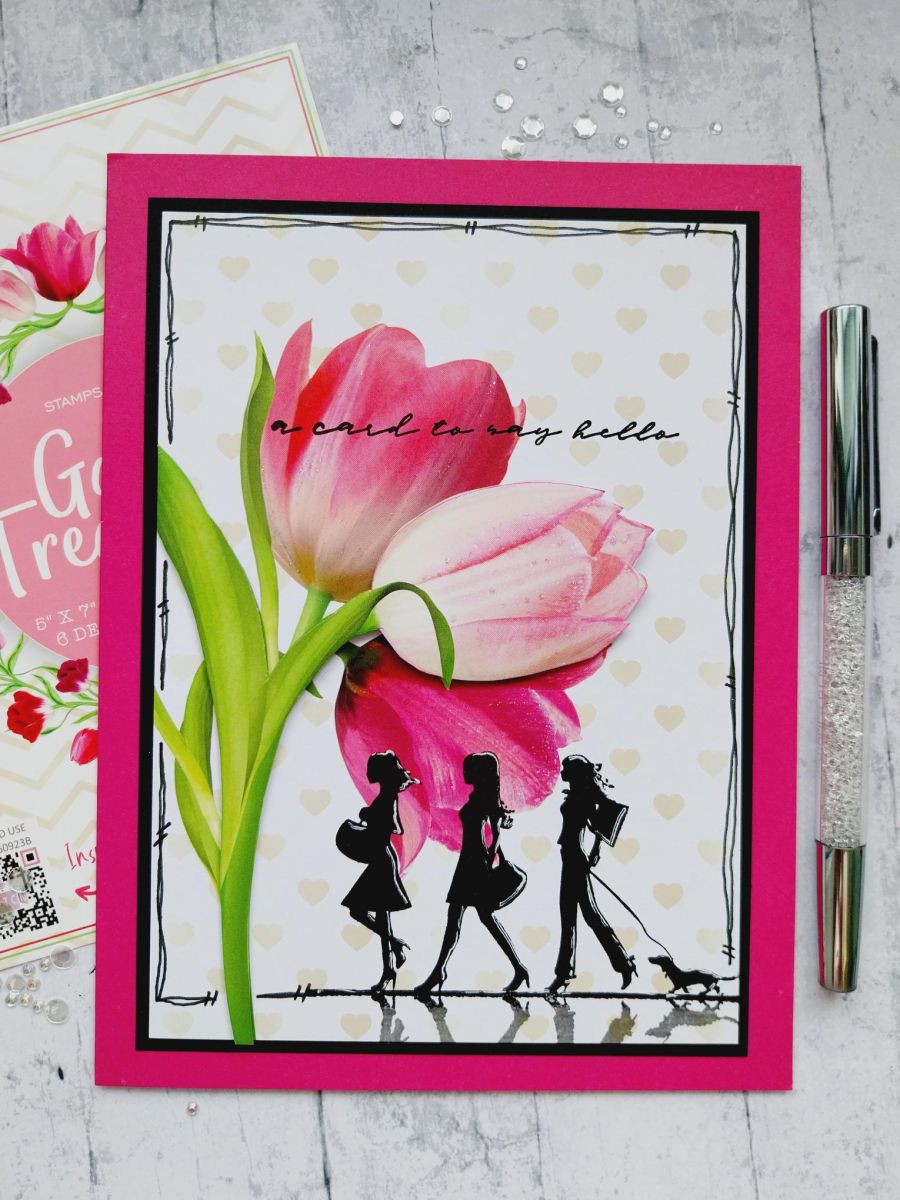
Choose TWO painted mounts the same.
Fussy cut part of the flower from one of the painted mounts, ideally the flower head fore-front in the design.
Stamp the silhouette image just off the right edge of the mount, in the Midnight ink.
Use a white gel pen to add accents and highlights to the silhouette.
Use a black pen to draw a decorative frame around the mount.
Stamp your chosen sentiment in the Midnight ink.
Use small foam pads or silicone glue gel, to adhere your fussy cut flowers over the printed image, adding depth and dimension to the artwork.
Mat your artwork onto black card cut to 5 1/4 x 7 1/4" and then onto your Fushia card blank.
Use your Stickles/glitter to add a touch of sparkle to your finished card.
Share your make with the Stamps By Me community - and keep this guide for next time.
Prefer the previous layout? Open the old page.



