


Step 1 of 7
Choose a coordinating paper to go with this wreath painted mount.








Prices change straight away. Every language is our own translation, not Google.
Choose a coordinating paper to go with this wreath painted mount.
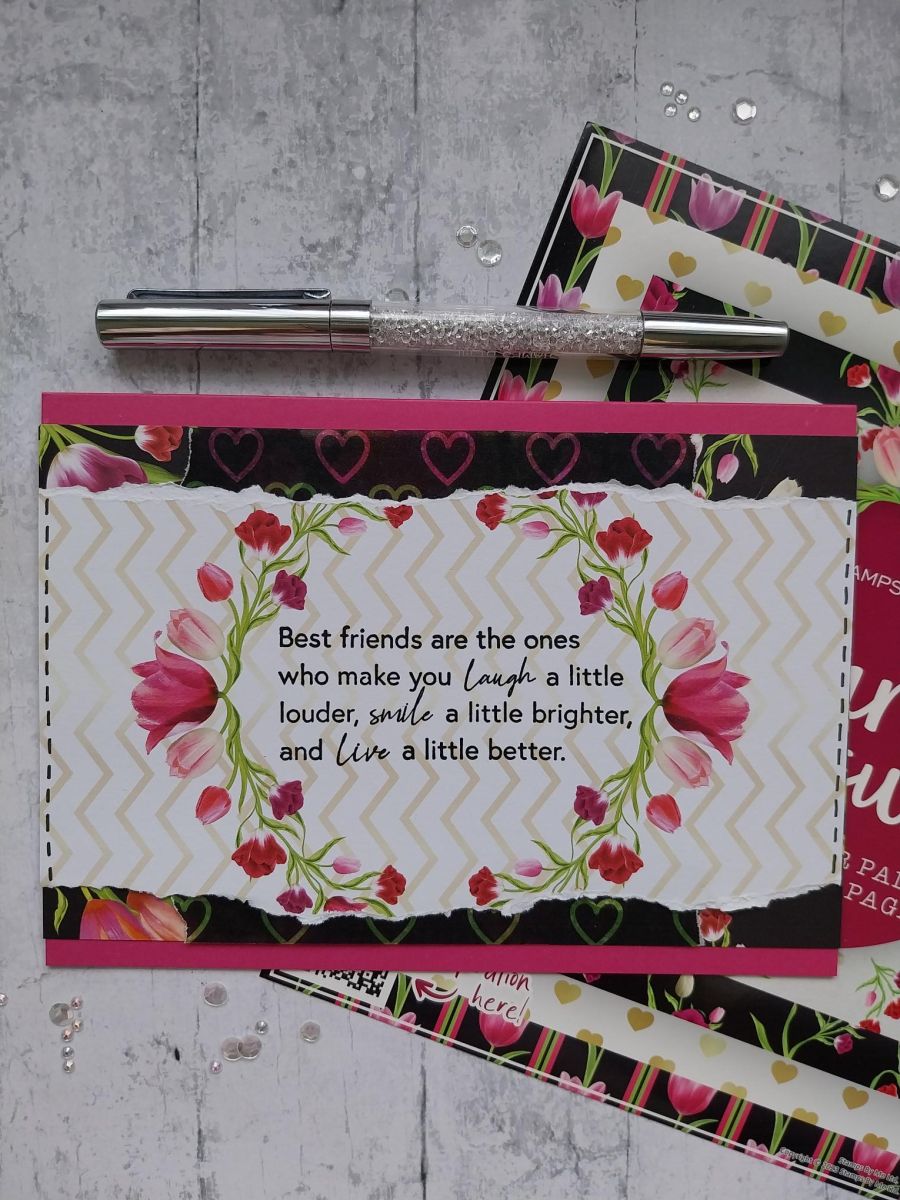
Trim the background paper to 4 1/2 x 7" (in landscape view). Tear the wreath mount so it's the same width but not as deep as the paper, again ensuring it's in landscape view (see final card image).
Tear the hearts vellum the same depth but not as wide as the background paper and adhere using a tape runner.
Stamp your chosen sentiment (I took mine from the Radiant Poppies set), in the centre of the wreath, with the Midnight ink.
Adhere across the centre of your papers/vellum, lining up the left and right edges as seen here.
Adhere to your landscape Fushia card blank.
To finish, use a black pen to add a "stitch" effect line down the left and right sides of the wreath paper.
Share your make with the Stamps By Me community - and keep this guide for next time.
Prefer the previous layout? Open the old page.



