


Step 1 of 8
Choose your background beach paper from Blissful Horizons...you will need TWO of the same sheet.








Prices change straight away. Every language is our own translation, not Google.
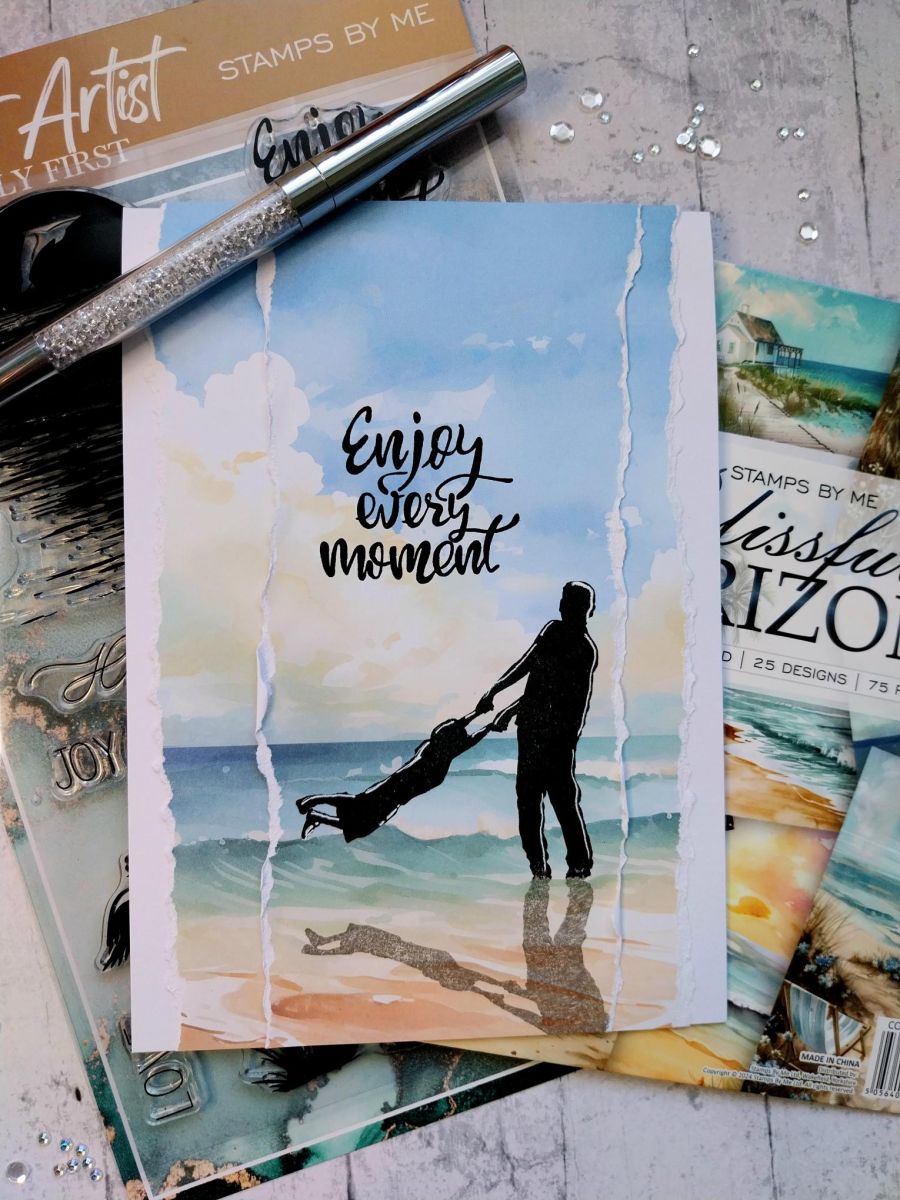
Choose your background beach paper from Blissful Horizons...you will need TWO of the same sheet.
Tear ONE sheet down the sides, so it will fit onto a 5 x 7" card bank. Pop to one side.
Using your stamp as a size guide, tear the second piece of paper into a panel so the image when stamped, will fit onto it (as shown here).
Stamp your image in Midnight, onto the smaller paper panel. Re-ink and stamp the top half of the image so the "reflective" element is lighter in colour.
Use a white gel pen to add accents and highlights to the stamped image.
Stamp your sentiment where required, with the Midnight ink.
Adhere the stamped panel onto your torn panel set aside earlier, ensuring you line up the printed beach design.
Adhere to your card blank, with the top and bottom edges flush.
Share your make with the Stamps By Me community - and keep this guide for next time.
Prefer the previous layout? Open the old page.



