Step 1 of 7
Choose a selection of the 2 sided papers that you want to use for your album.








Prices change straight away. Every language is our own translation, not Google.
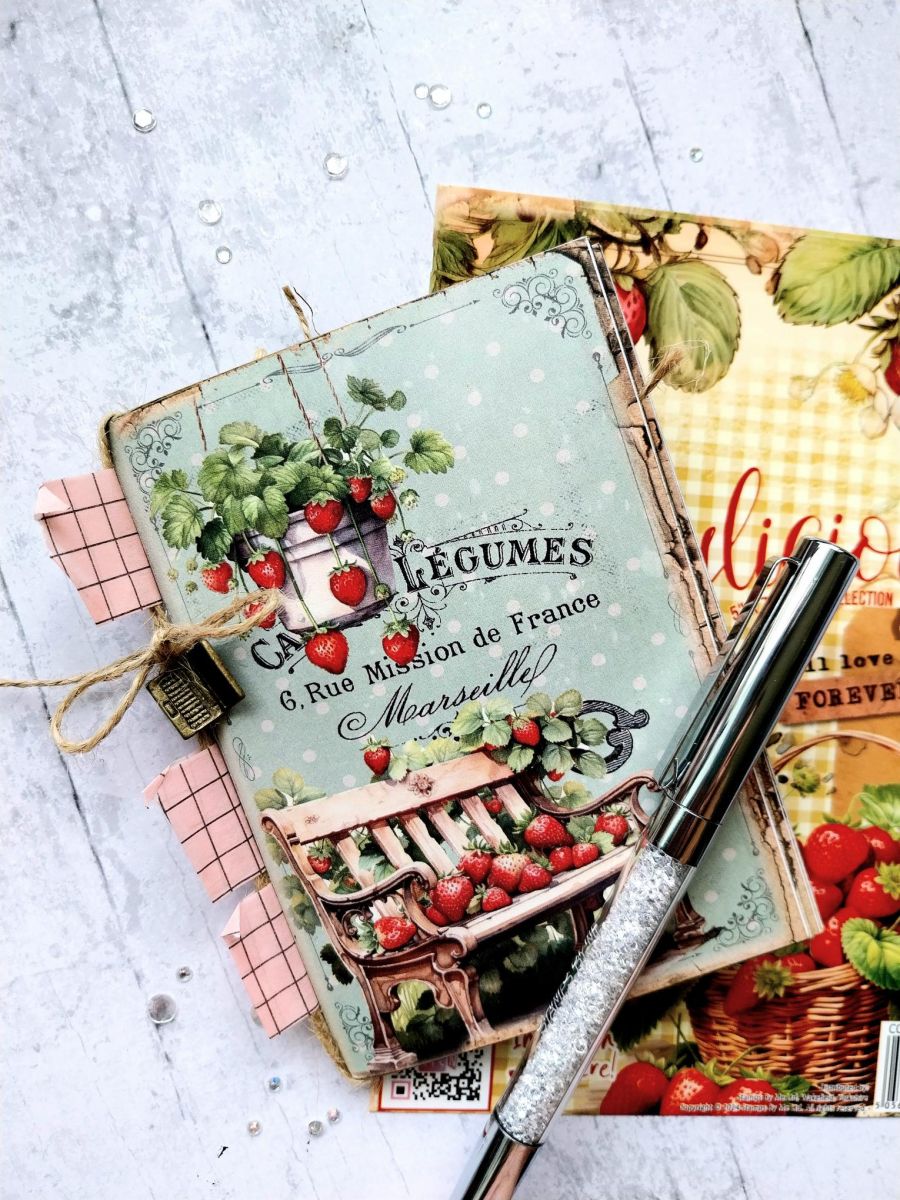
Choose a selection of the 2 sided papers that you want to use for your album.
You need to make your pages double-sided when folded, so glue 2 pages together back-to-back. Score down centre and fold.
Blend ink around the edges of all the pages, on both sides, to give a distressed look.
Place all folded pages inside each other to create your album. Tie a length of twine around the middle, to hold them all in place and secure with a bow on the front of your album. I also threaded a metal charm on the twine before tying a bow but this is optional.
Cut out a selection of the tags, flowers and toppers from your collection.
Adhere your elements on the pages as required.
You can tuck the toppers and recipe cards under the twine, as another option.
You can also use washi tape to secure toppers and recipes in place, allowing them to be lifted up. just have fun decorating!!!!
Share your make with the Stamps By Me community - and keep this guide for next time.
Prefer the previous layout? Open the old page.