


Step 1 of 7
Trim a piece of white card to 4 1/4 x 6 1/4" and place on your glass mat, in landscape view.
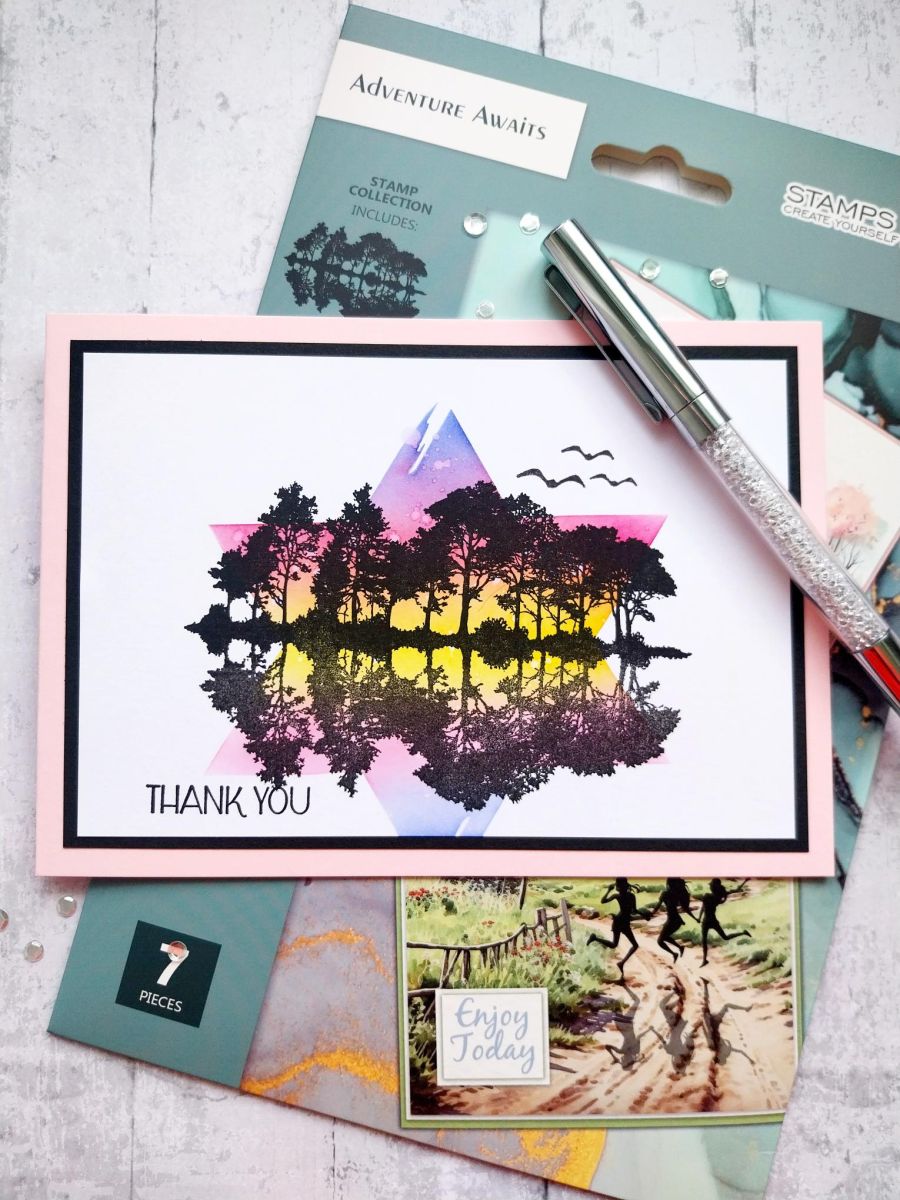
Secure the star stencil so it sits centrally, just off the bottom edge of the card.








Prices change straight away. Every language is our own translation, not Google.
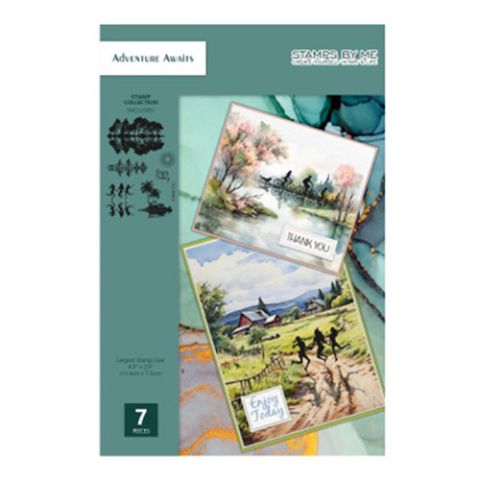 Reflection Stamp - Adventure AwaitsAdventure Awaits Reflection Stamp$18.99BUY✓ ADDED
Trim a piece of white card to 4 1/4 x 6 1/4" and place on your glass mat, in landscape view.
Secure the star stencil so it sits centrally, just off the bottom edge of the card.
Use your inks to blend across the stencil, as shown here.
Splatter water droplets onto the ink, wait a few seconds then mop up the excess with a paper towel. Remove the stencil and dry your artwork.
Once the ink is thoroughly dry, stamp your tree-line image in the Midnight ink, across the centre of the stencilled star. Re-ink and stamp the top half of the image again so the "reflective" element is slightly lighter.
Stamp a few birds from the Ray Of Sunshine set, flying above your artwork.
Stamp your sentiment to the bottom left of your artwork.
To finish, mat onto black card trimmed to 4 1/2 x 6 1/2" and then onto your pink card blank.
Share your make with the Stamps By Me community - and keep this guide for next time.
Prefer the previous layout? Open the old page.



