tap a picture to see it big · tap DONE as you go - this device remembers
Step 1 of 9
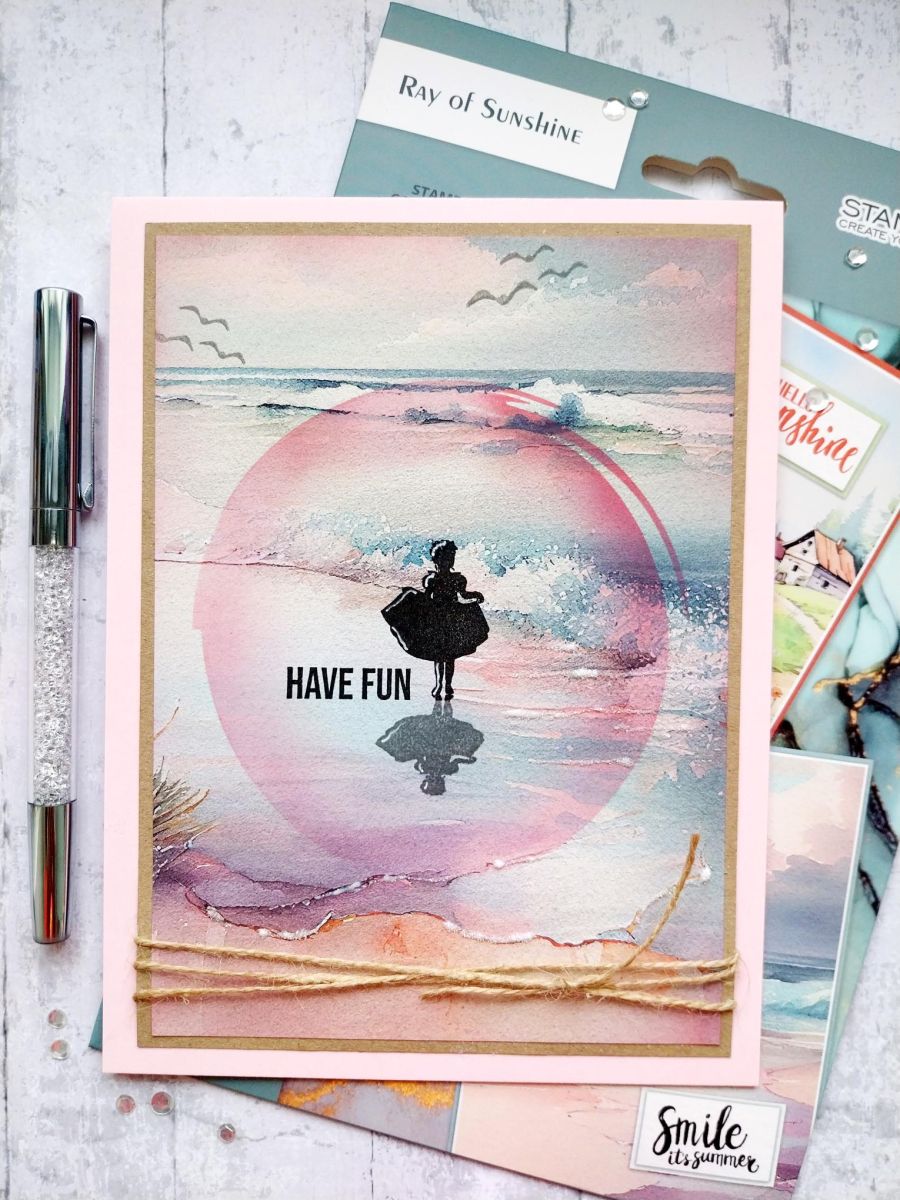
Having chosen your beautiful beach scene from the Summer Vacation pad, secure the Stylized Stencil to the right of the paper, where you want your stamped image to be placed.
Blend within the stencil with your Worn Lipstick Distress Oxide, fading the colour out as you blend inwards.
Step 2 of 9
Stamp our adorable little girl in the Midnight ink, inside the inked circle. I ink once and stamp the complete image and then I apply more ink on the top half of the image so the "reflective" element is lighter in tone.
Use a white gel pen to add accents and highlights to your stamped image.
Step 3 of 9
Stamp your sentiment to the left of our image.
Step 4 of 9
Lightly stamp a few birds flying across the top of the scene.
Step 5 of 9
Use a blending brush to apply a touch of Worn Lipstick around the outer images of the paper.
Step 6 of 9
Adhere your artwork to kraft cardstock trimmed to 5 1/4 x 7 1/4".
Step 7 of 9
Wrap some twine around the bottom of your artwork and secure with a knot/bow.
Step 8 of 9
Adhere to your pink card blank.
Step 9 of 9
To finish, apply a little glue around the edge of the stencilled circle and on the crests of the waves. Shake your Midas glitter onto your artwork, shaking off the excess and allowing it to dry thoroughly.
You made it!
Share your make with the Stamps By Me community - and keep this guide for next time.
Hello! I'm Toni's AI craft helper - I know the projects from Toni's shows, our guides and everything in the shop. Ask me anything, like "which dies go with this stamp set?" or "what do I need to start ink blending?"
An AI helper (not Toni herself), answering from Toni's shows and our shop - please check the product page before you buy.