


Step 1 of 9
Die cut the ice skate components from your chosen papers, in the Leather Effect and Textures paper pads.








Prices change straight away. Every language is our own translation, not Google.
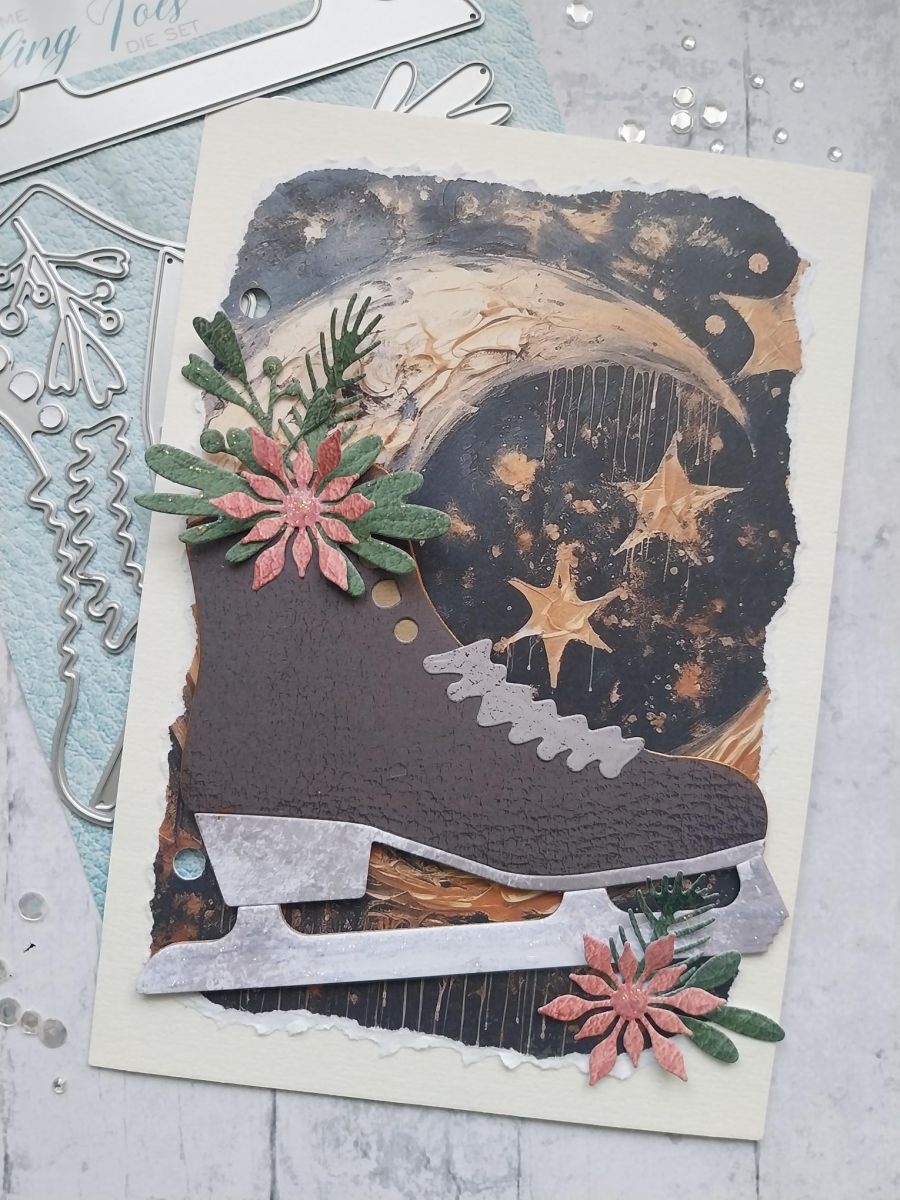
Die cut the ice skate components from your chosen papers, in the Leather Effect and Textures paper pads.
Die cut the floral and foliage elements from papers in the Special Effects Collection.
Adhere your die-cut elements together to create your ice-skate, as seen here.
Choose a scenic background paper from the Winter Wonderland paper pad.
Tear around the edges and adhere to your journal page or card blank.
Add a touch of Gold/Copper gilding wax around the edges of the leather skate, as required. Alternatively, you could add a touch of Siver wax to the "blade" of your skate. The choice is yours.
Adhere your Ice Skate to your prepped journal page/card.
Adhere your die-cut flowers and foliage coming out from the top of the skate and around the base of the blade, as required.
To finish, use your Stickles to add a touch of festive sparkle.
Share your make with the Stamps By Me community - and keep this guide for next time.
Prefer the previous layout? Open the old page.



