tap a picture to see it big · tap DONE as you go - this device remembers
Step 1 of 9
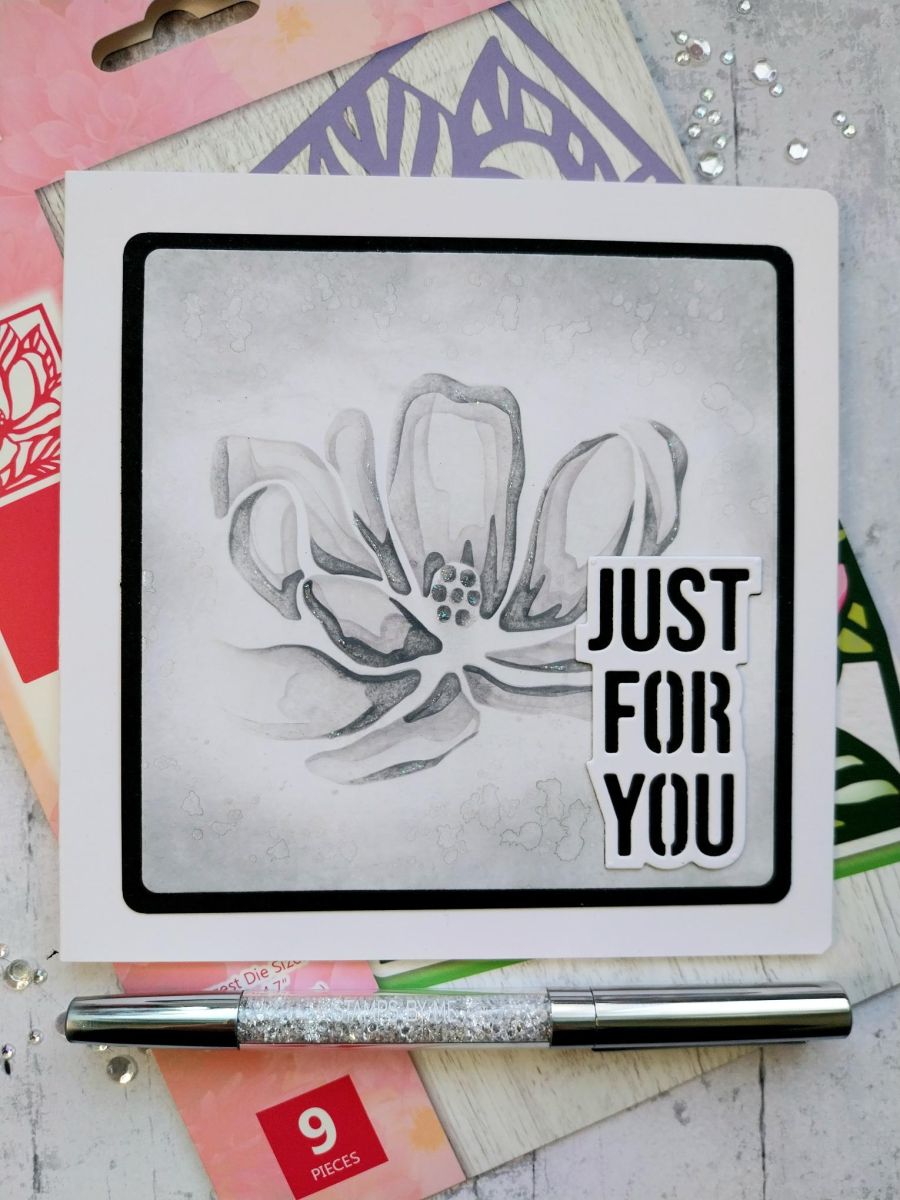
Cut a piece of white card 4 3/4" square.
Secure stencil 1 in place and lightly blend with the Iced Spruce
Line up stencil 2 and apply more Iced Spruce
Line up stencil 3 and blend with Hickory Smoke
Line up stencil 4 and apply the Black Soot
Line up stencil 5 and blend the Black Soot ONLY in the centre of the flower
Step 2 of 9
Lightly spray your stencilled image, allowing the ink to "bleed". When you are happy with the result, mop up the excess water and ink with a paper towel. .
Step 3 of 9
Blend around the edges of the card with the Hickory Smoke.
Step 4 of 9
Swirl the Pearl Mist to activate the mica and spray a little onto your glass mat. Splatter over your artwork before drying quickly with a heat tool.
Step 5 of 9
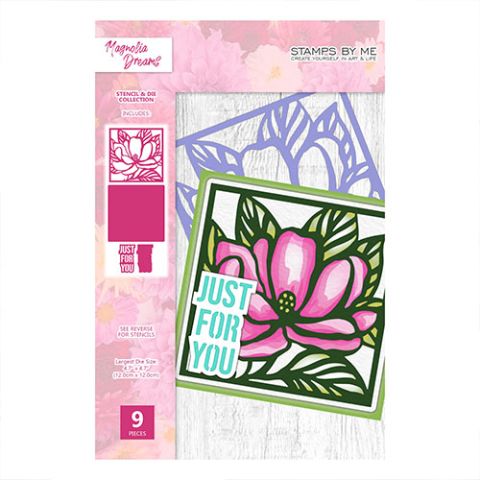
Use the layering die to cut around your stencilled image.
Step 6 of 9
Cut a piece of black card 5" square and round off the corners with your corner punch.
Step 7 of 9
Mat your artwork onto the black mat and then onto the card blank.
Step 8 of 9
Die cut the detailed sentiment die from white card and the mat from black card. Adhere together and glue in the bottom right corner of your card.
Step 9 of 9
Finally, add the sparkly Stickles to the centre of the stencilled flower and around random areas of the petals.
You made it!
Share your make with the Stamps By Me community - and keep this guide for next time.
Hello! I'm Toni's AI craft helper - I know the projects from Toni's shows, our guides and everything in the shop. Ask me anything, like "which dies go with this stamp set?" or "what do I need to start ink blending?"
An AI helper (not Toni herself), answering from Toni's shows and our shop - please check the product page before you buy.