


Step 1 of 10
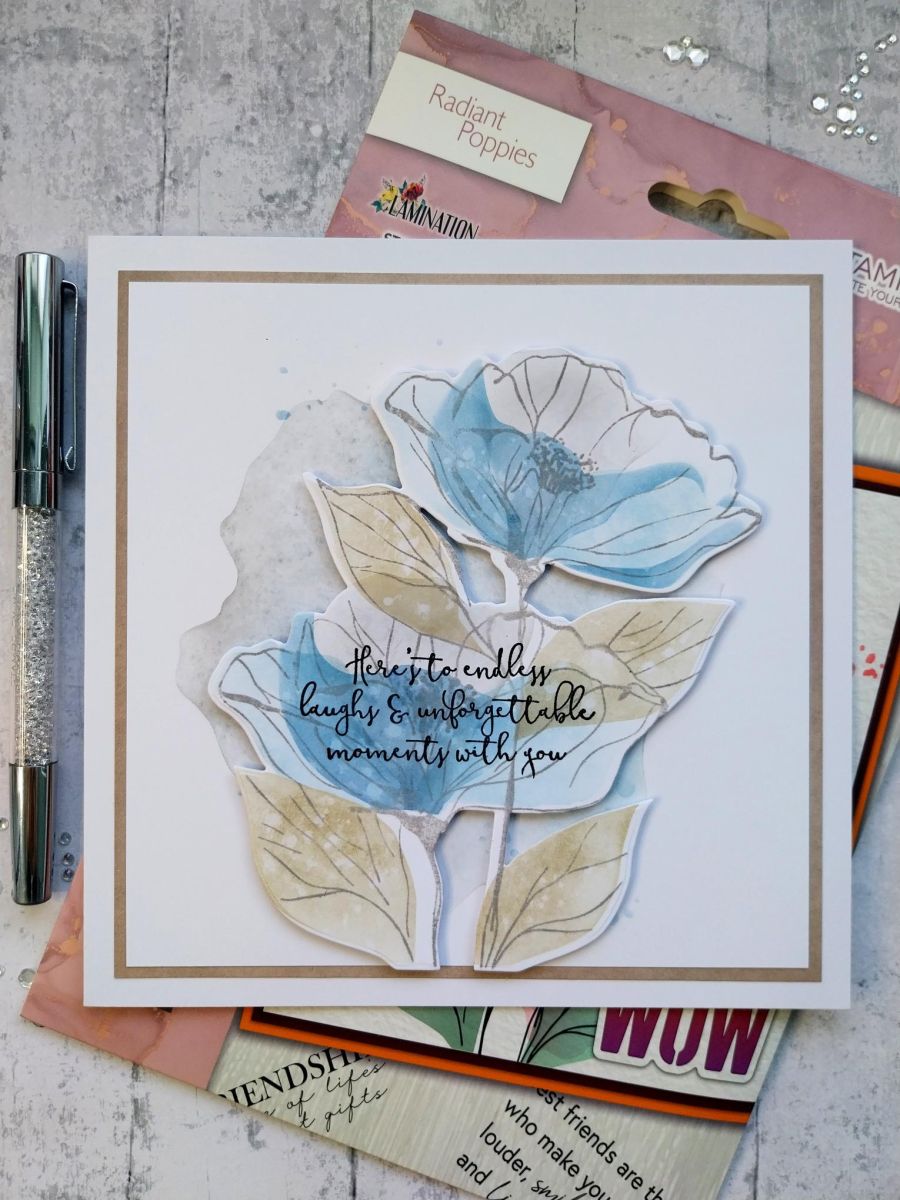
Cut a piece of white card 6 x 6" and secure stencil 1 in place.
Randomly blend with the Hickory Smoke and Tumbled Glass.








Prices change straight away. Every language is our own translation, not Google.
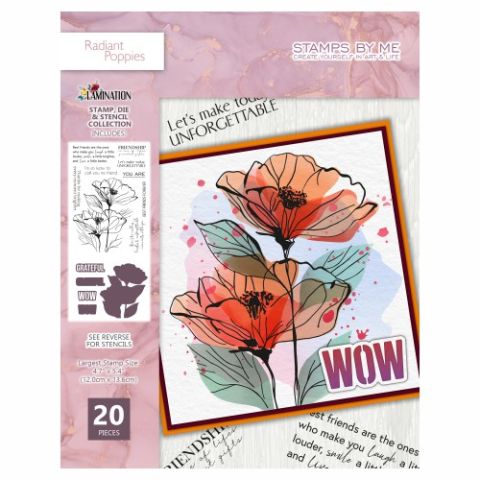 Stamps By Me - Radiant PoppiesRadiant Poppies Stamp, Die and Stencil Set$39.99BUY✓ ADDED
Cut a piece of white card 6 x 6" and secure stencil 1 in place.
Randomly blend with the Hickory Smoke and Tumbled Glass.
Splatter with water and lift the ink with a paper towel.
Line up stencil 6 next!
Blend with the Faded Jeans and set to one side to dry.
On a seperate piece of 6 x 6" white card, secure stencil 2 in place and apply the Tumbled Glass. Splatter with water and mop up the excess.
Line up stencil 3 and blend with Hickory Smoke, again splattering with water and mopping up excess. (Repeat this after you blend each layer).
Line up stencil 4 and apply Faded Jeans.
Finally, line up stencil 5 and blend with the Frayed Burlap.
Line up and stamp the image with the Hickory Smoke.
Use the coordinating die to cut it out.
Stamp the sentiment in Midnight, across the centre of your die cut element.
Use foam pads to adhere to the stencilled background set aside earlier.
Cut a sheet of coordinating paper from the Shabby Chic paper pad, to 6 1/4" square.
Adhere your artwork onto the paper and then onto your card blank.
Share your make with the Stamps By Me community - and keep this guide for next time.
Prefer the previous layout? Open the old page.



