


Step 1 of 8
Trim a piece of white card to 5 1/2 x 7 1/2".
Secure the Stylized circle stencil on the top half of the card. Secure the small circle mask coming in from the top left of the larger circle, as seen here.








Prices change straight away. Every language is our own translation, not Google.
Trim a piece of white card to 5 1/2 x 7 1/2".
Secure the Stylized circle stencil on the top half of the card. Secure the small circle mask coming in from the top left of the larger circle, as seen here.
Blend the inks starting with the Sherbet closest to the small mask and blending outwards with the Bittersweet and Magenta
Use a paint brush to splatter droplets of water onto the ink. Wait a few seconds then lift off the excess ink/water with a paper towel.
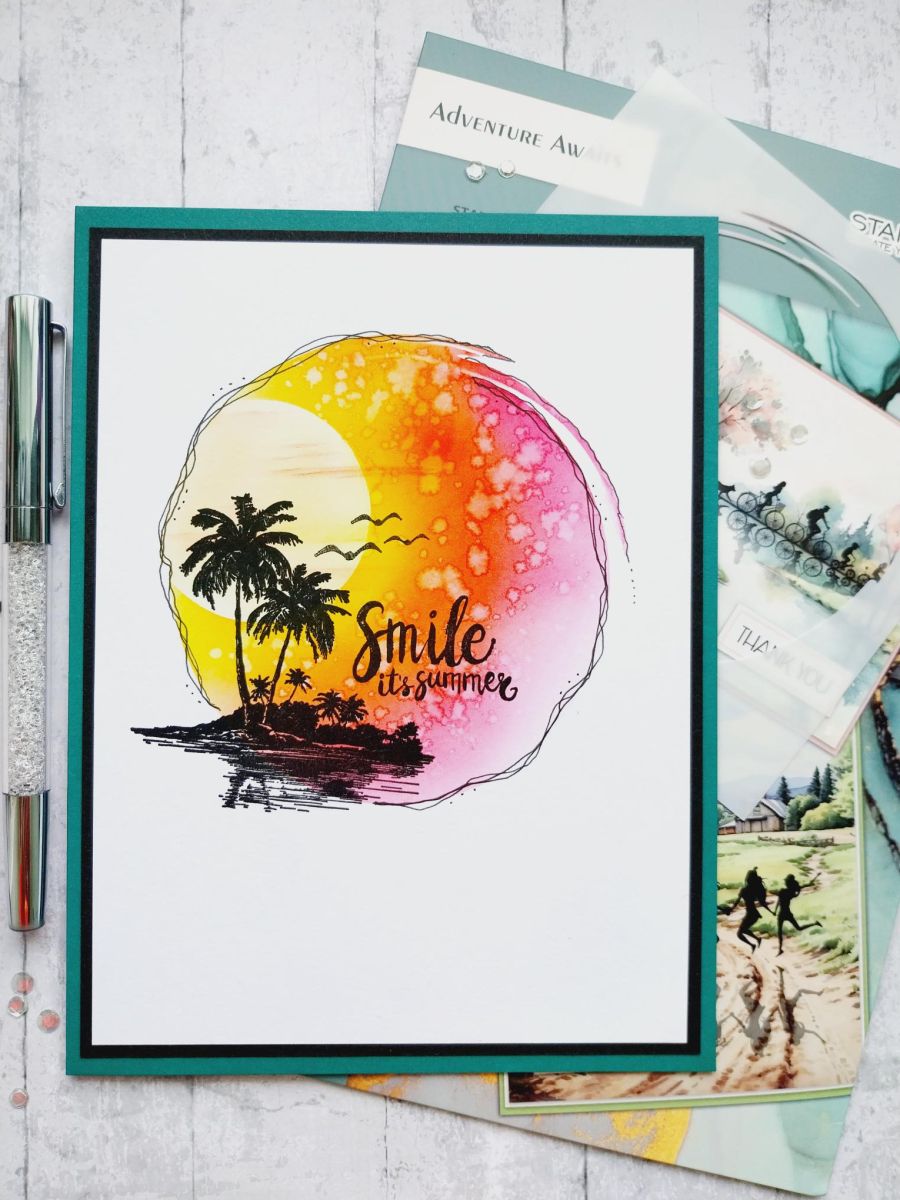
Keeping the Stylized Circle in place, remove the small mask and lightly blend the Sherbet within the circle, taking away the white harshness of the card. Lightly drag the Sherbet and Bittersweet across the Sun, depicting wispy clouds floating past!
Carefully remove the Stylized stencil and if necessary, use a heat tool to dry off the ink.
Ink up the island silhouette stamp, with Midnight and stamp coming onto the bottom left of your inky circle.
Use a black pen to accentuate the outline of the inked circle.
Stamp the flock of birds to the top right of the island and your sentiment lower down.
To finish, mat onto black cardstock trimmed to 5 3/4 x 7 3/4" and then onto your teal card blank.
Share your make with the Stamps By Me community - and keep this guide for next time.
Prefer the previous layout? Open the old page.



