


Step 1 of 12
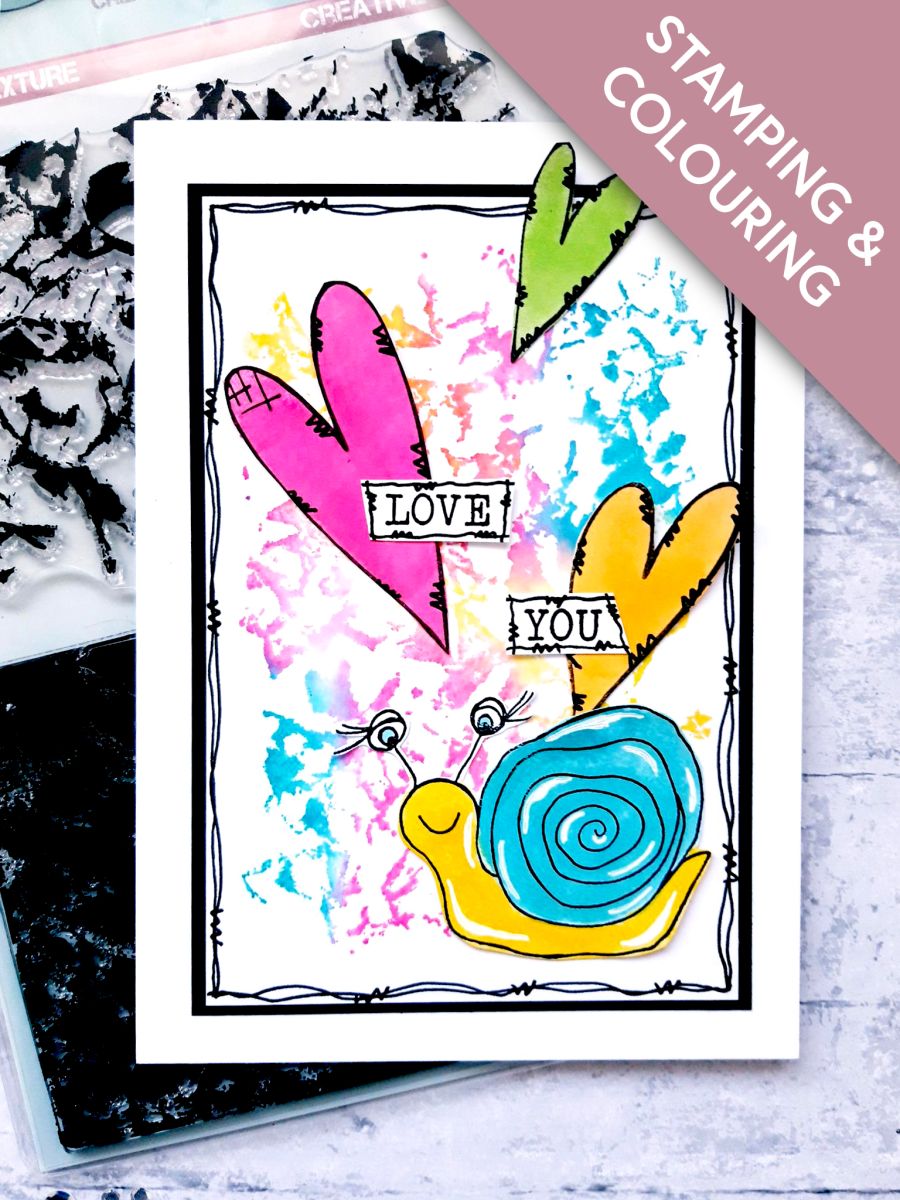
Randomly ink up the textured stamp, from the Crumpled Texture Creative Stamps set, with the Izink Aurore, Cerise and Ocean Dye ink pads.
Spritz with water and stamp on to the 6 x 4" white cardstock.








Prices change straight away. Every language is our own translation, not Google.
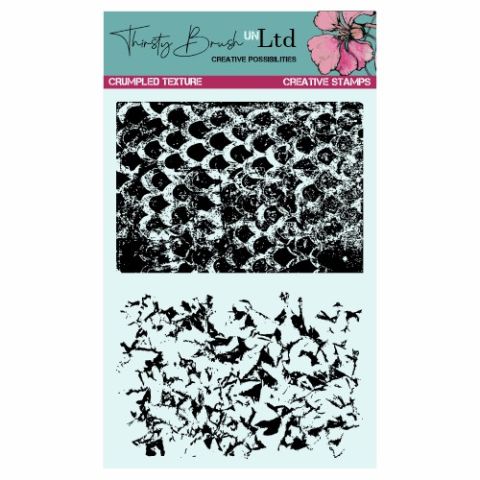 100304 - Htcn - Tv - Thirsty Brush Unltd - A5 Stamp - Crumpled TextureStamps from Thirsty Brush UnLtd Crumpled Texture Creative Stamps$17.99BUY✓ ADDED
Randomly ink up the textured stamp, from the Crumpled Texture Creative Stamps set, with the Izink Aurore, Cerise and Ocean Dye ink pads.
Spritz with water and stamp on to the 6 x 4" white cardstock.
Use your black pen to draw a decorative, wiggly frame around your background.
Dry off the ink naturally, or speed it up with a heat gun.
Mat your background on to the black cardstock.
Mat this on to your card blank, and set to one side.
Ink up the heart collage stamp, from the Daisy Dream Creative Stamps set, with the Onyx Black Versafine.
Stamp on to the 8 x 3" white cardstock.
Cut out the 3 hearts from the stamped image.
Set to one side.
Ink up the snail stamp, from the Petal Power Creative Stamps set, with the Onyx Black Versafine.
Stamp in one corner of the 4 x 4" white card.
Cut the snail out, and set the rest of the cardstock to one side, for a later step.
Apply ink, from each of the Izink Dye ink pads, on to a glass or craft mat.
Add a little water, and use a paint brush to paint the snail and the hearts, in whatever colour combinations you want.
Once all the stamped embellishments are completely dry, use the black and white gel pen, to add accents and highlights, as required.
Adhere the snail to the bottom right corner of your prepped card blank, using foam pads.
Glue on the 3 hearts with wet glue, tucking one of them behind the snail.
Set your card to one side.
Ink up the 2 word stamps, from the More Than Words Creative Stamps set, with the Onyx Black Versafine.
Stamp them on to the white cardstock you set aside earlier.
Once the ink is dry cut them out.
Use a black pen to add a decorative frame around your words.
Glue your words on to your artwork, using foam pads.
Share your make with the Stamps By Me community - and keep this guide for next time.
Prefer the previous layout? Open the old page.



